

Rings and Things Dishes
/I love the beautiful little dishes I keep seeing cropping up on craft blogs and pinterest. The ones to pop your rings, earrings or other little bits and pieces in when you are not wearing them, so they don't get lost.
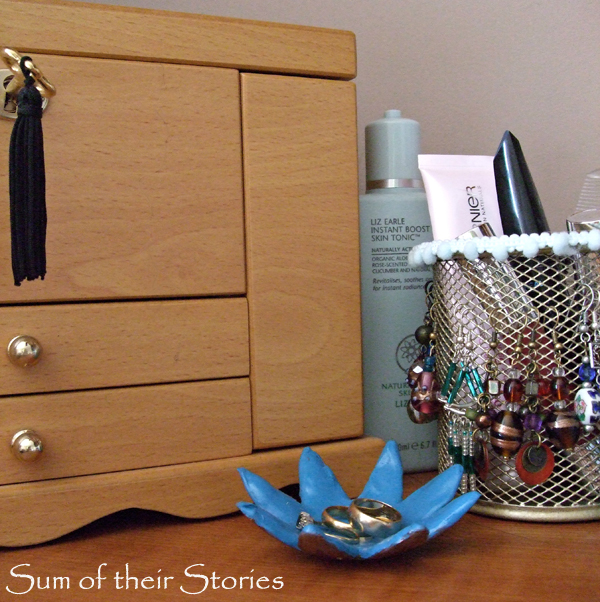
When I got married I wore my rings all the time, then about a month after our wedding I got an itchy red patch on my finger underneath them. (very attractive!) I started taking them off at night - problem solved. I used to just put them on top of my jewellery box, but now and again I got a nasty scare in the morning when they had somehow been knocked and I couldn't find them for a minute or two. I needed a little dish for my rings.
At this point I should say it has only taken me 22 years to realise I need aforementioned dish - bless, sometimes it takes a while for me to catch up!
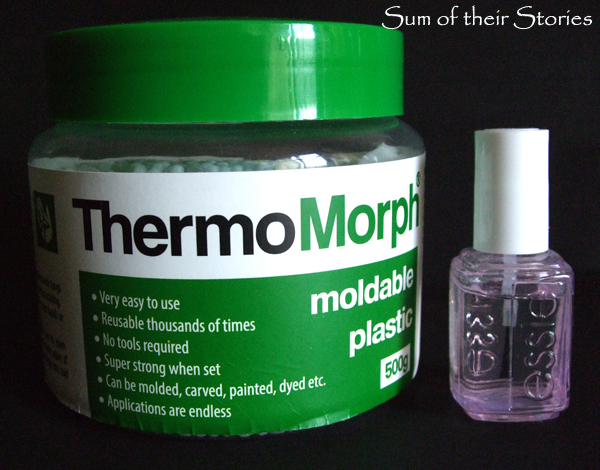
The folks at ThermoMorph sent me a tub "for freeeee!" (Bedtime Stories anyone? No - never mind, actually quite a sweet funny film though) so I could give it a try and let you know what I thought.
ThermoMorph is a mouldable plastic that comes as a big tub of little white pellets (Apparently the proper name for them is Polymorph Granules) The nail varnish in the photo is to give a sense of scale, so you can see how big this tub is. I could have used a more traditional coin or ruler but the nail varnish was handy!
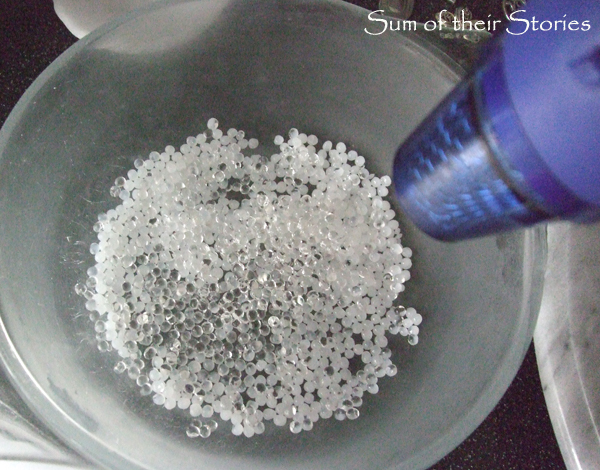
You pop a couple of spoonfuls in a bowl of almost boiling water and watch the pellets go clear and stick together. Then you can make stuff with it.

This is what it looks like when it's not quite ready to use, see the remains of the pellets not quite all clear yet.
The good news - as it cools again it hardens so you don't need to bake it or cure it. If you go wrong you simple heat it up again and have another go - nothing is wasted.
The bad news - as it cools again it hardens so you have to be pretty quick with it.
Once set it's a bit like those white plastic chopping boards in feel and texture.
In the course of my experiments I discovered I could heat it up with my hot air gun (that I use with embossing powder normally) I found this much easier than hot water but it's not essential.
Anyway, let's get on to the making bit. I needed a little dish, I had a big tub of stuff to play with.
I heated about 2 tablespoons of the ThermoMorph pellets for each dish I made and used a shallow metal dish as a mould. This dish is actually part of my spoon rest that lives next to the cooker, it was just the right size for this.
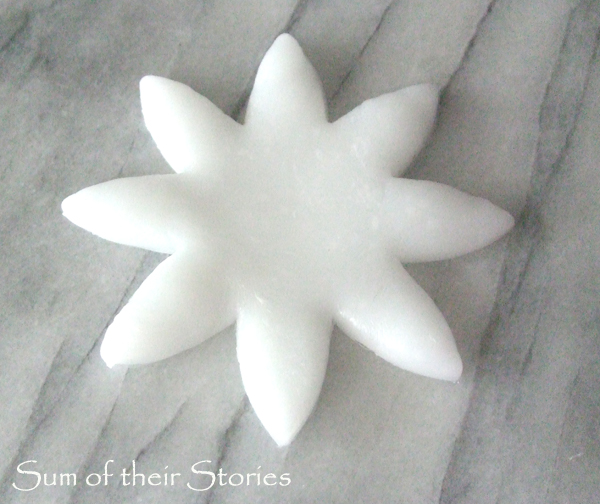
First I tried rolling it with a rolling pin and cutting it out using cookie cutters. It kept setting before I was ready and I had to keep reheating it, however I was able to cut a flower shape.
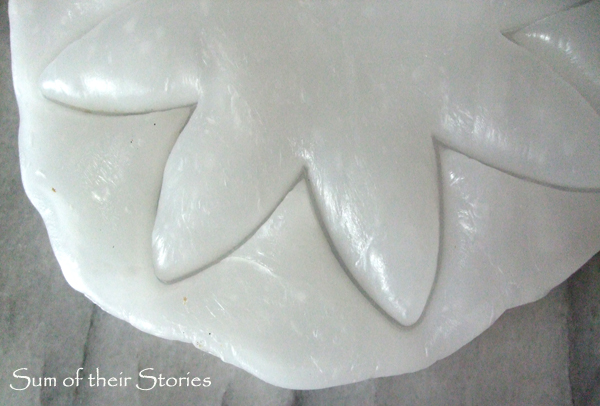
Once it was set I just went round it with a craft knife to tidy it up.
Then I warmed it up again just enough to be able to shape it into my spoon rest bowl mould. No photo of that sorry, you'll have to imagine!
To make the round dishes I found that just taking a lump of the clear warm ThermoMorph and pressing it into shape in the dish with my fingers worked best for me.
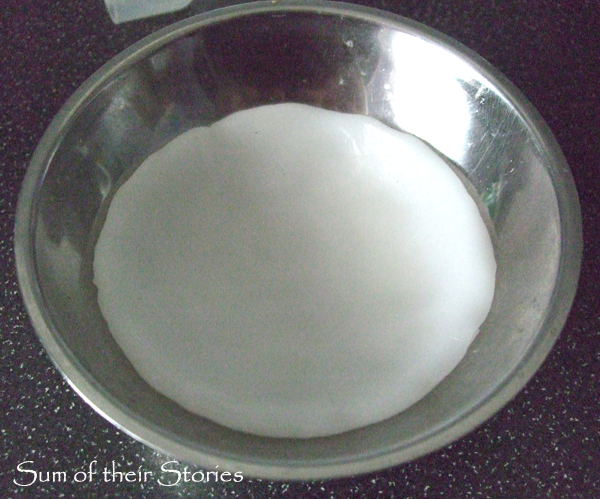
It only takes a few minutes to cool and harden completely.
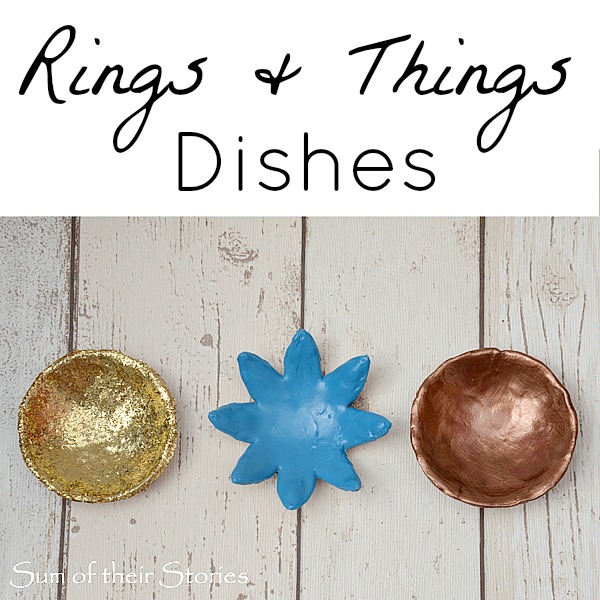
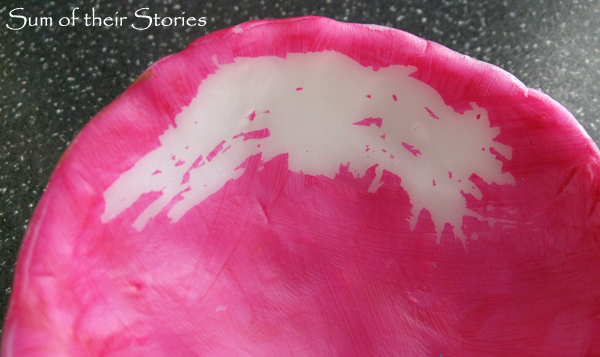
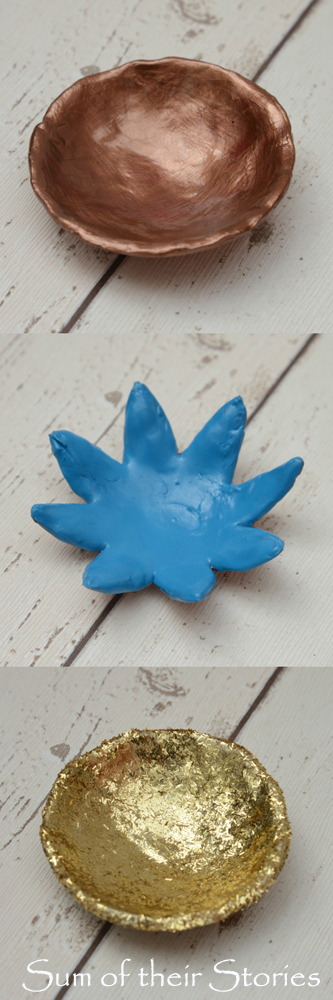
Then they were ready for painting. I used blue and copper acrylic paint and gold spray paint. They all needed a couple of coats. These paints covered really well and seem tough as old boots.
I did try a matte pink acrylic paint on one though that was a disaster, I could just scratch it off with my nails :-(
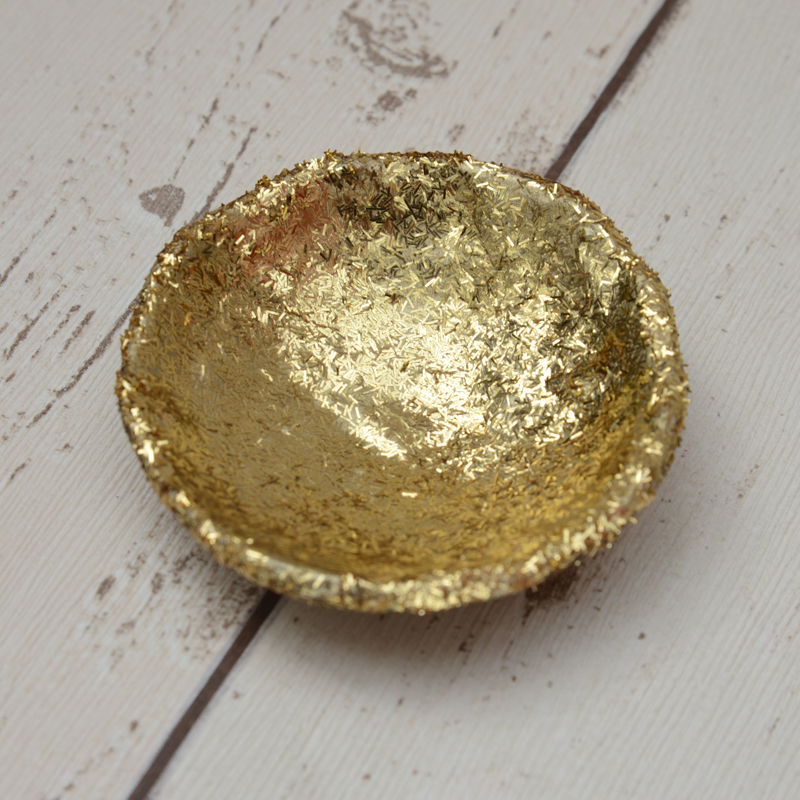
The gold needed a little extra bling I thought, so I Mod Podged all over and sprinkled it with glitter (in a plastic tub of course, but despite that, every member of the household had glitter on their face at some point in the next few days - how does that even happen?)
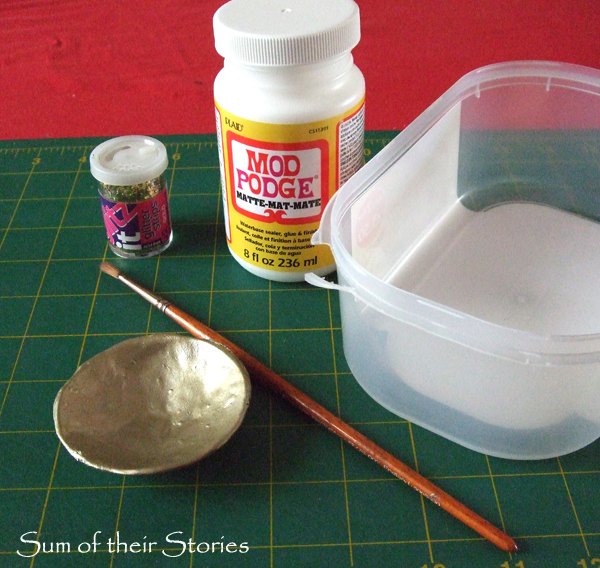
It had two coats for extra bling and then a coat of Mod Podge so it doesn't moult glitter everywhere it goes!
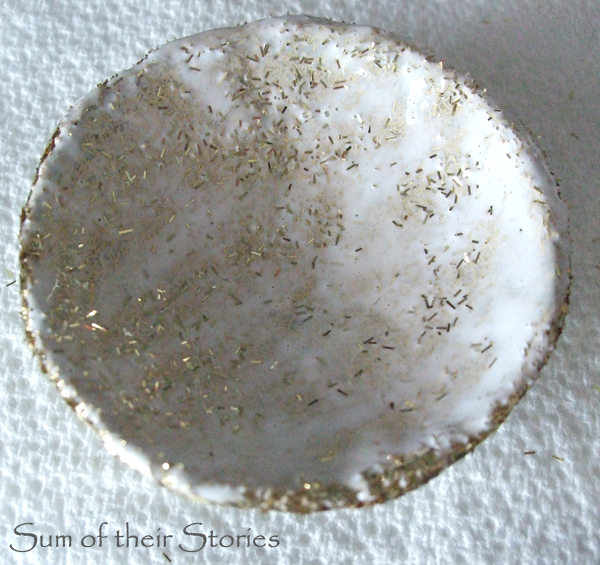
The gold is just so gorgeous and sparkly!
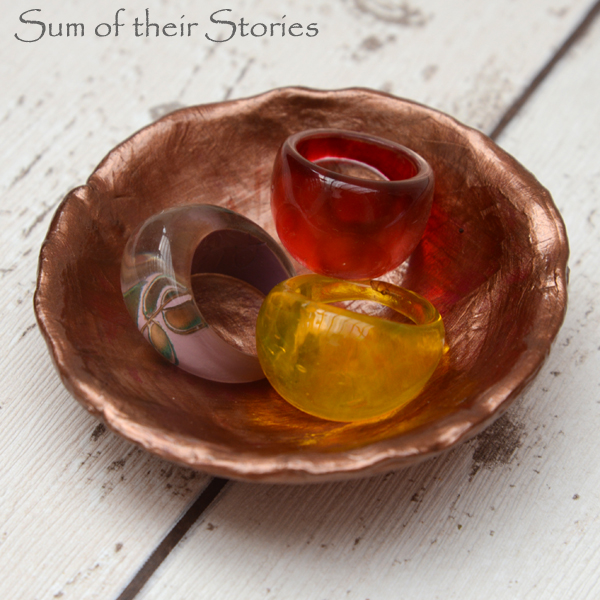
The copper one is more sophisticated I think, with a rough almost hammered metal effect.
The flower one had blue paint inside and the copper on the outside.
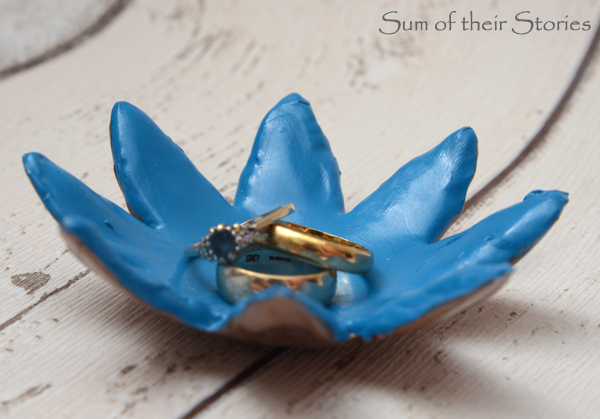
This is the one I'm now using on my dressing table.
If you fancy having a play with ThermoMorph? You can get it from Amazon. It costs £15.99 for a 500g tub.

It seems quite expensive for a tub but I've made loads of stuff with it and barely made a dent.

See that flat bit in there, that's an off cut of something else I tried, you can just bung the little bits back in and melt them again next time. You'll see this product cropping up again, I've made quite a few things with it.
Originally I was going to try to make a little dish from clay, I've collected some inspiration on my Make it with Clay Pinterest board. The ThermoMorph version is not so easy to imprint on but I have no worries about it cracking or chipping and as I can be pretty clumsy sometimes that seems like a bonus.
I may still try a clay bowl one day, maybe something a little bit bigger but now I can rest easy knowing my rings are safe at night!
Julie
I'll be linking up this project at all these lovely link parties


