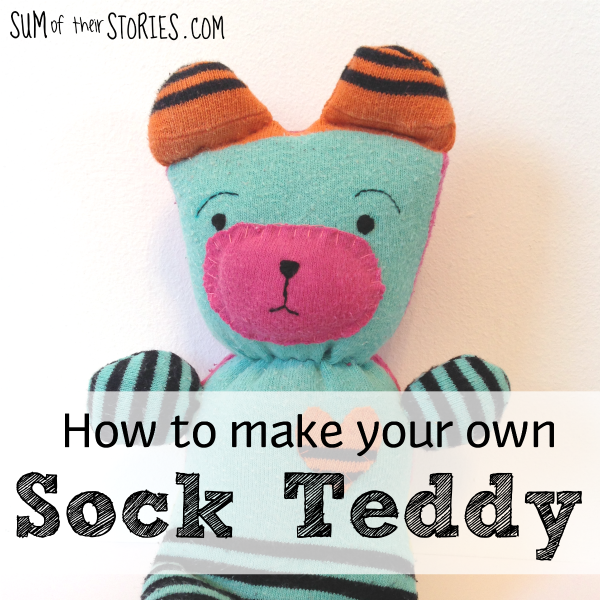
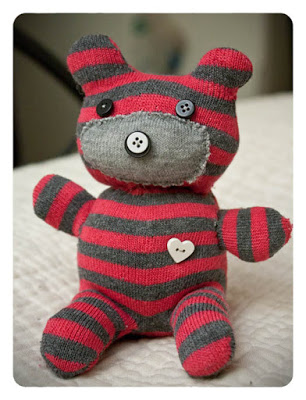
Sock Teddy
/Did you have new socks for Christmas? If you are clearing out any of your old, tatty or holey socks then why not try making a cute sock animal?

I was totally inspired by this picture I found on pinterest. It seems to be a broken link, I can’t find the original tutorial anywhere now so I had a go at devising my own.
You will need:
An old sock, you only need 1, unless like me you make a mistake and end up using both!
Needle and thread
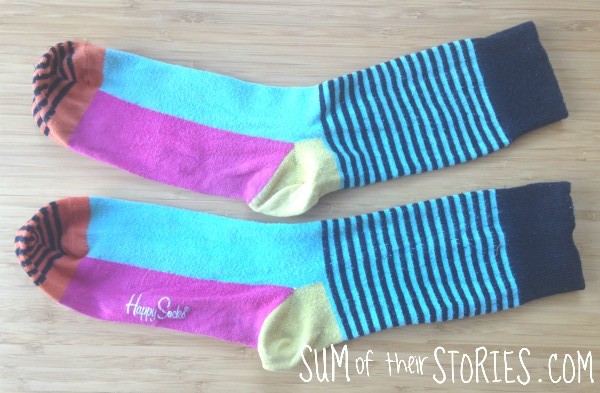
These were the socks I had to work with, bright and cheerful but with a hole in the toe. They were my husbands and he wasn't keen when I offered to attempt to darn the hole for him so a little fun upcycled was in order instead.
Flatten the sock so you have the top of the foot uppermost and the heel is underneath.
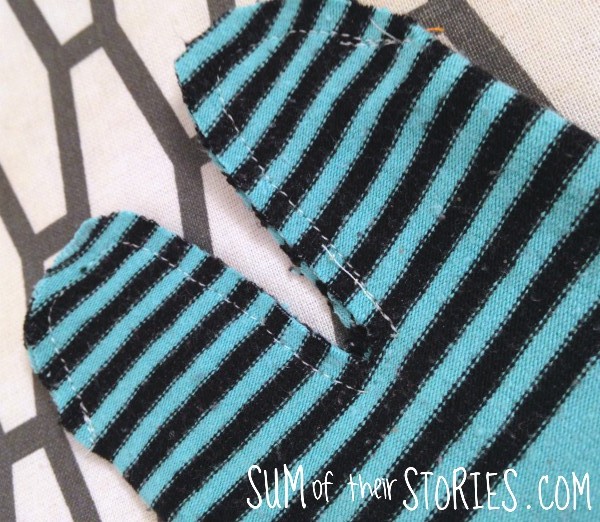
Draw then cut out a head, body and arms. Look at the photo below to get an idea of proportions BUT cut the head and body where I've marked the dotted line, not where I cut. I had to re do this but forgot to take a second photo. You want the head and body to be a similar size. My first head (the one in these photos) was WAY to small.
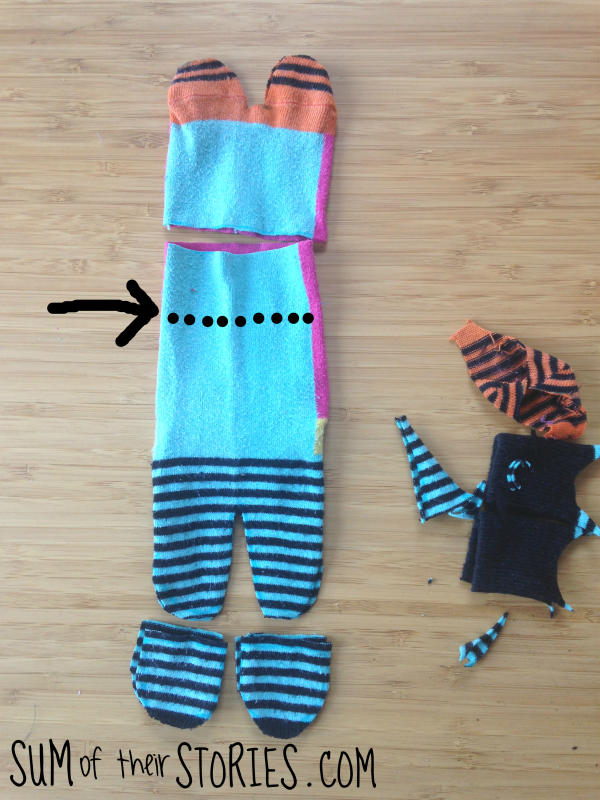
I ended up cutting a second head from my spare sock - the one on the left - which is about an inch longer than the first one. I then trimmed an inch from the body to match. When you try this you will just cut it out right first time of course!
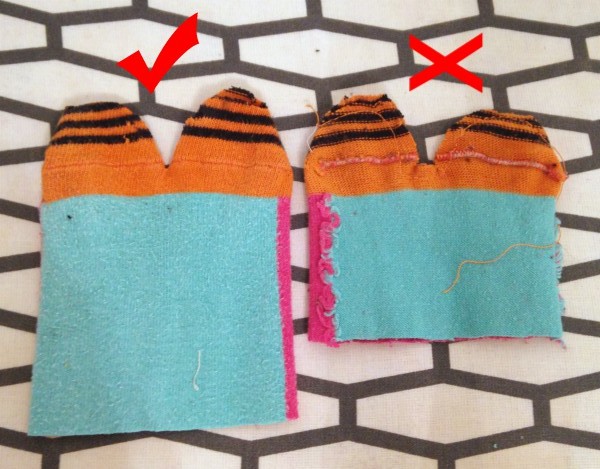
Turn the pieces inside out and then either hand stitch with a backstitch or sew using a sewing machine. It is a bit fiddly on the sewing machine as the pieces are small but go slow and you'll be ok.
You want to stitch:
round the legs on the body part, leaving the top of the body open
round the ears on the head section, leaving the bottom of the head open
round the tiny little arms, leaving the ends open
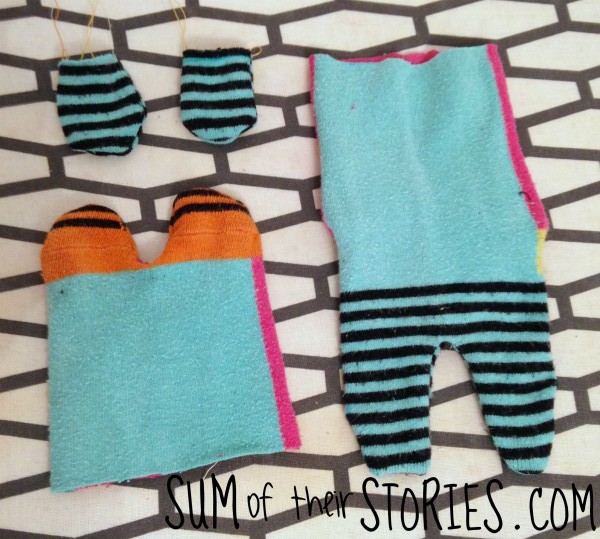
Turn your little pieces right side out. They should look a bit like this BUT remember these are still photos of my first effort so the head is proportionally short and the body proportionally long.
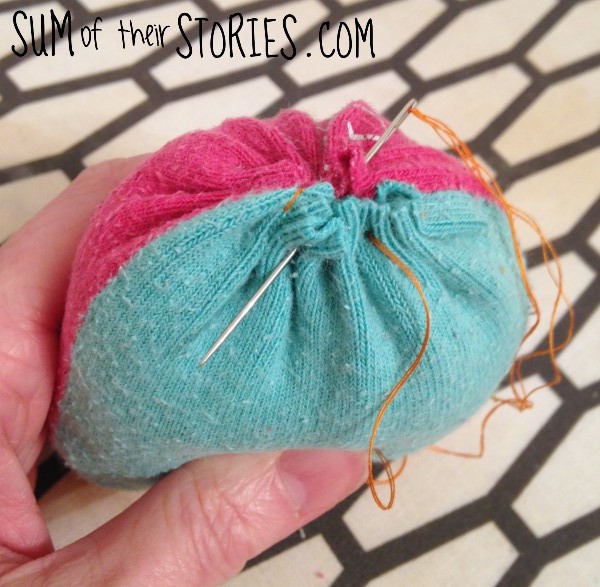
Take a sewing needle, thread it up with a doubled up length of thread and do a running stitch round the bottom of the head. Stuff the head with the fibre fill toy stuffing and then pull the running stitch up to close.

Pull it up as tight as you can and oversew a few times to secure.
Repeat in the same way for the body and the little arms.
Sew the head and arms securely onto the body. I didn't take any action shots of this, sorry. But you can see from the finished photos what you need to do. Just do lots of oversewing to make it as secure as possible with a thread that matches at least one of your sock pieces.
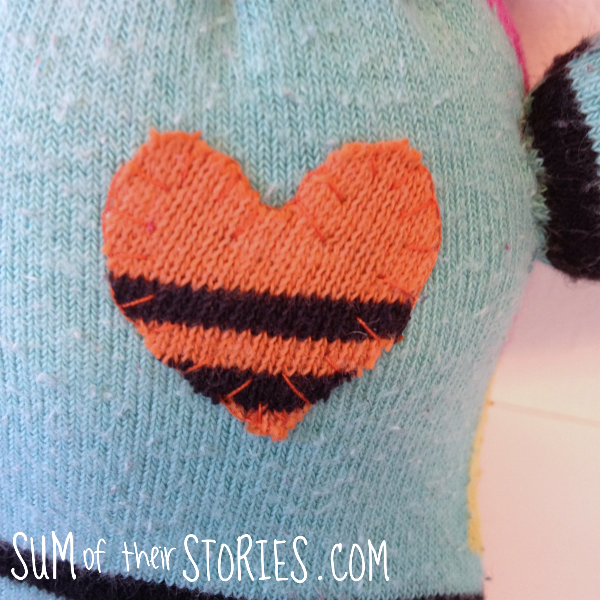
At this point I added a little heart on the front for decoration, just cut from scraps.
Next you want to add the nose/muzzle feature to the head. Originally I was going to use the black ribbing left from my one original sock as that was the only bit left. BUT as I had needed to chop into the second sock anyway after my "head's too small" mistake I used a little more of sock two for a sweet pink muzzle. Just cut an oval, stitch it on with blanket stitch and, just before you get right round to the beginning, pop a little bit of stuffing underneath to give it a little shape.
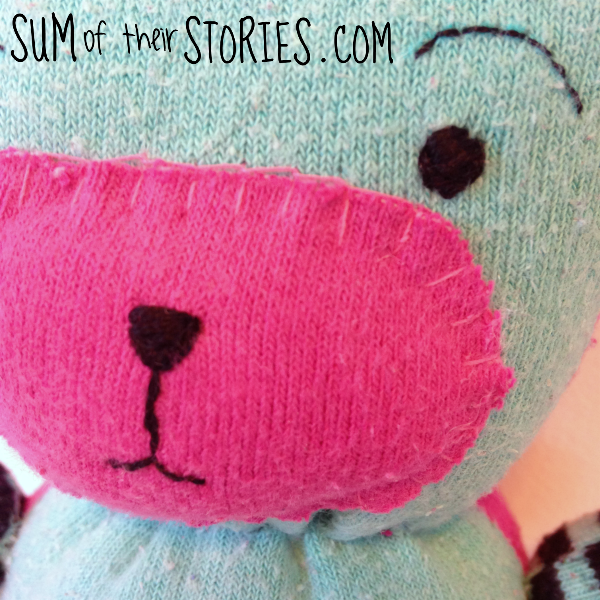
Embroidery a face. I did little eyes - quite wide set as that makes your teddy look cute - eyebrows and a nose and mouth.
I embroidered all the features because I want this to be suitable to be a gift for a baby. You could do cute button eyes if it's for an older child or adult.
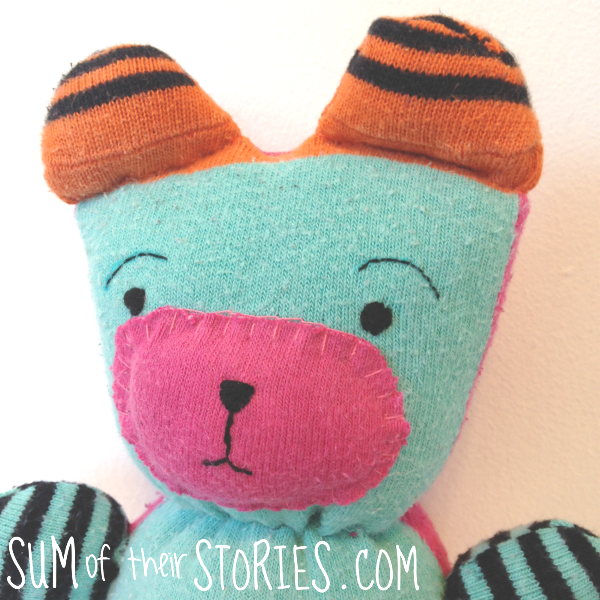
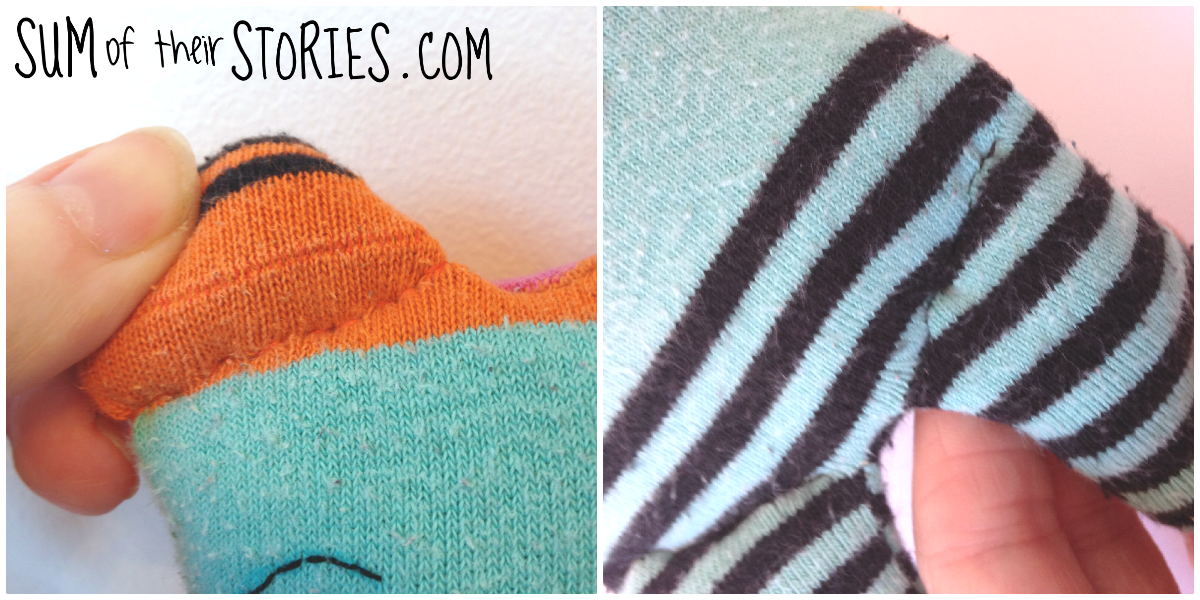
Just to finish her off I gave this little sock teddy a line of stitches to separate the ears from the head and the legs from the body. Just a simple line of back stitch, (a line of slightly wonky backstitch apparently!) it seems to just make her look a little bit more in proportion somehow.
And here she is in all her slightly forlorn looking upcycled gorgeousness! I wasn't going for a forlorn look intentionally but I guess with faces you just never know what you are going to get.

Because of the body placement on the sock the teddy gets a nice bottom to sit on. The heel of the sock makes a 'not insubstantial' butt! It makes her sit nicely on a shelf or in your hand. Here she is side on so you can see.
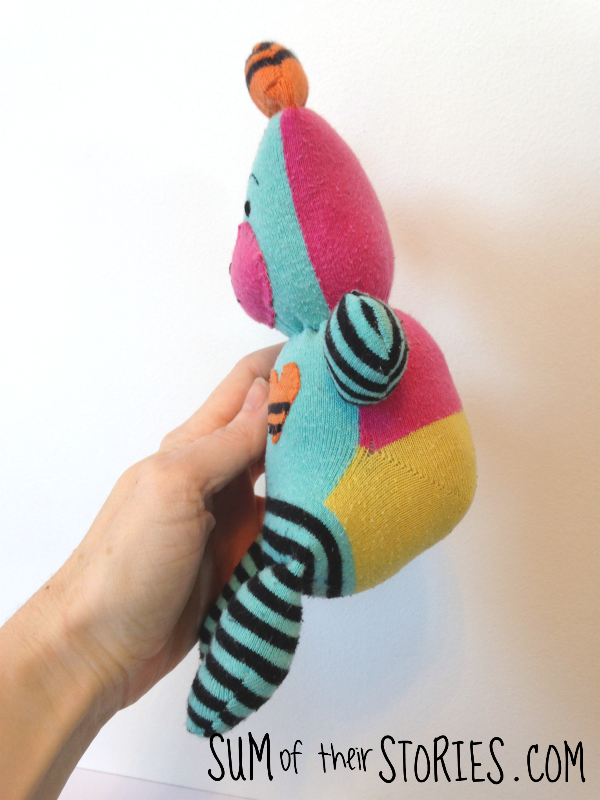
I am totally in love with this little fat bottomed bear made from a rescued pair of socks. She will be gifted to a baby that's due in a few months.

If you have a stash of old socks or odd socks that you’d like to upcycle then you might like these other ideas too:
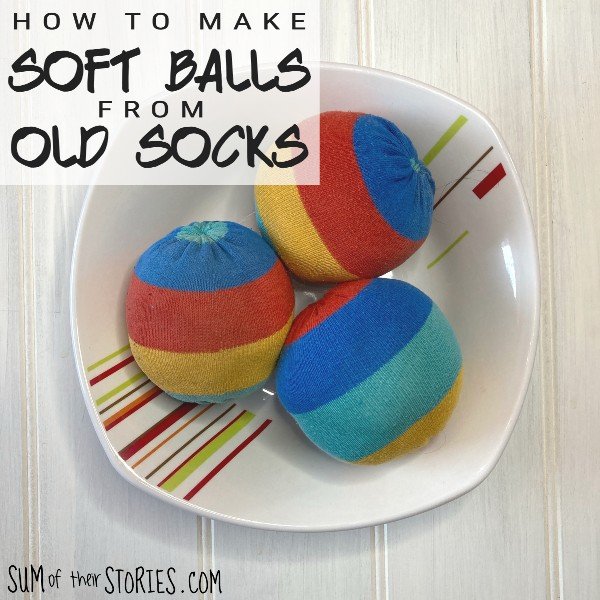
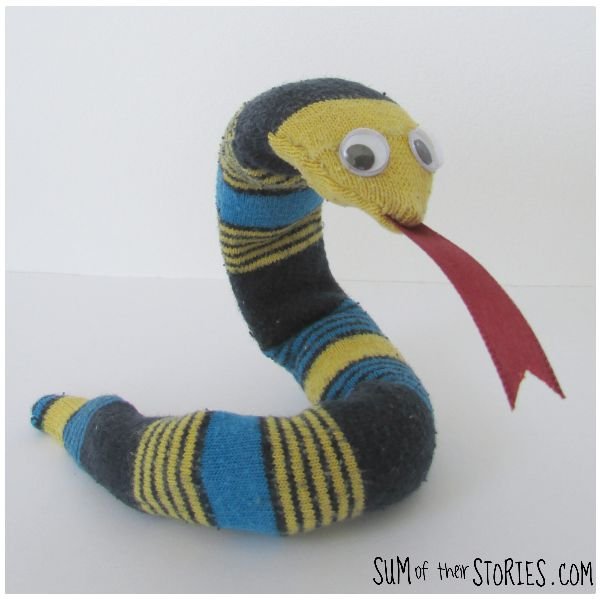
Of course, you might choose to make a different animal, it doesn't have to be a teddy bear. The basic idea is so adaptable. If you choose ahead of time to use two socks then you could give your creature much longer arms, or longer ears, maybe even make them little clothes. So much fun!

I’ll be sharing this project at these link ups.