Gingham Crochet Baby Blanket Tutorial
/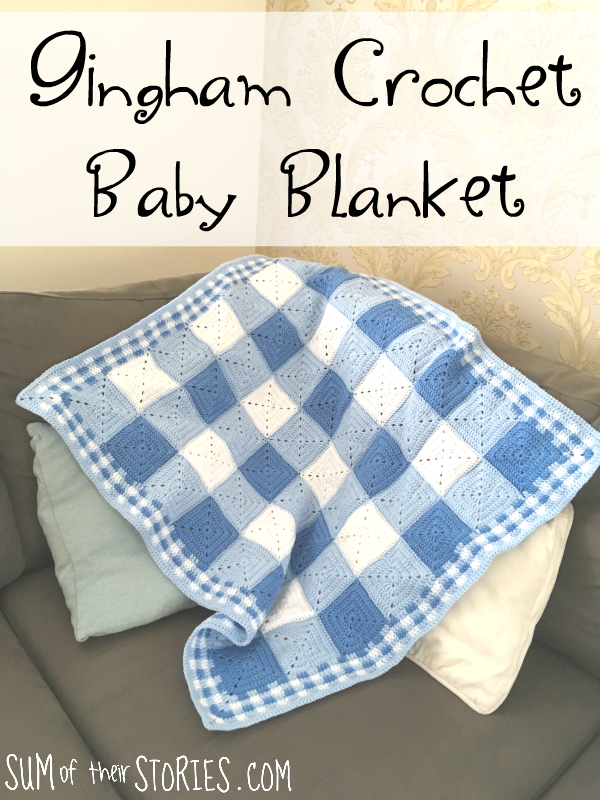

A perfect blanket for a new baby, a gingham effect made from plain granny square crochet blocks of colour.
Anyone who follows on Instagram will have seen lots of 'in process' photos of this baby blanket over the course of last summer. This blanket took me much longer than it should have done, I kept being distracted by other projects, and then it’s taken me much longer than it should have to get this idea written up and ready to share with you here.
I’m no crochet designer and I’m not going to even try to write a pattern here for you! I used a selection of patterns and tutorials from other people to make this blanket so I’ll go though exactly what I did and point you in the direction of the patterns and tutorials that you will need to make something similar. I use UK crochet terminology throughout whenever I’m talking about what I did.
To make this baby blanket I used a mix of yarns. It was all double knitting, which is like a light worsted, and I chose yarns that are soft, washable and hardwearing. The cream and light blue was from the WI premium acrylic range at Hobbycraft, the darker blue I have no idea. I think it was just something from my stash.
If you want to buy yarn online rather than your local craft shop then Deramores and Minerva Crafts both have a good selection.
To make a gingham baby blanket you will need:
You’ll need:
1 x 100g ball of cream or off white DK yarn (Mine was WI yarn from Hobbycraft but something like this would work too)
2 x 100g balls of light coloured yarn (Again, mine was WI yarn from Hobbycraft but this would be a good substitute)
1 x 100g ball of a darker coloured yarn (mine was WI yarn again but I found this on Amazon which would work as well)
4.5mm crochet hook - these are my favourites
To get a gingham effect you need 2 shades of the same coloured yarn, one light and one dark, plus a cream or white.
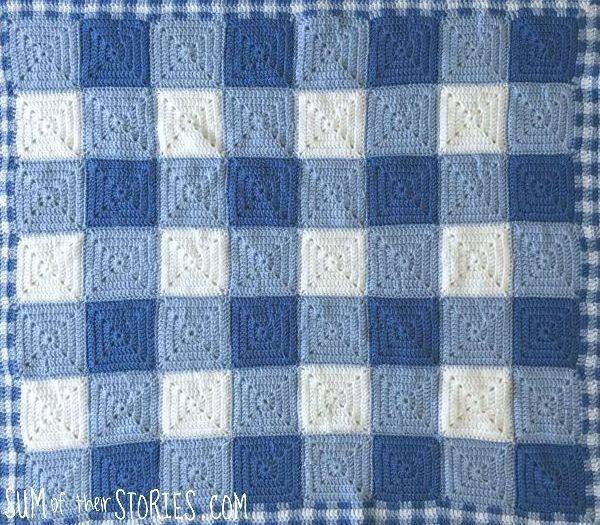
The main gingham centre part of the baby blanket is made up from 56 solid granny square.
You need to make 16 in the darker shade, 12 in the cream and 28 in the lighter shade.

I used this tutorial from Fiber Flux to make the closed granny squares. It’s a very clear tutorial so there is absolutely no point me writing one out again! Pop over to Fiber Flux, learn how to make the squares and then join me again for the next step! I made each square with 4 rounds.
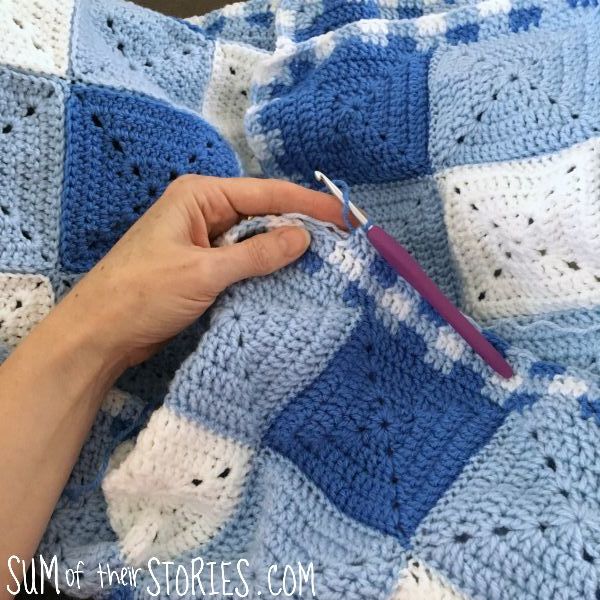
When your squares are all made you need to sew them together in a gingham pattern. My Crochetory has a great tutorial on how to join crocheted squares using mattress stitch.
Use this photo as a guide of how to set out the squares.
I planned a different smaller check border for the blanket. I like a border to finish off a blanket, it feels like tidying it up somehow.
At first I thought a C2C in 2 colours would make a great small check border to compliment the gingham design ….

… but when I made this sample section I felt it looked too much like a diagonal stripe than a check. Plus look at all those ends I’d have to sew in - no thank you!!)
I experimented with a tapestry crochet style technique where you work with 2 strands at the same time and one gets hidden inside the other when it’s not in use.
There is a fab tutorial over at Lilla Bjorn’s Crochet World on how to do tapestry crochet. There is also a wonderful You Tube video here by Maggie’s Crochet for a check pattern in tapestry crochet which is very similar to what I did. Maggie’s check pattern is worked over 2 rows whereas I changed my colours with each row. I’d recommend reading and watching both and then having a play with your yarn to see what you can come up with.
For my edging I worked a treble into each stitch of my solid granny square edges and ‘2 trebles, 1 chain, 2 trebles’ into each corner space.
This is not a great photo but you can see what I mean for the corners hopefully.

For round one used the 2 blue shades of yarn and changed colour every 3 stitches. In round two I used the light blue and cream, round three was back to the 2 blue shades and then round four was the light blue and cream once again.
I worked these 4 rounds of my check tapestry border and then ran out of the cream and darker blue yarn. Two more rounds with light blue of half trebles finished it off nicely.
I didn’t count how many stitches around my whole blanket so the check border changing every 3 stitches didn’t actually work out perfectly. I decided this did not matter so each corner is different. I made the choice to wing it and just change the colours to make them look as good as possible. Trying to work it out perfectly was just beyond me but I honestly don’t think it matters, did you notice before I pointed it out?

Hopefully that’s enough explanation to allow you to make your own gingham crocheted baby blanket.
The nice thing about this idea is that you can size it up or down as takes your fancy.
Make your squares bigger for a bigger blanket, or add an extra row to square it off. Make the border wider, or narrower, the choice is yours. Do remember that you’ll need more yarn if you want to make the blanket bigger of course.
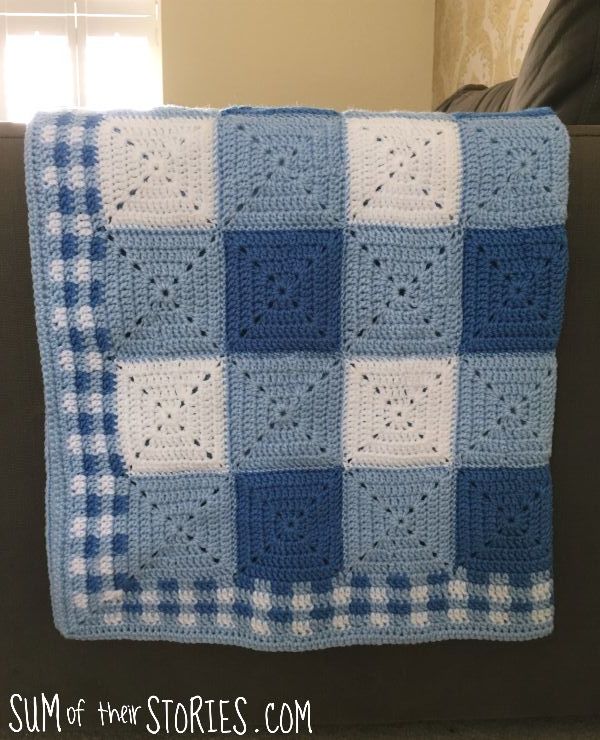
I do love the look of a folded blanket!

If you’ve never crocheted before and have always wanted to learn how to then you might like to check out my article “What you need to get started Crochet” that lists the essentials that you’ll need to get going.


This blanket winged its way to a special new baby on the other side of the world last year and was very well received. When his mum and dad sent out the birth announcements he was lying on this blanket in the photos on the card. I was so excited to see they really did like it!

I’ll be sharing this project at these link ups