

How to sew a simple top from a men's button down shirt
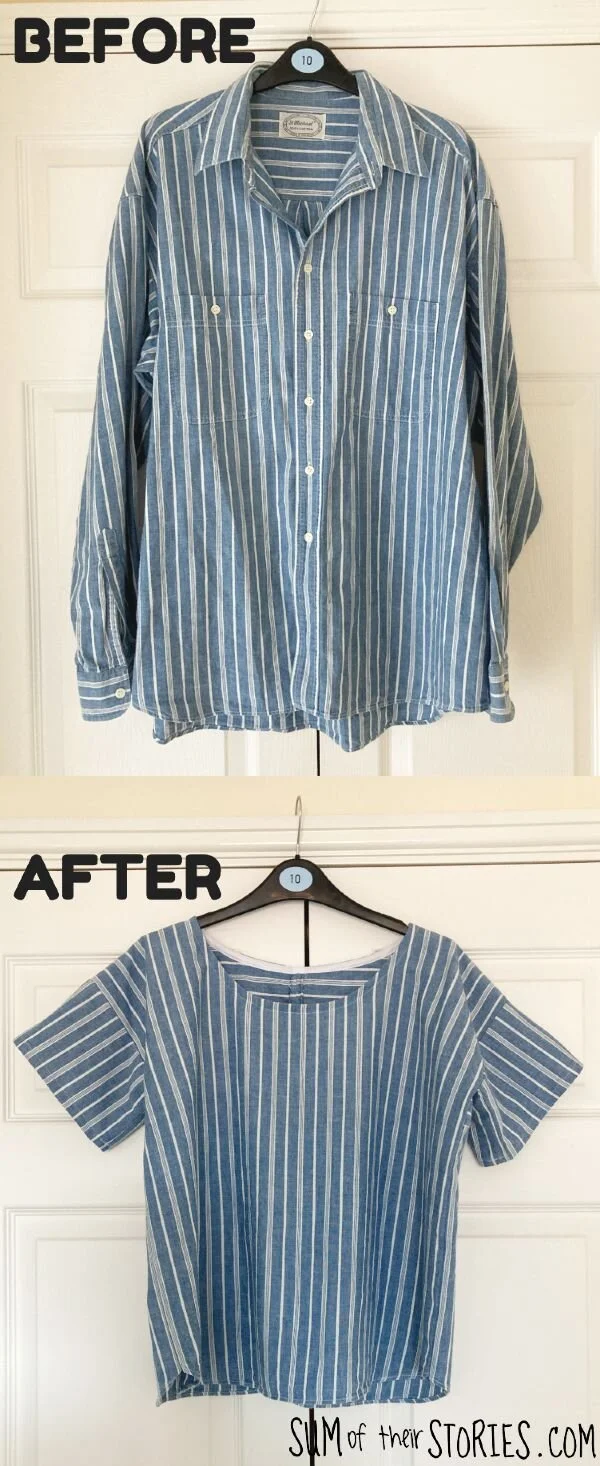
/Today I’ve got another refashion from an old men’s shirt. I took a large stripy men’s button down shirt and turned it into a boxy tee for me.
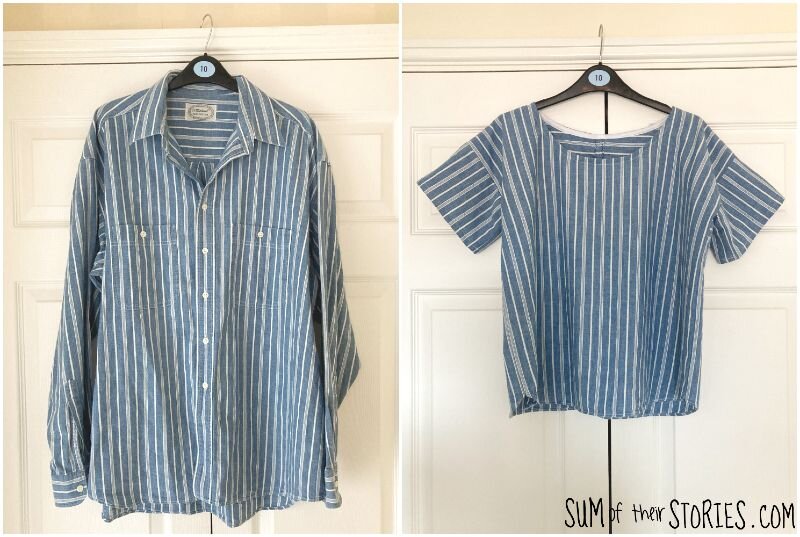
I picked up this shirt in a charity shop a couple of years ago. It’s been sitting in my pile of stuff since then waiting to be remade into something fabulous.
I really love the weight of the fabric and the fact it’s not at all see through. I thought I could do something fun with the direction of the stripes too maybe.
Refashion tutorials like this are always going to be guidelines as there are so many variables. You will be working with a different shirt to mine and you might well be a different size to me and therefore your finished top will need to be slightly different.
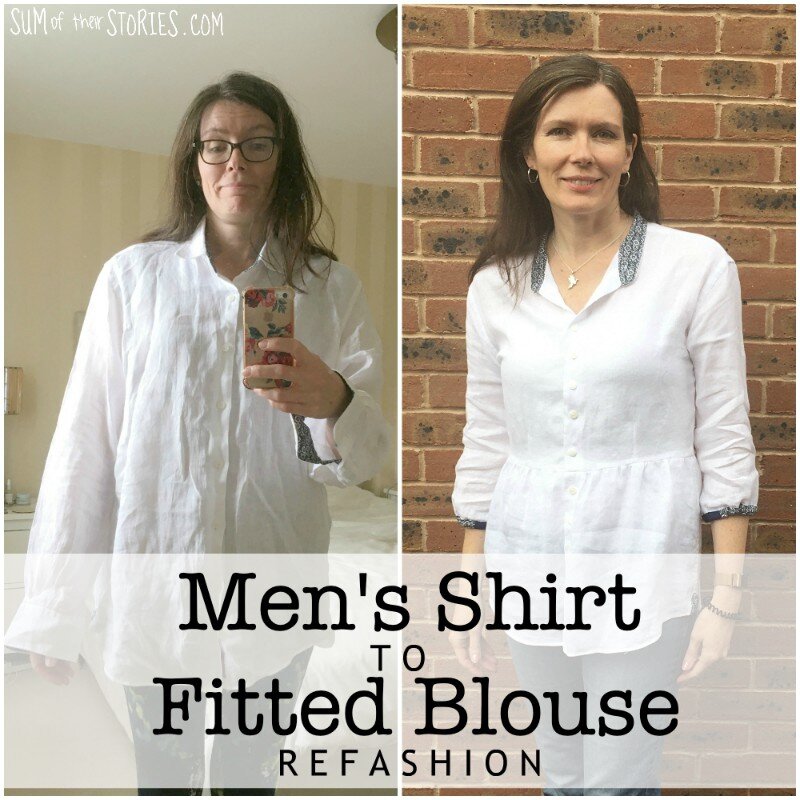
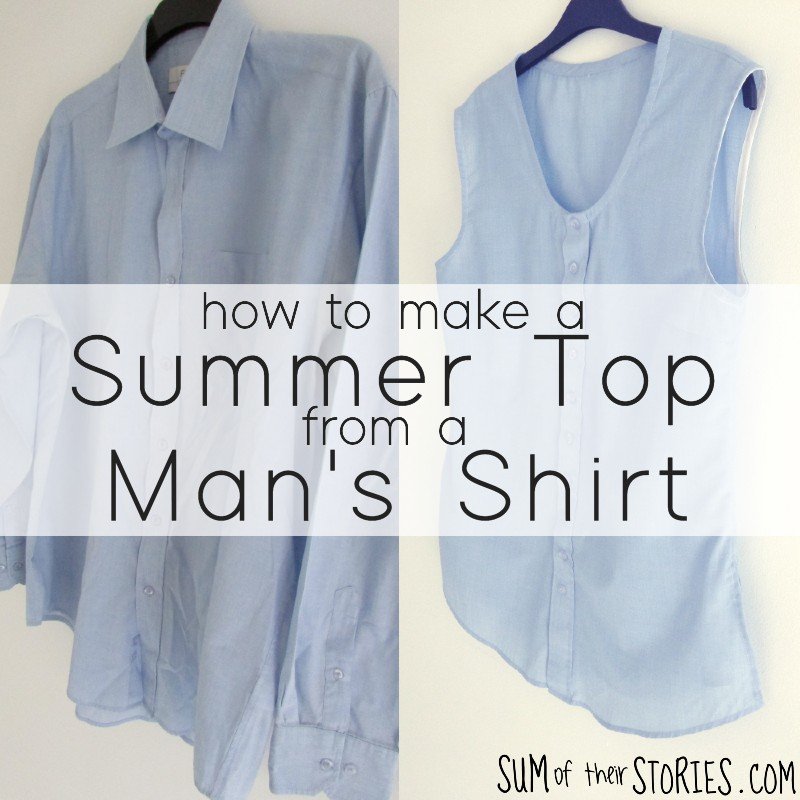
In the past I’ve made a simple summery sleeveless top from a men’s shirt by using a shop bought paper pattern and laying it onto the folded shirt. I still wear this one a lot.
That idea wasn’t going to work for this stripy short however because the pockets were positioned in exactly the wrong place. More specifically the buttons on the pockets were in EXACTLY the wrong place on me! I’m sure you can imagine what the issue was! I’m just too old to carry of any sort of ironic or ‘funny’ look like that, so I needed a different idea this time.
I also felt it would be nice to make some more of the stripes, I wanted to mix the direction they went in somehow to make a feature out of them.
I settled on making a hacked version of the Boxy Tee from Purl Soho.
This simple free pattern already has 3 versions so it’s really versatile already. I’m not going to copy the pattern here of course, you need to visit Purl Soho to get that. I’m just going to add some notes on the changes I made so that I could get a wearable top out of the shirt fabric I had.
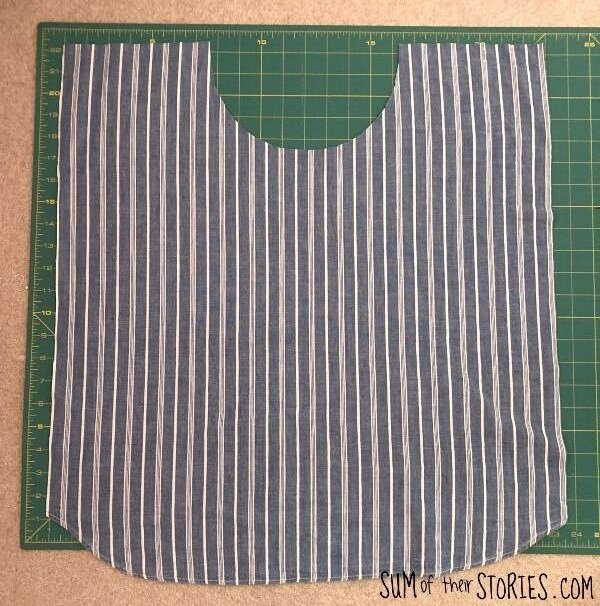
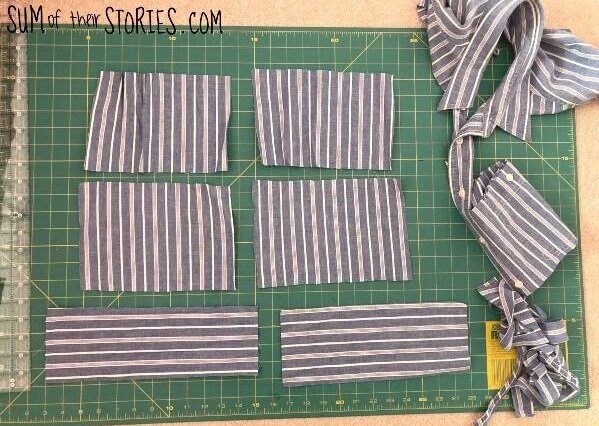
The original Boxy Tee pattern has a main front and back and then a bottom panel. I calculated what these would be together and then cut one front piece from the shirt back. I had to adjust this and make it narrower than the pattern because of how the shirt narrowed at the top for the fitted sleeves. A lot of the Boxy Tee width is for a really wide side seam allowance which allows for a nice finish on the slide slits. I kept the original curved bottom hem of the shirt so didn’t need side slits. My basic shape was 22” x 23”.
I downloaded the neck shaping pieces from the Purl Soho site and cut the front neck.
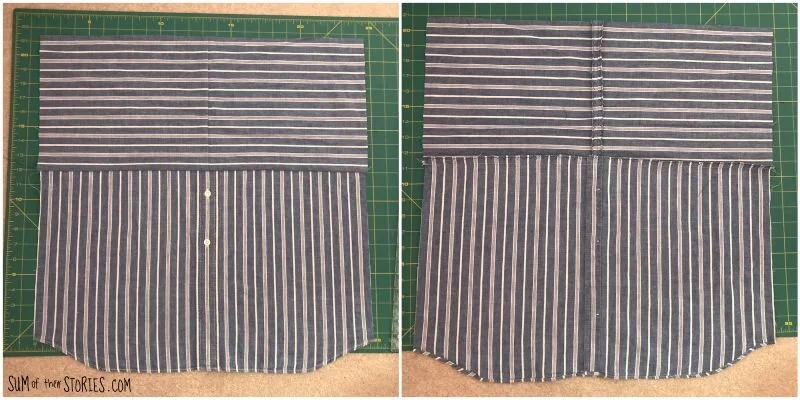
To make a back of my top I took the bottom half of the shirt fronts, cutting it off just below the pockets.

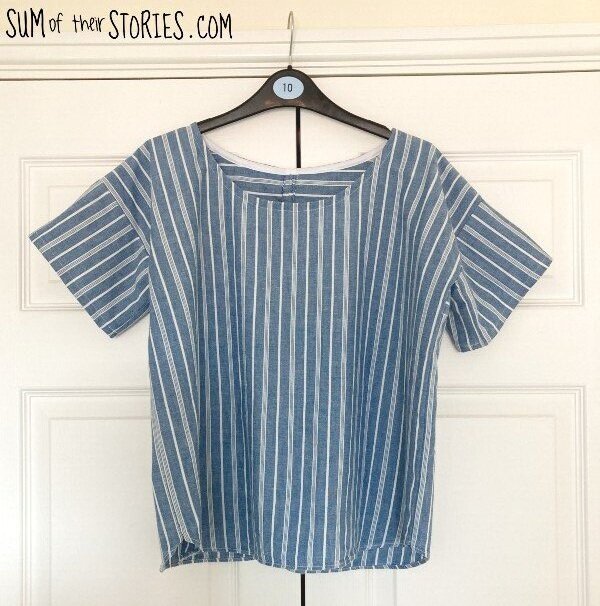
I stitched the button band closed as the lowest button was a little high for my liking. I pieced together 2 pieces from the sleeves and stitched that across the top with the stripes going in the opposite direction. I trimmed this “patchworked” section so it measured the same as the front piece; 22” x 23”.
You can see the wrong side here on the right, so you can see my seams more easily.
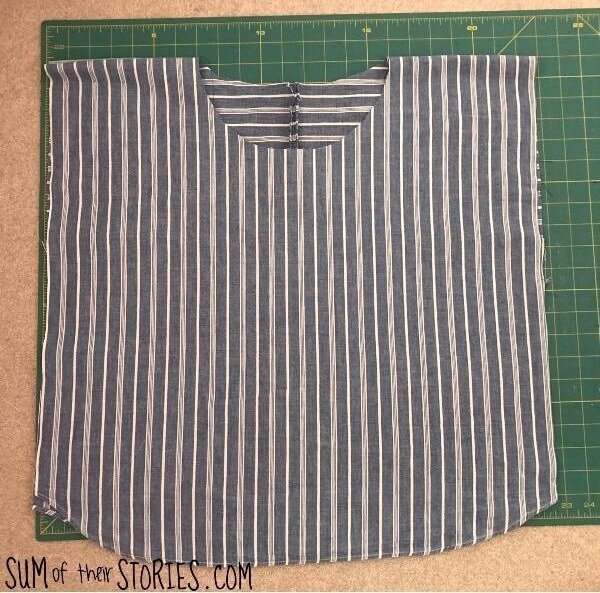
Then I trimmed the back neck facing from the top centre (again using the pattern pieces from Purl Soho) and then joined the front to the back along the shoulder seams.
Now to the sleeves. I didn’t have a huge amount of fabric left , I trimmed everything I had so I could see what there was to play with. These pieces are from the front, above the pocket and the rest of the sleeves.
The pattern calls for sleeves that are 15.5” x 5.75” . I joined the top 4 pieces from the photo above, in pairs to create 2 sleeves, each one 16” x 5.5” - close enough!
The sleeves were attached, and side seams stitched as per the original instructions except with a much narrower seam allowance and without the side split details.
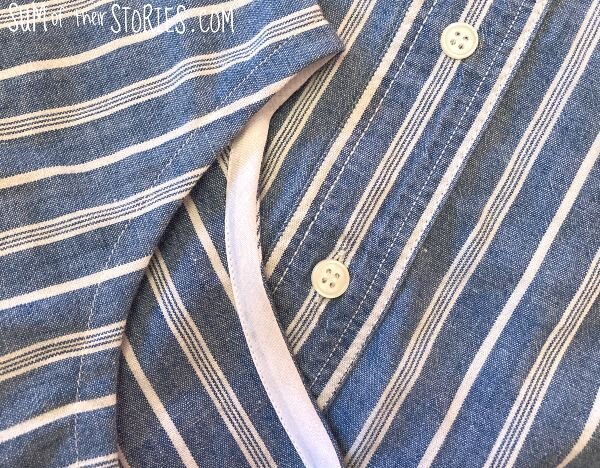
I didn’t have enough fabric for bias binding for the neck so I just used some white shop bought binding I happened to have in my stash.
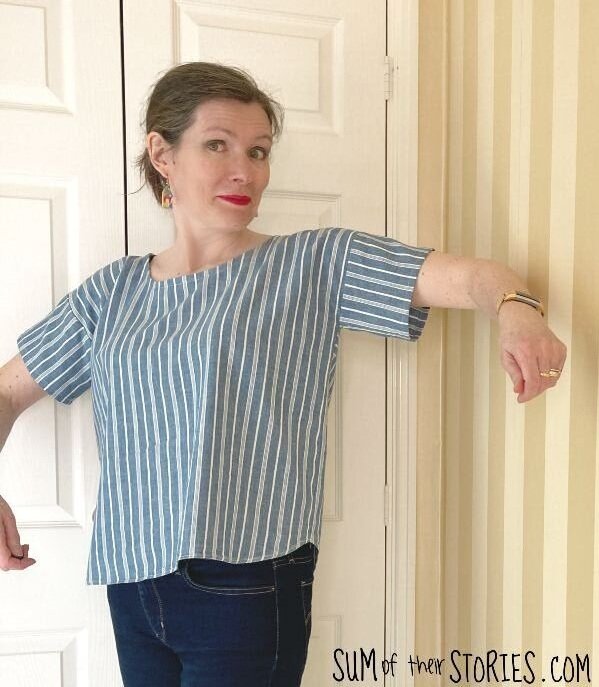
I hemed the sleeves and it was done. Ta dah!
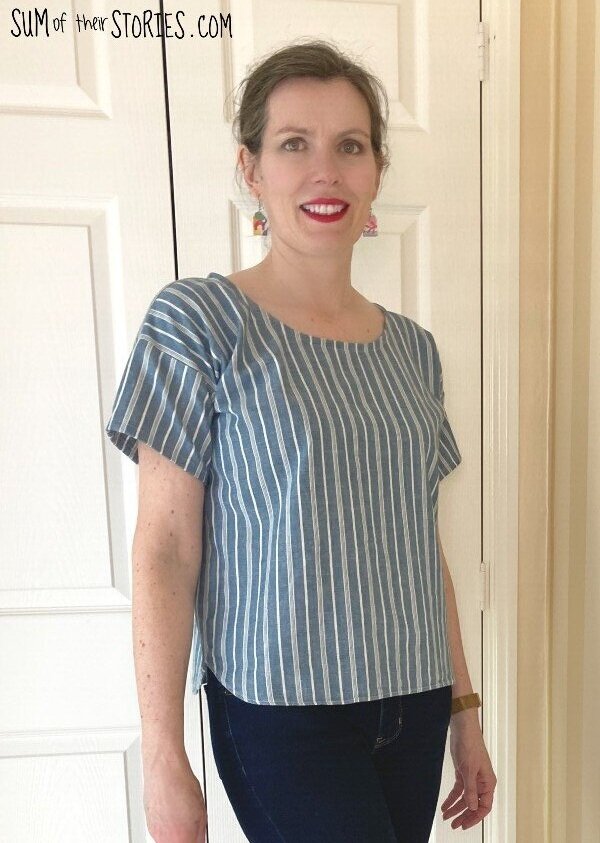

I really love the simplicity of the Boxy Tee pattern and will definitely consider making it again some time. The neckline feels perfect. Loose enough to go over my head easily but not too low or too wide.
Next time I think I will make the sleeves just a little wider at the point where they meet the main pieces though. In the notes about the pattern at Purl Soho they do say they’ve adjusted them already to make them a little wider. I think I’d adjust them another inch or so. I might have to slope that sleeve seam slightly, just so the sleeve isn’t more flappy on my arms. I actually think it looks ok in the photos but it feels just a fraction tighter under my armpit than I would normally like.
Here’s a view of the back of the top. I even put my hair up so you can see the detail in the photos and my ultra long lockdown hair isn’t in the way! You can see I added an extra button just to finish the back off nicely. I had sewn the back up as I mentioned before so I didn’t need to make a button hole, these buttons are purely decorative now. I took all the buttons off the shirt of course. This may be why, no matter how many button crafts I try, the contents of my button box never seems to get any smaller!
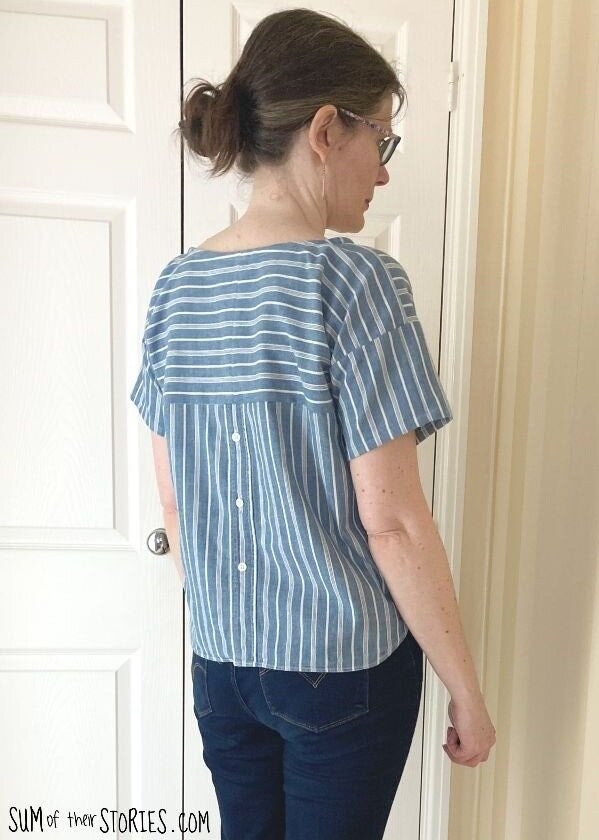
I like the fact that even though I made the top a good few inches shorter than the original pattern because of the size of shirt I was refashioning, it’s still long enough to tuck in at the front if I want to.

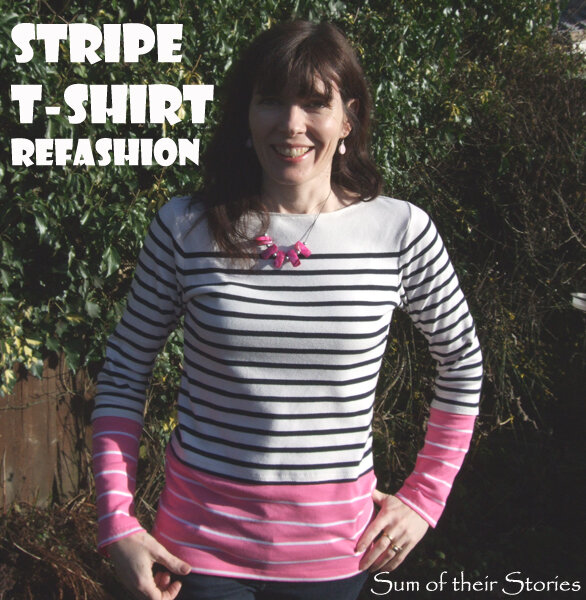
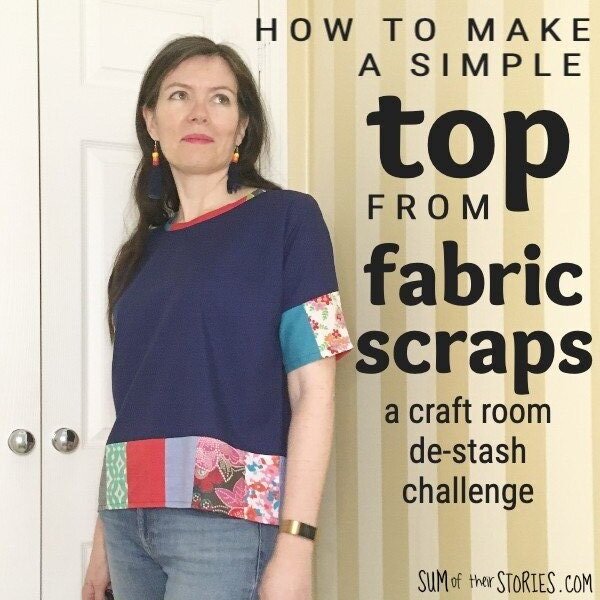
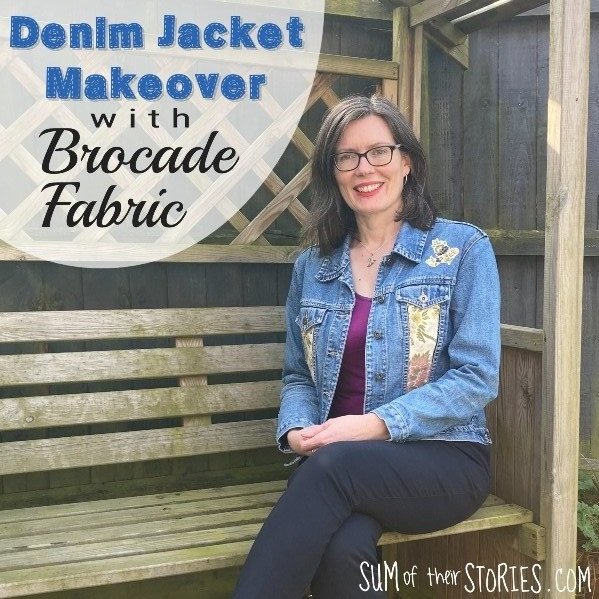
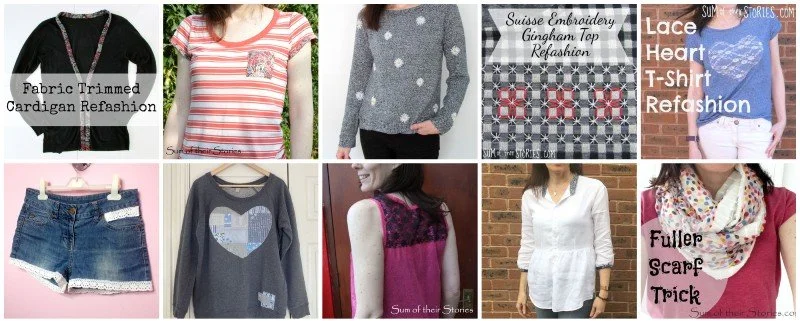
If you have an old shirt to upcycle, or just updating old clothes you might like to check out these refashion ideas too:

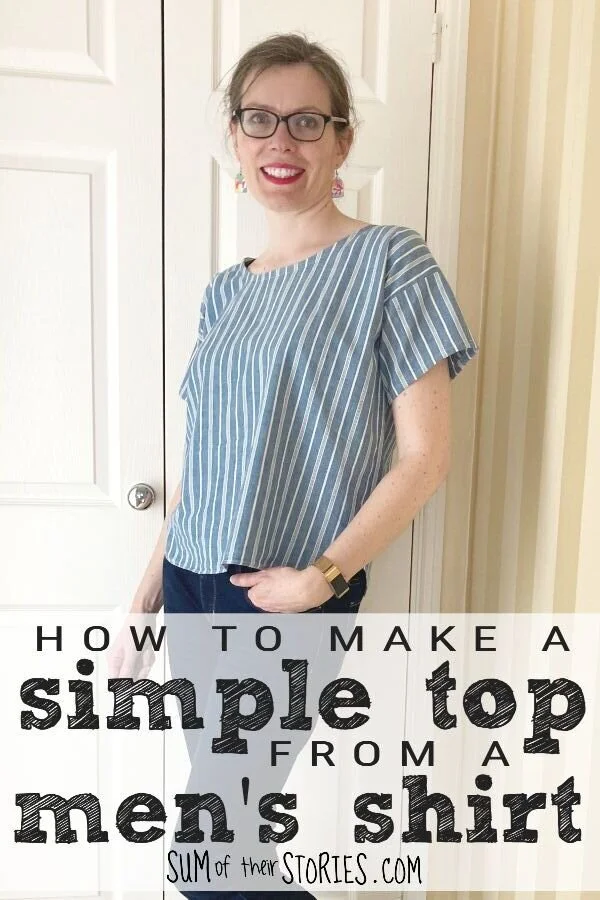
I don’t mind telling you I am chuffed to bits with my new top. I can’t believe I had this shirt hanging around for so long before I finally got round to doing something with it. It’ll be perfect for summer, cool and floaty. I wore it with my popsicle stick earrings as they feel super summery to me too.
Do you have an old men’s shirt hanging around just crying out to become a new top? This is a really simple way to refashion it, the shapes are so simple that it’s a good project for a relative beginner sewist too. The only slightly tricky part is the bias binding neck finishing but there are dozens of great tutorials online to help with that and you could always draft a facing instead if you prefer.

I’ll be sharing this idea at these link ups
For more refashioning ideas scroll to the bottom of the Sewing and Embroidery Page where you’ll find all the links.


