Upcycle old Christmas Cards into New Gift Tags
/
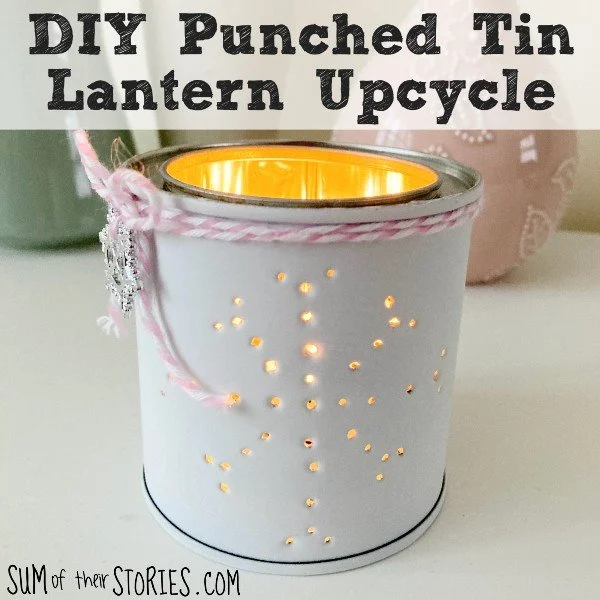
Are you de-Christmassing your house about now? If so, this is when you need to be making next years gift tags.
Read MoreAre you de-Christmassing your house about now? If so, this is when you need to be making next years gift tags.
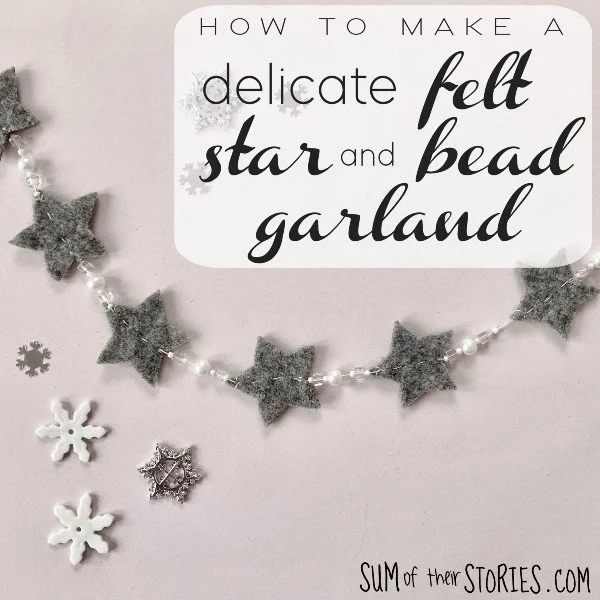
Read MoreUse leftover felt scraps to make a rustic upcycled Christmas garland.
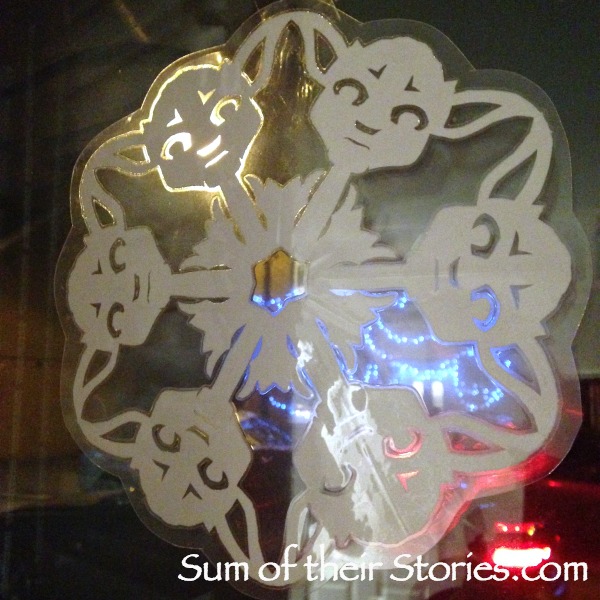
Read MoreLast year on a dull day in December when I should have been doing a whole number of things, I sat with a cup of tea had a go at making a Star Wars paper snowflake instead. When shared it on my personal facebook page some of my friends seemed interested to know how so I thought you might to see too.
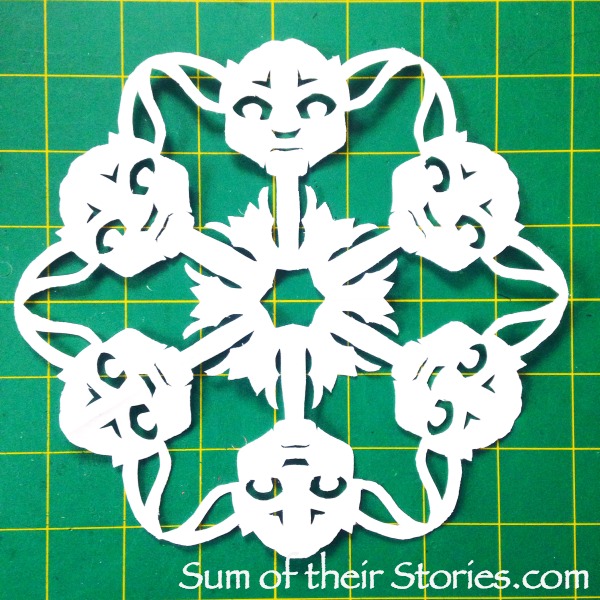
I downloaded and printed a template from Anthony Herrera Designs and got to work. There is a great little video too that is worth watching before you start, with some info about how to fold the paper and tips on cutting out.
I could have made a whole blizzard of regular paper snowflakes in the time it took to make this, but who wants a whole blizzard when you can have a Yoda snowflake?
You make these with regular printer paper and sharp scissors but you also need a good sharp craft knife. This is not something for young kids to do in the holidays!
The most difficult bit was the internal shapes like the eyes and mouth as there are just so many layers to get through. I found it helped if I cut the shape with my knife, lifted as many layers as I could then cut again, repeating 3 or 4 times.
I did tweak mine a little and joined Yoda's ears up, on the template the are not.
My precious Yoda snowflake got packed away with the decorations and by a miracle was still intact when we got the deckies out again this year. I've run it through the laminator, after all my hard work I hate the thought of it getting ripped.
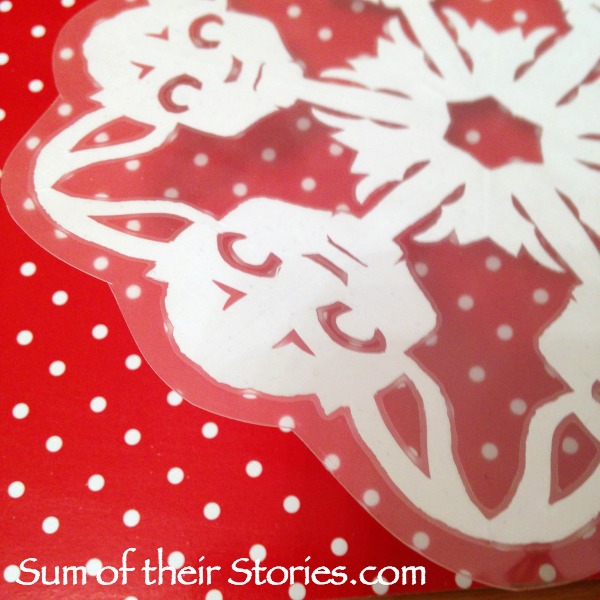
Now it's taped to the window for all the world to see. (Well, the people who walk down our street anyway!) The street light makes one Yoda really glow at this angle.
There are some Frozen Paper snowflake designs over on Anthony Herrera Designs too if that's your sort of thing as well as Guardians of the Galaxy and Harry Potter. I really love the Groot and baby Groot snowflake designs in the Guardians of the Galaxy collection ..... next time I have another "not really spare" moment I'll have to have a go!
Turn your mirror into a fun festive photo opportunity this Christmas with Chalkola Chalk Markers.
Read MoreHow to create beautiful Christmas windows with chalk marker pens
Read MoreSave the Christmas cards you are sent and recycle them into unique cards to send to your loved ones.
Read MoreOur gift wrap last year was almost free thanks to IKEA.
Read MoreIt's quick and easy to turn red paper serviettes or napkins into pretty poinsettias to use in your decorating this Christmas.
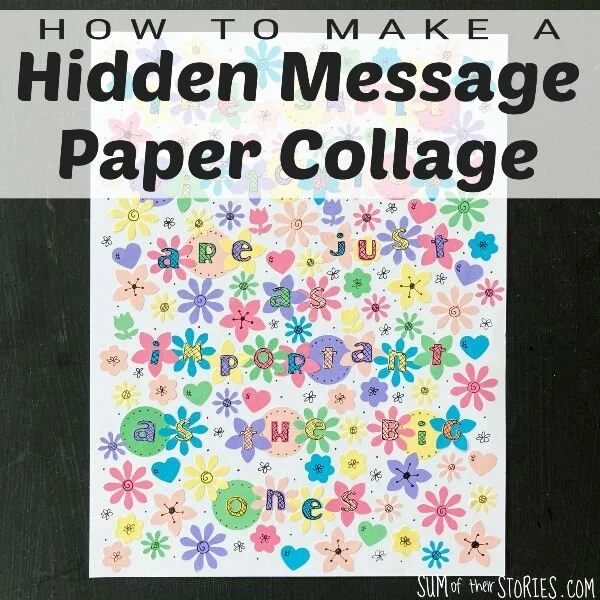
Read MoreMake a unique piece of Christmas art for your home with paper and a craft knife. It's not especially difficult, simple drawing skills and then quite a lot of patience is all that's needed!
Read More31 Handmade Christmas ornament ideas
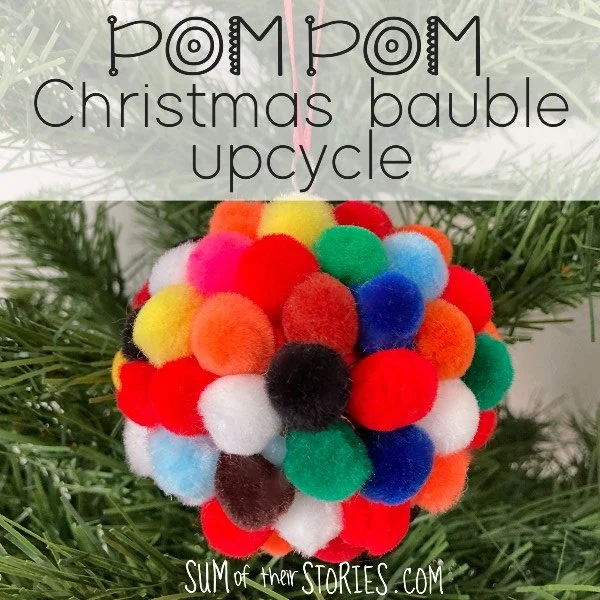
Read MoreGeometric ornaments for your Christmas tree made with origami, Add tassels, pom poms or beads to make it your own.
Read MoreA Crochet Holly Garland idea as my last pinterest chlaaenge, with links to the pattern.
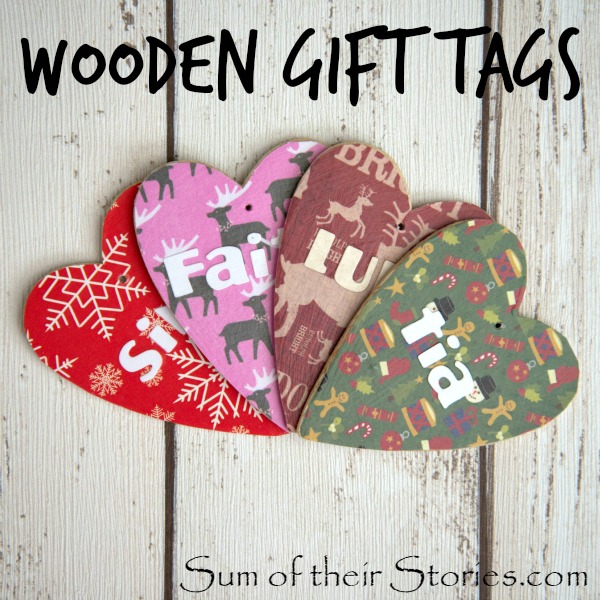
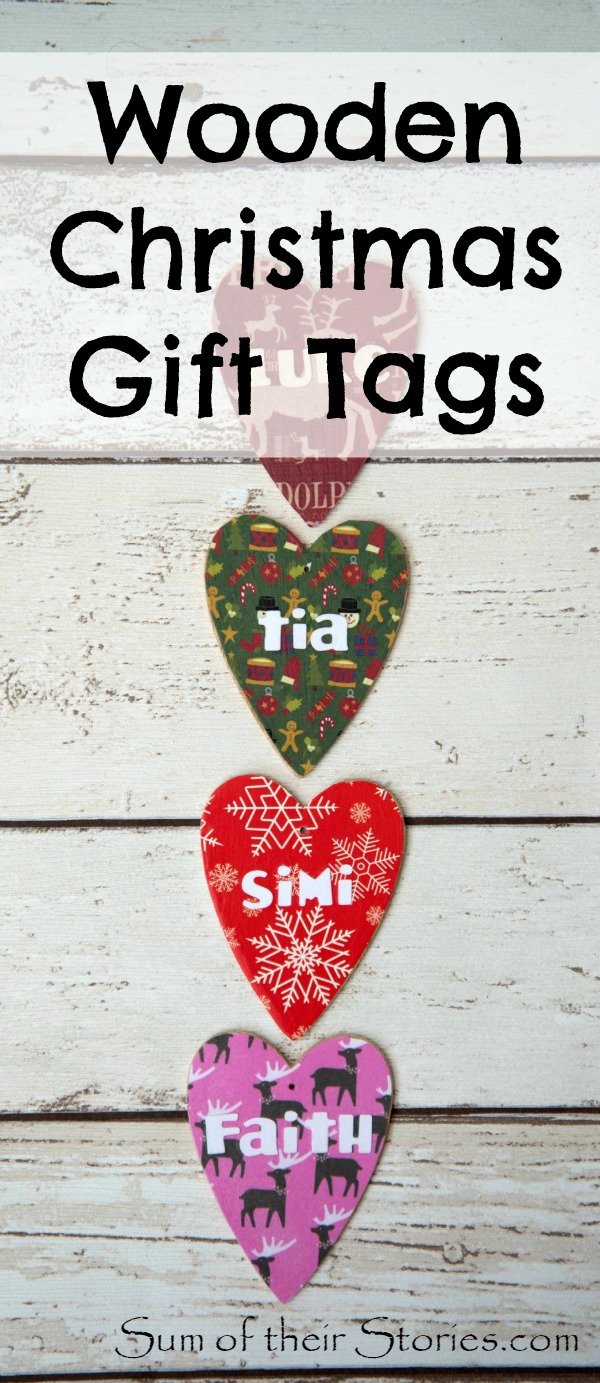
Read MoreLast year I made some gift tags for all the family that they will be able to use as tree ornaments for years to come.

To make them you will need:
Wooden Hanging Hearts or shaped gift tags
Christmas Scrapbook paper
Alphabet stickers or punches (I used my QuicKutz Squeeze)
Mod Podge or PVA glue
Bakers twine or cord
A needle
I found these little packs of heart shaped wooden tags on sale last October in the wedding section of our local Hobbycraft shop.
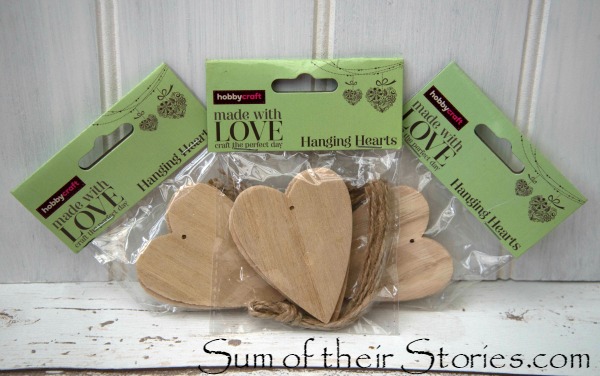
I guess wedding season was over so they were marked right down to 50p per pack of 4.

Place your scrapbook paper face down and draw round the wooden tag shape
Cut it out
Brush a layer of Mod Podge over the wooden shape
Apply the scrapbook paper shape, smooth, then brush over another layer of glue.
Cut out the letters needed for the names of your loved ones
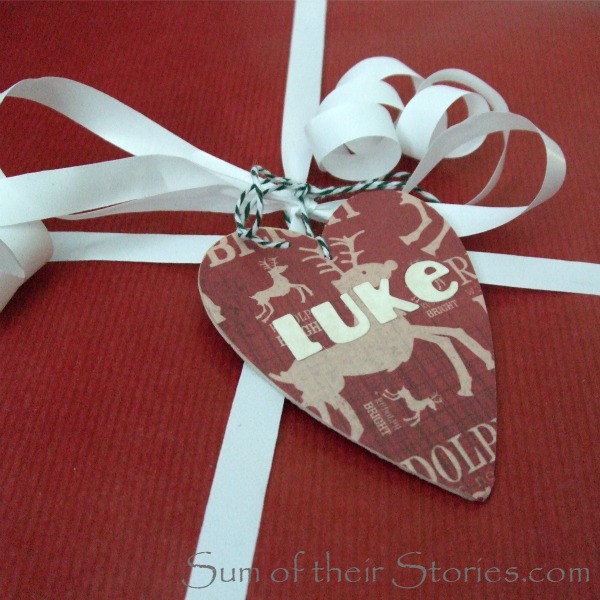
Glue the names on and give the whole thing another layer of Mod Podge to seal. Pierce through the paper where the hanging hole is with the needle and leave to dry
Then just use cord or bakers twine to attach them to your gifts
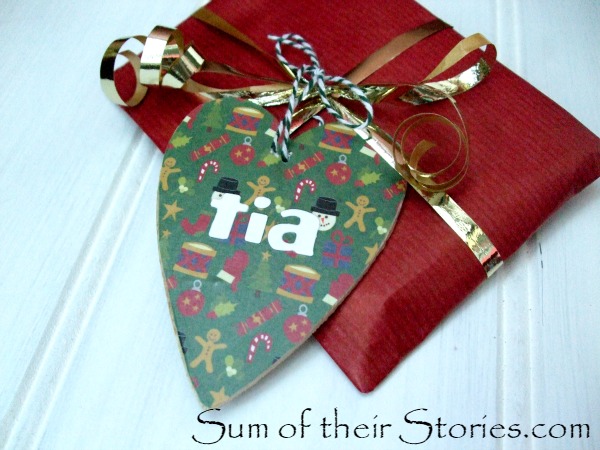
If you want to, you could glue paper to both sides, maybe add a square of note paper on the other side so you can write a message.
Or you could print a Christmassy quote or message on the computer and glue that on the reverse.
I spent a while choosing papers I thought each person would especially like from scraps I have kept over the years. They all hung their hearts on their tree as soon as they had finished opening their presents which was lovely - I like a busy, crowded Christmas tree!

I'll be linking up at all these great link parties
It's a bold statement but I honestly think these mince pies are the best! It's not a complcated recipe and the results are delicious.
Read MoreMake a mini yarn wall hanging for your Christmas tree, it's easy, inexpensive and very cute.
Read MoreI'm Julie, I love making things. This is where I share my ideas and enthusiasm


This site contains affiliate links. If you click through any of these links and make a purchase the cost to you will be the same but Sum of their Stories will receive a small commission. As an Amazon Associate I earn from qualifying purchases. You can find more details here.
Powered by Squarespace.