Bottle Cap Tray Upcycle
/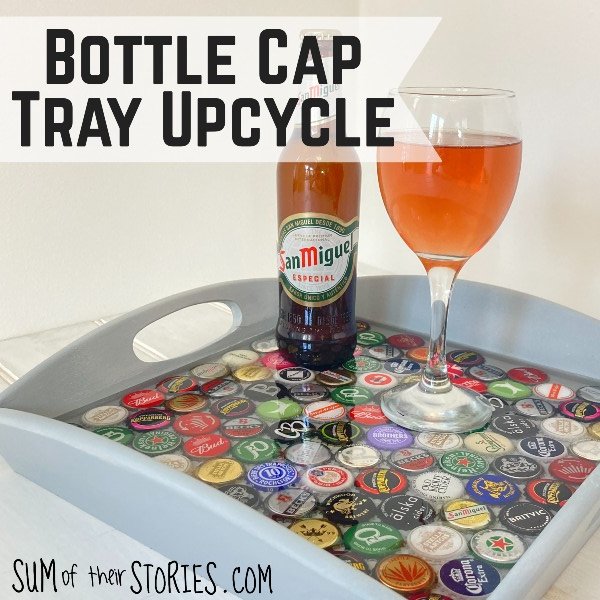
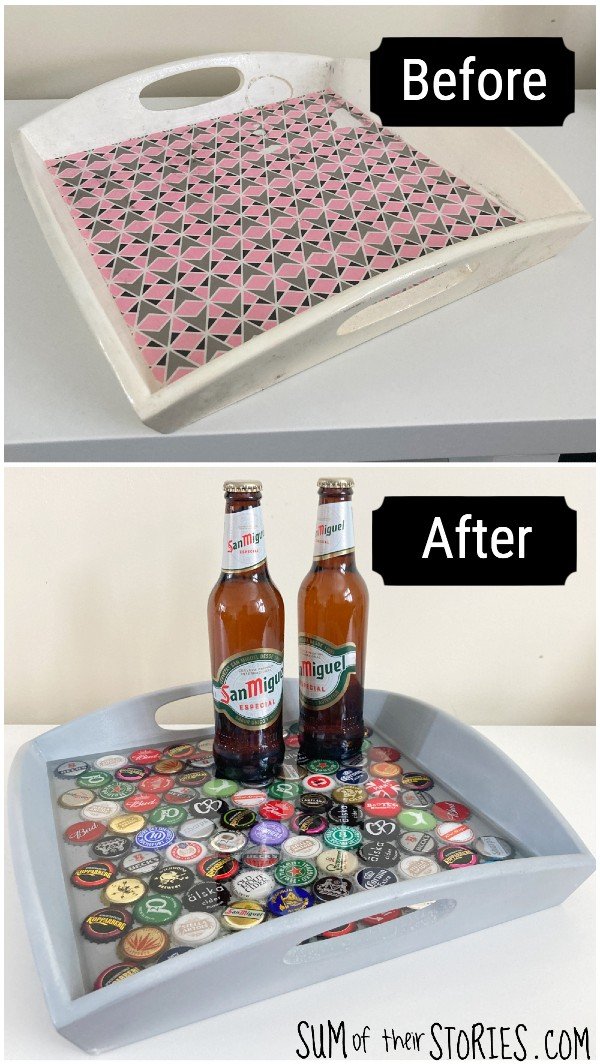
How to upcycle an old tray with bottle caps and resin.
I love joining a crafting challenge now and again, it gets me round to actually making things that have been in the planning stage for months, sometimes even years!
Like this bottle cap tray. I started collecting bottle caps to do this about 4 years ago and I bought the resin over 12 months ago but this poor old tray just sat around patiently waiting for its makeover until the Do It Over Designers Challenge came along and gave me the shove I needed to get it done!

If you have been a reader here at Sum of their Stories since the beginning you might remember this tray makeover from about 8 years ago.
I used this tray as a way to corral all my stuff on my desk for many years but it had got rather tatty.

The paint had yellowed and has a few scuffs and the paper has torn in a couple of places after I had a glue spilling incident.
Time to Do It Over again!

Stay tuned at the end of this tutorial to see lots more interesting upcycling crafts in the Do It Over Designers Challenge.
First I gave the tray a good clean in warm soapy water, then started to remove the paper from the last makeover.

Turns out the way I had applied the paper, Mod Podge and 2 layers of sealant, is a pretty hard wearing! It was really quite difficult to remove. I didn’t want to soak the tray in water as it is wooden and would probably swell and warp so I scratched it with a sharp knife. Then applied just a little water on a damp cloth and got to work picking it off with the edge of an old letter opener.

To give an old tray a bottle cap and resin upcycle you will need:
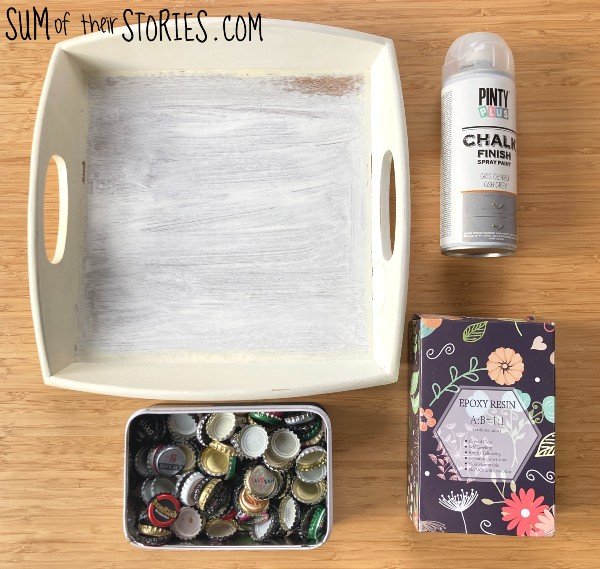
An old tray with sides
Spray paint, mine is a grey chalk paint
LOTS of bottle caps, how many will depend on how big your tray is of course, I used 99!
A strong glue (not photographed) I used Gorilla Clear Glue

If needed sand the tray and then give it 2 coats of spray paint.
Once the paint is dry spend some time arranging your bottle caps, fitting them onto the tray and checking you are happy with the arrangement. I’d recommend taking a quick photo just in case you knock or drop the bottle caps and get in a muddle!
Remove the bottle caps and lay them out on the table next to the tray in the same order.
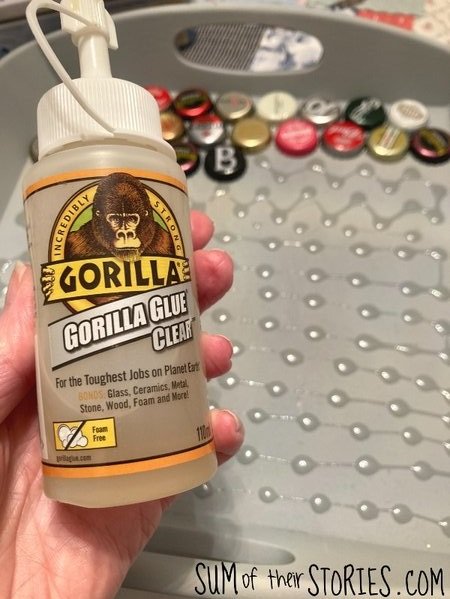
Apply small blobs of your strong glue all over the base of the tray then place the bottle caps back in order.
Leave this to dry overnight with a few books on top to press the bottle caps down. Once the glue is completely dry prepare the resin.

Mix the resin following the instructions on the pack.
I confess at this point that I found resin to be a pretty messy craft. The kit I had bought came with disposable gloves but once I got a bit of sticky resin on the gloves it transferred to everything I touched. My best advice is to keep everything as neat and tidy as you can and only touch things that you need to. I struggled to keep tidy but that doesn’t mean you won’t be able to!
Pour the resin over the bottle caps so they are completely covered. Tap it gently on the table to level and fill in all the gaps. No photos of this, as I said at this point my gloves were covered in sticky resin so I wasn’t touching my camera obviously!

Once the resin is poured you will find lots of tiny bubbles in it. I had already done my research so I knew a craft heat tool would help remove them. You keep the heat tool moving so the resin doesn’t over heat but it really does work, you can watch the bubbles disappearing.
Once you are happy place the tray on a flat surface and leave it to set completely. Mine took 24 hours.
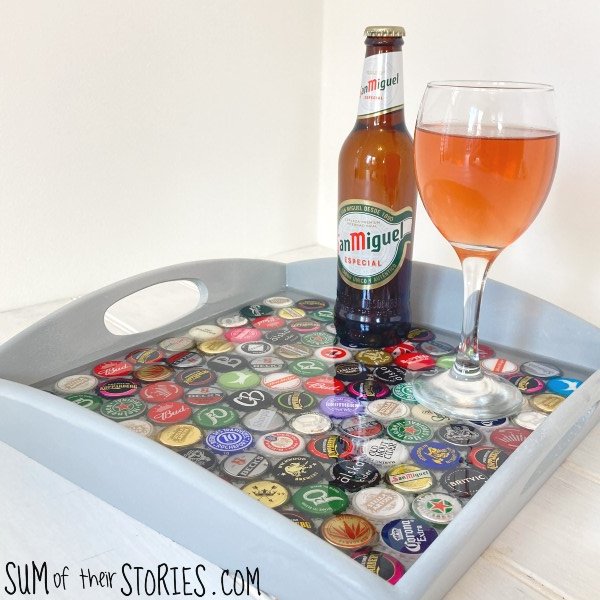
That’s it! Your tray is made over - whoop whoop!
I am SO please with this tray upcycle, as I said at the beginning, this one has been a long time coming but it’s ended up every bit as good as I had hoped.

If you look closely you can see there are a few tiny bubbles still in my resin, I think a professional resin crafter might not be impressed but honestly I don’t care - I think this tray looks fab :-D


Now let’s take a look at the other projects in this month’s Do It Over Designers Challenge.
I’ll be sharing this tray makeover tutorial at some of these link ups
You might also like some of these craft upcycles: