

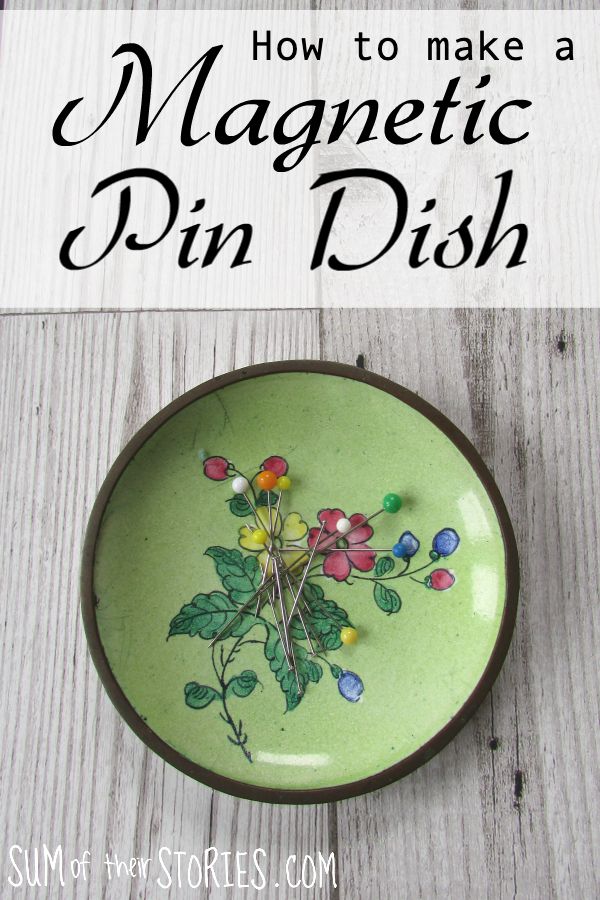
How to make a magnetic pin dish
/It’s really simple to make a magnetic pin dish from a charity shop or thrift store find. Pin dishes are so useful for anyone who sews.
This is a paid post for Bostik. Bostik also provided me with the Power Repair Adhesive used for this project.

Today I’m joining the Repurpose and Upcycle Blog Hop with a group of creative bloggers, we’ve all been challenged to create a project from a thrift store find without spending more than $20 for all supplies needed. We don’t actually have thrift stores here in the UK but we have charity shops which are pretty much the same thing (and are just about my favourite kind of shop!) I’m sharing the simplest of simple ideas, how to make a magnetic pin dish.

Meet this month's co-hosts!
Across the Blvd | Purple Hues & Me
Domestic Deadline | Cookies, Coffee, and Crafts
Sum of Their Stories | Sew Crafty Crochet
Pin dishes are brilliant, I don’t know why they are so much easier than a pin cushion. It’s honestly not difficult to stick a pin into a pincushion but when you are on a roll with your sewing just dropping pins quickly into a pin dish just feels quicker and easier. If your dish is magnetic then all the better, the pins stay put even if you fling them around a little bit!
Making your own magnetic pin dish is SO easy, let’s get started.
To make a magnetic pin dish you will need:
A shallow dish
A thin strong neodymium magnet
A Strong permanent glue - I used Bostik’s Power Repair
You can use any suitable shallow dish. A charity shop or thrift store is a perfect place to find one. A saucer that’s lost its tea cup would be perfect, or a little dipping sauce dish maybe. One of those little dishes for rings or earrings would also be perfect. Ceramic is nice but it doesn’t really matter, glass, metal or plastic is ok too. Whatever small dish you find that you like the look of will work just fine.

I found a few little dishes very inexpensively in my local charity shop, each one was less than £1. The little square dish with the sewing things design was one I actually already had, it was a gift so I’m afraid I don’t know where it came from.

This couldn’t be simpler, all you need to do is turn your dish over and glue the magnet to the bottom. The Bostik Power repair has a clever ‘double’ top so you can just remove the black cap and use a fine nozzle or remove all the grey cap and have a thicker nozzle - clever stuff! I just applied a small blob using the small nozzle.

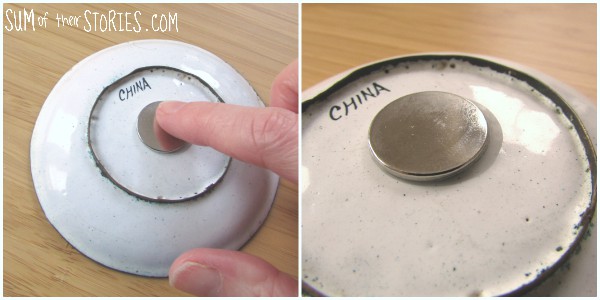
Leave it to dry for a good 24 hours and then you are ready to use your simple magnetic pin dish. You can see the glue dries clear and the bond is super strong.
The pins are attracted to the dish and don’t go all over the floor. Any sewist who has family who moan about stepping on pins will know what a bonus this will be!


As you can see I made 2 dishes, one for me to keep (the square sewing design one, as the dish was a gift to me it’s only right I keep that one for myself) and one to give to a friend. They were so quick to put together and although it’s only been a week since I made them I already can’t imagine how I managed without my magnetic pin dish when I’m sewing! They are also great for cleaning up afterward. Just run the empty dish over the floor when you’ve finished sewing and any stray pins get lifted up so easily.

I’ll be sharing this idea at these link ups.


