Gingham Vase Glass Jar Upcycle
/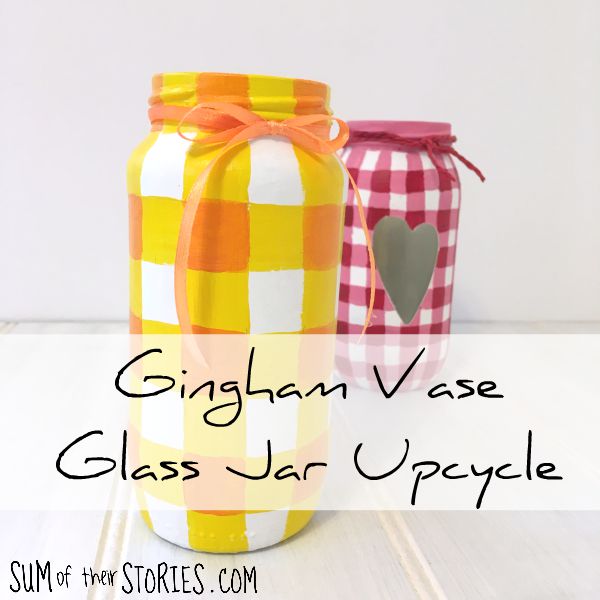

Make a pretty gingham or buffalo check vase with just a little paint and an old glass jar, a simple upcycle.
It's time for another Pinterest Challenge Blog Hop, when I join a group of bloggers and we all search our Pinterest boards and find a gem that we pinned and actually try it out.
This month I chose to try making these lovely vases, a glass jar upcycle with just a lick of paint. The original idea is one I saw over at Fresh Vintage by Lisa S.
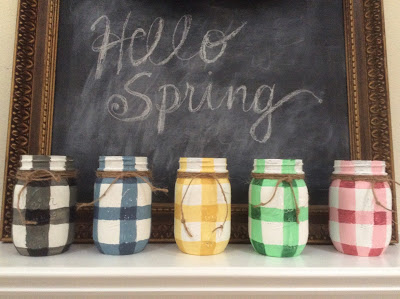
Lisa calls her's 'Buffalo Check in Pastel Colours on Mason Jars'. Because I experimented and made the pattern on one of my jars a little thinner I feel it's more like a gingham now, hence the name change. I did a bit of research to try to find out the difference between Buffalo Check and Gingham and it's all a bit confusing. Buffalo Check is definitely bigger, and some say it has to involve black. Potato - purtartoe! Whatever it's called I loved the idea of upcycling some old glass jars by painting a pretty buffalo check, gingham design on them.
The other immediate difference between mine and Lisa's was that my jars are not Mason jars. We do get Mason Jars here in the UK, but more popular for traditional preserving is a Kilner Jar - pretty much identical but with Kilner written on the side instead of Ball, or Kerr. I didn't use them either though. I upcycled a couple of jars that had pasta sauce in them, I liked them as they were quite tall as jam jars go. Oh, that's funny, I've just realised something. We call them jam jars here even if they never contained jam. I'm not sure why, makes no sense really does it?
Enough chit chat, let's get started.
Materials needed to create painted gingham jar vases
old glass jars
paint and paint brushes.
a tape measure and pencil
Your paint can be chalk or acrylic, you'll need white and whatever colours you fancy.


Prepare the jar for the gingham effect
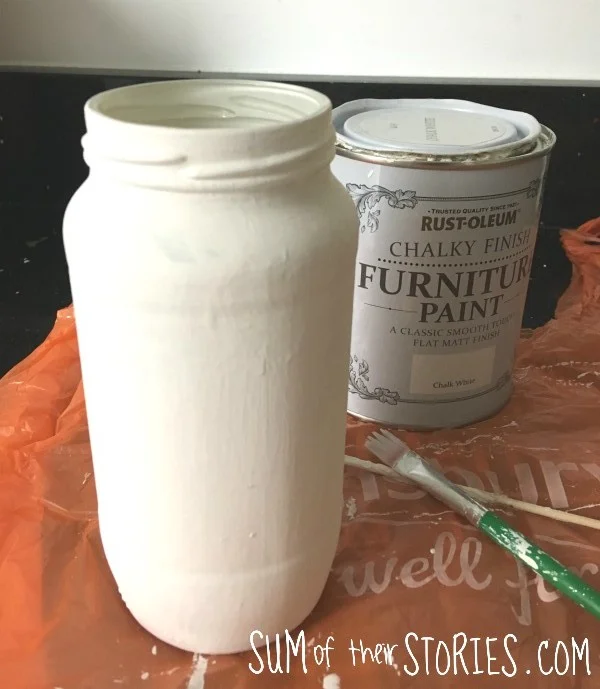
Carefully wash and dry your jar first, remove any label. I don't think the paint will stick to any remnants of pasta sauce!

Paint a couple of coats of white paint
Once that was dry I did get a tiny bit technical. In Lisa's instructions she says to paint the design in approx inch wide stripes, I measured my jar and as it was a little over 9 inches round I figured I would end up with 2 coloured stripes touching - that would never work! Anyone who visits Sum of their Stories regularly will know I switch very comfortably between inches and cm's (it's my age, I was born just as the UK went decimal) My jar was approx 24cm in circumference so that meant 2cm stripes would work perfectly - yay! I marked them out with tiny pencil marks.

Paint on the gingham effect
Now the fun begins, paint your stripes on in a pale version of your chosen colour.

Then mark the same width in the other direction and paint them in too.

Let that dry. I was using acrylic paint for this and it hardly took any time to dry at all, 1/2 an hour or so.
The next step is to fill in all the squares where the horizontal and vertical stripes cross with a slightly darker shade of the same colour. I mixed the yellow I had already used with just a little orange to get the shade I wanted.

That's it! Leave it to dry, add a ribbon of you want to and your vase is ready to be filled with something pretty. This time of year it just had to be daffodils!


For my next jar I tried something a little bit different. First I popped an old heart shaped sticker I had in my stash of paper crafting stuff.
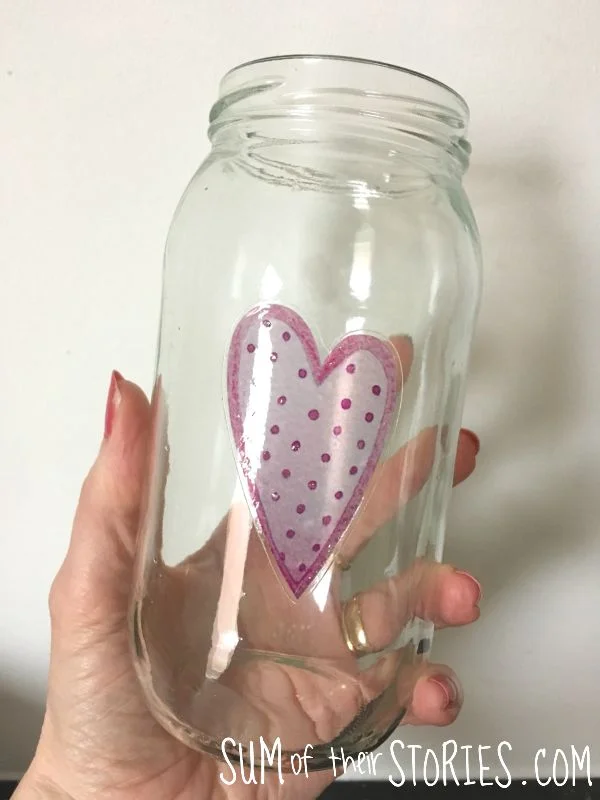
I painted it white all over as before, again a couple of coats. Then I mixed up a pink shade with the same white chalk paint and just a little dob of red acrylic.

A word of warning, if you are mixing your own colour like this then do mix a little more than you think you will need. You DO NOT want to run out as mixing them same colour again is almost impossible. DO NOT ask me how I know this ;-)
For a more gingham look this time I simply marked 1 cm marks on the jar so the lines are thinner. Luckily I had a 1cm flat brush which made painting the lines pretty simple. The process is exactly the same as before.

You don't have to be too careful where the sticker is but do make sure any squares that are half on the sticker and half off get painted properly. Once the pink is dry you can fill in the squares where the pink lines cross with red.
Once it's dry you can carefully peel off the heart shaped sticker. Take your time, make sure it's not pulling the paint away anywhere you want paint to stay. Do this over a bin or scrap paper as the paint will crack and crumble. Mine came away fine but If you find it is not coming away cleanly you could run round the sticker with a craft knife.

I added a little red string to finish - Ta Dah!

Using your painted jar as a vase

I cannot tell you how pleased I am with these little jar vases, they turned out even better than I could have hoped.
This pink one makes a lovely candle holder too, or if you kept the lid it could be filled with something to make a pretty gift jar.

Just a little paint, and an afternoon and you can transform a plain old glass jar into something really pretty :-)
Julie
I'll be sharing this idea at these link ups
Now let’s look at the other Pinterest Challenge projects