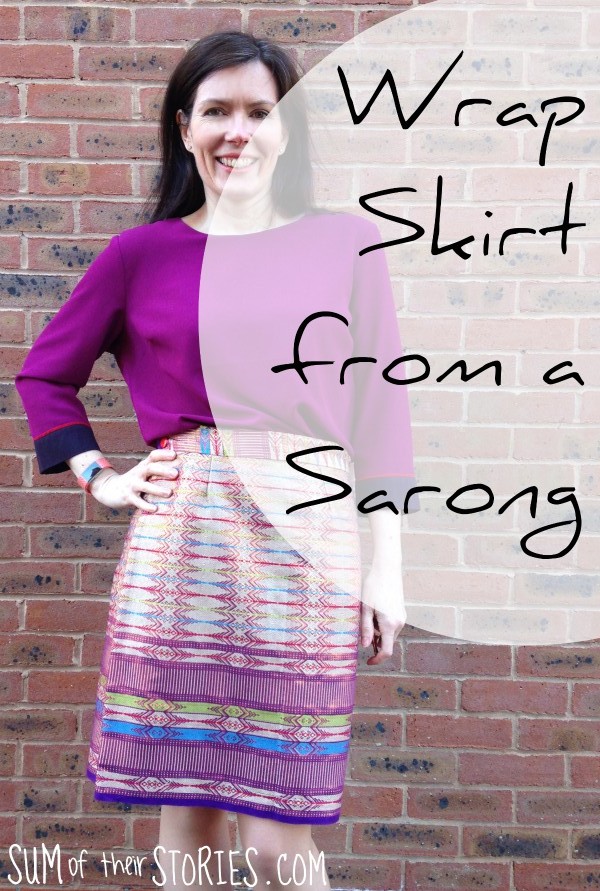
Wrap Skirt from a Sarong
/I was lucky enough to be given an Indonesian sarong and scarf and after researching how to wear my sarong properly I quickly decided that I would be best turning it into a wrap skirt rather than relying on my tying and tucking it properly. It is so beautiful that I wanted to be sure I made something I would actually wear.
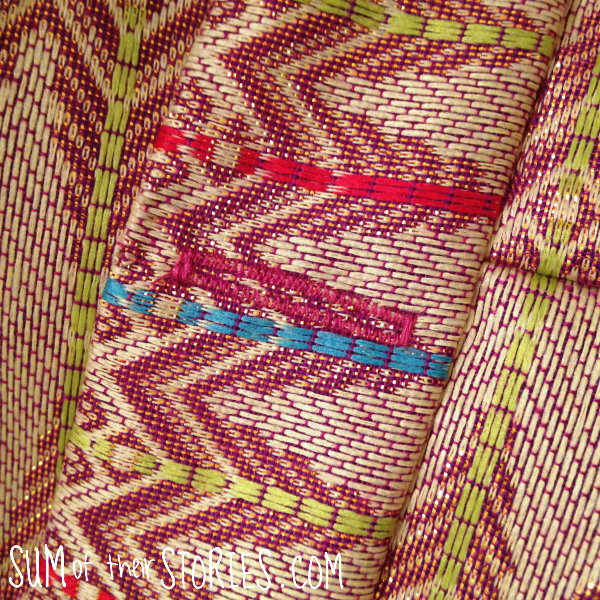
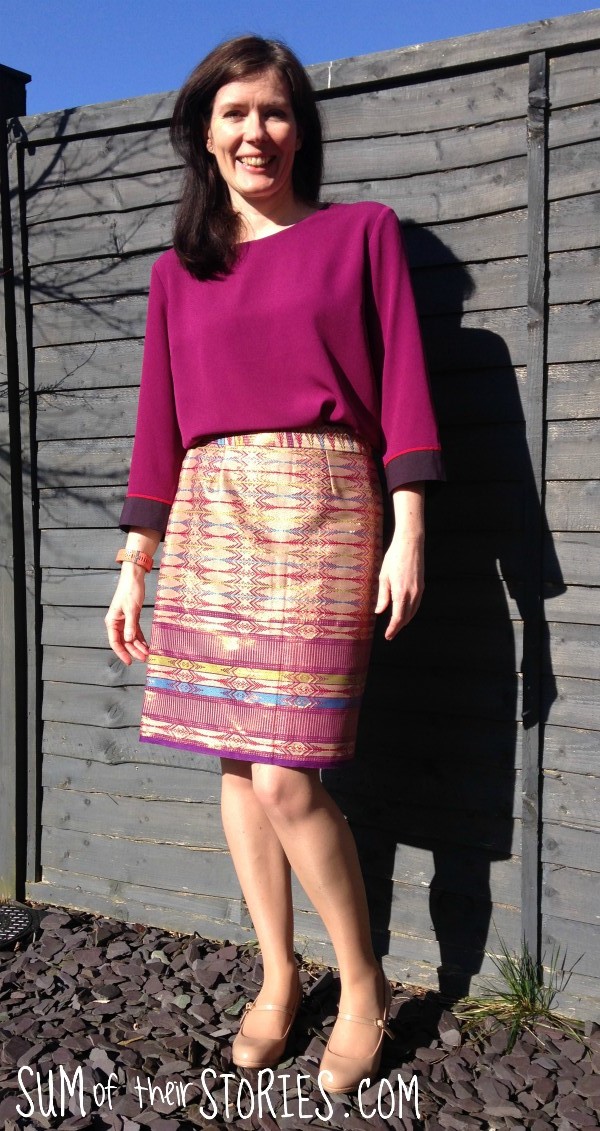
I'm not sure these photos due proper justice to the fabric, it has an amazing gold sheen. Anyway, you'll see the colours change in the photos as we go along due to lighting anyway.
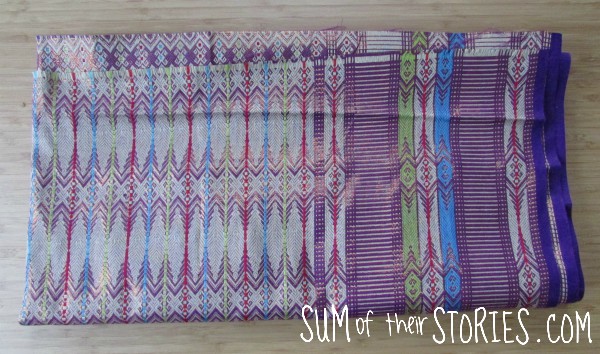
The sarong measured approx 104cm (41") by 200cm (79") . You could make a skirt like this with any large piece of fabric.
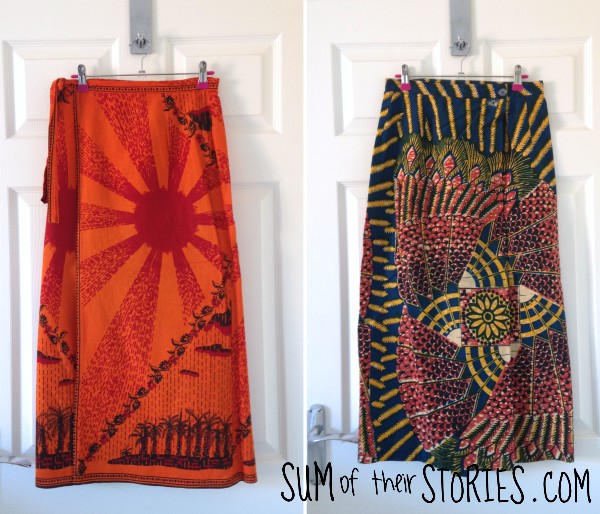
I've made similar skirts to this WAY back in the day. I had a lot of African prints given to me and made a few long wrap skirts which I still wear on holiday sometimes.
So whether you have a sarong or just large piece of fabric that you'd like to make into a wrap skirt, I'm going to go through the steps. Exactly what you do might need to vary a bit depending on what fabric you have and your measurement. I'll just explain what I did here and hopefully you'll find it useful.
The things I had to bear in mind with the Indonesian sarong I had were:
The fabric is quite substantial (ie not at all floaty)
At the same time it is quite see through so needs a lining or a petticoat (and I'm not really a petticoat fan!)
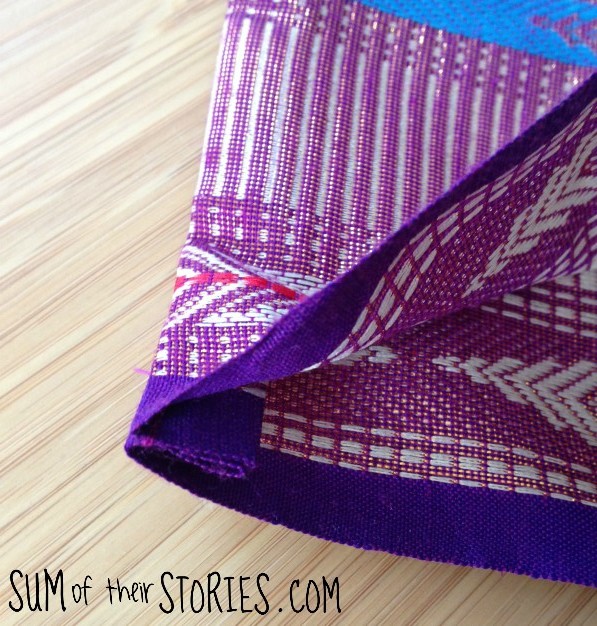
It was quite fray-ey too so I used French seams where I could
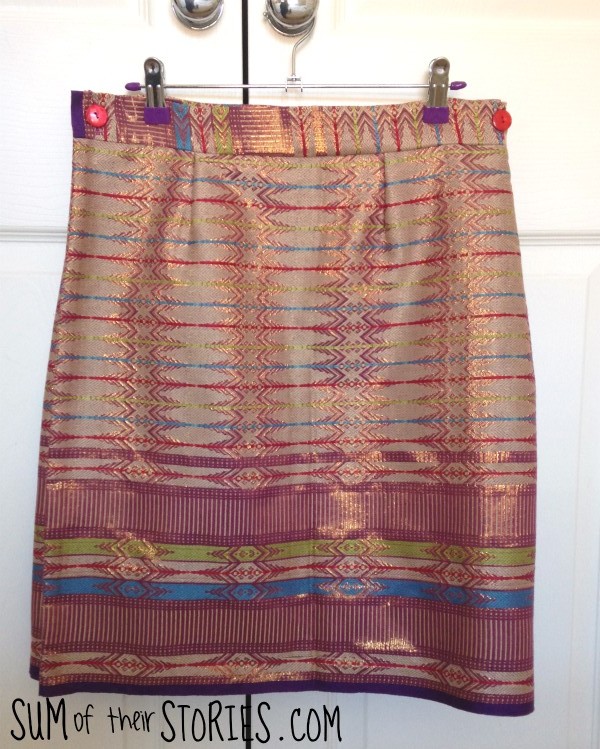
I love the border and wanted that at the hem of the skirt, to show it off and to save me having to hem it.
So I made my skirt from the sarong folded in half lengthways, with the fabric doubled up.
I didn't take loads of photos, I'm not sure why, so I've filled in the blanks with some little diagrams and lots of words.
To make your own wrap skirt from a sarong you will need:
A sarong
Matching thread
Sewing machine
2 buttons
IF your sarong is very thin you may like to add some iron on interfacing to the waistband, I didn't here but it will give the waistband a nice finish, especially if your fabric is very soft and floaty
First you need to measure yourself, just a few basic measurement, waist and hips.
I'm going to explain this with my measurement that I took in inches (I am in the UK so you'd think maybe I used cm, but I'm old so I use inches for dressmaking - sorry!)
Take you hips measurement and multiply it by 1.5 . My hips are 38" so that gives me 57" . Now add 2 inches (so I get 59") This is how wide you want your fabric.
There is no photo but I cut 20" off the end of the sarong to give me a piece of fabric 41" x 59".
I folded it in half so the selvage edges were together with the wrong sides facing and did a seam down each end with a 1/2" seam allowance.
Then I turned it out so the right sides were facing and did another seam with a 1/2" seam allowance. Basically creating a french seam at each end of the fabric. Turn to right sides out and press lightly with the iron.
Now lay your fabric out flat with the folded edge at the top. Both sides will be the right side of the fabric because now it's all double. You need to bring that top edge in to be your waist measurement multiplied by 1.5 plus 1". Mine is 30.5" so multiply by 1.5 is 45.75", plus 1" is 47 (I rounded up 1/4" to allow for dessert!)
My fabric piece currently measures 57" and I need the top edge to come in to 47" . Therefore I need to 'lose' 10" along that top edge, nice and evenly.
Mark the top edge into 3rds. Mine were 19" each, these are your 'side seams', Create a 2 inch wide dart, that go down the skirt approx 10" and tack. Repeat for the other 'side seam'.
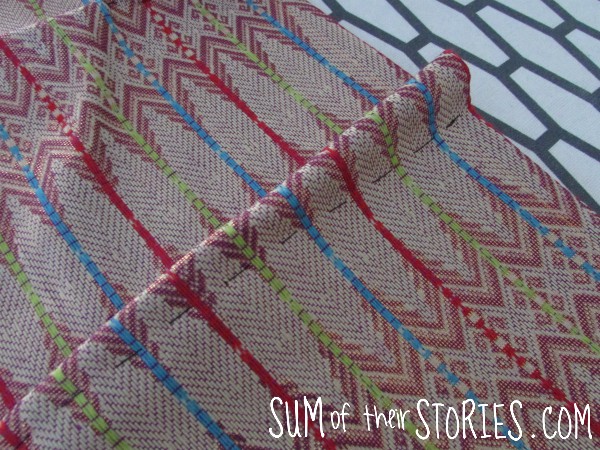
Now create 2 smaller darts evenly in each of your 3 skirt sections. Mine were 1" wide darts that were 3" long.

Here is my dart placement in diagram form. Yours may need to be different depending on your measurements. If your waist is tiny compared to your hips for example you will need more darts or wider darts. If you don't have much difference between your waist and hips you'll need less or narrower darts.

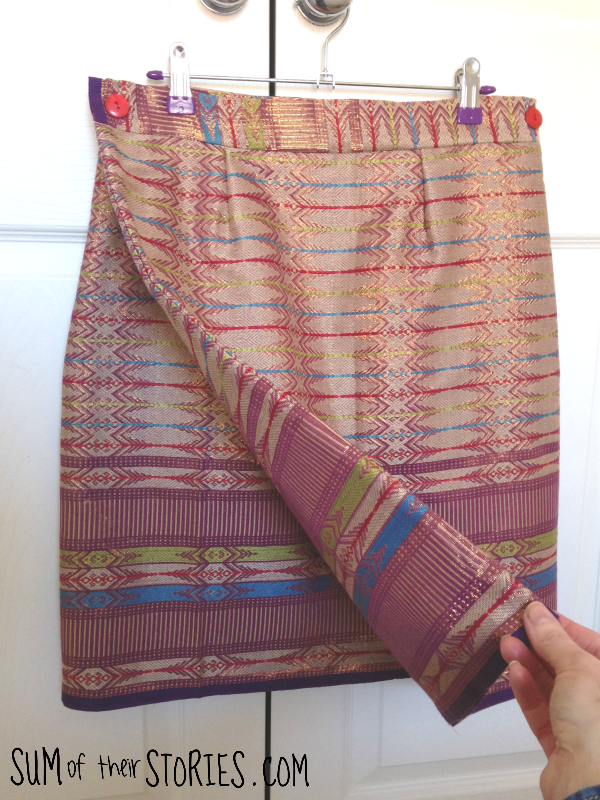
At this point try your skirt on. adjust the darts so you get a good fit at the waist and the darts are even. Remember it should be wrapping round you one and a half times. A good big flap ensures you don't flash your underpants when the wind blows!
Once you are happy with the fit, stitch the darts on the sewing machine and remove the tacking.
From the leftover fabric that you removed right at the beginning you now need to make a waist band.
The length of the waist band needs to measure the same as the top of your fabric (mine is 47 remember) plus 1 inch for seam allowance. The width is 4.5".
To get a piece of fabric for my waistband 48" x 4.5" I had to join a few pieces, that's fine.
If you are using interfacing cut it to the same size as your waistband minus the 1/2" seam allowance all around the outside. Iron in place.
Pin one long edge of the waistband to the top of the skirt piece right sides together, leaving 1/2" of the waistband over hanging at each end and stitch with a 1/2" seam allowance.
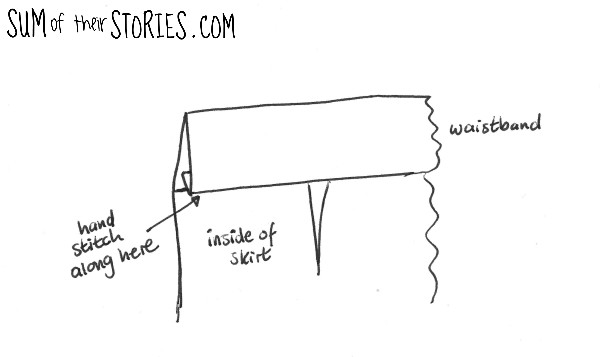
Press a 1/2" seam on the unstitched side of the waistband and then fold the waist band in half and pin that unstitched side down. Tuck the 1/2" seams at each end in and pin too. By hand, slipstitch the inside of the waistband including the ends. I'm not sure I'm describing this bit very clearly. Hopefully a diagram will help.
Nearly there! To finish the wrap skirt you just need to add a couple of button holes.
Decide which way your skirt is going to flap, I chose the section with the neatest darts to be the top flap - this is the section you will add button holes too. It's a button hole at each end of the waistband IN THAT skirt section.
I was super pleased with mine, possibly the neatest button holes I've ever done.
Sew the buttons on and that's it, your done. The buttons go each end of the underneath flap section. The best way to position them correctly is to wrap the skirt round yourself. It will become very obvious exactly where you need the buttons to go. Mark them with a safety pin, take the skirt off them sew your buttons on.
We had fun and games taking these photos, it was a bright sunny but VERY cold day so speed was of the essence. I even put my 'grown up shoes' on for this! I think this is the one where I look least ridiculous but our daughter didn't like the shadows. the sun light really show off the gold thread in the fabric though.
We tried round the corner, out of direct sunshine, against the brick wall, she said "move about a bit and laugh" .....
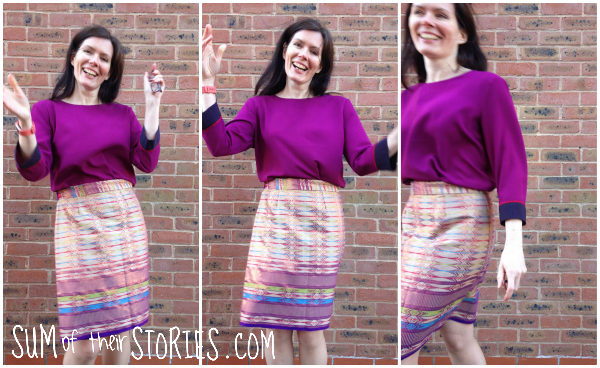
Safe to say I'll not be giving up blogging for a modeling career any time soon!
Hopefully there are enough instructions here so if you have a beautiful sarong that you are just not using you could have a go at making it into a useful wrap skirt.

I'll be sharing this project up at these link ups