A quick easy way to make fabric drawstring tabs
/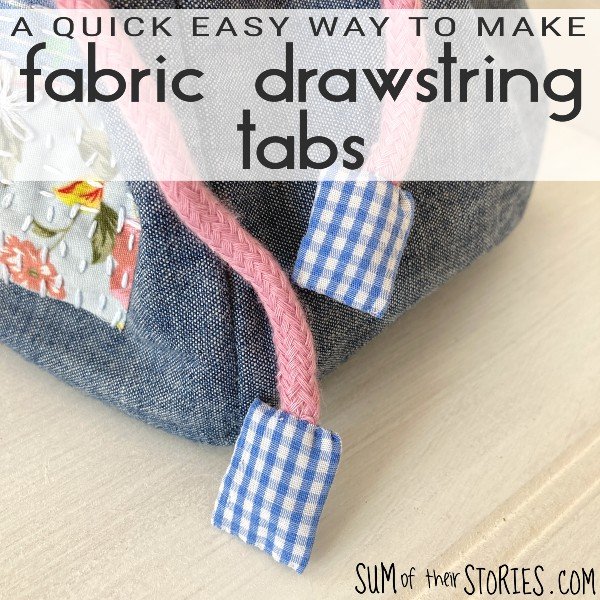
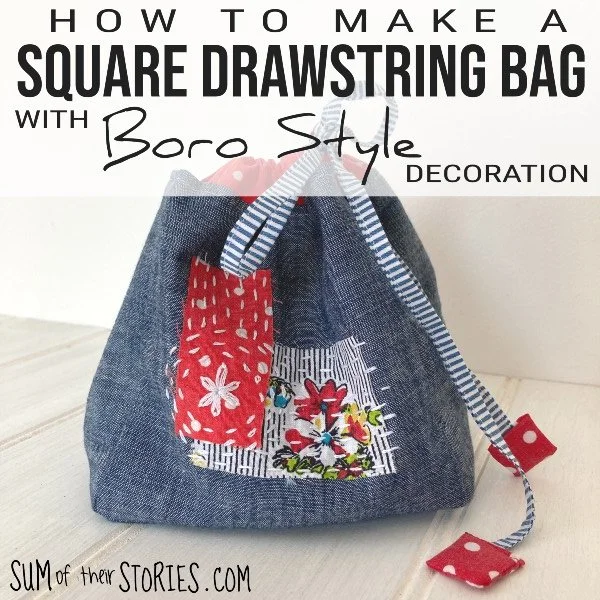
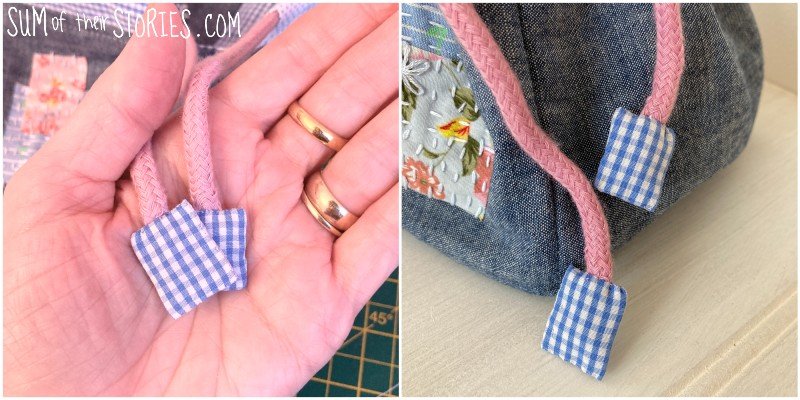
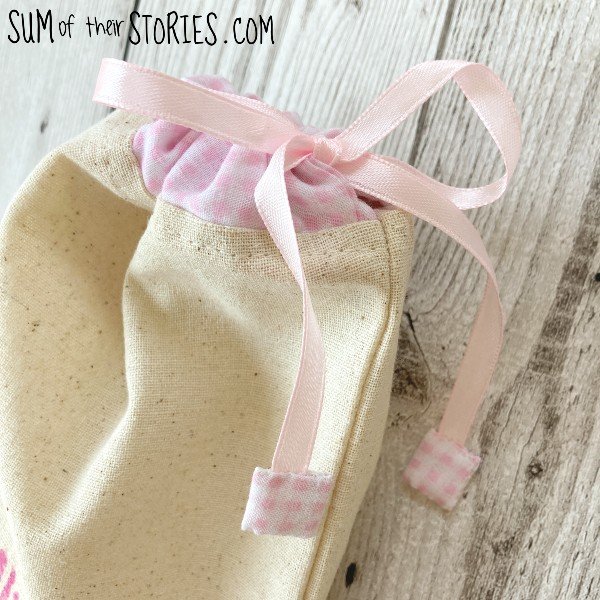
Little fabric tabs on the ends of the cords of a drawstring bag can really finish it off nicely and elevate your make to something even more special.
I am a fan of adding little tabs to the ends of drawstring cords, I don’t always use them, sometimes I’ll tie a knot or use a bead or two, but when making a special bag I do think they make it even nicer.
They are also a fabulous way to use up tiny scraps of fabric that might normally be too small to be considered useful.
I’m sharing this quick and easy way to add tabs to your drawstring cords as my contribution to the Sustainable Pinterest Challenge where this month the theme is ZERO WASTE. I’ve enjoyed making tabs for drawstring cords, saving really quite tiny scraps of pretty fabric from being thrown away.

I was inspired to share how I make them when I saw this pin from Stitching Notes to make little pentagon shaped tabs.
You can add tabs like these to any type of drawstring, it works for string, twine, cord, folded and stitched bias binding and ribbon.
Materials needed to make drawstring cord tabs
2 pieces of fabric each 6cm x 4cm (2.5” x 1.5”)
Matching sewing thread
There are 2 methods, one using the sewing machine and one that is all hand stitching. Both methods are super quick and only take a few minutes. If you already have your sewing machine out then the sewing machine method is probably a fraction quicker but to be honest, if it’s not already out you are probably going to find the ‘all hand sewing’ method quicker! I guess it all depends on where you keep your sewing machine, how easy it is to get to etc!
I’ve made a whole load of these tabs recently so just to warn you these photos do jump around a bit with the fabrics used, I’ve just tried to pick the clearest photos.
Making drawstring tabs using the sewing machine
Let’s start with the Sewing Machine Method:
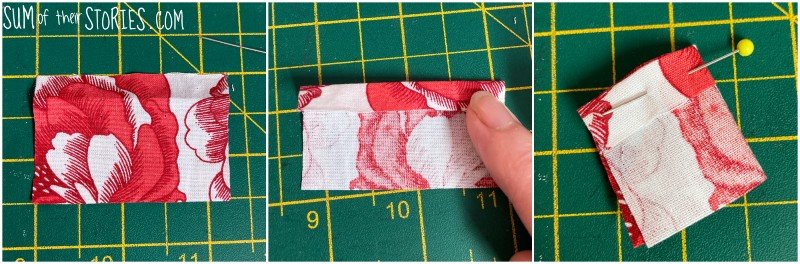
Take one of your tiny rectangles and fold down a small hem along one long side. Press (finger press is fine) and then fold in half.
Stitch down one side and across the bottom.
I did a couple of back stitches at each end of my sewing to secure it. If your fabric is very fine this may snarl up in the machine as it’s all very tiny. If this happens just forget the back stitches and tie the threads off after stitching instead.
Snip the corner to reduce bulk and then turn it right side out. Use a chopstick or something pointy to push the corners right out.
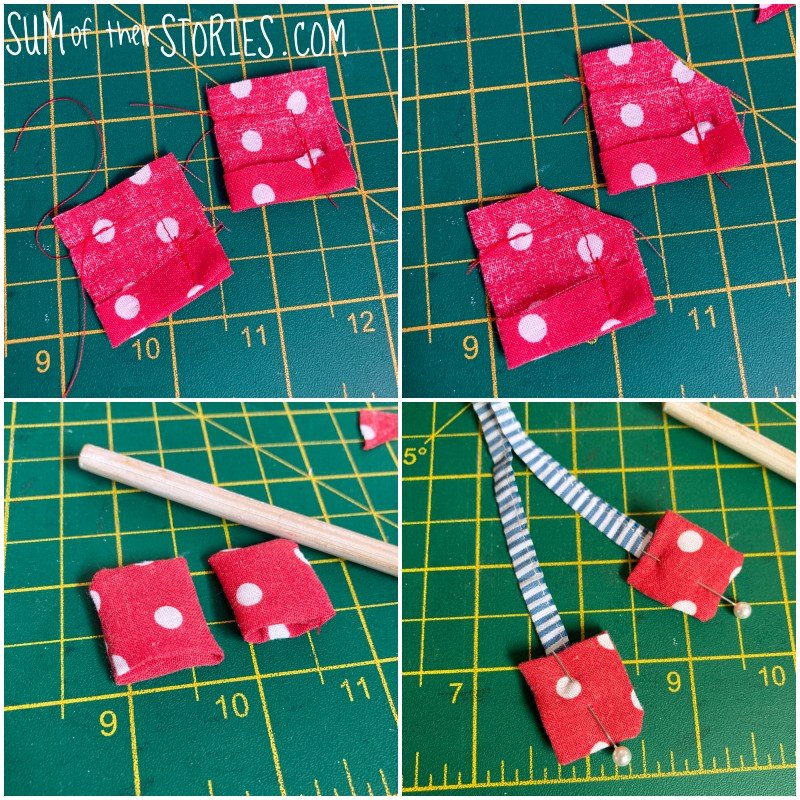
Pop the end of the drawstring cord into the teeny tiny “pouch” you’ve made and secure it with a pin.
Stitch across the top. Again, you can back stitch if your machine will cope with that on something so tiny but you can always just tie the ends if you find that easier.
Making drawstring tabs using hand stitching
Now let’s check out the hand stitched method to see if you prefer that.
For the hand stitched version you end up with the same thing, just arrive there in a slightly different way:

Fold each of the long sides of the little rectangle in so they touch in the middle, press.
Then fold short sides in, in the same way, so they are roughly the same width as the long side fold and press.
Then fold in half and press again.

Slide the cord end into your little fabric sandwich and secure with a pin or clip.

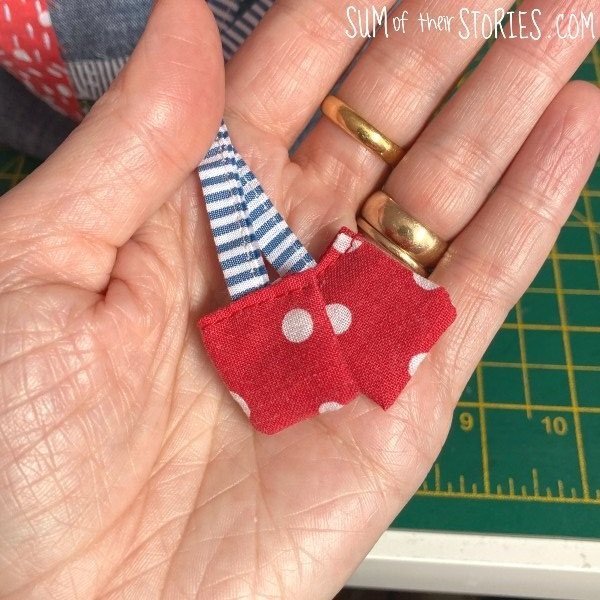
Use a ladder stitch to stitch across the bottom, up the side and then across the top of the tab. When you get to the bit where the cord goes in just make sure you stab right through the cord from front to back, with at least a few stitches to make it secure.
Aren’t they cute?
Find out how to make the square drawstring bags that I originally made these tabs for here > How to make a square drawstring bag
Add them to all your drawstrings and save those tiny fabric offcuts from the bin (or trash!)
Now let’s take a look at the other Zero Waste ideas that my fellow Sustainable Pinterest Challenge Participants have created to inspire you.
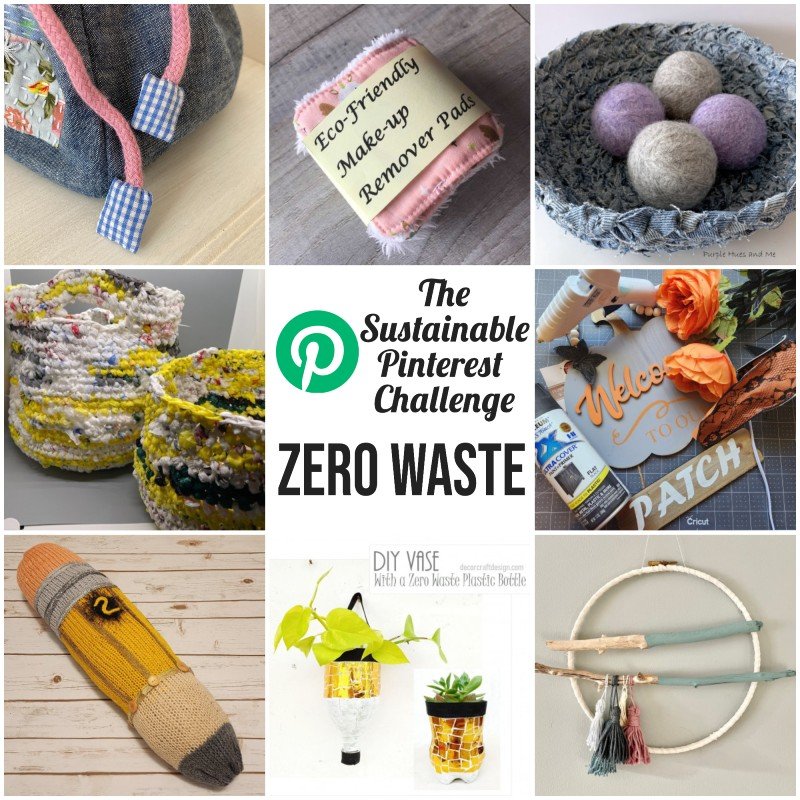
Julie | Sum of their Stories | How to make Drawstring Tabs - that’s the tutorial you’ve just read!
Christine | Christine’s Crafts | Zero Waste Make Up Remover Pads
Gail | Purple Hues and Me | Zero Waste Wool Dryer Balls
Julie | Treasures Made From Yarn | Plarn Basket
Niki | Life as a LEO Wife | Halloween Welcome Sign
T’onna | Sew Crafty Crochet | Pencil Pillow Redo
Mel | Decor Craft Design | DIY Vase with a Zero Waste Plastic Bottle
Vicky | Vicky Myers Creations | DIY Tassel Wall Decor
Julie
I’ll be sharing this idea at some of these link ups