How to Paint a Fun Modern Wall Mural
/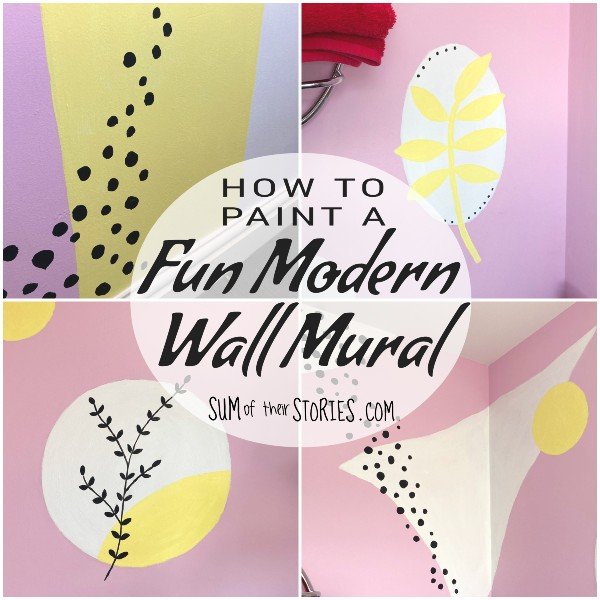

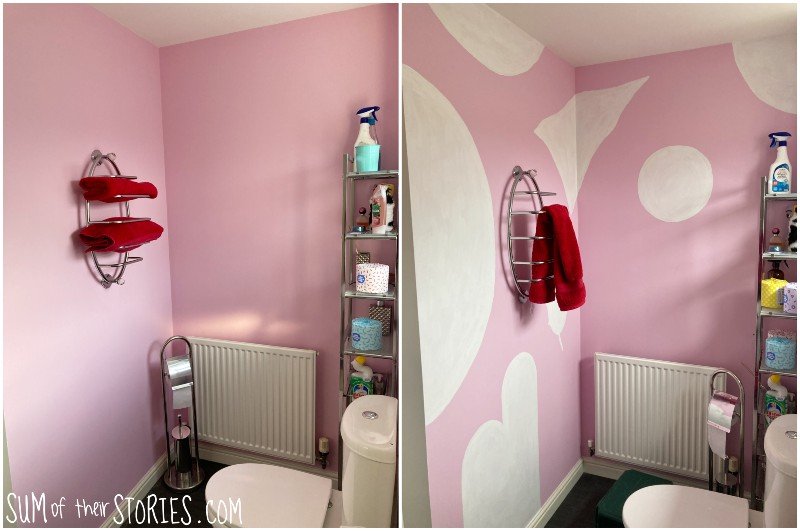
Our ensuite bathroom was very pink! It had been like that since we moved in a number of years ago and was well overdue a makeover to freshen it up and dial down the pinkness!
One weekend I painted over most of those pink walls with 2 coats of white paint but I left 2 walls pink so I could paint a fun modern mural.
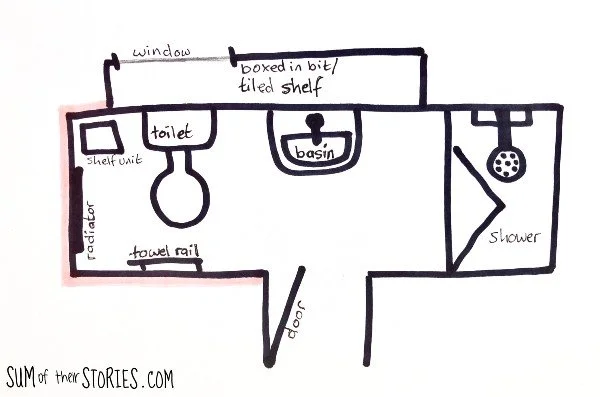
This quick little “not to scale” floor plan shows the basic layout of the bathroom with the walls I left pink ready for the mural marked with the pink line. I confess that part of my cunning plan was to avoid having to paint behind the radiator and to not have to remove the towel rail!
I used this little tray for my colour inspiration.

I already had white paint of course, that I’d used on the other walls, so all I had to buy for this mural was 2 small sample size paints in a soft yellow and charcoal.
Starting to plan a fun modern mural
You can plan your mural on paper first by drawing it out on paper or you can do what I did and just draw straight onto the walls!
Decide on your colour palette, keeping the number of colours to a minimum helps to keep costs down.
Start with some basic shapes
Start by drawing some basic shapes randomly across the wall using a soft pencil. Don’t press too hard, the pencil lines should be light, just to make them easier to remove later.
I did a few circles and part circles, some arches coming up from the floor, an oval and, just to mix things up a bit, a wiggly sort of triangle.
When you are happy with the shapes fill them in with white paint.
Next paint some of those white shapes in yellow. The white undercoat makes the yellow show brighter, I found 1 coat was sufficient.
Add details to finish
Next play around with the charcoal coloured paint and add details.

You can paint a cross hatch grid. This is really easy, it’s just straight (ish) lines painted with a fine brush.

Swarms of dots. Also super easy, just paint dots! Start with a bit of a wavy line of dots then build up more either side in a pleasing arrangement.
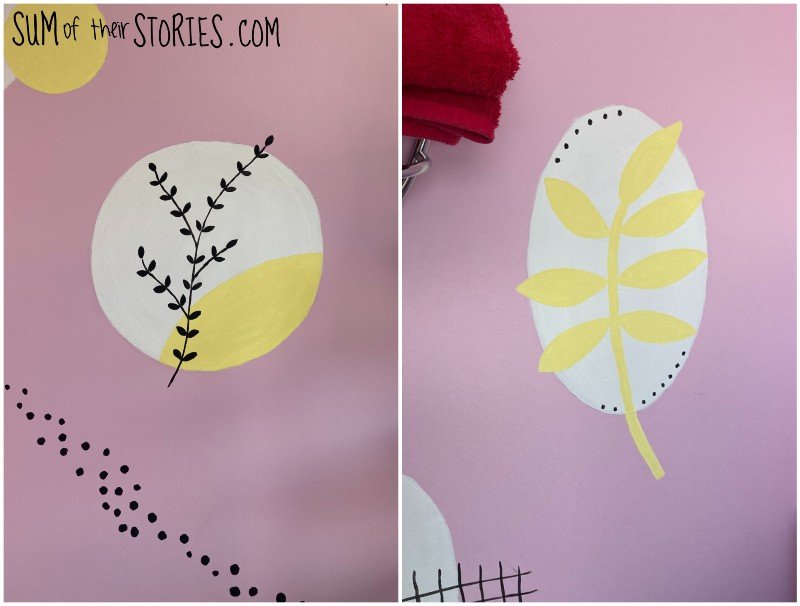
Stems and leaves. This is the only stage of the mural that requires any vaguely artistic skill and even then it’s pretty simple. Sketch the stem and leaves in light pencil first then just paint it in. For the yellow leaves I painted the shape first in white as an undercoat, so the yellow showed brightly. That is not necessary for a dark colour like the charcoal.
When you are finished just use a soft eraser to remove any pencil lines that are visible.

For this finished mural photo I really should have removed the green plastic step that I used to reach the top of the wall shouldn’t I? :-D
The rest of the bathroom is plain white walls so hopefully the mural is not overpowering in a small space. I really like it anyway, my husband is not so keen but we can always paint over it sometime.
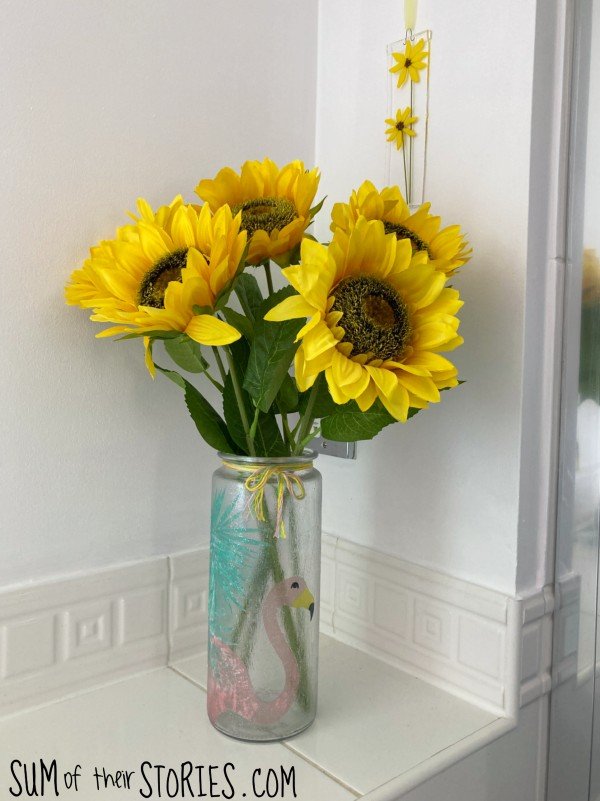
I repurposed my decoupaged garden lantern into a vase as the colours go so well in this room now.
I feel like this mural is finished, it was hard to know when to stop. You can always add more if you’d like a busier effect or less if it feels like too much. I might add more one day or paint over the wall to the left, just leaving the smaller end wall. That’s the beauty of paint, it’s easy to cover it over.
Painting a large mural on a big wall can feel really daunting so a small wall in a small room can be a great place to practice and try out ideas.
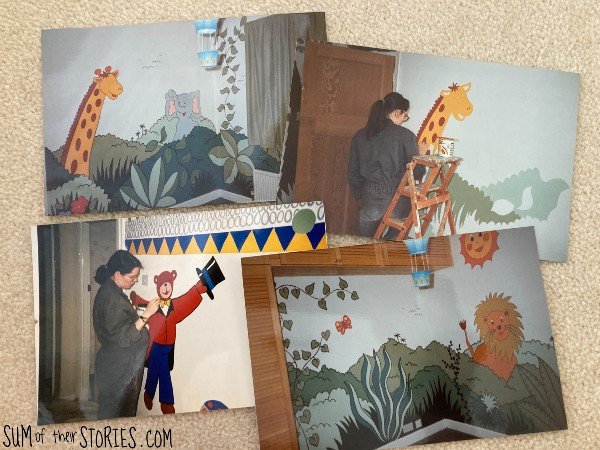
This is not actually my first foray into the world of mural painting. When our kids were born I did murals in their bedrooms too. The first was the jungle/animal themed room, back in 1994. And that is a very pregnant me in my husband’s work overalls rushing to finish a circus mural in 1996. I couldn’t get the bright colours I wanted in a wall paint so I used small pots of gloss paint. Obviously I didn’t paint that straight onto the walls, we papered them with lining paper first but boy, was it hard to get that paper off years later!
Later our daughter had daisies painted all over a blue wall and the boys had a space themed bedroom, I’ll have to see if I can find some photos of those too.
Julie
I’ll be sharing this idea at some of these link ups
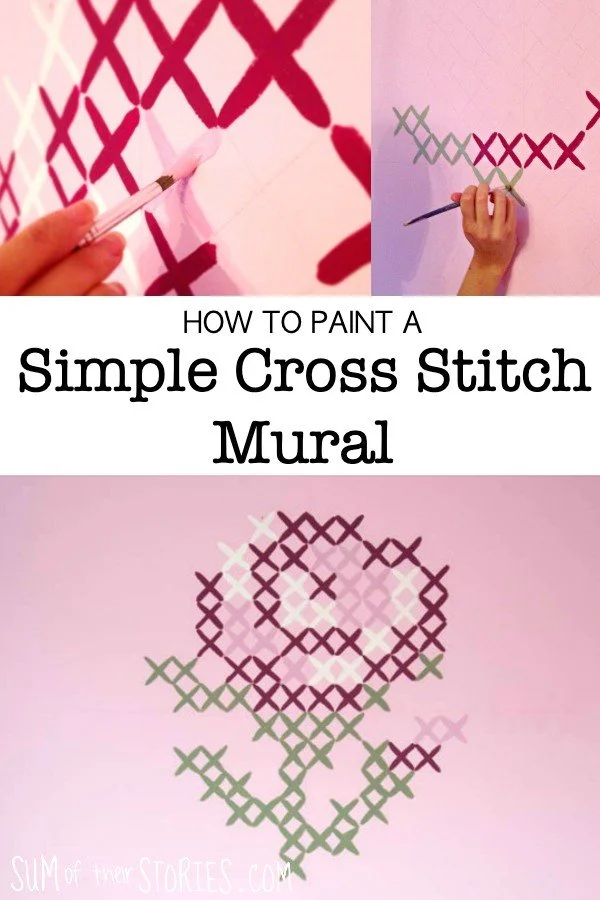
You might like to check out this mural idea too: