

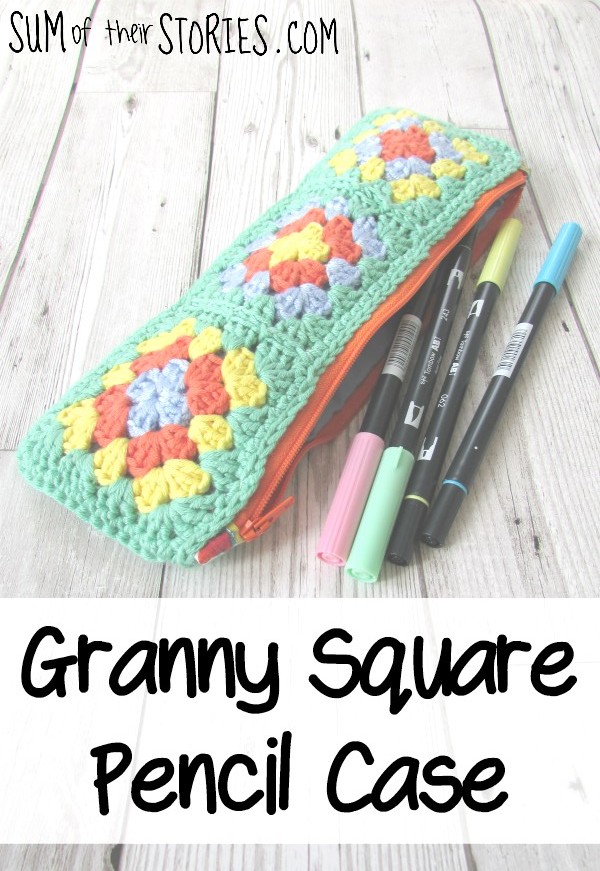
Crocheted Granny Square Pencil Case
/

Welcome to the March Pinterest Challenge Blog Hop, hosted My Pinterventures. The Pinterest Challenge Blog Hop gives us a chance to look through our Pinterest boards and pick something we pinned with good intentions and actually make it happen. I chose to make a crocheted granny square pencil case.
The pinspiration
I've pinned a few different crocheted pencil cases over the years, but the one I used as my inspiration now was this one from Skip to my Lou.

I made mine a little differently in the end, firstly I wanted a longer pencil case and secondly I constructed it differently as my sewing machine was not very happy stitching through the crochet. I only used the sewing machine to sew the zip in and to be honest, that was hard enough! Oh and I also joined the granny squares slightly differently too, I just used the method I'm more familiar with.
Materials used
My granny square pencil case is made from scraps of cotton Double Knitting weight yarn left over from this baby blanket I made for some friends recently. I can't say how much yarn I used, but to give you an idea, this is what I started with. I used all the blue, about half the yellow and the green and you can hardly tell I used any of the orange. This really is a perfect stash buster for all your little leftover bits. I used a 4mm hook.

To make your own long thin granny square pencil case you will need:
Scraps of yarn
a 4mm crochet hook
2 pieces of fabric for the lining
A 30cm (12") zip
Little scraps of fabric for the zip stops
A sewing machine, sewing needle, matching thread, scissors.

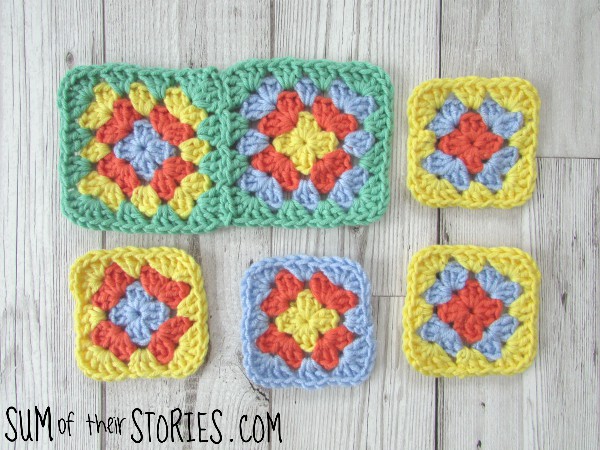
Making the Granny Squares
First make 6 Granny Squares, each with 3 rounds. If you don't already know how to crochet a granny square then there is a pattern in US crochet terms over at the original 'pinspiration' post at Skip to my Lou and a million tutorials online, just pick your favourite.
Join them into 2 sets of 3 using the 'join as you go' method. This is something I've used for years and is slightly different to the method that Cindy used at Skip to my Lou. You can find the tutorial that I first learnt my 'join as you go method' over at One Dog Woof.
Assemble the pencil case
Lay the 2 pieces of crochet on top of each other wrong sides together and starting in one corner join them together on 3 sides with a double crochet (that's the UK term, if you used US terms do a SC) leaving one of the long sides open.


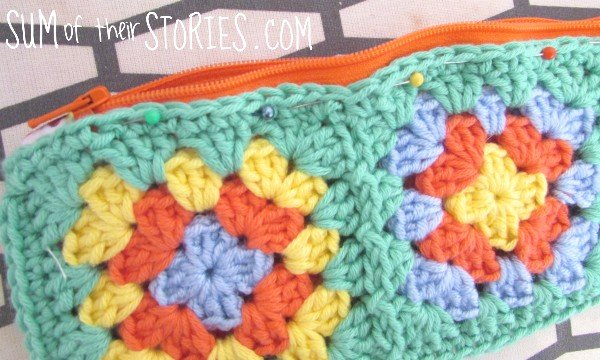
Continue to DC (or SC if your using US terms) round the open top but just a single layer at a time. So you are going all the way along one side then back along the other side. Fasten off. It should end up looking something like this:

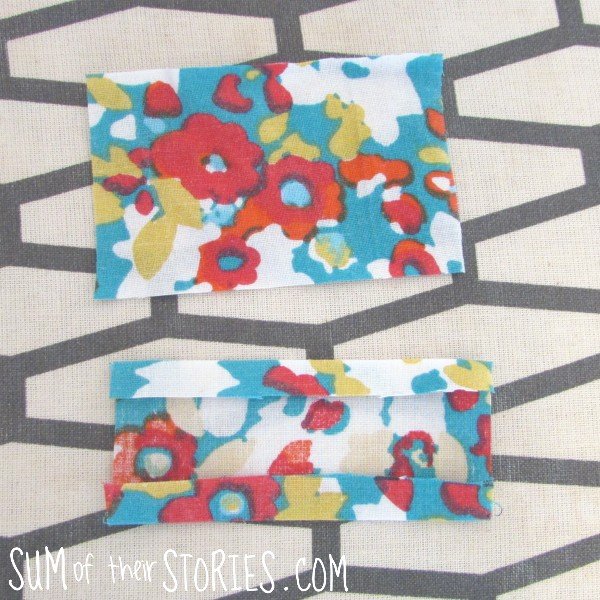
Lining the pencil case
Double up your lining fabric and then lay your crochet on top and cut round leaving a 1cm seam allowance.

Pin then sew 3 sides, leaving a long side open. Trim the corners and press the seams open.

Press a 1 cm hem down long the open top edge and then set to one side.

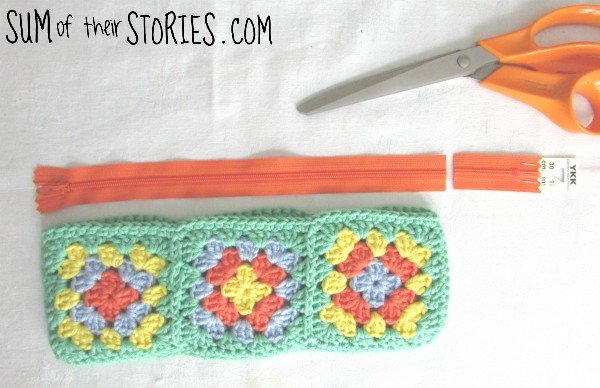
Inserting the zip
First trim the zip to the same length as your pencil case.
Create 2 zip stops. take 2 pieces of fabric 5cm x 8cm (2" x 3") and press a 1/2 cm hem on each long edge.
Then fold in half and pin in place over each end of the zip.

Stitch in place.
Put the zip inside the crochet case on one side, and pin.

This is where it got a bit tricky with my sewing machine. I stitched the zip in along one side. I took it really slowly and my machine just about coped, but the back of the stitches was a bit of a hot mess. Do your best and then open the zip right up and pin then sew the other side of the zip. If you really can't get your sewing machine to stitch the crochet neatly you could always backstitch the zip in by hand.
Put the lining inside the pencil case and pin it in place.

Line the top of the lining up just above the stitching where you put the zip in. Here you can see what a hot mess mine is.

Slip stitch the lining in place by hand.

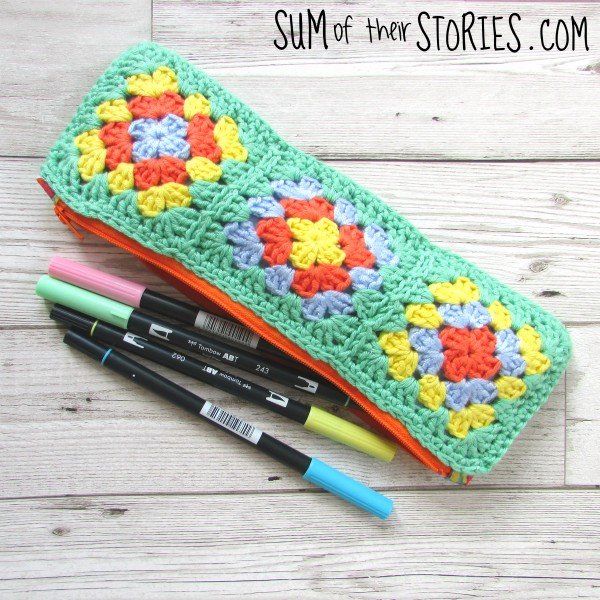
That's it, finished!
It's pretty and practical ......you can't get better than that! Just the right size for my Tombow brush pens.
If you’ve never crocheted before and have always wanted to learn how to then you might like to check out my article “What you need to get started Crochet” that lists the essentials that you’ll need to get going.


Do you have any pins lurking on your Pinterest boards than you really want to try out?
Julie
I'll be sharing this idea at these link ups
Now let’s see what other things Pinterest inspired!
Head over and visit the other participants to see what they crafted, cooked or tried!

Birds on a Wire String Art | Living Room Gallery Wall
Natural Easter Egg Dyes | Bacon Wrapped Pork Loin
Kielbasa, Peppers and Potato Hash | Chalk Painted Easter Egg Vase
Scrap Wood Bunny | DIY Shower Steamers
Easter Tea Towel Pillows | DIY Envelopes
Cactus Pillow | No Sew Roman Shades
DIY Window Valance | Twig Antlers
Recycled Drawer Shelf | Upcycled Letter Board
Chocolate Chip Pizza | Cherry Sweet Rolls
Bourbon Chicken | Kitchen Makeover


