Vintage Handkerchief Jewellery Pouch
/How to turn an old handkerchief into a travel jewellery pouch.
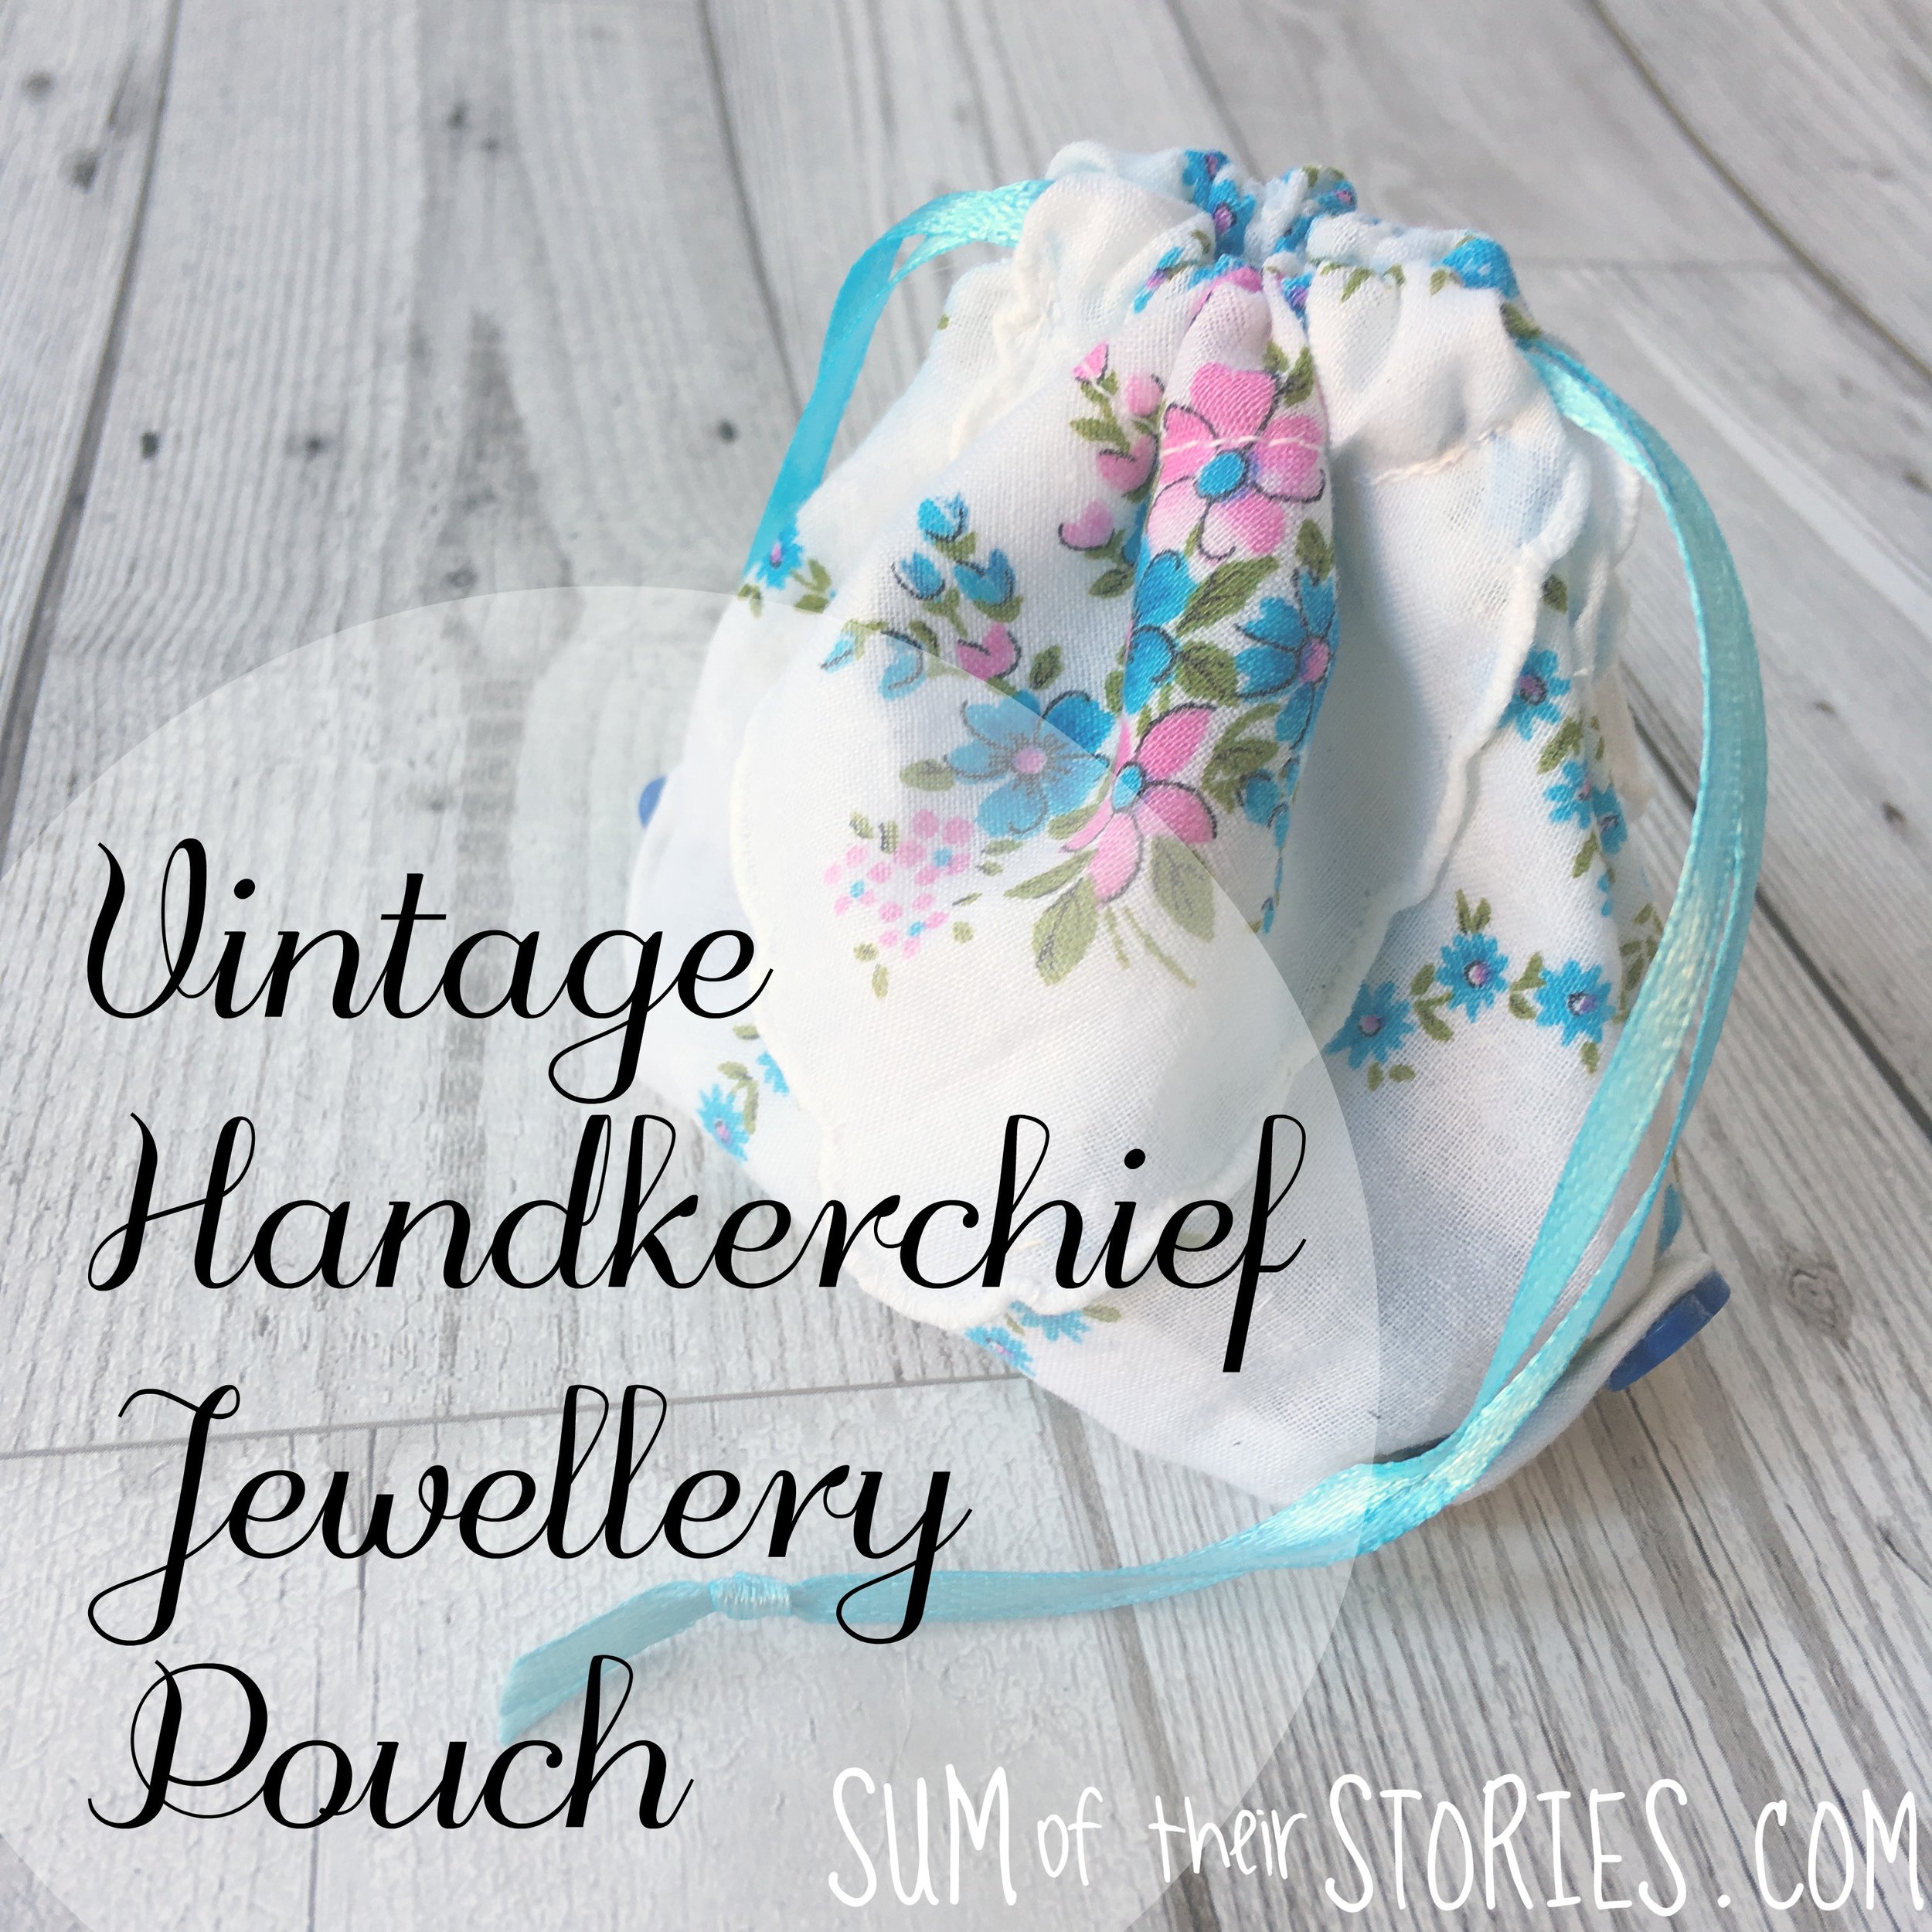

I was lucky enough to be given a pile of vintage handkerchiefs recently from a friend who was clearing out her late mother's things. I've turned most of them into scented sachets and lavender bags but I tried something different out with one of the floral printed ones. I had seen a tutorial to make this sweet little origami drawstring pouch by Hiromi over at Harujion Designs and I thought it might work with the handkerchief.

I mostly followed Hiromi's step by step instructions but made a few changes to add some little pockets and to stop items slipping right underneath in the side pockets.
It feels like a lot of steps to follow, I certainly took a lot of photos but these are actually really simple to make once you get the hang of them. You'd probably be best looking at Hiromi's tutorial for the basics first, then you'll be able to see how I've added some extras and done the sides and corners slightly differently, the more information the better.
If you don't have a vintage handkerchief you can just take a square of any lightweight fabric and give it a narrow hem. Hiromi also has some really useful information about what size your pouch will turn out depending on the size square you start with.
My handkerchief was a 15" square and the pouches turned out 4 3/4" by 3 3/4" - that's 38cm square with a pouch ending up 12cm x 9cm. I've tried to stick with inches in this tutorial (I'm bilingual when it comes to inches and cm!) just because 15" made the maths easy.
So let's get started, to make a Handkerchief Jewellery Pouch you will need:
A Handkerchief
Approx 80cm of ribbon
2 small buttons
Sewing thread, scissors and a sewing machine
Something to mark the fabric, I used a washable fabric pen
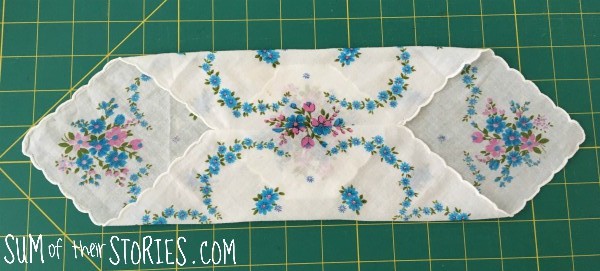
Lay your handkerchief out flat face down and using a ruler mark it into 1/3's along the diagonal. My handkerchief measured 15" so I marked at points 5" and 10" .

Fold the right side in so the corner point meets the mark you've just made. Press along the fold. You can do this with your nail, you don't need to get the iron out at this stage.

Turn over so the right side is up, fold the left corner over to meet the right. Pin and then sew along the crease you just made.

Turn the tube you've made right side out and flatten the corners, making the seam central. If your hanky has lumpy or substantial edging like mine then just snip of the very end of the points. They'll get in the way a bit later.

Turn the tube you've made right side out and flatten the corners, making the seam central. It should look like this:
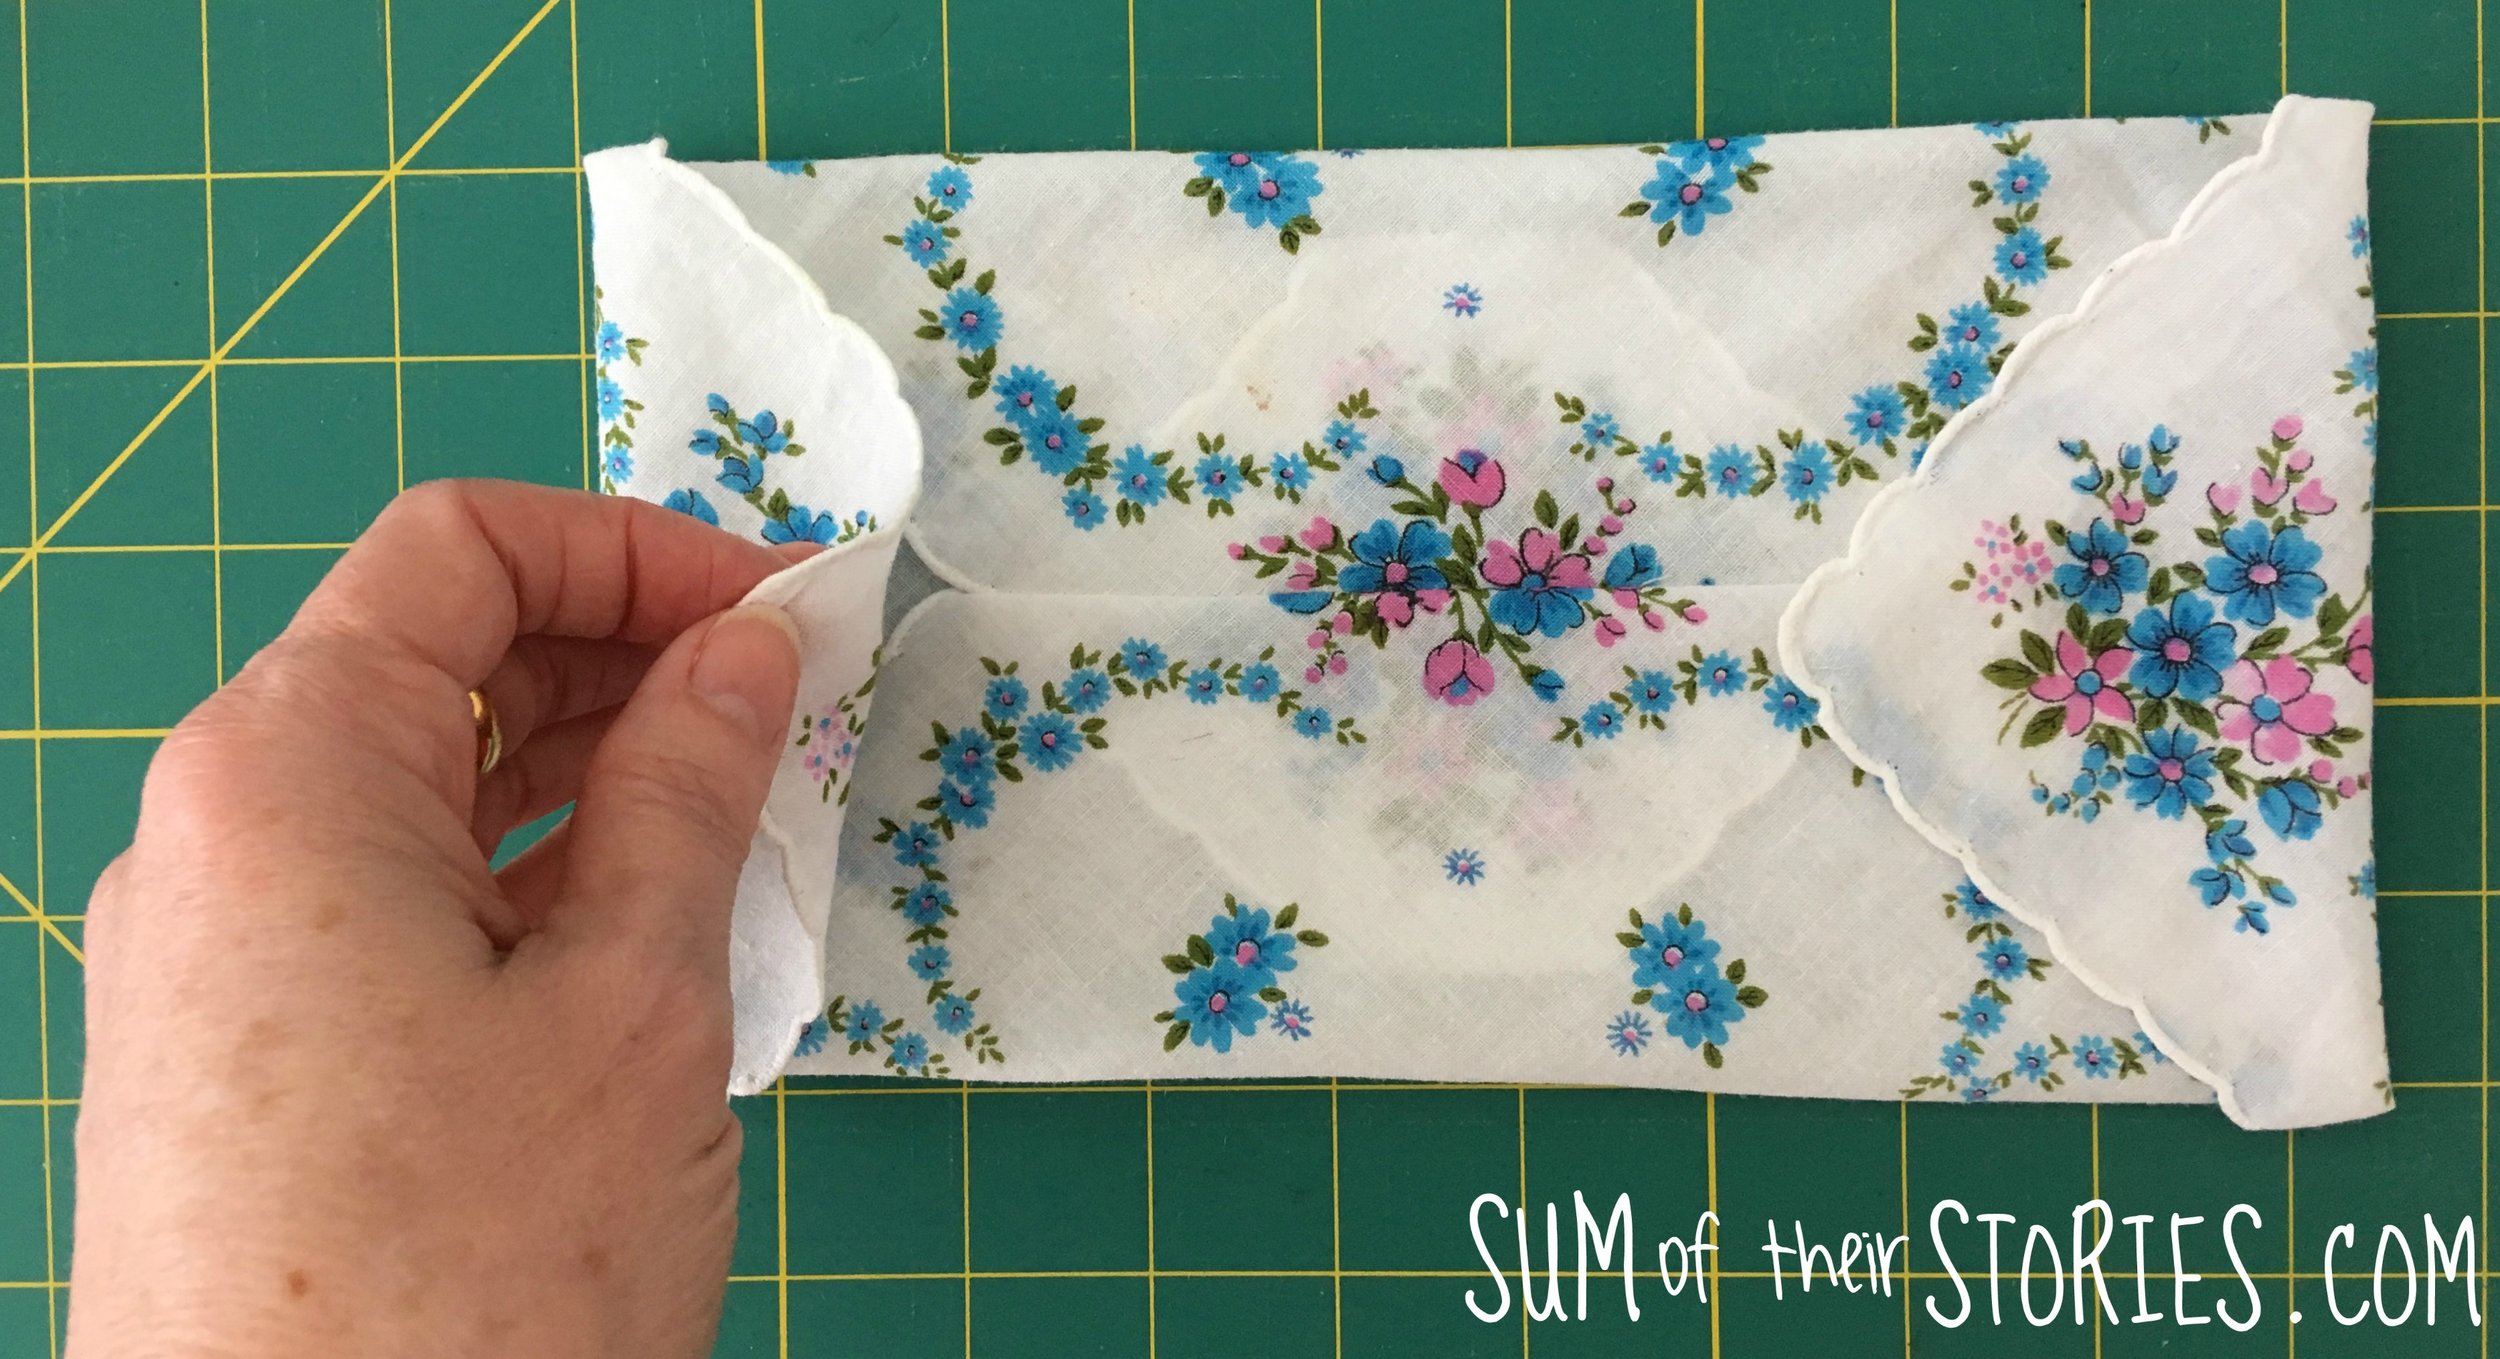
Fold the two outstanding corners in overlapping them a little with the inside edges. This is hard to explain, look at the photos. You want about 1cm or 1/2 inch overlapping up in the corners.
Stitch across both ends about 1 cm or just under 1/2" to form a channel. When you do these seams start about 1cm in from the edge and stitch backwards to the edge first before stitching the seam, repeat at the other end.

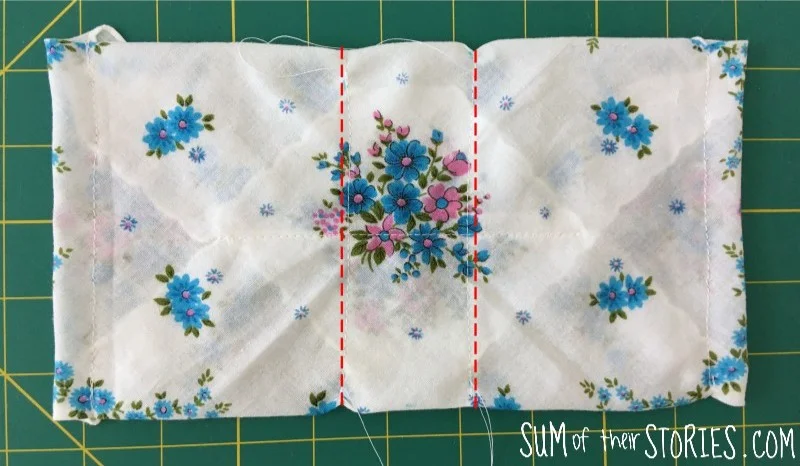
Now you are going to create the little pockets. Pin the flaps back out of the way and then stitch down the centre seam. (marked in red)

You can release the flaps now, remove the pins.
Fold the pouch in half and mark 3/4" in from the folded edge (the bottom not the edge with the channel) Repeat on the other side.

Unfold and then stitch across the width of the pouch on both lines.
Nearly there! Fold in half again, flaps inside.

Stitch down each side as close as possible to the edge. Leave an inch at the top edge.

Turn the pouch right side out and them flatten the corners and stitch across. The previous stitching will give you a nice line to follow.

Add a button to the triangle to hold it in place.

Cut 2 lengths of ribbon, you need them each to be approx 4 x the width of your pouch. Thread them through the channels, one of them one way, the other the other way. Tie them together in a knot, you could add a bead or two first if you like.

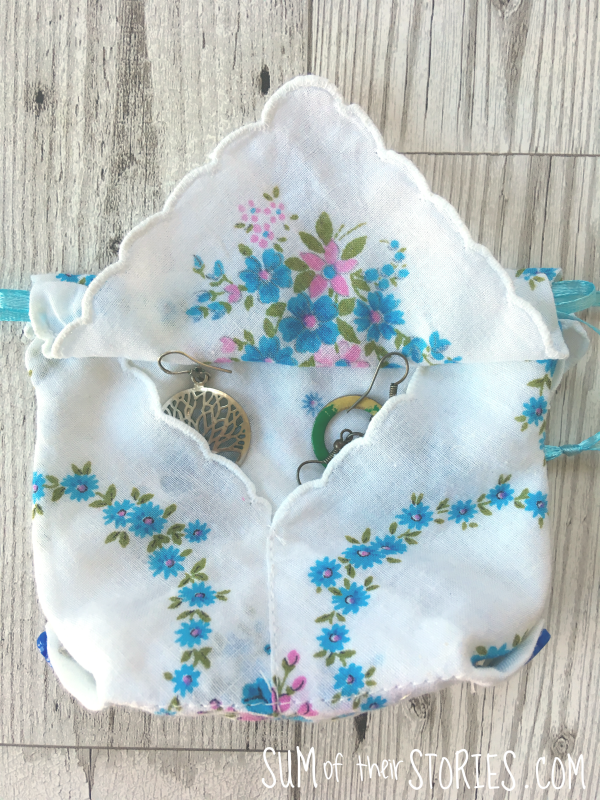
That's it, all done. you can keep your necklaces in the main drawstring section.

You can pop earrings or little items in the two small pockets on each side.


This was such fun to make. I never could have worked out the basics of making a bag like this without the original tutorial from Harujion Designs but I have really enjoyed adapting it.

I’ll be sharing this idea at these link ups.