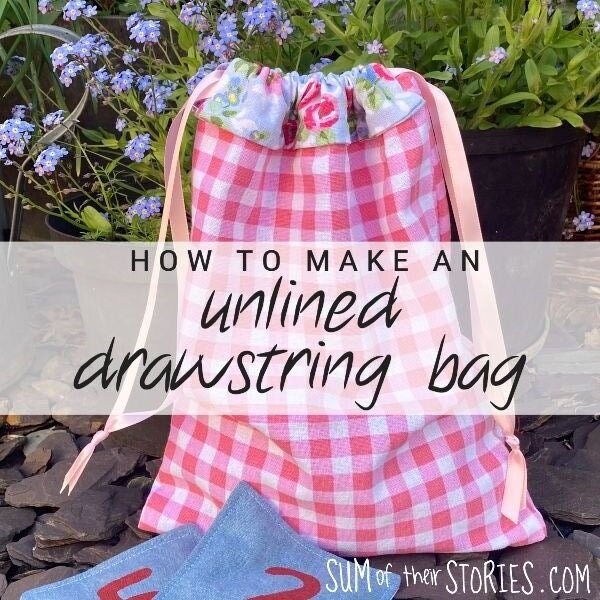
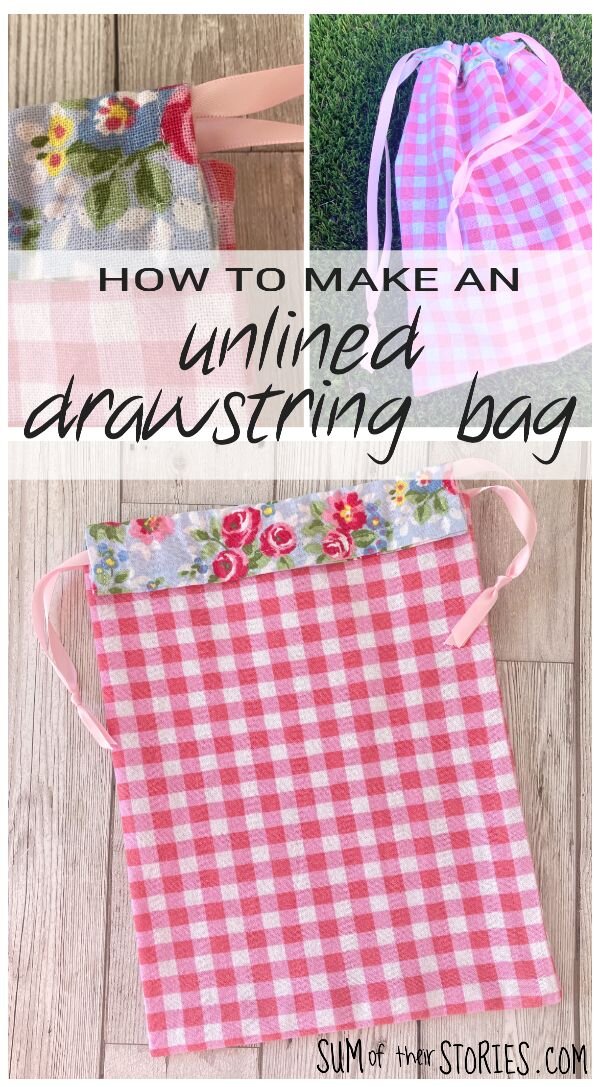
How to make a simple Unlined Drawstring Bag
/
A drawstring bag is so useful for all sorts of things and is really simple to sew.
In the past I’ve shared tutorials to make lined drawstring bags, like this drawstring project bag that also has handles or this simple drawstring toy bag tutorial. Lining a bag is my normal preference. I don’t have a serger or overlocker and I do like the inside of my makes to be as neat as the outside, so usually lining is the way to go. However if you have a fairly substantial fabric you might not want to add the bulk of a lining so it’s nice to have options. This drawstring bag tutorial uses enclosed french seams so that there are no raw edges and the inside of your bag will be as neat as the outside.
I like to make this bag using 2 contrasting fabrics but there is no reason at all why you can’t make it from just one if you prefer. You can use pretty much any woven fabric you like. Here I’ve used a fairly thick cotton which was actually once a couple of tea towels. Something like a cotton poplin or even a curtain fabric would work just fine. If you use a thick denim it might be a little tough to turn out the drawstring channels, but if you wanted to make a denim bag with a contrast slightly thinner cotton for the channels that could work beautifully.
How to make a simple unlined drawstring bag with neat inside seams
Let’s get started. This is a quick make, I reckon it takes about 30 - 40 minutes from starting to cut out to a finished bag!
This bag’s finished size is approx 23cm x 32cm including the drawstring channel. (9” x 12.5”)
You will need:
1 piece of main fabric 49cm x 32cm (19.5” x 12.5”)
2 x contrast fabric 24cm x 10cm (9.5” x 4”)
2 lengths of ribbon or cord, each 76cm (30”)
Start by making the main bag piece

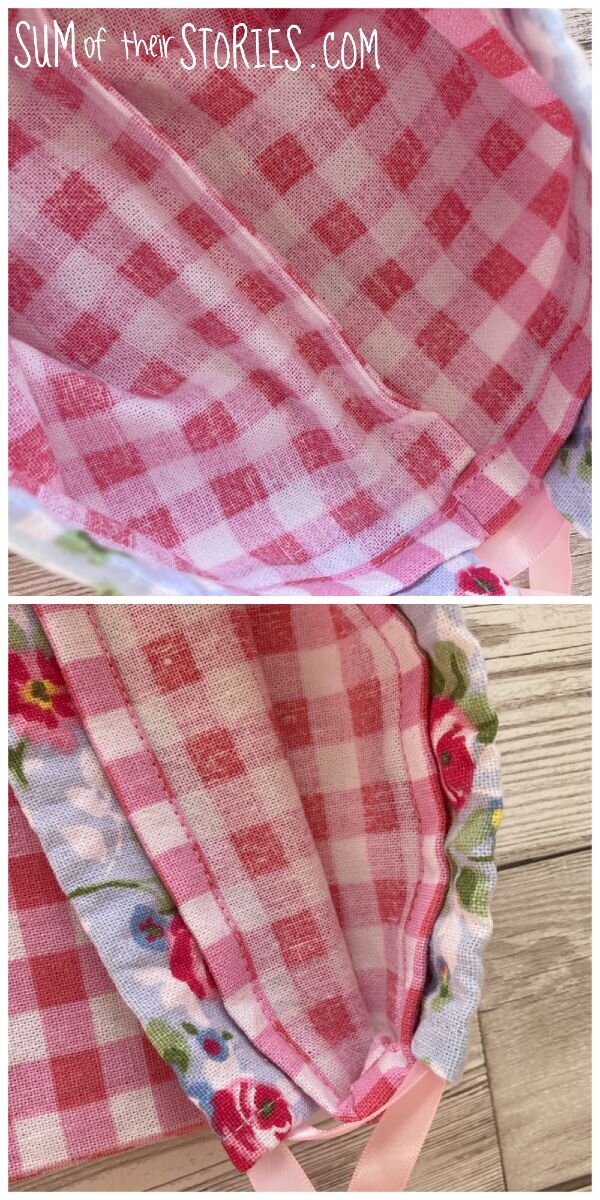
Fold your main fabric wrong sides together so the shorter edges are together and sew around the side and bottom using a narrow seam allowance - about 1/2 cm (1/4”) or so.
Trim the corners and then turn the bag wrong sides out. Press. Sew the same seam again taking a slightly larger seam allowance, about 1cm (3/8”)

When you turn the bag back to right sides out the inside seam will be all enclosed. Nice and neat!
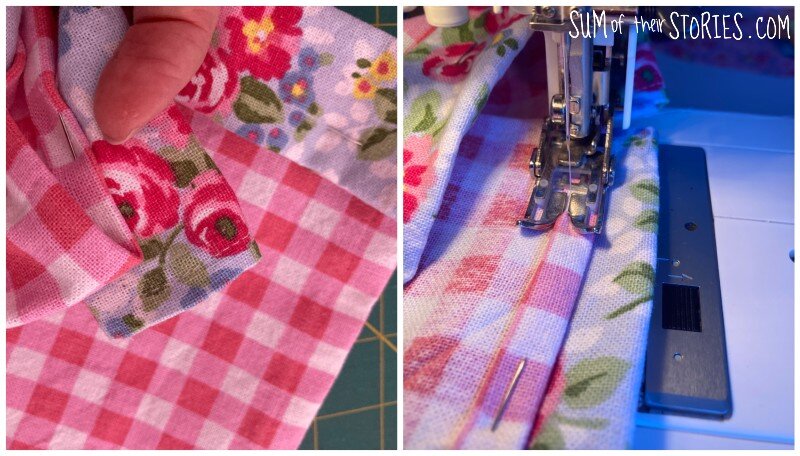
Now make the drawstring channels
Take one of the drawstring channel pieces and create a narrow double hem at each short end and stitch.
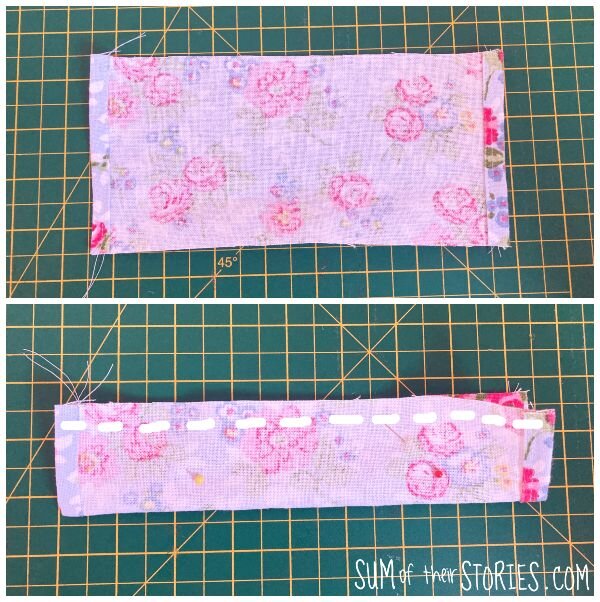
Fold in the piece in half right sides together so the long edges are together.
Stitch along the long edge with a 1cm (3/8”) seam allowance.
Turn the tube right side out and press.
Repeat for the other drawstring channel piece.
Attaching the drawstring channels to your bag
Turn a narrow double hem on the top edge of the bag piece and press.
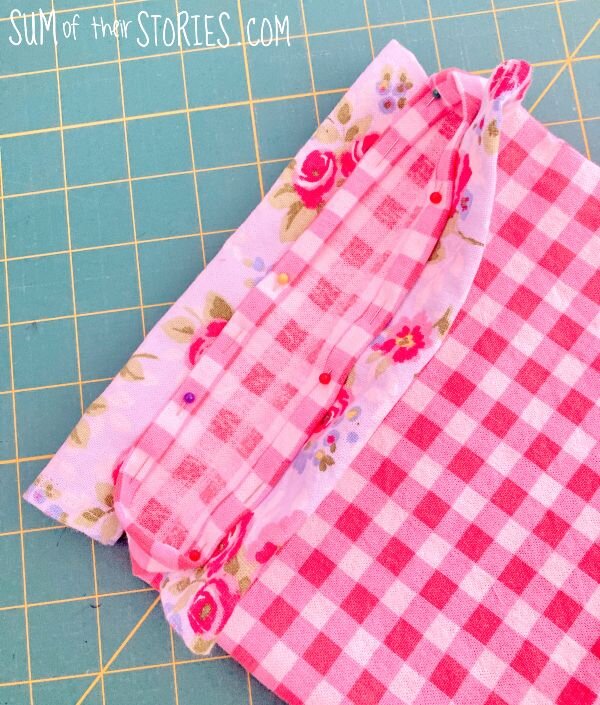
Position the drawstring channel pieces on top of the bag, on the outside, lining up the tube so it overlaps the top of the bag by about 1cm. Stitch along the top of the bag - hemming the main bag piece and attaching the drawstring channel “tube” piece at the same time.
Take 2 lengths of ribbon, each one 76cm and thread them through the channels in opposite directions. Tie the ribbon ends together in pairs and seal the ends with a lighter if necessary.
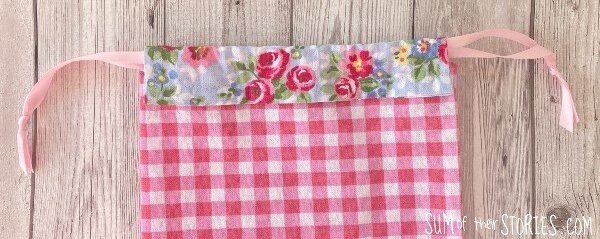

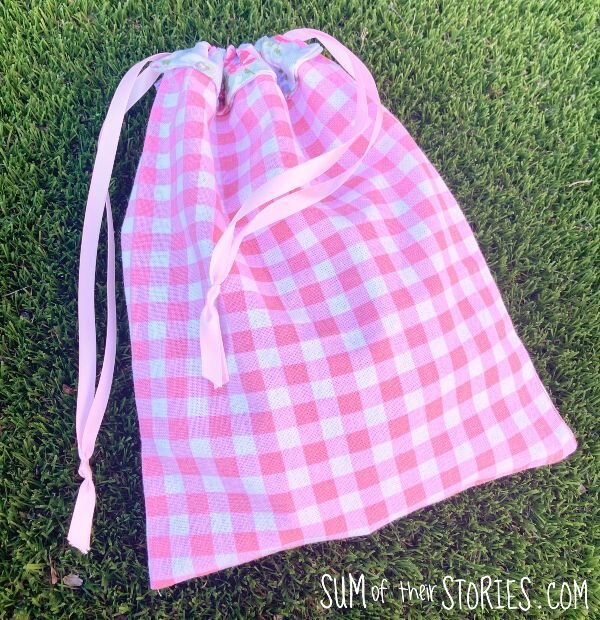
That’s it, boom! You’ve made a drawstring bag that’s all neat and tidy with no raw edges, as simple as that!
You can use this method to make a drawstring bag of any size, just scale it up or down to suit you. I wouldn’t make it too much smaller though, as stitching around the top to hem and secure the channel would be really tricky if the bag was too little. Scaling it up should be no problem at all.
I used this bag for an outdoor bean bag game but you can use them for so many different things. They are ideal to store toys, shoes, playing pieces for a board game, a crochet or embroidery project, anything that needs to be kept in a beautiful drawstring bag.
Julie
I’ll be sharing this tutorial at these link ups.
You might also be interested in: