How to make your own Mosaic Art Canvas
/How to make your own simple Mosaic Art.
Before I show you how I made this simple mosaic art let me tell you the background to this upcycling project. Feel free to just wizz down to the tutorial if you’re not interested, I won’t be offended!
My paternal grandma, Ellen passed away about 24 years ago. I remember her and celebrate her creative inspiration every year on what would have been her birthday with my "their stories" series. She was an enthusiastic artist and became what I can only describe as extremely prolific in her retirement. Whilst she was still alive she regularly gifted her paintings to all members of the family so I grew up seeing her art everywhere. She tried many different styles, joining various art clubs and classes and it clearly brought her a lot of joy.

My aunt had inherited boxes and boxes of paintings and following a house move a few years ago she and I discussed what we could do with them. It was important to both of us that they not just be thrown away, but we agreed leaving them in boxes wasn’t great either. There were quite a lot of repeats, where she had painted the same thing multiple times. There was just such a lot it was almost overwhelming, literally hundreds of paintings.
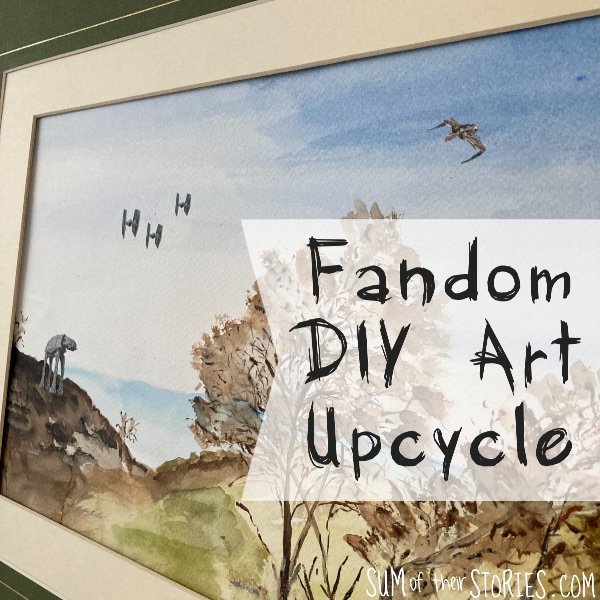
I’ve done a few things with these paintings, the first I have ready to share with you is this mosaic art idea. (Update: another idea is now here - Fandom DIY Art Upcycle)
This does involve cutting up paintings. If you don’t like that idea please look away now - this is not for you!
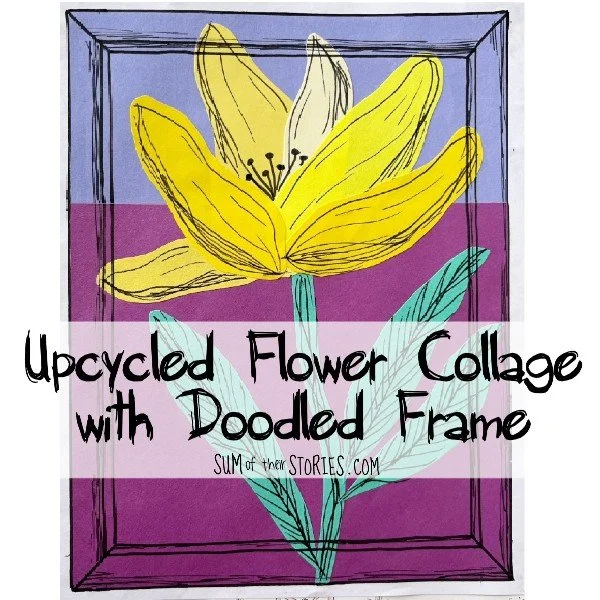
If you have not been lucky enough to inherit boxes and boxes of paintings you can make similar art from scrapbook paper, magazines, thick quality wrapping paper, kids paintings or old greeting cards.
Now that the back story is out of the way let me show you how to make your own mosaic art canvas.
How to make simple Paper Mosaic DIY Art
To make your own mosaic art canvas you will need:
An old canvas
Old paintings (or greeting cards, scrapbook paper etc)
Glue, I tried both Mod Podge and Glitter Art Glue
A tape measure
Wax - you only need this if you are making art with watercolour painting
First we have to do some maths - sorry about that!
Start by measuring your canvas and find a number that divides into both the length and the width. You are looking for what I believe is called a common factor.
I’m in the UK so I did my measuring in cm but it doesn’t matter what unit you use. My canvas measures 60cm x 50cm so 5 is a common factor.
Cutting the mosaic pieces

Using the guillotine cut LOTS of squares the size you have calculated. Mine are 5cm x 5cm of course.
As you cut squares it’s a good idea to sort them into colours. I had plenty of room to spread out so I just placed mine in piles but it would be a good idea to divide them into bowls or containers of some sort, especially if you are making your art over several days.
Cut way more than you need too, if you have enough source material. It’s nice to have plenty to play around with once you start to arrange them.
If you don’t have a guillotine you could use a ruler, pencil and scissors but honestly, if you do any kind of papercraft a guillotine is such a good investment. Getting straight cuts, 90 degree angles etc is a breeze.
Once you have cut a huge number of squares it’s time to decide on your arrangement.
Arranging the pieces
I had a few ideas for arranging the painting squares and tried a couple out in the end.
You do could completely random and just place the squares however they fall. I would recommend not having 2 squares from the same source right next to each other though, you are mixing up the paintings not recreating them!
Dark to light; you could start with darker shades on one side on the canvas, mid shades in the centre and lighter shades on the other side. The same idea would look good top to bottom too.
A rainbow, start in one corner with one shade and gradually change through the colours in bands until you reach the opposite corner.
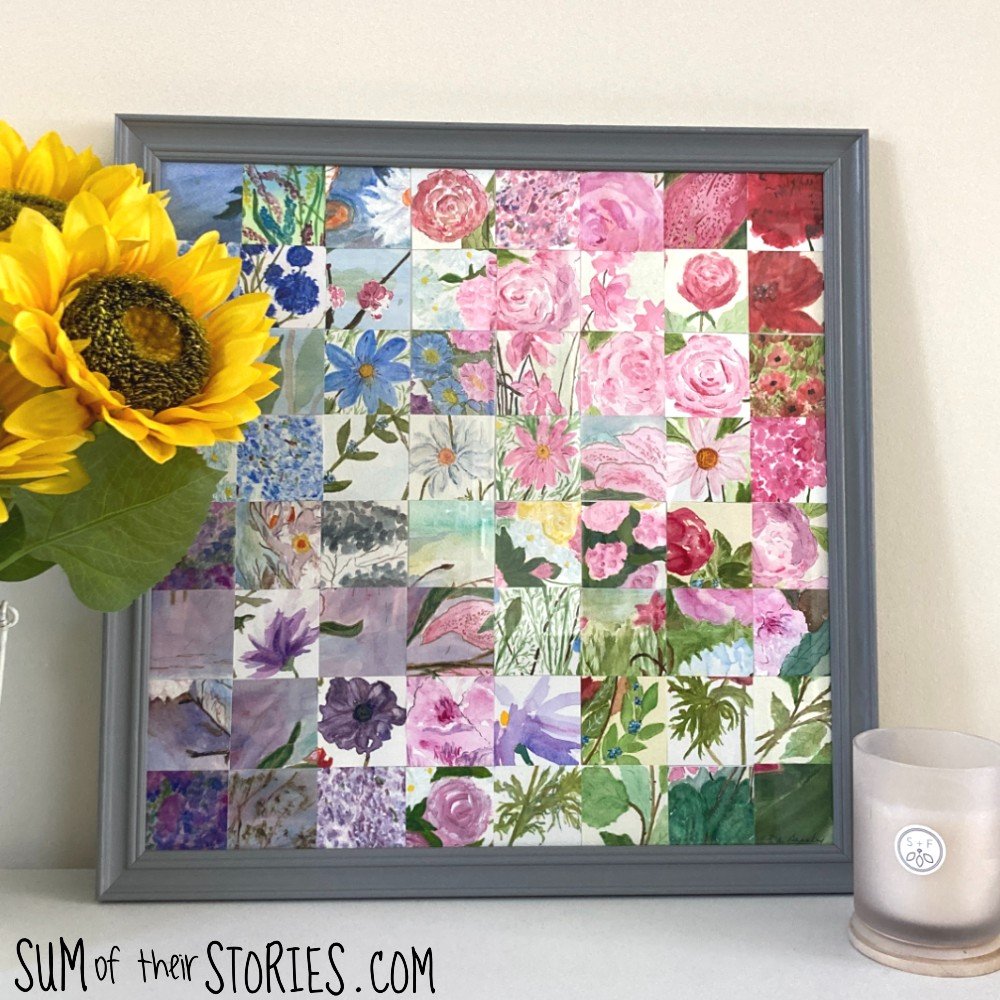
A light centre, darker shades around the outside. This is the idea I tried first. It’s inspired by Coventry Cathedral baptistry window which I have mentioned here before.
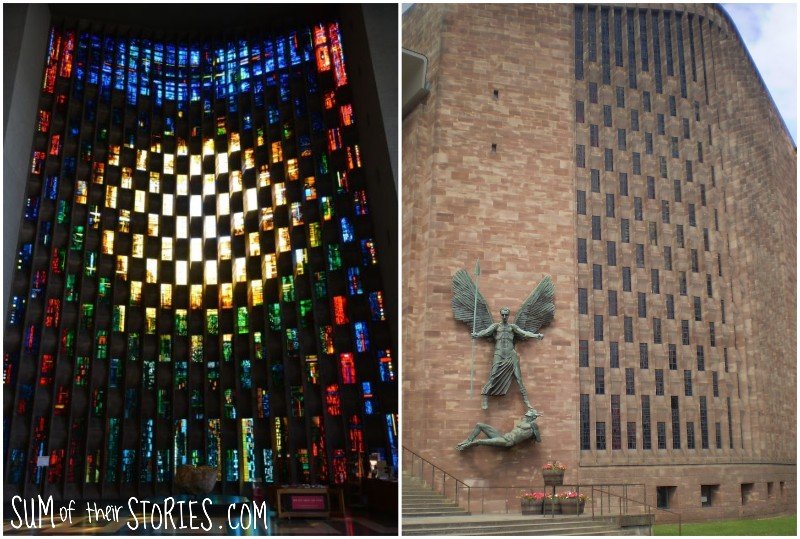
I’m from Coventry, of Lady Godiva and “sent to Coventry” fame, right in the very middle of the UK (so yes I do have a very slight Peaky Blinders type accent!) One of my favourite Coventry landmarks is the Cathedrals; the old, bombed one and a new one was built alongside in the 1960’s and especially this gorgeous stained glass window. To be fair this photo really doesn’t do it justice, it’s much more inspiring in real life.
Can you see how the window inspired the canvas? The lighter squares in the centre and the different colours round the outside.

Spend plenty of time arranging your squares until you get an arrangement you are happy with. I spent quite a while on this stage, taking a piece out, trying a different one in its place. It’s worth getting it right. Try squinting at the canvas now and again, sometimes it’s easier to see a square that just doesn’t fit right if you make the whole thing a bit fuzzy.
TOP TIP - at this stage take a photo. Just in case a gust of wind from an open window or a slammed door sends your pieces fluttering!
Glueing on the pieces
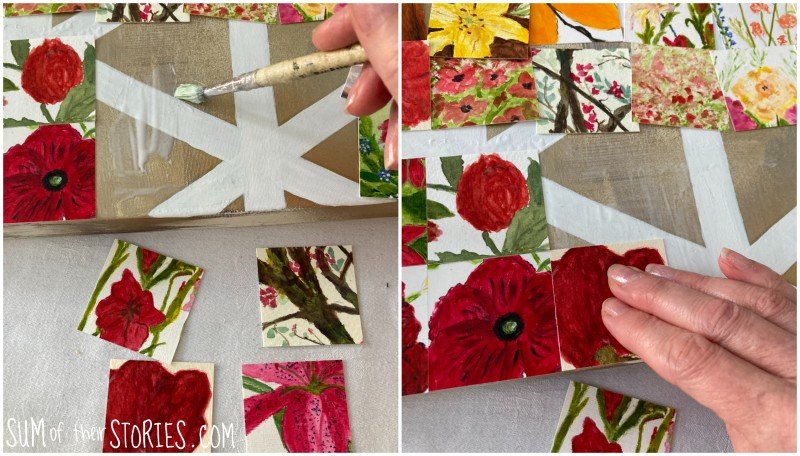
Remove the squares 4 at a time, apply some glue underneath and the fix them into position.
I found it easiest to work in small blocks like this. It was easy to remove just a few squares at a time and not muddle them up.
You can see in these photos that I am upcycling an old canvas that I painted a number of years ago. This geometric DIY art had been on the wall since 2015 so we were due a change.

For this first canvas I used Mod Podge as my adhesive. It worked well and fixed the paper squares securely but it is quite a wet glue and so the paper needed to be pressed down as it dried to avoid the corners curling up. I found a super high tech solution for this; I placed a couple of books underneath to fill in the gap under the canvas and placed my chopping board on top! It was easy to move the board around as I moved my way steadily across the canvas glueing down more squares.
Sealing your artwork
Leave your art to dry completely. You can hang it just as it is or you can consider sealing it, just to make it longer lasting. A canvas will get dust on it over time and you want to be able to wipe that off without it marking or damaging your art.
This was especially important to me and this art made from my nan’s paintings of course, I want this to last. If you’ve cut up old magazines or used scrapbook paper it might not feel so precious and you might feel happy to leave it as is.
How you seal your art will depend on what you have used to make it. A spray on varnish or sealer might be ideal for some finishes.

My nan’s art was almost all watercolour and I was very concerned that anything water based might cause the colours to run or smudge. I did some research online and found a product called Cold Wax Medium. You can rub this over watercolours, nothing smudges at all (honestly it’s quite remarkable!) and it forms a invisible layer that protects the art from dust, grime and from fading. I bought mine from a local specialist art shop.

Once the sealing process was complete the mosaic art canvas was ready to hang. This one went to my Aunt, who had the boxes of paintings originally and now hangs in their house.
It was at this moment I knew for sure that I had not made a terrible mistake when I started chopping up these paintings. I bloomin’ well LOVE IT and I know for sure that my nan would have got a real kick out of knowing her “spare” paintings had undergone a makeover.

I had enough squares left to do another picture, this time in a frame with glass so no sealing is needed. This second piece has gone to my cousin, my nan was his nan too!
Even after these 2 pieces are art were finished I still had a whole load of paintings, some now partly cut up, some still untouched. Time to make a piece of art for our house.
For this last mosaic art I found an old canvas at the charity shop that was just the right size for our bedroom wall. It has replaced the old Geometric art that I repurposed for this first mosaic.
The canvas I bought measures 65cm x 48cm so finding a common factor was more tricky. I went for rectangles instead of squares, 5cm x 4cm, it was just easier to calculate and I really like the slightly different look it gives. Our bedroom is decorated in pale shades, mostly white, cream and gold so I selected bits of the paintings with paler shades.
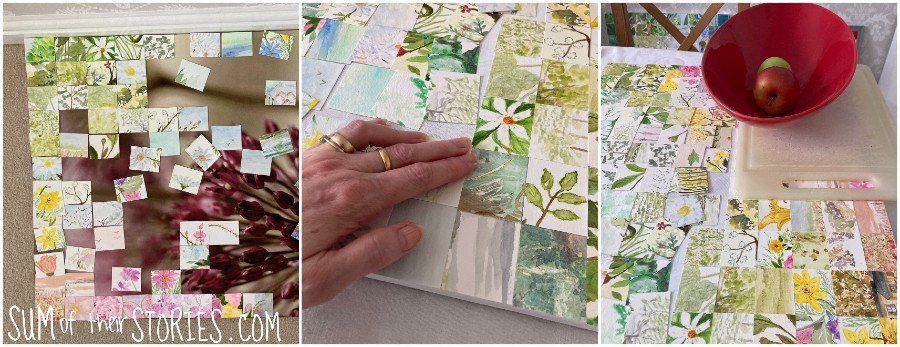
The method was exactly the same as before; more time spent arranging the pieces to make sure they were right than anything else. Then gradually moving a few at a time to glue them down. This time I used Art Glitter Glue (it’s not glittery, that’s just its name and it’s a really popular glue in the card making world) It’s another PVA but not as wet and a little really does go along way. I still used the chopping board to press it down as the glue dried though and added the fruit bowl for extra weight! Honestly, both glues worked well so I’d say just use what you have.
This canvas had a layer of wax as before and now it hangs in our bedroom. As I am really very shortsighted I get to see a fuzzy version of it as I wake up every morning, then I see the crisp clear version once I put my glasses on!
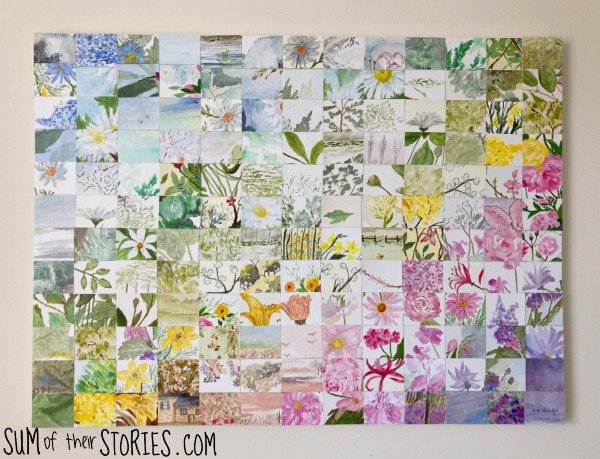
You can see that for this canvas the colours drift into one another in diagonal stripes.

My nan signed almost all her paintings so I made sure that whatever the colour placement there would be a square with her signature in the bottom right corner of each new art mosaic.

Like so many upcycling projects the first cut is the hardest. I confess to feeling a little worried to actually cut up someone elses paintings, but honestly the sheer volume of paintings we had to work with and the desire both my Aunt and I had to DO something with them made this a no brainer in the end. The fact all 3 new pieces of art turned out so well is a bonus.
My Aunt has kept over 20 of my nan’s paintings, most are already framed, some she has on display and others she is keeping in case other relatives want them sometime. Most are the most successful version of the paintings I’ve cut up here.

We have 3 of her pieces on display in our house as well as the new canvas of course.
I’ve got 2 more art makeover projects to share with you soon, I was not kidding when I said we had a LOT of these paintings! I just know my nan would have been delighted that we are still enjoying her art.
Are you a painter? How would you feel about your spare paintings being turned into a mosaic?
Julie
I’ll be sharing this idea at some of these link ups
You might also be interested in: