Simple Clock Makeover with Glitter Stickers
/I have really enjoyed giving this old clock an makeover, the results are even better than I had hoped and it cost me next to nothing!


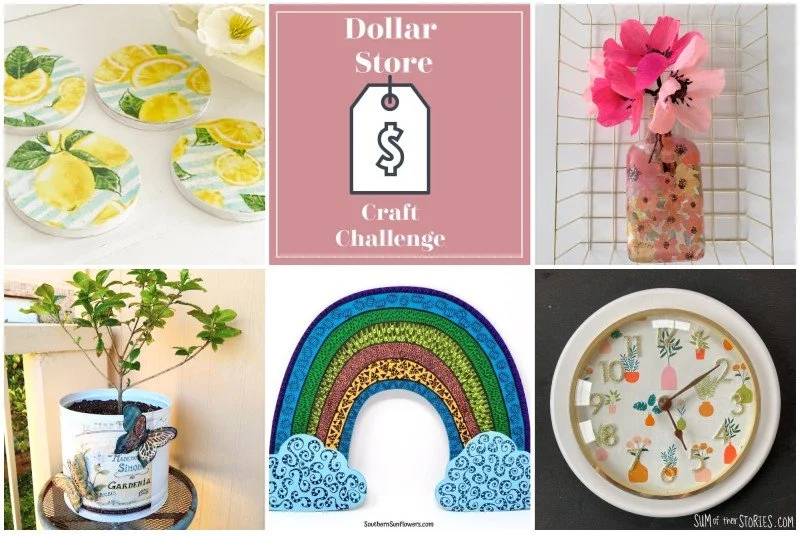
Today I’m joining a group of fellow creative bloggers with a Dollar Store Craft Challenge.

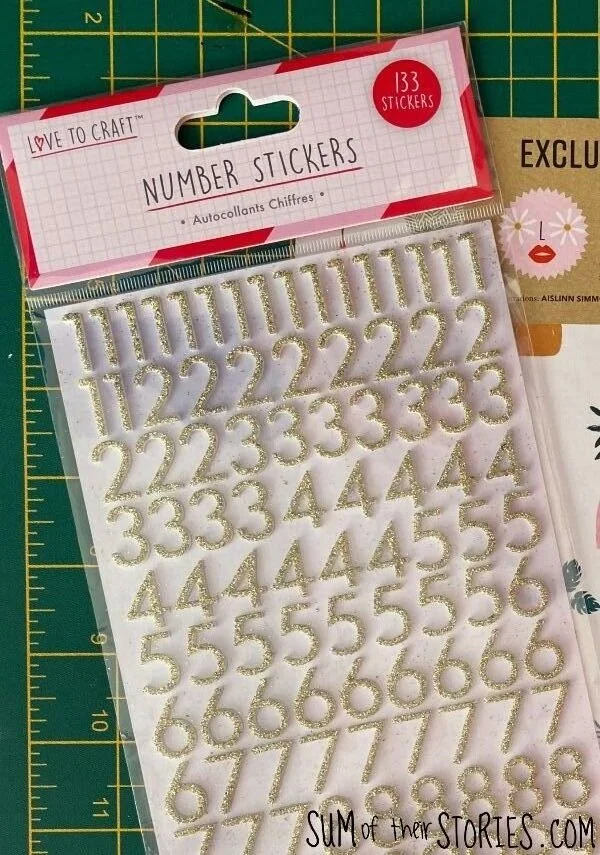
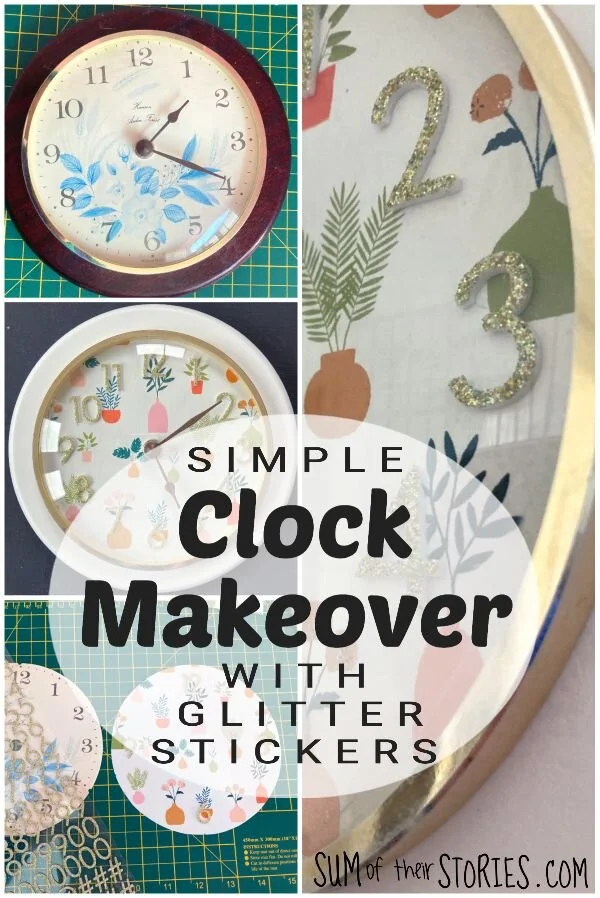
I don’t shop in Dollar Stores much, well not at all actually as I’m in the UK and we have £ shops, but I don’t shop in those much either! Our £ shops here seem to have a lot of cheap plastic tat, so I generally prefer a charity shop, but just sometimes you can find a real gem in a £ shop, especially in the stationery section. Our local Poundland stocks these lovely glitter stickers, I’ve bought the alphabet ones in silver before but for this project I picked up some gold number stickers. These glitter stickers are similar to mine.
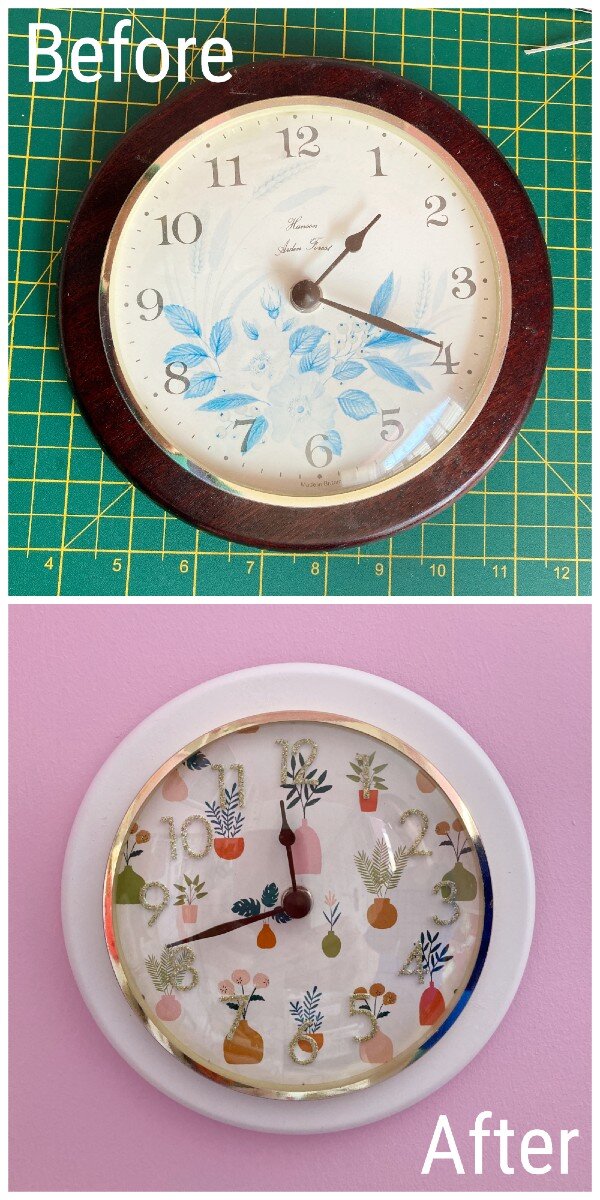
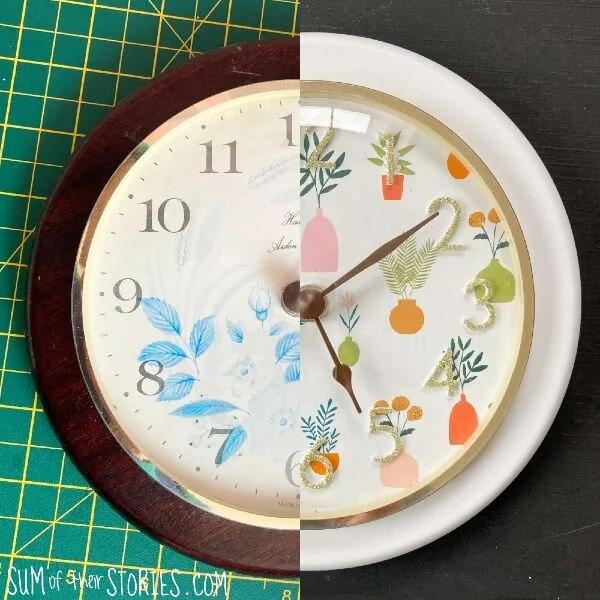
This was the state of the clock when I started. Not adding a lot to the beauty to its environment really was it?
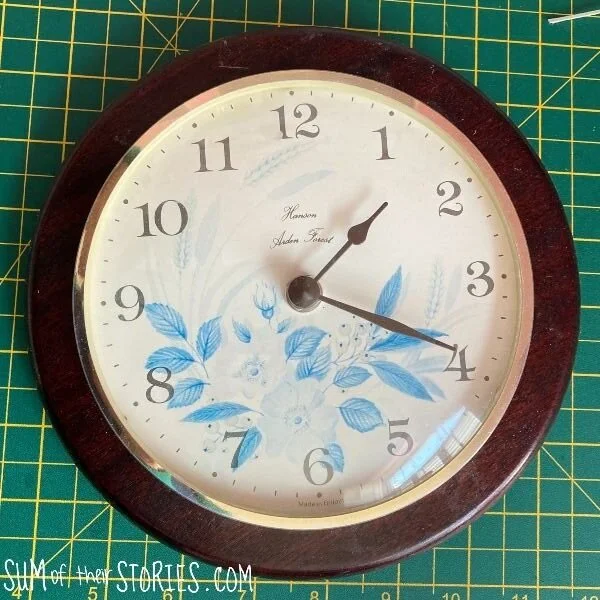
This clock was actually ours, in our kitchen when we first got married back in 1992, probably from Argos as most of our stuff was from there. Back then it was a little bit less faded! If I remember rightly the colours were quite autumnal, with golds, greens and possibly pinks or reds. It had been on the wall in my Mother in Law’s until she moved recently and didn’t want it any more. I can’t blame her to be honest!
It still works so it’s perfect for a makeover. No need to waste a perfectly good clock right?
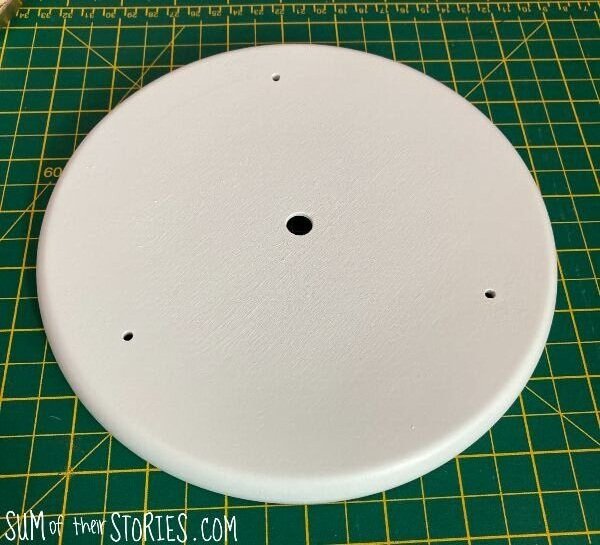
Prepare the clock
The first thing I did was prise it apart, the plastic dome came off really easily and it turned out the picture and numbers were just on a circle of card. I put all the bits of the mechanism in a ziplock bag so nothing important would get lost.
Give any wood a light sanding before painting.

Decorate the clock
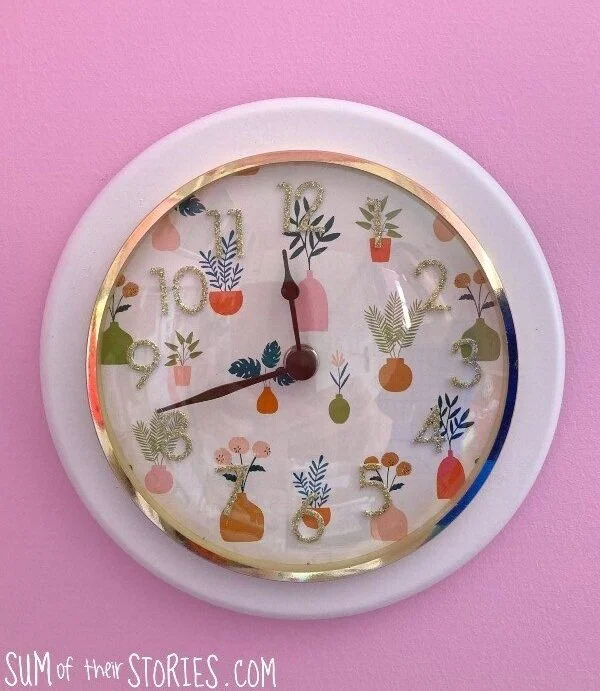
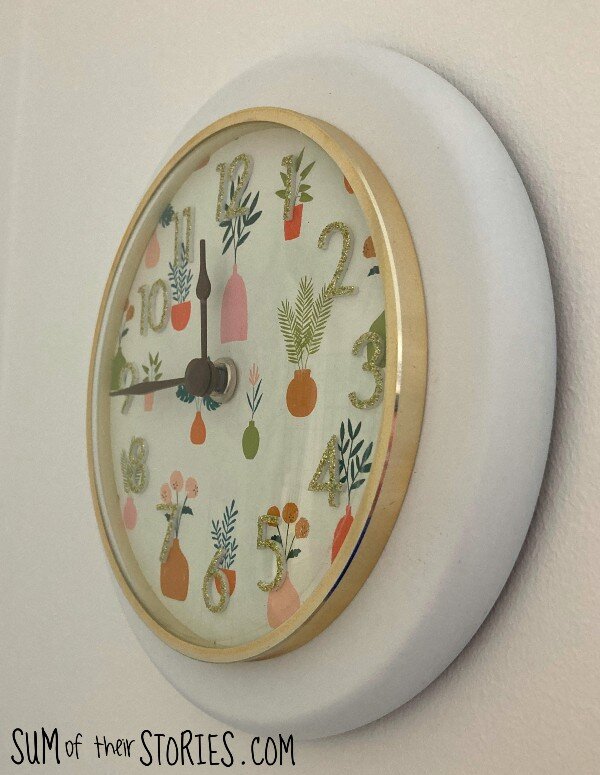
I gave the wooden base a few coats of white chalk spray paint until it was completely covered. I lost track a bit but I think it had about 4 light coats until the dark brown was all gone.
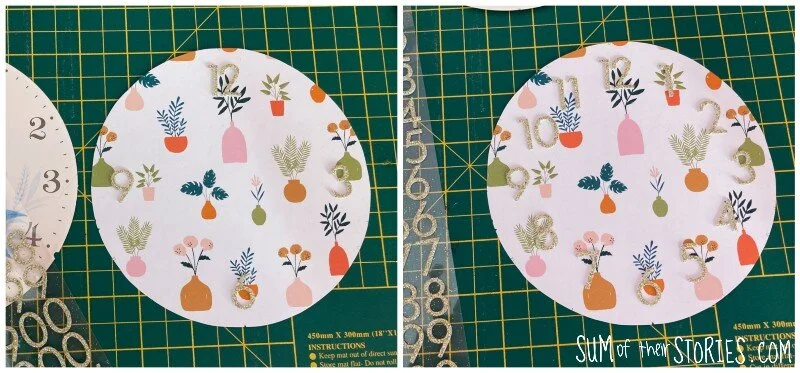
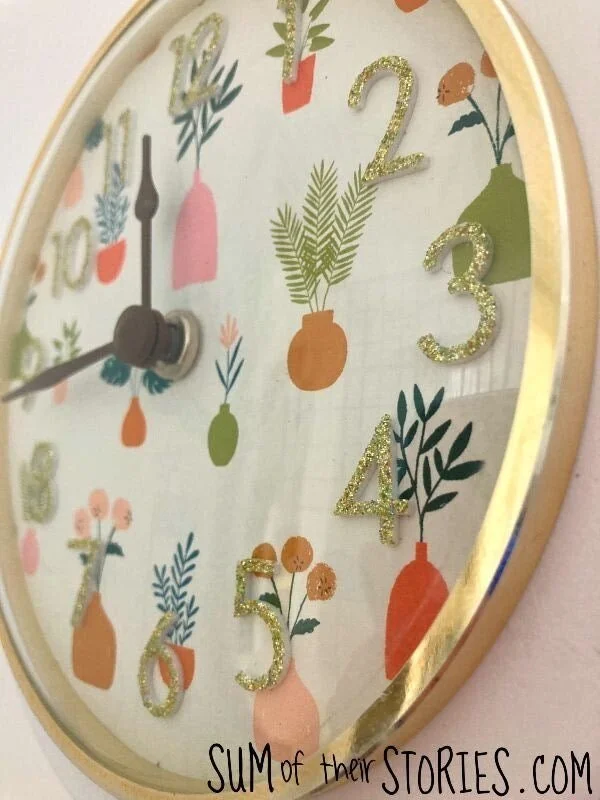
Next I chose some pretty paper from my stash. This was a paper from Mollie Makes magazine from a while ago. Every issue of Mollie Makes has a few pages of patterned paper that can be used for all sorts of craft projects. I usually use them for cards but still have quite a stash as I subscribe to Mollie Makes and get a copy every month.

I just drew around the original card circle to get the new paper the right size and then cut it out.
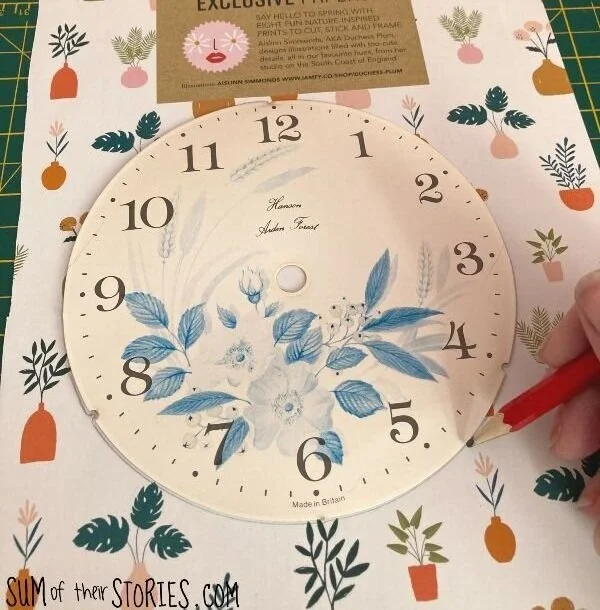
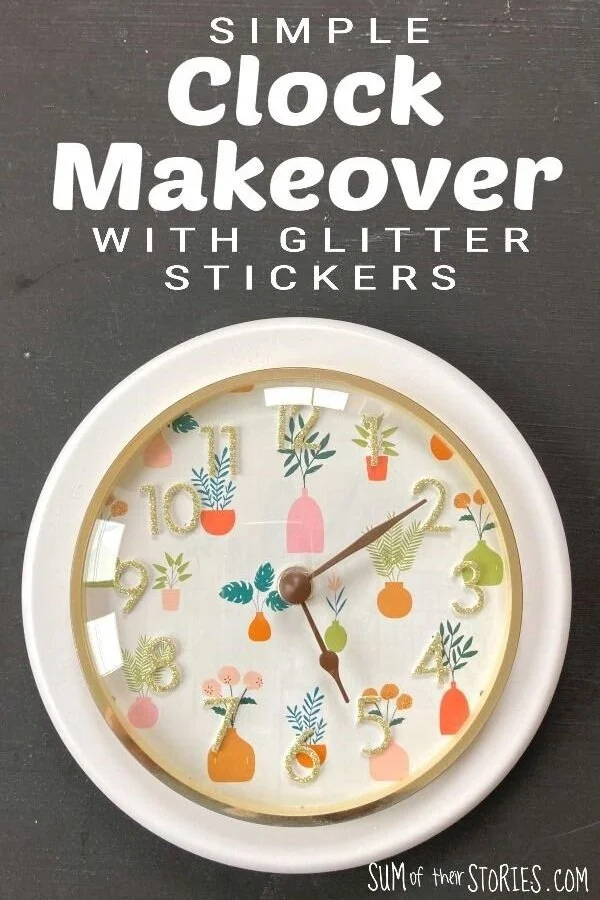
I used the old clock face as a guide and just fixed the sticker numbers in the right places. It’s easier if you do the 12, 6, 9 and 3 first then fill the others in inbetween.
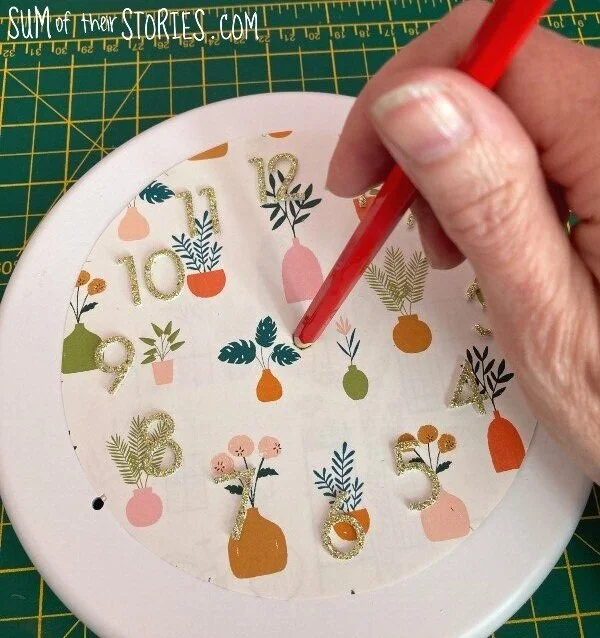
Then all I needed to do was place the new clock face centrally on the wood, and remake the centre hole with a pencil.
To finish I just reassembled the clock and replacing the plastic dome - after it had had a good wash in hot soapy water of course!
It’s quite hard to take photos without lots of reflection. If this was a picture frame I’d just remove the glass but here the dome is an integral part and the paper is all floppy when it’s not there to hold it all together so reflective photos it has to be!
Julie
I’ll be sharing this project at some of these link ups.

Now check out the other participants in the Dollar Store Challenge and see what clever and creative ideas they have come up with.
Purple Hues and Me - DT Wire Tray Wall Decor
Coastal Bohemian - Upcycled Brass Planter
Southern Sunflowers - Painted Rainbow Zentangle Art
Sum of their Stories - Clock Makeover with Glitter Stickers (you’re here right now!)
If you like this clock revamp idea then you might like to take a look at some of these other makeover projects.