
Easy Switch Photo Frame Upcycle
/
It’s always nice to display your favourite photos on the wall, even better if they are easy to switch out now and again for a change.
Today I’m sharing an idea to upcycle an old picture frame and some pretty fabric to make a lovely way to display your photos that makes it easy to change the photos whenever you want to.
I’m joining the Do It Over Designer Challenge with a picture frame upcycle. This month the theme for the Do It Over Designer Challenge is FREE TO 5, so we are all transforming something we spent less than $5 (or in my case £5) on.
I don’t know about thrift stores and op shops where you are but here in the UK our charity shops almost always have a basket or box under a shelf or in a corner that is full of picture frames.
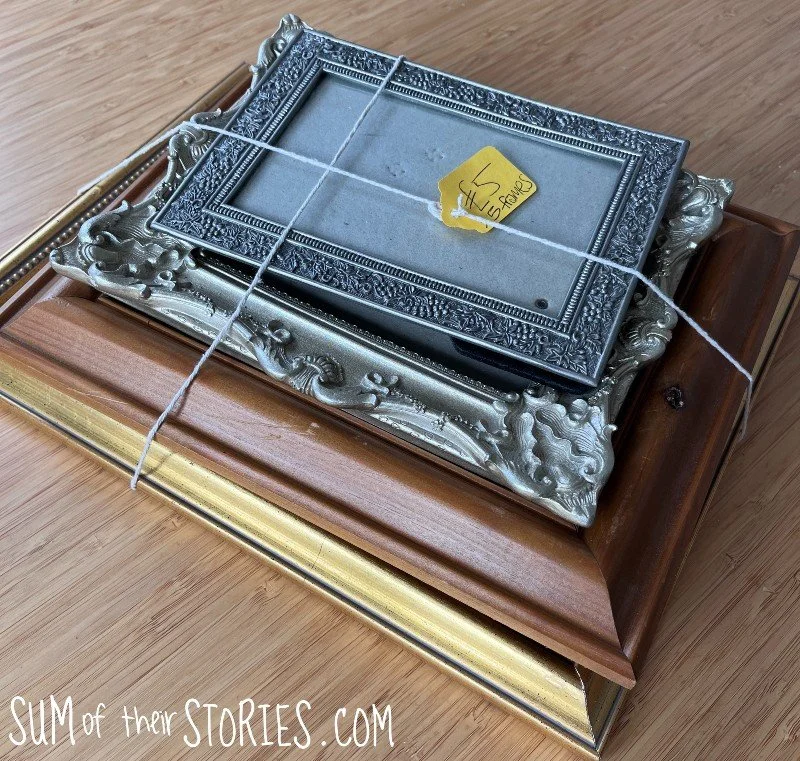
I came across this bundle of frames for £5 a few months ago. There is a mix of sizes and some of the frames are without glass - I’m guessing that’s why they ended up in a bargain bundle.
This fairly large frame - it’s 34cm x 26cm (13.5” x 10”) - made of gold painted wood has no glass and felt perfect for a makeover.
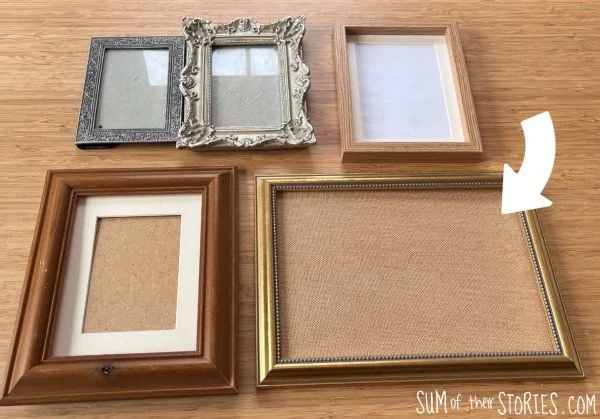
Because this frame has no glass it’s ideal for something with some padding or depth.
I thought a lightly padded fabric background, a little like a pin board type idea would work but instead of pins to hold photos in place I could fashion some sort of fabric, thread or ribbon corners. I was imagining something a bit like those of photo corners that used to be used in photo albums back in the day.
This idea has been knocking around in my head for a few years now so it’s been really good to actually make it happen. That’s one of the nice things about challenges like the Do It Over Designers Challenge, it forces me to dig out these random ideas and turn them into reality.
How to make a Fabric Frame Upcycle so you can easily switch your photos in and out
We are going to turn an old picture frame into a frame that holds a photo in place that can be switched out for a different photo quickly and easily. I found a particularly pretty embroidered fabric for my frame so I only ended up putting space for one photo in it but you could add several photos if your frame has space. If I show you my original sketches in my ideas notebook you’ll see what I mean.
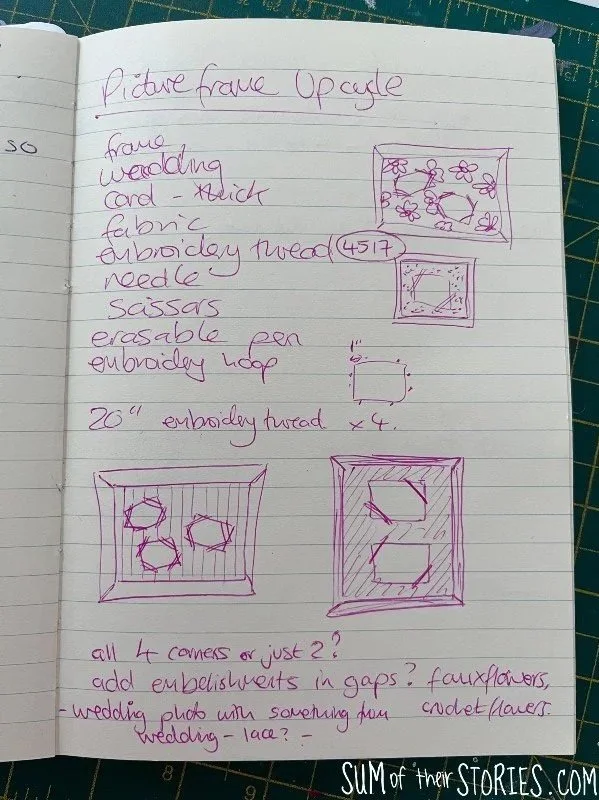
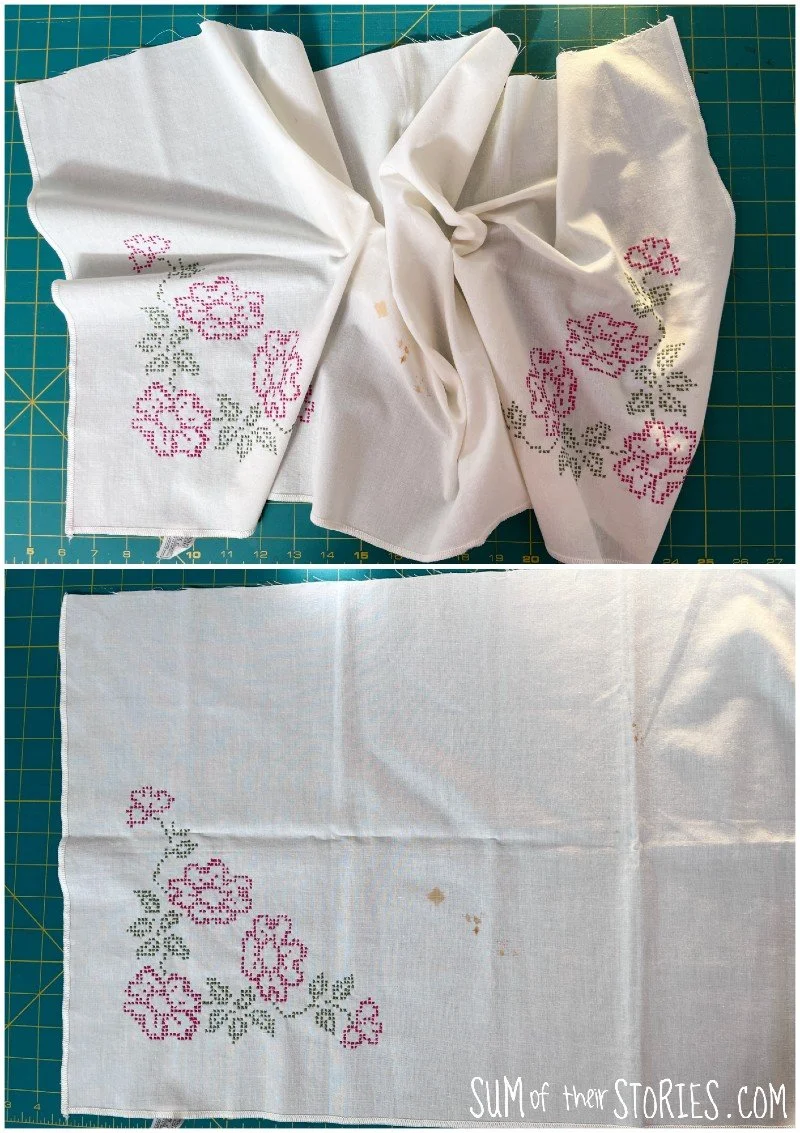
Originally I thought I would use a vibrant print fabric for my frame but then I pulled out this old embroidered table cloth and thought it might be perfect, especially with an old photo. I’d used part of it before for another vintage doily table runner and although this has a few stains on it I thought I could easily work around them.
To make a fabric easy switch photo frame you will need:
an old picture frame - one with no glass is ideal
a piece of thick cardboard
wadding/batting - you want the thick lofty polyester stuff ideally
fabric
embroidery thread
needle, scissors and embroidery hoop
glue - I used Art Glitter Glue (it’s not glittery!) but something like High Tack or Aleenes Tacky Glue will work well too
Start by taking the back out of your old picture frame and use that as a template to cut a piece of thick card to the same size. My card was the back of an old sketch book.
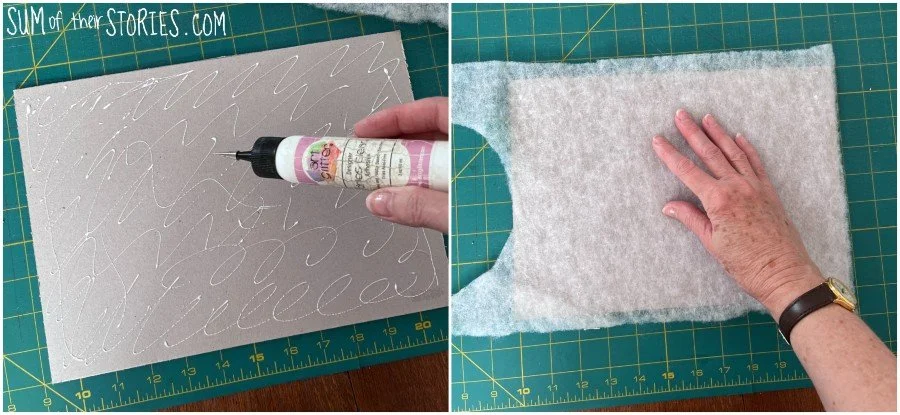
Cover the card with a thin layer of glue and then stick down a layer of wadding/batting. Once that is dry trim off any excess wadding.
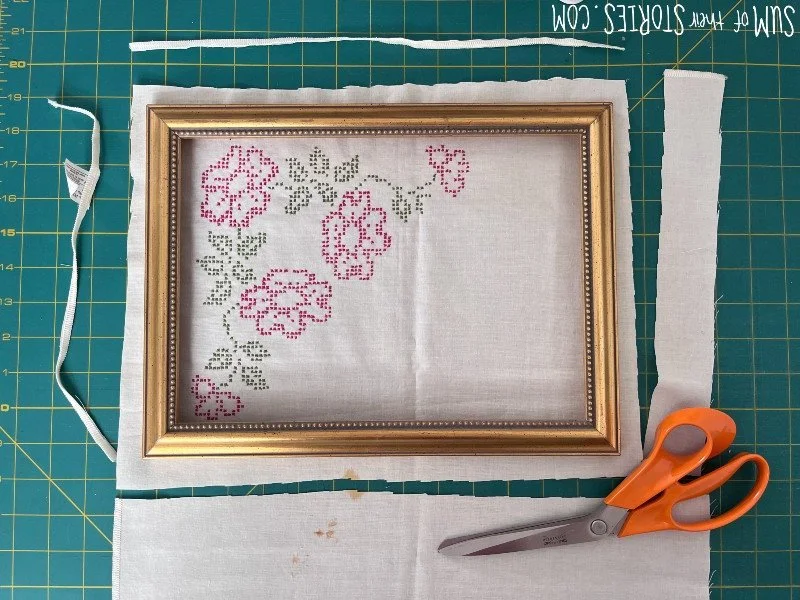
Position your fabric with the empty frame on top to decide on a nice position and trim the fabric so it is slightly larger, you want an approximately 1” border all around the edge. You can see how I cut my fabric to avoid the stains on this old table cloth.
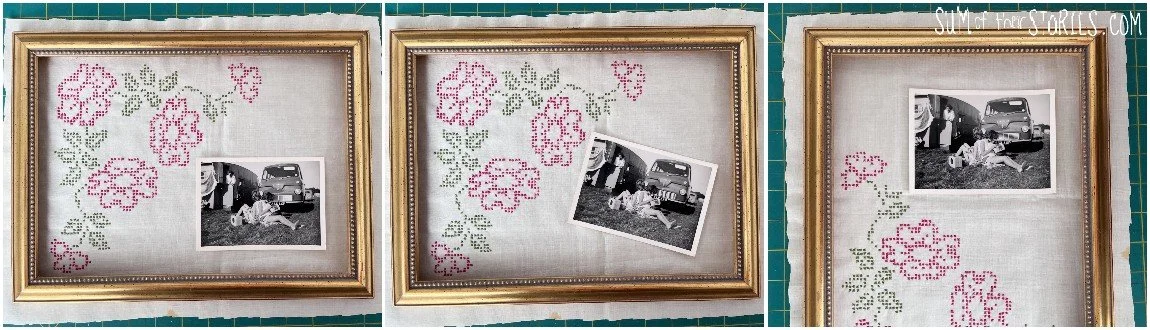
Decide on the positioning for your photos by laying a snap or two on top of the fabric and playing around until you are happy.
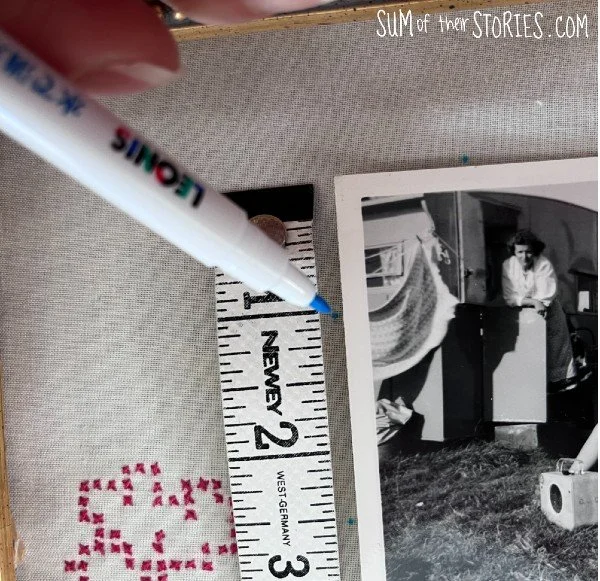
Mark 1 inch from the corners along each side of the photo with your erasable pen. Repeat for all 4 corners.
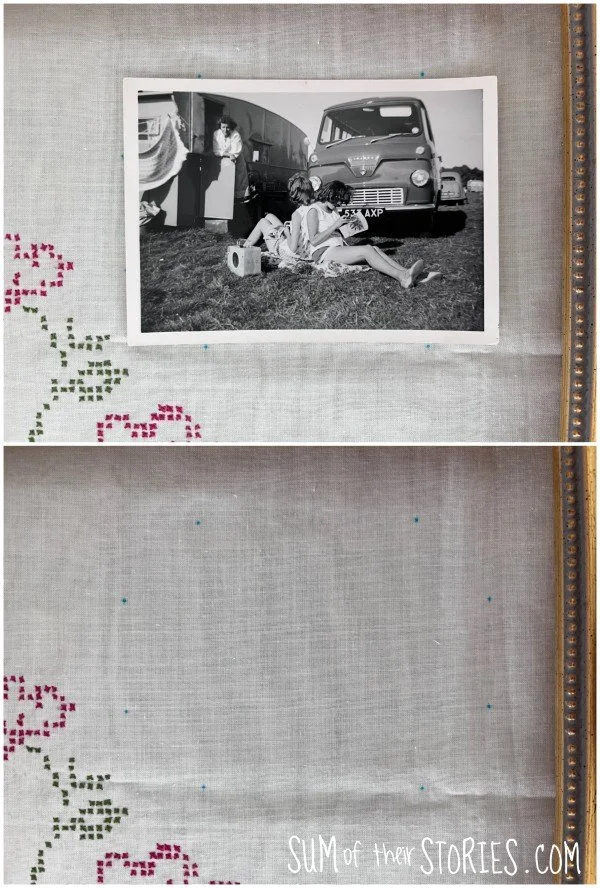
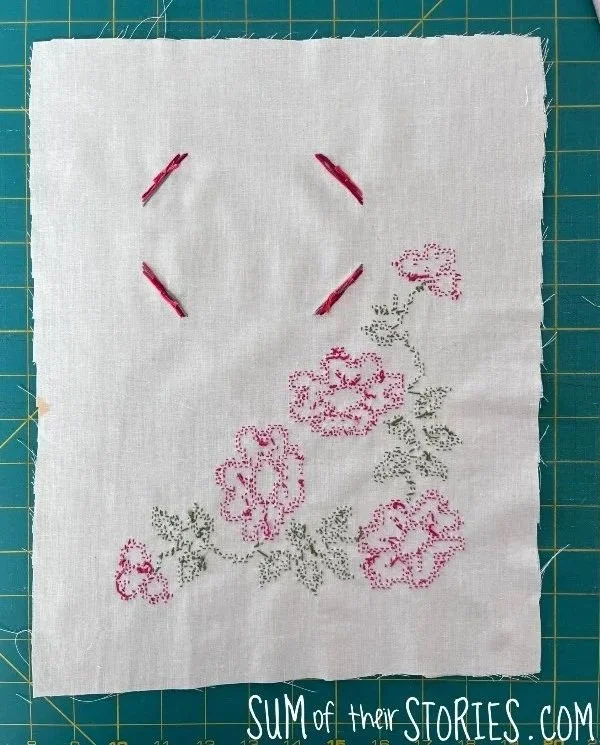
You’ll end up with something that looks a bit like this. See the 8 blue dots on my fabric? That’s where we are going to stitch the photo corners with our embroidery thread.
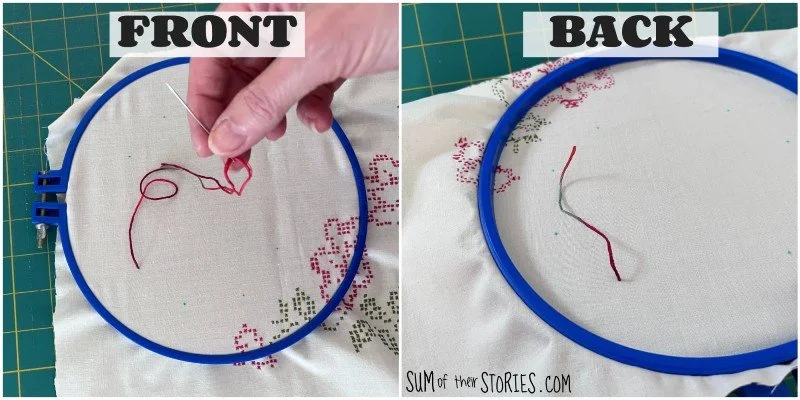
Place the fabric in your embroidery hoop to hold the fabric taut. Take a 20” length of embroidery thread and using all 6 strands of thread together come up from the back of your fabric to the front at one of the points you’ve just marked. Leave a tail of thread on the back of 4” - 5”.
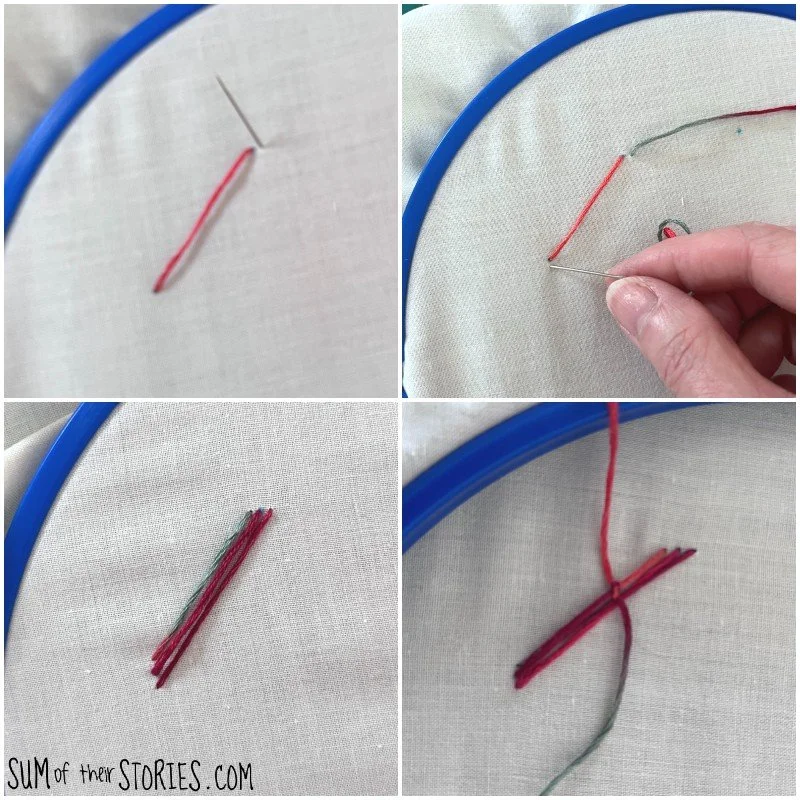
Stitch across the corner using the marks your made, I did 3 stitches across. Don’t pull too hard as you stitch, remember you’ve left that tail at the back rather than a knot. Tie the ends together neatly at the back and trim off any excess thread.
Repeat for each corner.
Remove the erasable fabric pen marks - I sprayed mine with water because I was using water erasable pen - then iron your fabric so everything is nice and smooth.
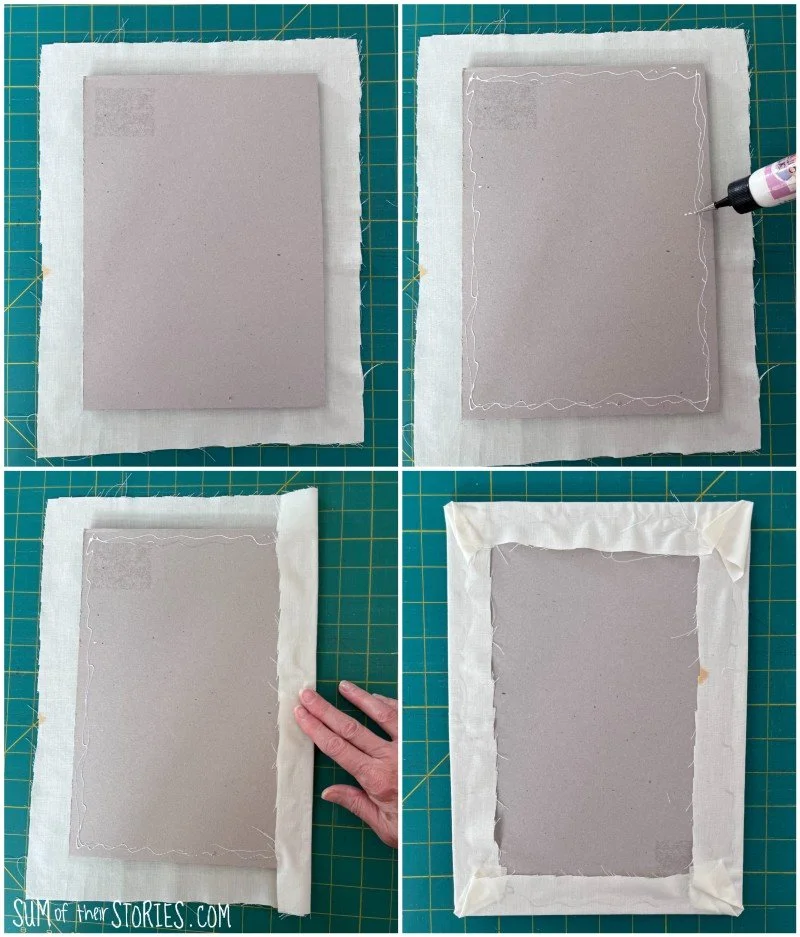
Lay the fabric face down and place your wadding covered card on top, wadding side down. Apply a line of glue all around the edge of the card and then fold the excess fabric up as neatly as you can. You want to pull the fabric firmly so it’s not all baggy on the front but there is no need to pull the fabric super tight - we are not upholstering an armchair here, just pull it enough to create a smooth finish on the front.
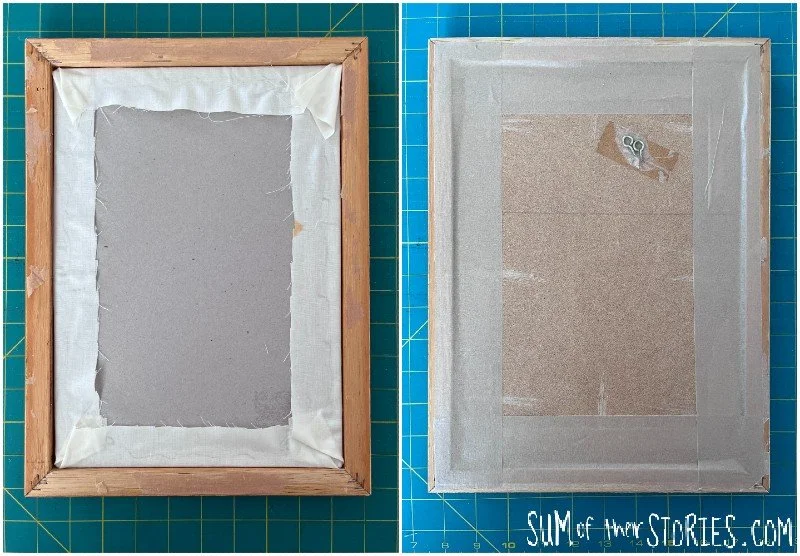
Pop the fabric covered card into the picture frame then replace the back. My frame didn’t have the usual little metal tabs that fold in to secure things so I used some framing tape that I happen to have in the cupboard.
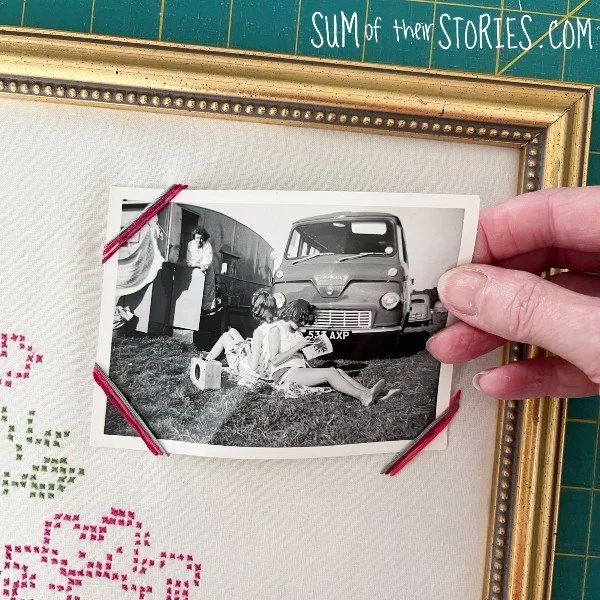
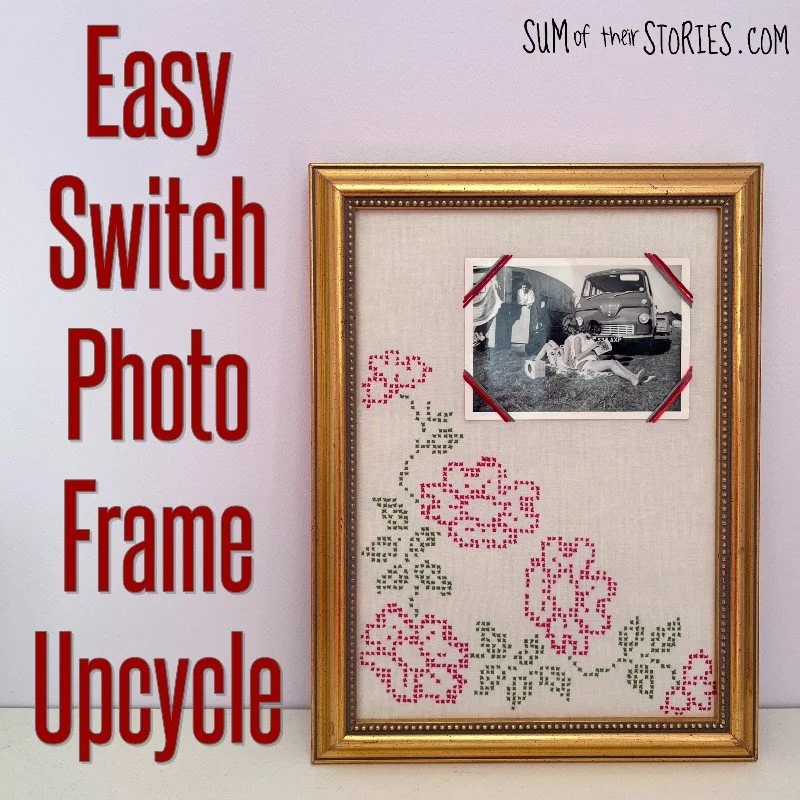
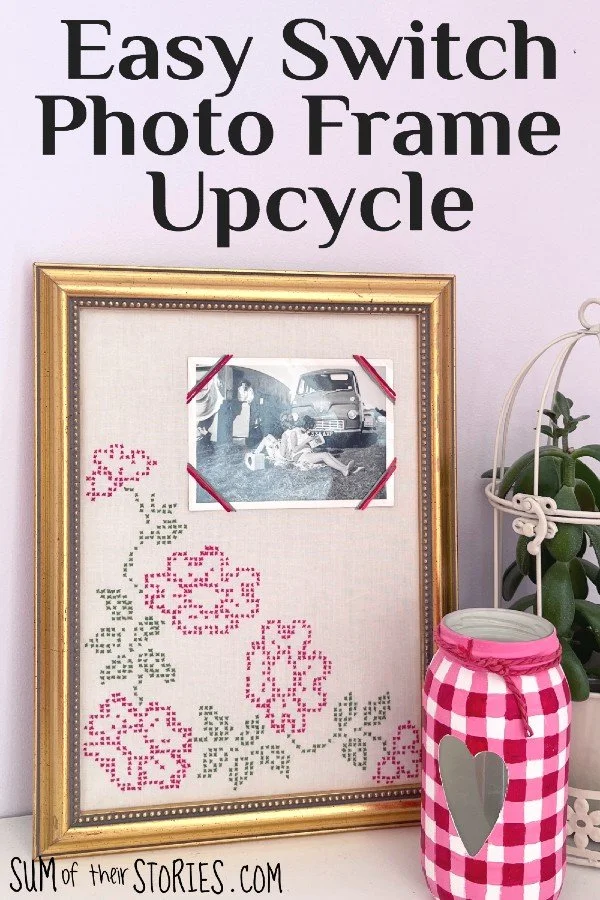
Now all that is left is to place your photos into the frame, securing them by the embroidery thread corners.
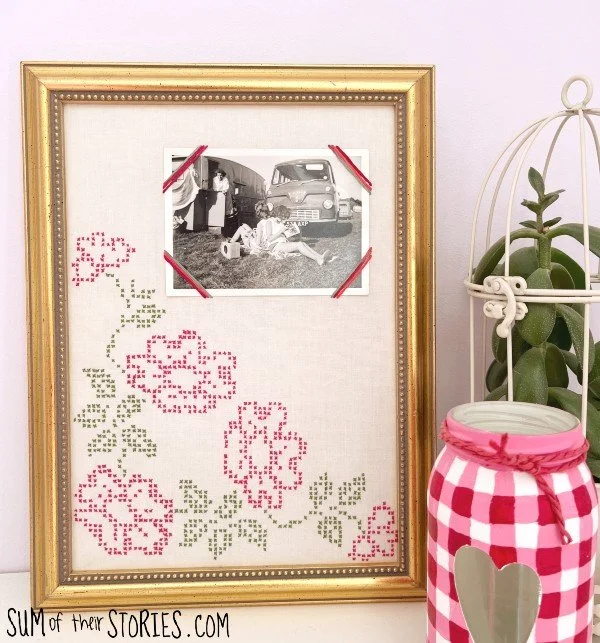
Ta Dah!
The photos are so easy to switch whenever you want a change.
Ideas for your easy switch fabric covered photo frame
Match the embroidery thread to the fabric or choose a strong contrast.
I chose a variegated embroidery thread for my frame, the DMC 4517 I used had red and green in it so it goes nicely with the red and green embroidery on this old tablecloth. A plain thread would work just as well, or you could do each corner in a different colour.
You could add embellishments like faux flowers to the space between the photos.
How about wedding photos with something saved from the wedding, like some lace, flowers or table confetti arranged in the gaps?
If you are lucky enough to have inherited a brooch or some other jewellery from your mum or grandma you could add it to a frame with her photo. This would be great to use broken jewellery that you can’t wear but don’t want to part with.
Don’t throw away old frames just because the glass is broken, why not make a photo frame where you can switch out your photos whenever it takes your fancy.
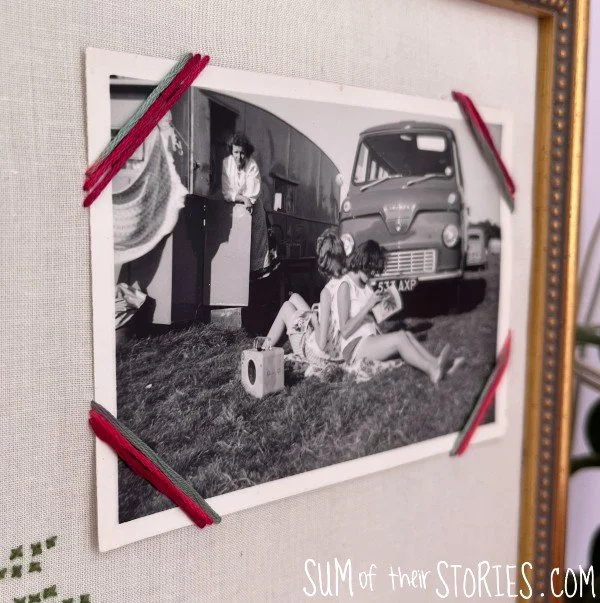
I chose this photo for my frame which is my mum and my auntie sewing while on holiday in the late 1950s. You can see my nan leaning on the caravan door watching them. I have quite a few old photos that are this size so I will be able to swap this photo whenever I like for something different.
Let’s check out what the other Do It Over Designers have created for their FREE TO 5 upcycle.