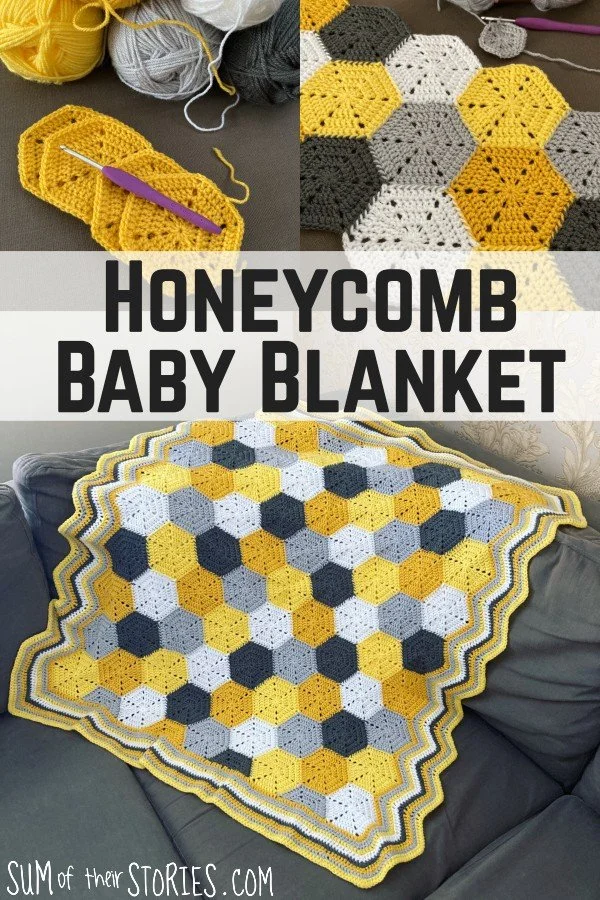
Honeycomb Crochet Baby Blanket
/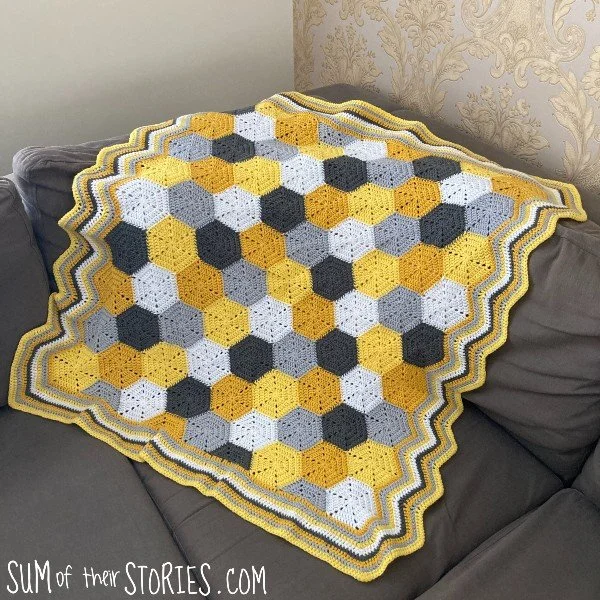
I thoroughly enjoyed making this hexagon baby blanket in yellows and greys and I’m thrilled with how it has turned out.
Often when family or friends announce a baby is due I like to make a crocheted blanket for them. It feels like one of those things that you can’t have too many of. They are useful to have in the car, on the pushchair, by the sofa, for sitting in the garden etc. They need washing often so it’s one of those gifts where it doesn’t matter if you have several given to you!
Looking at this finished blanket it may come as a surprise to learn I wasn’t thinking bees or honey when I started this!
These were the factors I considered before I started:
· Modern and neutral colours
· Modular as it’s more portable
· Not too holey pattern so baby fingers don’t get caught
· Easy to work on while I’m watching tv
I feel like the shades of yellow and grey with a little white fit the “modern and neutral” brief.
I settled on a closed hexagon pattern, easy so I can watch tv at the same time, not too many big holes and modular but a little different from my usual squares.
With something like this I am really not too much of a planner, I grab my hook, start making and go with the flow, making decisions as I go along.
As with all my posts about making crochet baby blankets I’m not a crochet designer and I’m not sharing a new pattern here. I’m going to set out the materials I used and the patterns I referred to with links, in case you’d like to make a similar baby blanket yourself.
Finished Blanket Dimensions:
37” x 36” (94cm x 91cm)

Materials Used:
Stylecraft Special DK
1x 100g ball white
1x 100g ball silver
1 x 100g ball graphite
1 x 100g ball citron
1 x 100g ball dandelion
4mm crochet hook
I did create a bit of a plan for my hexagons, I wanted a random look to the colours but as you probably know actual true random is actually quite difficult to create and in reality means the same colours quite often ending up next to one another. I didn’t want that so I drew up a plan for a ‘fake random”
To make the hexagons I referred to this really clear Basic Solid Hexagon tutorial from Morine’s Hooked on Yarn and worked hexagons with 4 rounds. I started my hexagons with a magic circle as I didn’t want a hole in the centre of each one. Each hexagon measures 4” (10cm) from point to point, each side measures just over 2” (5cm)
Note that Morine writes in US crochet terms, so if you are used to UK terms you’ll be working a treble each time the pattern say dc/double crochet.

While looking at Morine’s site I discovered her method to join the hexagons as you go rather than sewing them together. I am a huge fan of join as you go, I like how the finished work is more stretchy than when sewn together and also any issues around which colour to use is removed. What I especially love about Morine’s join as you go is the way the 2 colours of the adjoining hexagons twist round one another completely evenly. It’s a lovely effect AND it moves with the crochet – perfect!

The only drawback this method through up for me was it removed the portability advantage that making a modular blanket had given me. Towards the end I was taking my whole blanket everywhere with me! Honestly the join effect is so good I felt it was totally worth the compromise.

Once the main blanket was completely I decided (with the help of my follows on Instagram) that the edge was too wavy to leave as it was and half hexagons would be needed to fill the gaps. Again, Morine came to the rescue with this tutorial for solid half hexagons.

Crocheting the border
I finished the blanket with 8 rounds of trebles, if you work in US terms that’s dc of course.

Round 1:
On the straight sides (the sides that are whole and half hexagons) Work 1 tbl in each tbl from the last round of your hexagon, when you get to the half hexagons work 1 tbl in each of the corner 2 chain space and as you work across the half hexagons work 3 tbl in the side of the first and last tbl, and 2 tbl in the side of the other tbls of your half hexagons, and then one tbl in the middle hole of each half hexagon.

At each the corner work 3 tbl in the 2 chain space.

On the wavy edge: Work 3 tbl in each “mountain” corner chain space and decrease by 2 stitches in each of the ‘valley” corners. You do this by skipping the 2 chain space on either side of the central stitch. This is hard to describe so use the photo above to help you, the skipped chain spaces are show with the red arrows.
Once round 1 is established the rest of the rounds are easy as the stitches are already established. Continue to work 3 trbl in each corner, 3 trbl in all the “mountains” and decrease by 2 in the ‘valleys”
Hopefully a mix of the photos and words will make sense. Writing it down makes something that is actually really simple seem quite complicated! To be honestly though I’m sure you can fudge this a little if necessary, I’m just describing what worked for me. You might do an extra stitch or two here and there, or maybe a stitch or two less and as long as the blanket sits reasonably flat I’m sure it will be just fine. Crochet is good like that! Very fudgable!
I worked 8 rounds for the border as I ran out of yarn to do any more. I did have a little left of the white and graphite left but not enough for a full round.
Such an enjoyable blanket to make. I am very much in love with the join as you go method and I’ll be making more crochet hexagons I’m sure as they are fun, easy and who doesn’t love a bit of tessellating?

Julie
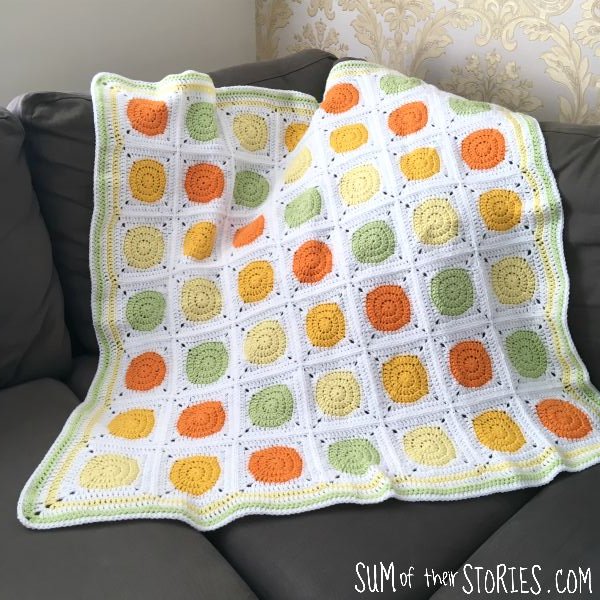
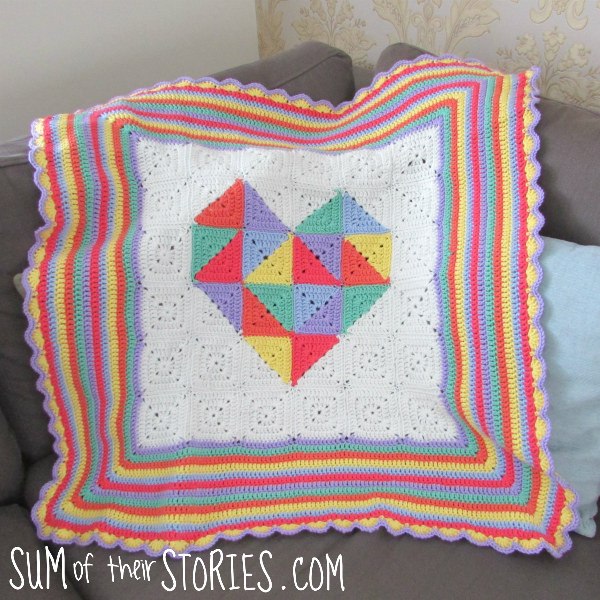
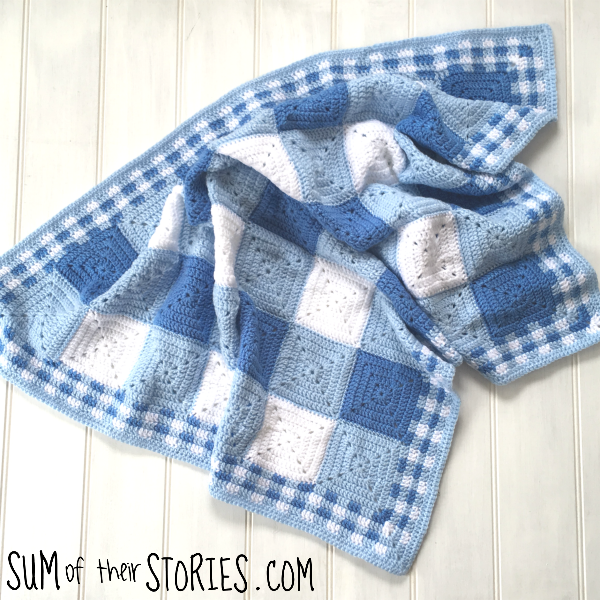
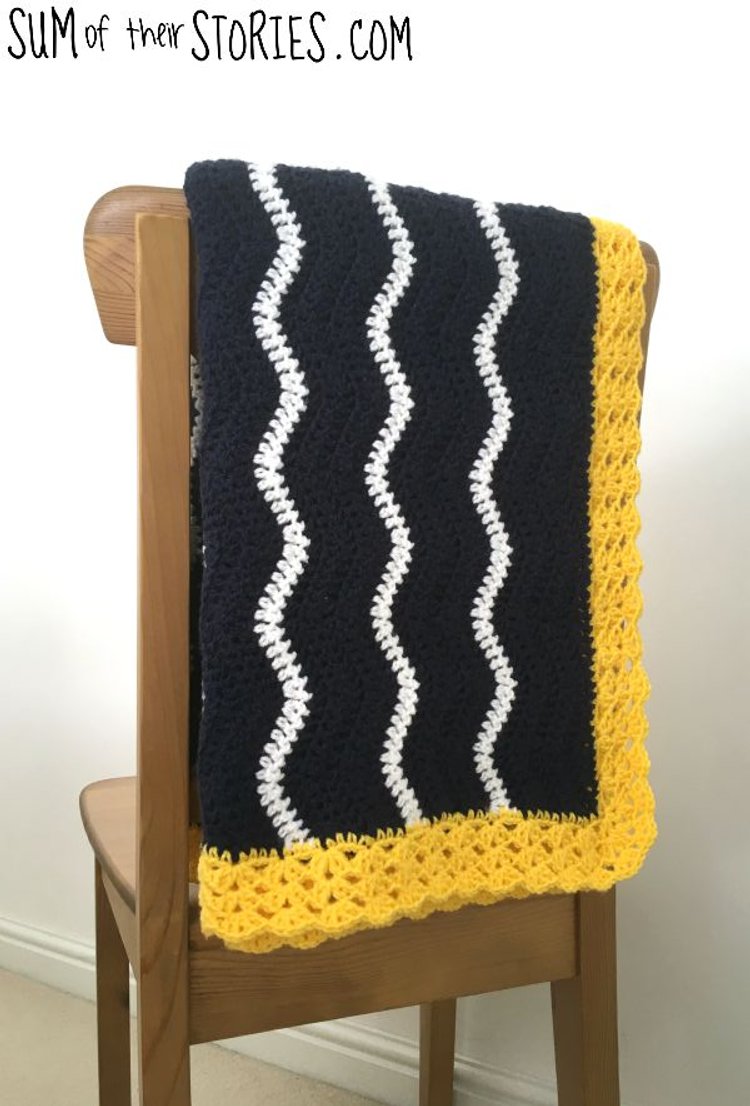
These are some of the other baby blankets I’ve made over the last few years, just click on a photo to go to the tutorial. All my blanket tutorials are the same format, lots of explanations, and links to the patterns you’ll need to create something similar.