

How to Make a Vintage Button Needle Minder and Needle Threader
/How to make a needle minder from a favourite vintage button.

This is a paid post in partnership with Bostik, they also provided me with the Fix and Flash glue which I used for these projects.
I love using a needle minder when I’m hand sewing. You can leave your work to make a cuppa without having to make any unwanted holes in your fabric. They are especially good for delicate fabrics of course but I love them so much I tend to use them all the time.
You can buy all sorts of needle minders in all sorts of designs - I even have a few different ones in my Etsy shop - but if you have any pretty or vintage buttons in your button box you might like to try making your own.
When I was making this needle minder I also had a bit of an experiment and made some fancy button needle threaders too. For details of how to make them just scroll on down.
To make your own Vintage Button Needle Minder you will need:
A cute vintage button or two - they must be buttons with a flat back
2 strong neodymium magnets.
A super strong glue - I used Bostik’s new Fix and Flash (available in the UK from Hobbycraft). Another great strong glue I’d recommend is Bostik’s Power Repair or something like E6000
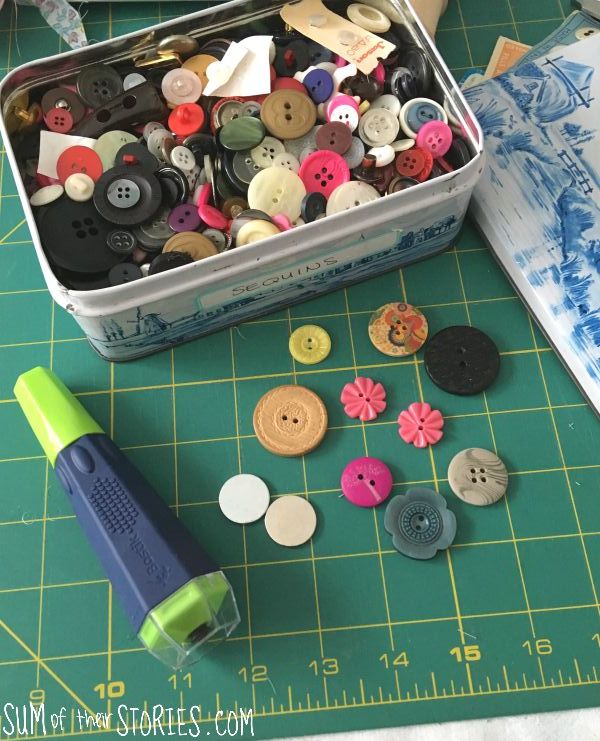
I have quite a considerable button stash and quite a few of them used to belong to my Nan. The button I chose for this needle minder is one that I remember from my Nan’s coat. I only had the one, I actually think this was from one of those coats with a placket to hide the buttons with just one fancier button on the outside at the top. Do you know the style I mean? Anyway, it’s a pretty button and making it into something useful seems like a good way to use it. It’s probably been in a button box of some sort since 1975! (You’ll have to ignore the fact my button tin says “sequins’ on it. I’ve obviously had a switch around and not kept my labels up to date!)
Choosing a magnet for a needle minder
The magnets you need for a needle minder need to be small and strong. They also need to be clean and smooth. You don’t want them making marks on your fabric. I’ve found that regular craft magnets are nowhere near strong enough. Ferrite magnets (the dark grey ones) do come in different strengths but they can mark the fabric unless you wash and polish them carefully.
Nickel plated magnets will work, if you can find nice strong ones. For the ones I sell in my Etsy shop I prefer the neodymium magnets as they are small, strong and clean. All the boxes are ticked!
For this project I was able to upcycle 2 magnets from lapel badges.
Lapel badges have always traditionally been pins but my husband was given 2 commemorative badges from his workplace recently which were magnetic. My first thought was that this is great for not making holes in your business suit but not ideal for people with pacemakers! (My husband doesn’t have a pacemaker but as someone in the family does it’s always on my mind) As soon as he said he wasn’t going to need to wear them again I was all “Can I have them for my latest craft project?” of course!
Because you are using small strong magnets it is vital that you use a strong, secure glue to attach them. These kind of magnets can be really dangerous if swallowed so you DO NOT want them falling off.
Because my magnets were relatively large I only attached one to a button. If your magnets are smaller I would recommend gluing buttons to both. Make your needle minder double sided so you have options! Much safer than having a loose teeny tiny magnet around the place.
The glue I chose for this project was Flash and Fix from Bostik. It’s a new kind of super glue which you set using the include UV light. Apparently it’s based on the same technology that dentists use. Bostik provided me with this glue to try out. You could also use E6000 or another strong permanent glue, I don’t think something like a glue gun would be suitable here, you want a permanent bond.
Enough chit chat, let’s get on with the making bit! It’s dead simple.
How to assemble your button needle minder
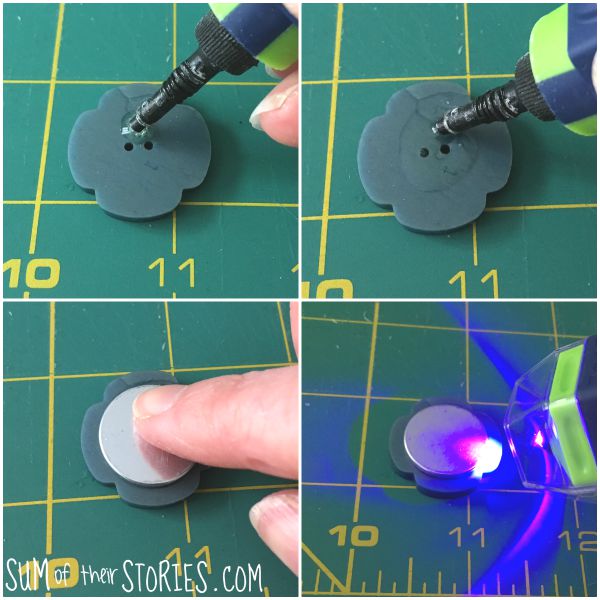
Following the instructions on the packet, apply a dot of glue to the button.
Pop the magnet centrally on top.
Use the UV light to set the glue.
That’s it! Simple right?
If you are using a different strong glue just follow the instructions on the packet re drying times etc.
If you are using smaller magnets and therefore attaching buttons to both, just repeat. Make sure you double check which way up the magnets are, you want to be sure they attract and not repel!
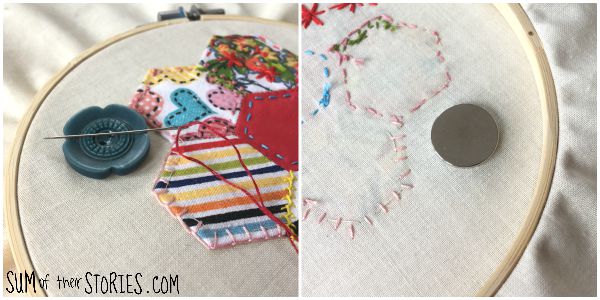
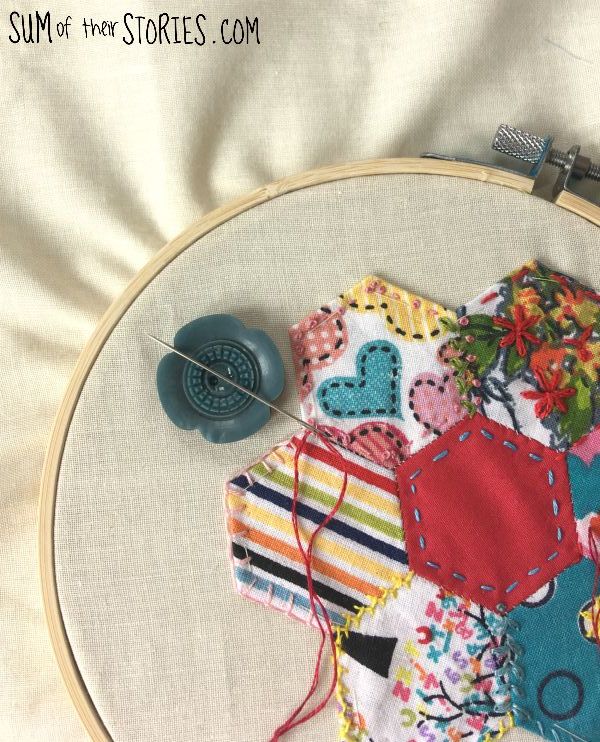
To use the needle minder you simply put one side on the top of your fabric and one side on the underneath. You are making a fabric sandwich. You can then just pop your needle onto it anytime you need a break.
After sorting out suitable buttons for the needle minder I decided to do something with a few more of the others that I’d looked out.
I’m a lady of that age when a little bit of help threading needles is required occasionally so I thought I could pretty up a needle threader; turn a cheap flimsy needle threader into something that will last a little longer too.
To make a Button Needle Threader you will need:
2 buttons of the same size - you want buttons that have a flat back.
A strong glue - I used Fix and Flash from Bostik, again something like Bostik’s Power repair or E6000 would also work.
Needle threaders are very inexpensive, you might even find them in a complimentary hotel sewing kit. You can make your own from thin jewellery wire but for this I used existing needle threaders. I had a pack of 3 to hand and I always like using what I already have.

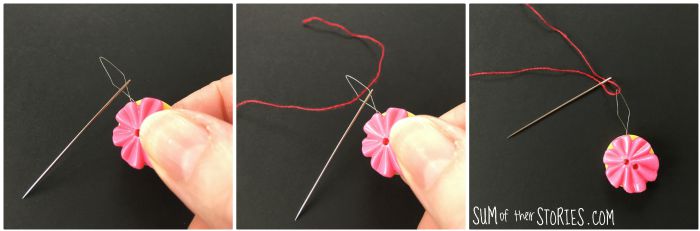
Cut round the foil metal part of the needle threader so it is a fraction smaller than your buttons.
Pop a dot of glue onto the button and lay the remaining foil on the needle threader on top.
Add another dot of glue and then place the second button on top
Zap it with the UV light on the glue to cure it. (This step if only if you are using the UV fixed glue that I was of course, just follow the instructions on your glue)

Please excuse the state of my nails and hands … look … a pretty button needle threader!!
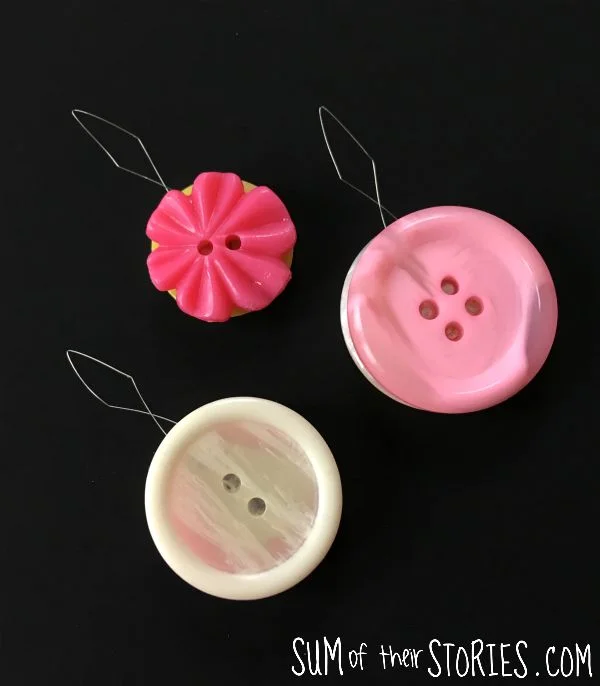
I used all 3 of my needle threaders, as you can see any size works as long as both buttons are the same size.
You all know how to use a needle threader right?

So there you have it, raid your button box and make needle minders and needle threaders as gifts for all your sewing friends. Just remember to keep one for yourself too!
Julie
I’ll be sharing these project at these link ups.
You might also like to take a look at these craft ideas:


