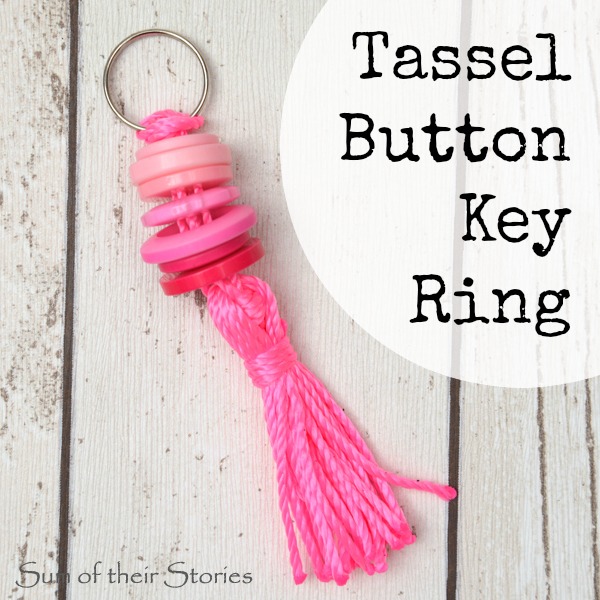
Tassel Button Keyring Tutorial
/How to make a button tassel keyring, a simple craft tutorial.

This button key ring tutorial was first published in September 2014 and has been updated and republished
Perfect for teens or adults wanting a fun craft activity, these button key rings with ombre buttons and tassel are easy to make. They also make lovely bag or journal charms.
How to make a button key ring with tassel
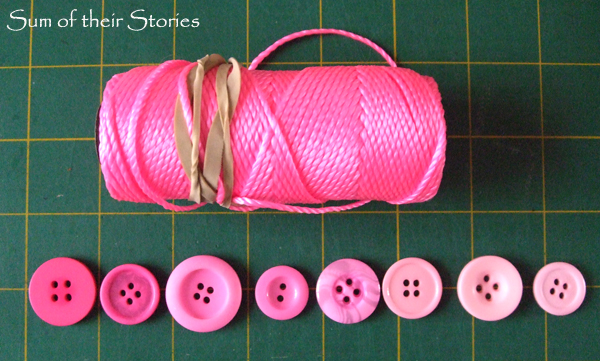
To make a tassel keyring with button stack you will need:
Cord or twine, I used a vibrant pink nylon cord (the same twine that I used for this thread and chain bracelet and my pink cord bracelets)
Buttons with 4 holes in graduating colours (a pack of buttons like this is ideal)
A metal ring (not photographed)
A strong glue - I used superglue
Sharp scissors
Prepare your materials
Cut 2 lengths of cord approx 12" or 30cm, seal the ends either with clear nail varnish, super glue or a flame. I've got much braver with this nylon twine the more I use it and just carefully melt the ends in a flame now.
Arrange your buttons in the colour order you want. All your buttons must have 4 holes. In the photo there is one with just two hole but that was just a mistake and I didn’t end up using it.
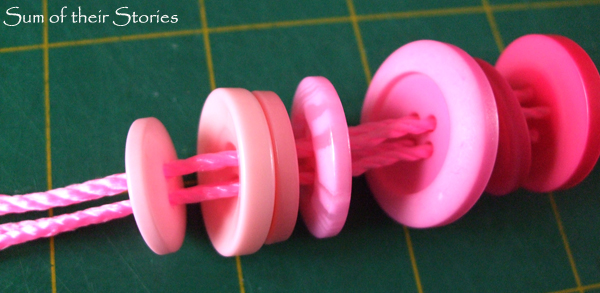
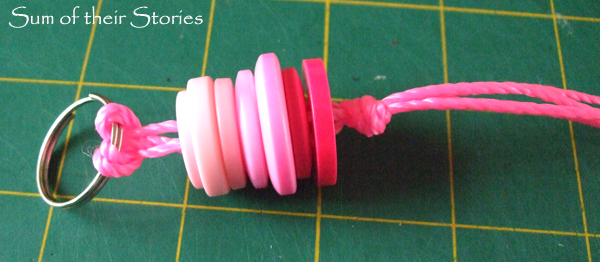
Thread the buttons
Take one of your lengths of twine and thread the buttons onto it starting with the darkest through to the lightest. Then thread back in the other direction going through the opposite hole in each button.

Take your time to line your button holes up carefully so the buttons stay lined up nicely.
Now take the second cord and do the same again in the remaining holes.
Attach the metal keyring
Being careful to ensure the buttons don’t slide off, push the 2 twine loops through the metal ring keyring together from the back and then poke the loose ends through the loop formed and pull, jiggling the buttons through.
Now you can push the buttons up about 1 cm from the metal ring. Tie a knot in the cords on the other end.
This might seem like a back to front way of making your keyring but it’s what I found worked best for me. I thought it would be easier to attach the metal ring first and then the buttons but when I tried that I found it tricky to line the button holes up so nicely.
Creating the tassel
This was a bit fiddly but this method made a really nice neat tassel with all the strands lying in the same way and the knot well covered.
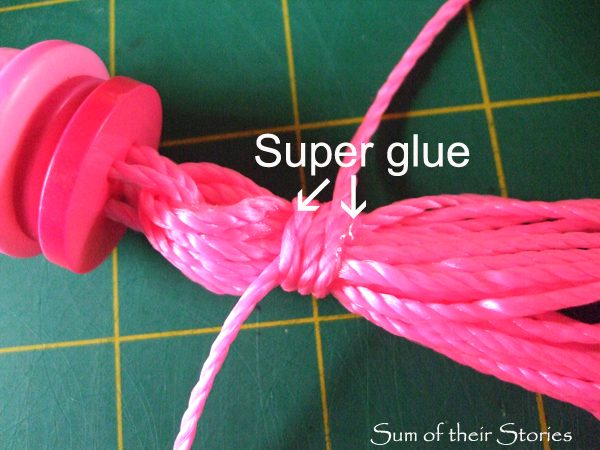
Take a long length of twine, about 70" (170cm) and loop it loosely through the gap between the bottom button and the knot over and over - as shown in the photo below:

Smooth this loop down neatly to cover the knot and then tie it with another short piece of twine.

Wrap that short twine around a few times, knotting it again and then secure it with a dot of super glue or other strong glue.
Once the glue is dry trim the ends of the short cord.

Trim across the bottom of the tassel with sharp scissors cutting all the strands level. To finish off my tassel keyring I sealed the ends of the tassel by melting them quickly in a flame. This was because my twine was particularly “springy”, it may not be necessary depending on the twine or cord you use.
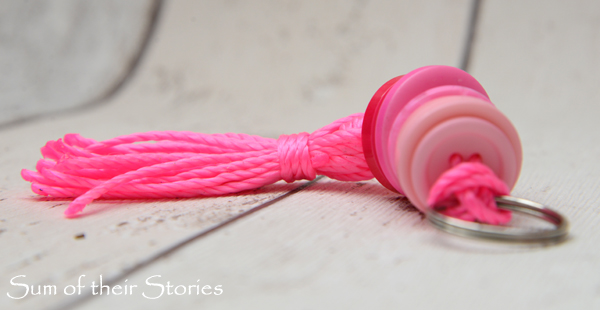
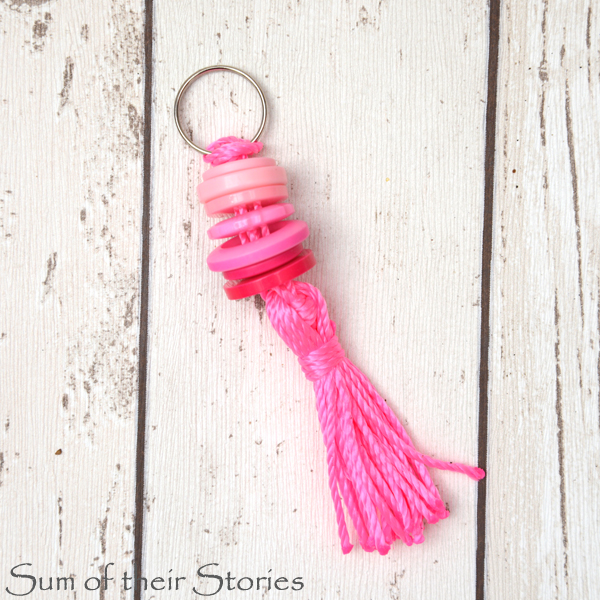
There you go, a sweet tassel button keyring. These would make a perfect gift next time you need a little something for a special friend, or group of friends maybe.
More button tassel keyring/charm ideas
I love the hard wearing durability of this kind of nylon twine but you could use a more environmentally friendly natural fibre for a different look.
Your buttons don’t have to be ombre, they could be all the same colour, alternating just 2 colours or wouldn’t a rainbow be lovely?
You could use a different keyring finding, it doesn’t have to be a ring. You could attach your twine to a lobster clasp, belt clip or carabiner.
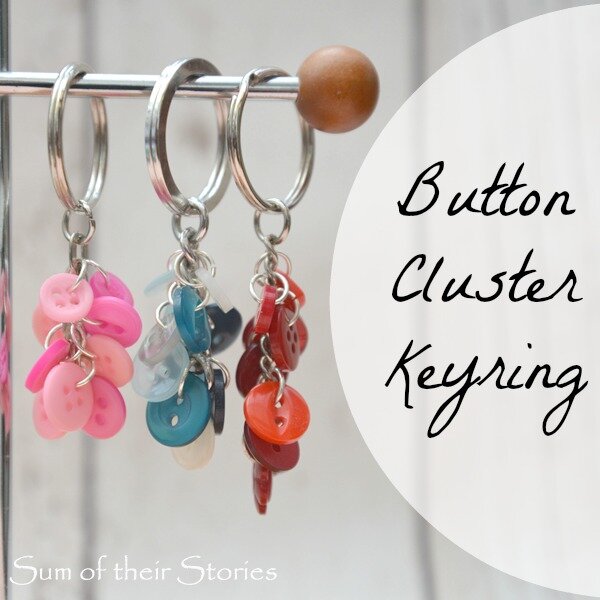
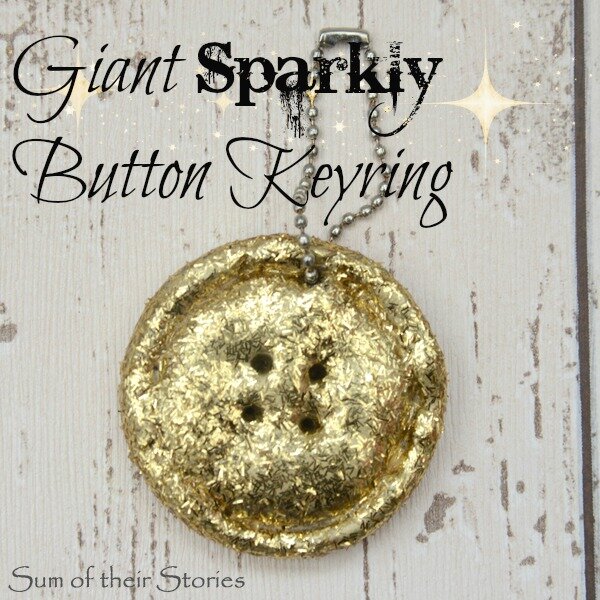
This is the third and last button keyring idea I have for you. Here are the others in case you missed them.
Julie
I'll be linking up this project at all these link parties
If you like crafting with buttons you might also like to check out some of my other button craft ideas.