

How to sew EPP hexagons by hand
/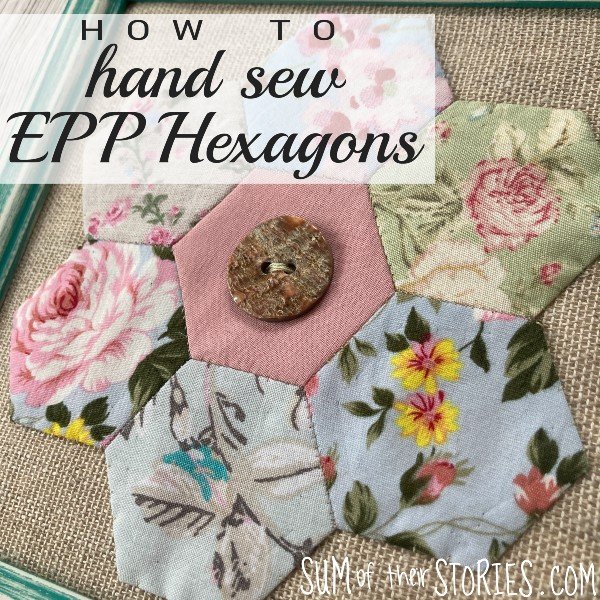
Today I’m going to show you how to sew EPP or English Paper Piecing hexagons together by hand.
This is the method my nan showed me when I was little. Sum of their Stories was started as I wanted to share some of the craft skills and enthusiasm that I was taught as a child by the creative woman in my life. Every year on what would have been her birthday, 30th November, I’ve been sharing something that my maternal grandma Pearl made or something that she taught me when I was young. So this year I’m going to show you how my nan taught me to create hexagon patchwork.
Let me start by saying this is not the only way to create this kind of patchwork but this is the one I was shown some 40 ish years ago and the method I still use. It is a slow but very satisfying way to use fabric scraps and make something beautiful. This is the kind of patchwork that you can do whilst watching something silly on the telly, or whilst on a long train journey. It’s soothing and methodical.
What is EPP?
This type of patchwork is called EPP, English Paper Piecing. It’s made with small pieces of fabric that are wrapped around paper shapes, hand sewn together and then the paper is removed. I’m assuming it originated here in England just because of the name but I’ve not researched it to know for sure. To be honest when I was growing up in the 70’s we just called this patchwork. I didn’t hear the name EPP until the late 80’s or early 90’s.
Ok, let’s get started.
You will need:
Paper Hexagons (I say paper but actually light card is better)
Scraps of fabric
Pins
A sharp sewing needle and thread. I use an old thread for the tacking, and a good quality matching thread for sewing the pieces together.
First you need your paper hexagon shapes. My nan used to make hers using the backs of old greeting cards. She had a metal template which she would draw around. Sadly I don’t have that template any more so I usually download and print a sheet in the size I want. You can use your paper shapes several times each.
Gathered have a great selection which you can download for free.
Hexagons for patchwork are usually measured by the length of the sides, but handily the ones from Gathered have the length of the side and the measurement across marked.
Once you have your paper hexagons ready you are ready to cut the fabric.
You’ll see in my photos that these paper hexagons have been used a few times before, you can use them several times before they get too holey.
Lay a paper hexagon onto your fabric, pin it in place and cut around, leaving a border of about 1cm or 1/2” all the way round.

Take a length of thread. This is for temporary tacking so it doesn’t have to be good quality thread. I tend to use older thread that I’m not confident is good enough for proper sewing for this. I like to use a bright colour if possible, it just makes it easier to remove later.
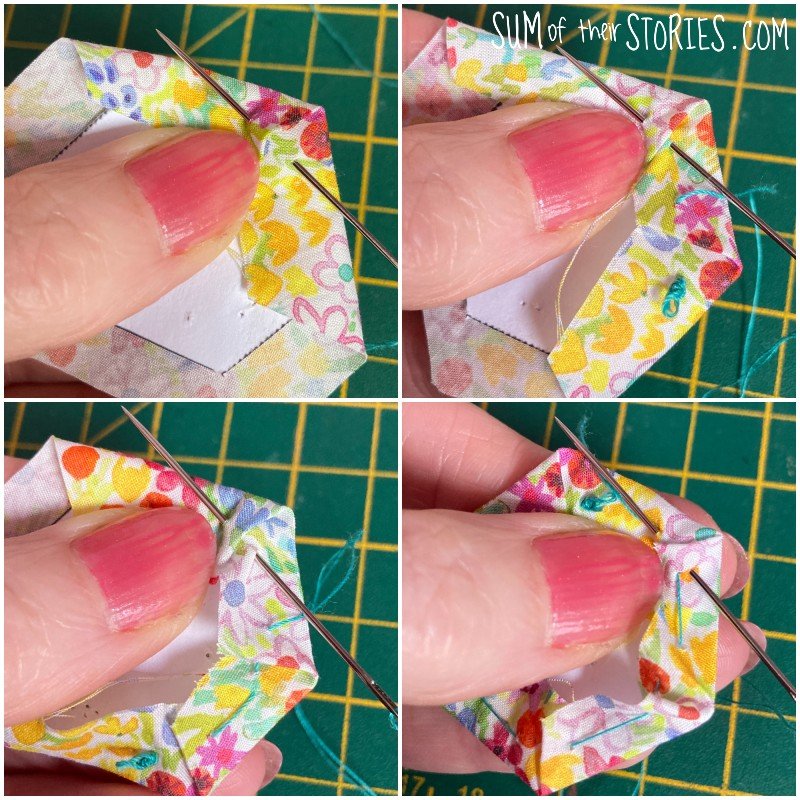
Make a knot in the end of the thread and then fold one side of the fabric onto the paper and stitch through, so the knot is on the right side.
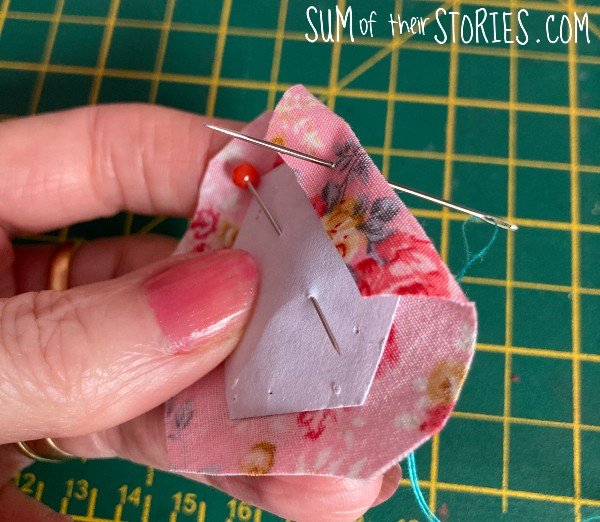
Fold the next side of the fabric down and stitch down across the corner. With this method you are stitching straight through the fabric and the paper each time.

Continue right around the hexagon in the same way, folding each side down and stitching right through.
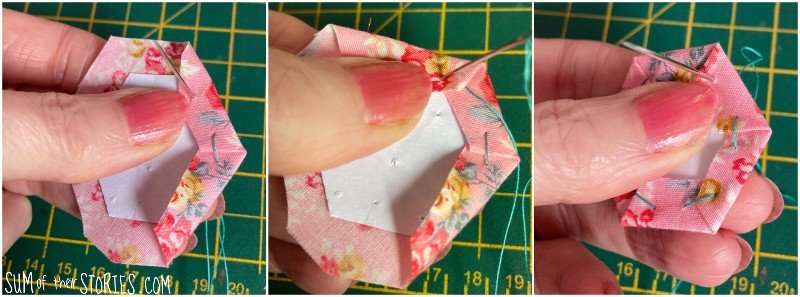
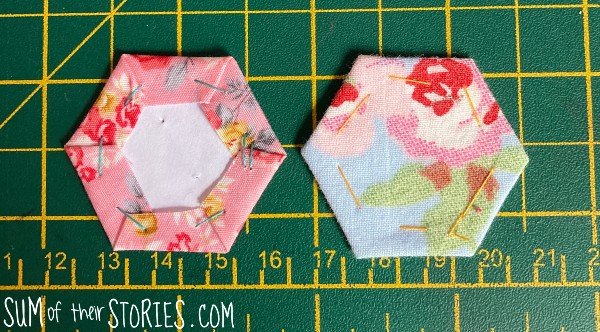
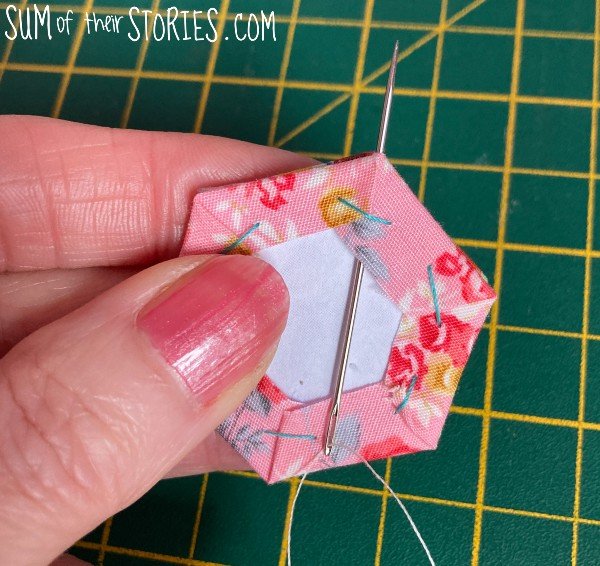
Finish with a small extra stitch to hold the tacking in place. It will look like this when it’s done.
As I said, this was my nana’s method so it’s what I always do but you can tack your hexagons without going through the paper or even use a basting glue pen.
To tack without going through the paper it’s a bit more fiddly and I find it more difficult to get the fabric pulled taut across the papers.
Whichever method of tacking you choose, once your shapes are prepared you are ready to sew them together. I find prepping a load of hexagons whilst binging some daft tv or waiting for an appointment is a satisfying and soothing job and easily portable too.
Hand stitching patchwork hexagons together
Take a length of your good quality thread, in a colour that tones with your fabric. It’s impossible to match perfectly unless you are stitching pieces of fabric that are all the same colour of course. I’d recommend picking a neutral colour, I use cream or a mid grey most often as they seem to blend with most patterned fabrics.
Create a knot at the end of the thread and then place 2 hexagons right sides together.

Slide the needle up under the folded fabric without going through the paper, right into the right hand corner of one of the pieces.
Work tiny whip stitches all the way along, just catching the fabric on both hexagons but not the paper inside. You work a whip stitch by taking the needle from the back, through both hexagons to the front. Pull the needle right through and the over to the back and repeat.

There are other stitches you can use to join your hexagon but again, this is the one my nan taught me. I always work my stitches from right to left but I have seen other people stitch from left to right. As long as your stitches are small and neat, all will be well!

If you open it out it’ll look like this. Select the next piece to stitch in place.
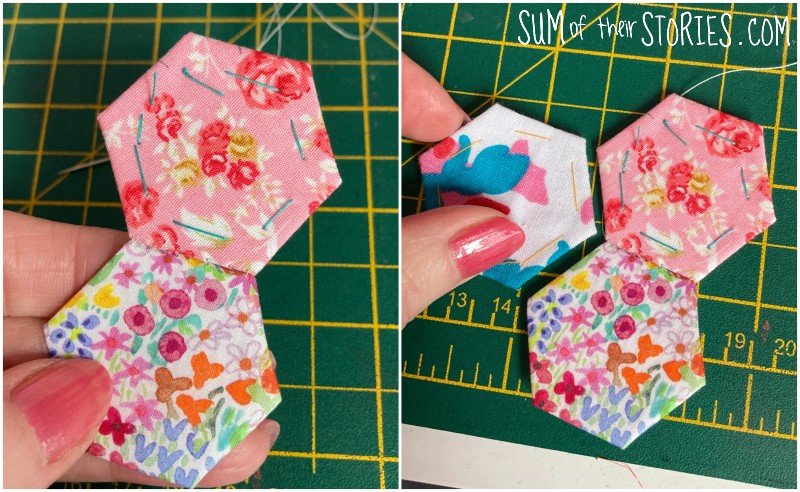
Place the new hexagon so it’s right sides together with one of your stitched hexagons and sew across exactly the same way as before.
When you get to the end you need to cast off on the wrong side.
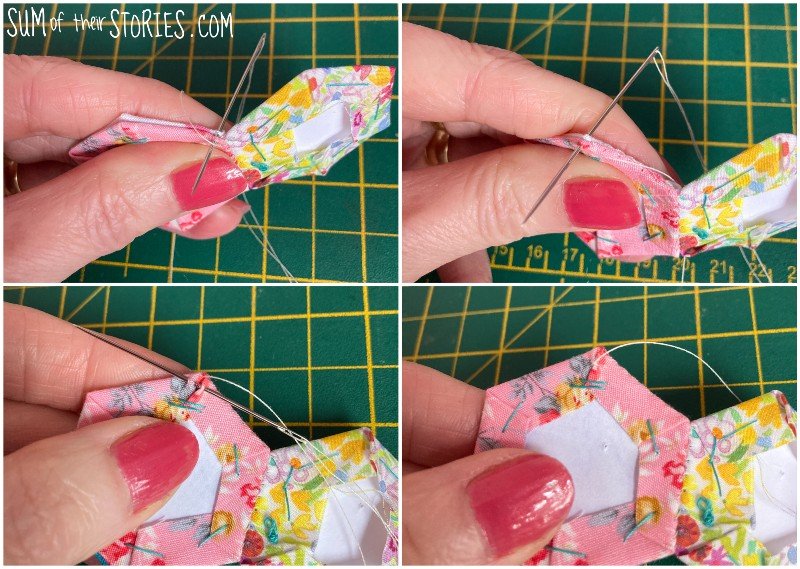
It’ll look like this:

Knot your thread again and restart it again in the same way as before, in the corner where the three hexagons meet. Stitch across as before.

Continue adding hexagons, casting off and then restarting your thread when you need to.


You can make a piece of fabric as large as you want with your hexagons. Once any hexagon is surrounded on all sides by more hexagons you can remove the paper. Just yank out those tacking threads and lift the paper out - remembering to keep it to use again of course! This is extremely satisfying to do and is my favourite bit of the process. The patchwork fabric suddenly looks finished and beautiful.
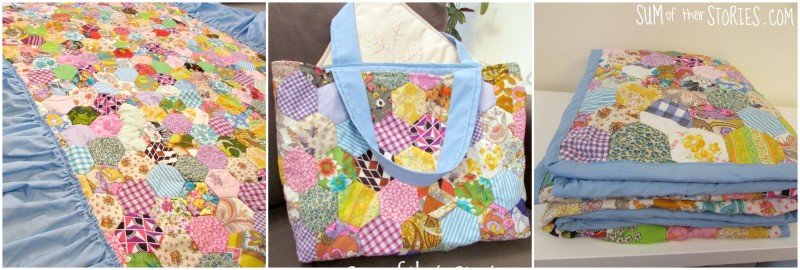
A couple of years ago I shared this bedspread that my nan made for me, all stitched by hand with this method with fabrics from her old clothes and rag bag. I made that into a bag for me and a throw for our daughter from it.
I love making hexagon “flowers” from 7 hexagons and appliqueing them onto things. They look pretty added to a drawstring bag, as I did here. Here’s a good drawstring bag tutorial.

This one was stitched to the front of a needle book and embroidered all over with extra embellishment. Here is the tutorial to make this needlebook.

You can stitch a hexagon flower like this to a backing fabric to form a picture like one of these.

If you want to do that and attach a hexagon patch to any sort of backing fabric you need to press it well with an iron before you remove the papers. Then you can either hand stitch or machine stitch it to your backing fabric.
Quite literally every time I do any paper piecing like this I think of my nan and how she would get us drawing round her template onto old birthday cards and cutting the hexagons out carefully.
Thinking of you today Nan, thank you for all the craft skills you shared with me. You can see the other stories I’ve shared over the years here.


