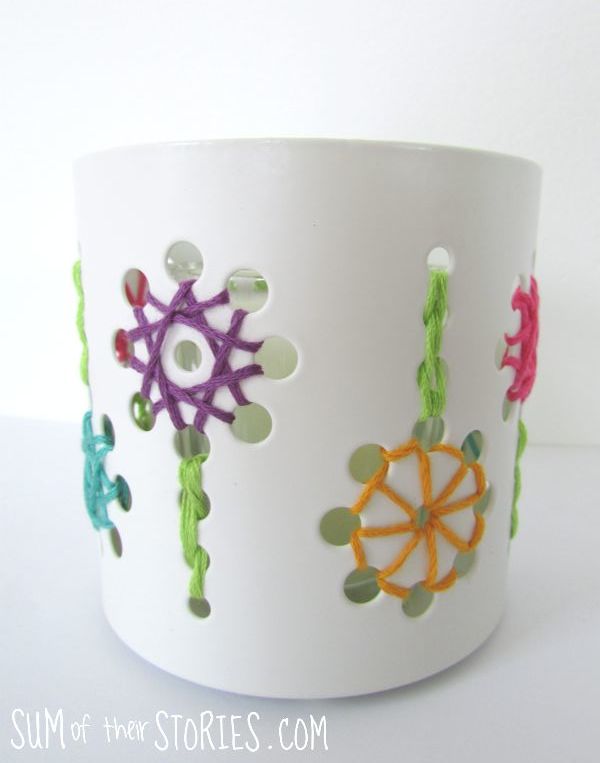
Ikea Tealight Holder Embroidery Hack
/Give an inexpensive Ikea tealight holder a little something extra with embroidery thread.

A few weeks ago I popped into Ikea to pick up 3 trays and a fitted sheet. I came out with 3 trays, a fitted sheet, a Vackert tealight holder, a paper napkin holder, a pack of wooden coasters and 3 saucepans!
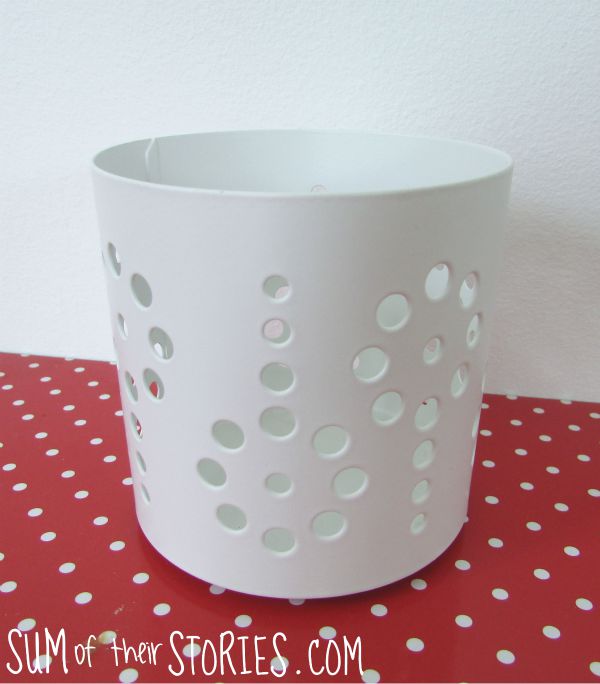
The holes in the Vackert tealight holder just looked perfect for some embroidery embellishment to me and it was on sale for the bargain price of just £1.50 so into my yellow bag it went! What I didn’t really clock was that if it was on sale in store it’s probably not going to be available for much longer. I’m showing how to decorate something that you might not be able to buy easily. Sorry! However I’m sure Ikea sold millions of these so you may already have one or one might turn up in your local charity shop or thrift store. You may even find one in your local Ikea on sale too.
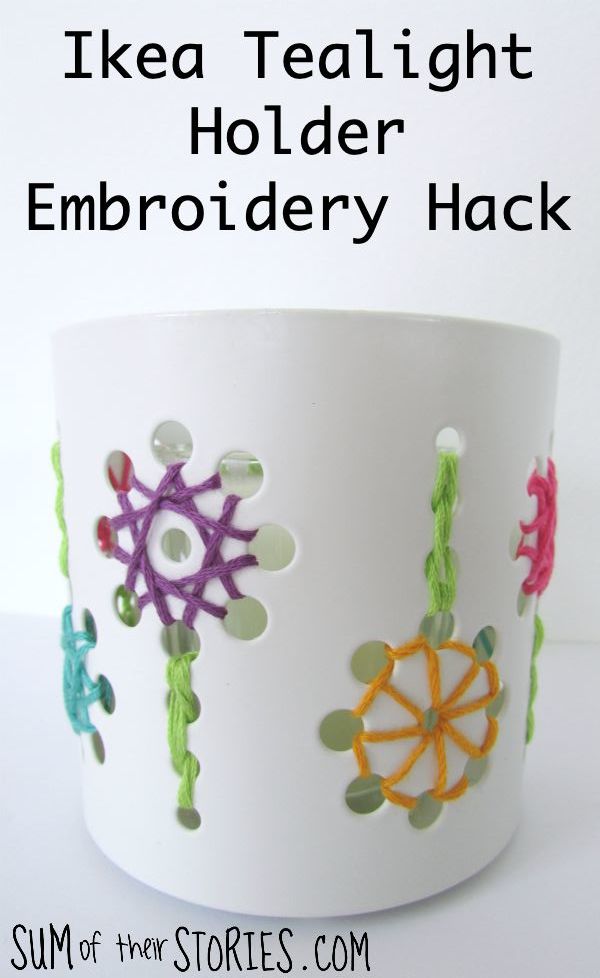
I used odd bits of stranded embroidery thread from my stash in purple, cerise pink, an orangy yellow, a dark turquoise and a vibrant green. I love these jewel colours together.
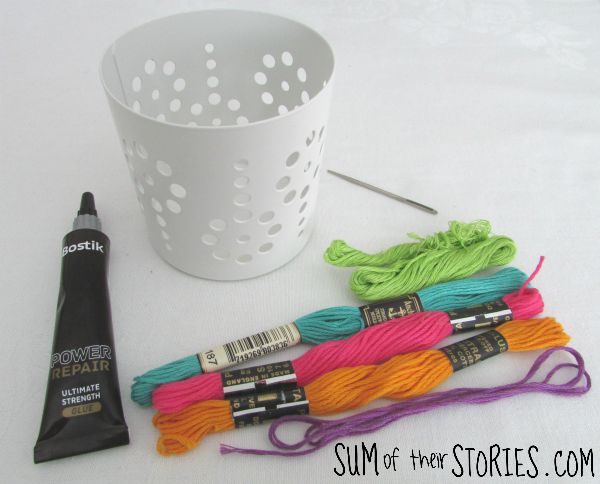
To decorate your own Vackert Tealight Holder you will need:
A Vackert tealight holder
A darning needle - a large blunt needle with a big eye
A strong glue - I used Power Repair from Bostik
Using all 6 strands of the embroidery thread cut a length and thread the needle.
Stitch the your chosen design through the holes in the tealight holder.
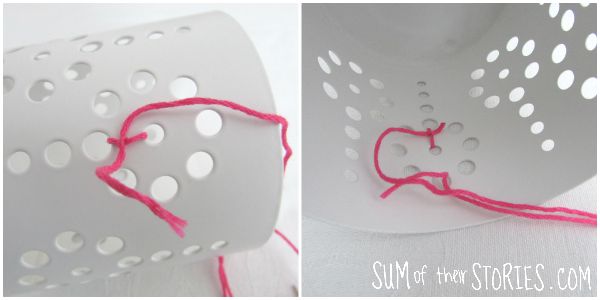
To start your embroidery I found the easiest way was to tie the end at the front of the tealight, trim the end close and then to swizzle it round to the back. Much easier than trying to tie a knot on the inside.
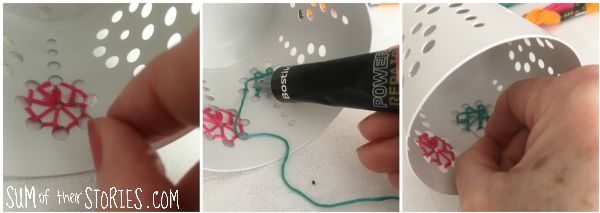
When you get back to the beginning use a little dob of glue to secure the end of the thread on the inside of the tealight holder. I added a dob of glue to the starting knot as well, just to make it secure. I used an old bent pin to press the end of the thread down onto the dob of glue. I keep this pin especially for this sort of job, it’s actually really handy to have. These are not great photos (taken with one hand!) but you’ll get the idea.
If you wanted the option to remove the embroidery or change the colour at some point then your could use little pieces of tape to secure the ends instead.
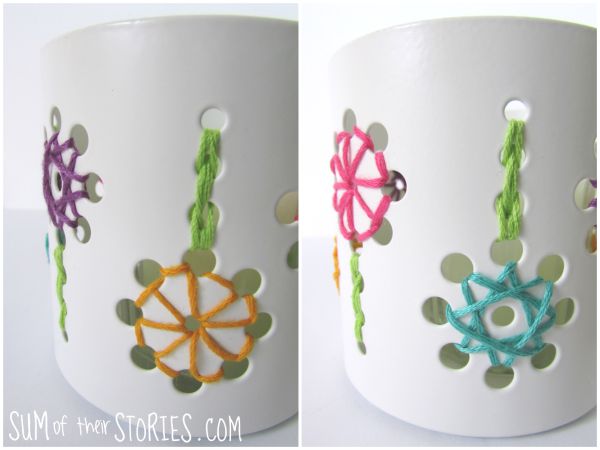
I tried 2 designs for my tealight holder, one I’ve called triangle flower and one I’ve called Spirograph. I loved spirograph as a kid and this design reminds me of it. The Vaskert tealight holder has 8 flowers in all so I used 4 colours for the flowers and did one of each design in each colour.
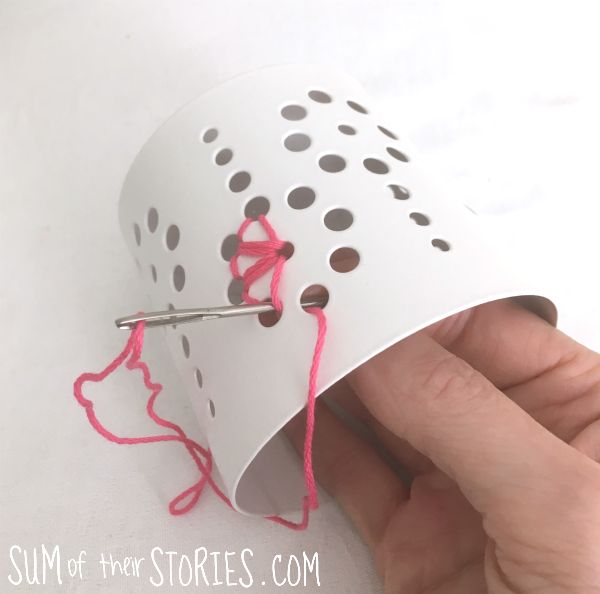
Design 1 - Triangle flower
Stitch triangles from the centre all the way round. It doesn’t really matter what order you make your stitches, just ensure you go from the centre hole to each of the surrounding holes and the gap between each of the surrounding holes too.
Design 2 - Spirograph
Stitch by going into the third hole to the left from the one you’ve just come up in. Come up in the hole one to the right and then back in the third hole to the left, repeat this all the way round.
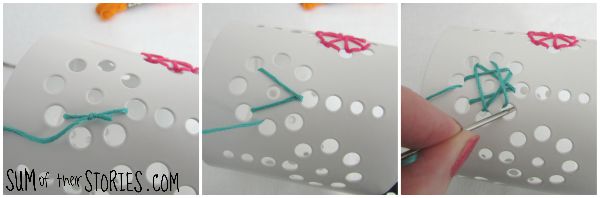
To stitch the stems:
I used a green thread and a running stitch back and forth through the holes that make up the stem. I went in and out of each hole 3 times in total.
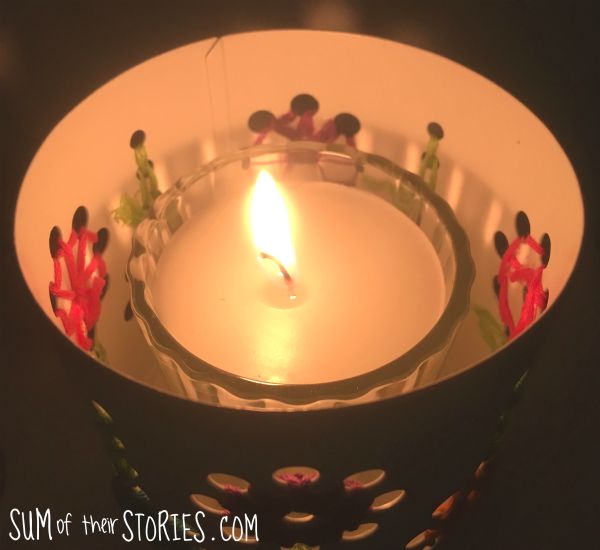
Once the glue had dried I tested out my newly decorated Vackert tealight holder. I don’t think I’d use it with a regular tea light with a naked flame, just in case it ended up over to one side and the thread caught light. It works well with a battery operated tealight or a candle in its own glass jar like this one.
You could even pop a plant in a pot inside turn it into a pretty planter if you wanted to.