How to make an Embroidered Mini Biscornu
/Have you ever heard of a biscornu? Up until a week ago I hadn't, but now I've discovered they are really fun to make. I made this little navy and cream biscornu scissor keeper and thought I’d share in case you’d like to have a go, a biscornu is actually easier to make than it looks.


This biscornu pattern and tutorial was originally published in January 2018 and has been updated and republished.
I came across the whole concept of a biscornu on Instagram. Someone I follow shared a photo, I'm afraid I don't remember who, and after a quick google to find out what they are I knew I NEEDED to have a go. Just do a quick image google search for biscornu and you will see some amazing examples, very intricately embroidered, lots in cross stitch as well as other types of embroidery. Some people add beads and all sorts. I'm quite an 'instant fix' crafter so I wanted a design I could do quickly. The rest of the family were all away this week doing various things so I had a few days to myself. A big old binge watch of The Crown on tv was planned and I thought this embroidery project would be perfect to do at the same time.

I read up a little on how to make a biscornu:
the number of stitches on each side should be an even number
the design is generally more fancy on the top
you need the design set out so it shows properly in the right places when it's joined up
Other than those basic rules it seems you can do what you want to embroider a biscornu. I'd done some blackwork embroidery years ago and I remembered loving it so I got some check paper and a highlighter and drew out a simple blackwork design. That sounds so straightforward! I had to pause episode 1 of The Crown as I messed about drawing about 6 different flowers until I got one I was happy with. THEN I was ready to begin.
How to make an embroidered mini biscornu
To make your own Embroidered Mini Biscornu with a blackwork design you will need:
2 x squares of 14 count Aida - each 12cm (4.75") square
2 x tiny 1.5cm (.75") squares of Aida to reinforce the button (optional & not photographed)
A skein of embroidery thread - I used DMC 3823 which is a cream colour (I mainly chose than as I already had plenty, you could use whatever colour you like)
Embroidery needle
32cm (12.5") length of matching cord or thin ribbon
Fibre fill
A small button
The design sheet here

When making your biscornu you do need to count carefully, the embroidery must be exactly square or it won’t join to make the lovely shape in the end.
Embroider the biscornu design
Work the design on the squares of Aida using 2 strands of the embroidery thread throughout. I started my threads with a knot, normally a no no but as this will be stuffed I figured it will be fine.
Start by finding the middle of the fabric and the middle of the design and just count out to one of the stems. I worked all my blackwork design by doing a double running stitch. That’s when you stitch a line of running stitch then stitch the line again filling in the gaps. This looks like backstitch when it’s finished but uses less thread.

Stitch the border
Once the central design is finished, stitch the border around the edge. This border must be worked in proper backstitch, not the double running stitch as before. It is also important to make sure you secure the beginning and end of the backstitch border really well too. This border of stitches must be secure because it is used to join the pieces together to form the biscornu.
You'll end up with 2 embroidered pieces of fabric that look something like this:

Give them a trim, leaving about 1 cm (just under 1/2”) or so seam allowance, and trim off the corners too. Don’t trim the corners TOO close to the stitching, use the photo before to guide you. You just want to remove a bit of the bulk.

Assembling the biscornu
Now you are going to join the embroidered pieces together to form a biscornu. This is the fun bit when the biscornu takes it shape.
The biscornu is joined with a whip stitch or overcast stitch that goes through the back stitch border on each piece - that's why they needed to be strong and secure. You are only stitching through the previous stitches, not the fabric itself.
I must warn you I do my overcast stitch from right to left, as you'll see in the photos. I have no idea if that's normal or not. If you do yours the other way just reverse my instructions!
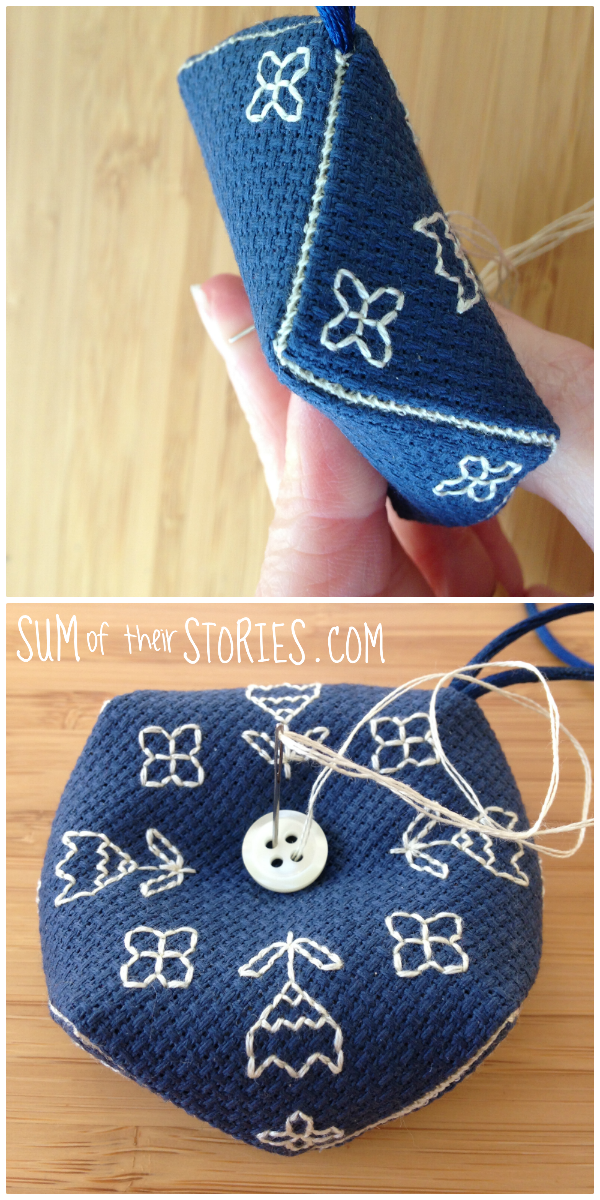
You are going to start with one of the corners of the bottom piece in the exact centre of one of the sides on the top piece. And then you simply stitch through a backstitch from the top and the bottom at the same time making sure you don't miss any. When you get to the corner of the top piece you will be exactly half way along the side on the bottom piece. It's hard to describe in words, I've taken a load of photos to try to explain. It's really not difficult and makes sense once the pieces are in your hand.
Start by marking the centre of one side of the top piece with a pin. Take a length of thread - using 2 strands of the same embroidery thread you've been using. Don't make it too long, embroidery thread can wear, get weak, fray and even snap if you have it too long. You can always fasten off and join another length - about 20-25 cm (8”-10”) is about right. Fasten it to the seam allowance right by the centre pin and then bring it up just above the first backstitch.

Then start by stitching down through that first stitch on the top and the first stitch of the bottom.

Then just carry along the side, don't miss any stitches, don't do any stitches twice and you should be perfect. When you get to the corner just turn the work and carry on.

When you just have 2 sides left to join you need to pause.
Take the tiny 1.5cm squares of Aida and pop them inside right in the middle where the button is going to go. Hold them in place with a pin on the outside. I used 2 tiny squares, one for the top and one for the bottom.

Now stuff the biscornu with fibre fill until it is fairly firm but can still be squished in the middle when you add the button.
Continue joining the sides and stop again when you have just a tiny gap.
Adding the cord

Tie a knot in the loose end of the cord or ribbon to form a loop and poke the knot inside the gap you have left. Then finish sewing the side trapping the cord as securely as you can.
Adding the button
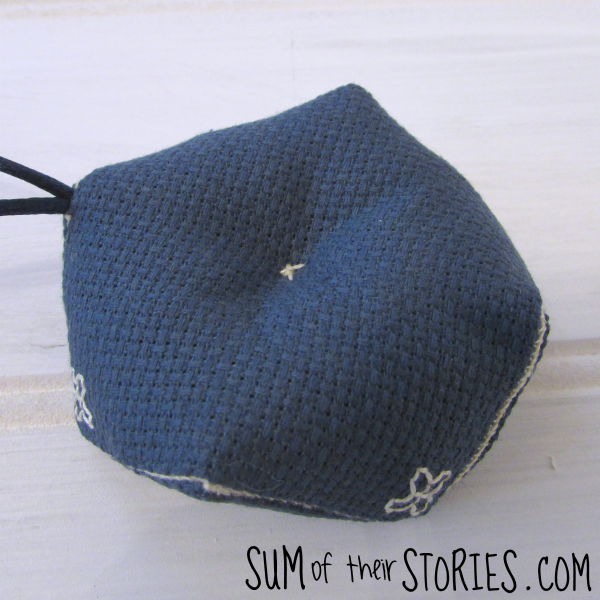
To finish you just need to add the button. You can remove the pins at this point, and sew the button on to the centre of the top of your biscornu, sewing straight through from front to back. I guess you could add a button on the bottom too if you like, I just left a neat little cross on the middle of the bottom of my biscornu.
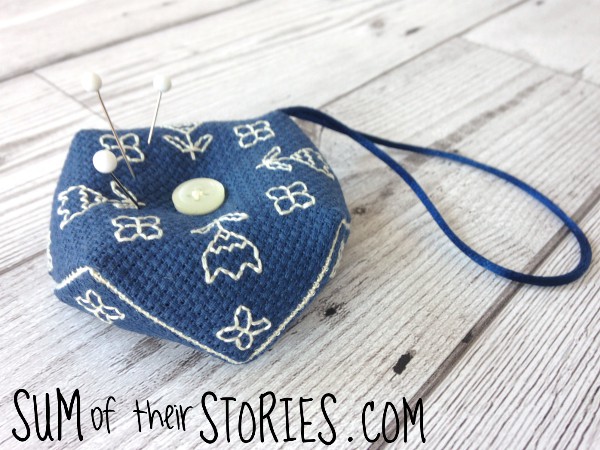
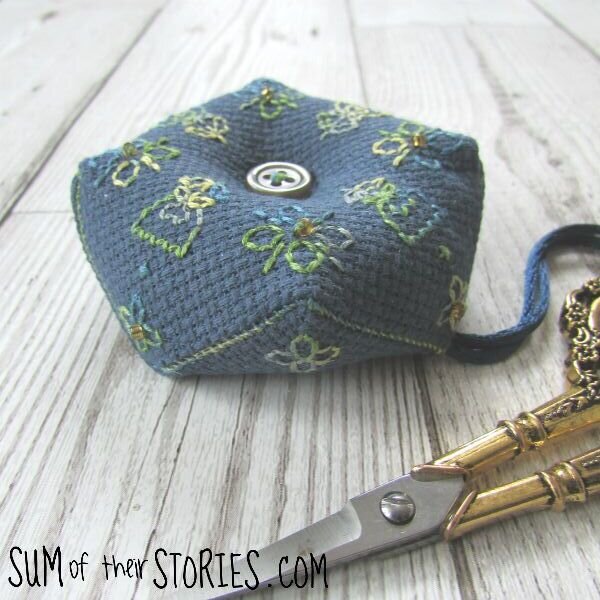
That's it, your beautiful biscornu is finished. It can be a mini pincushion as well as a lovely little scissor keeper.

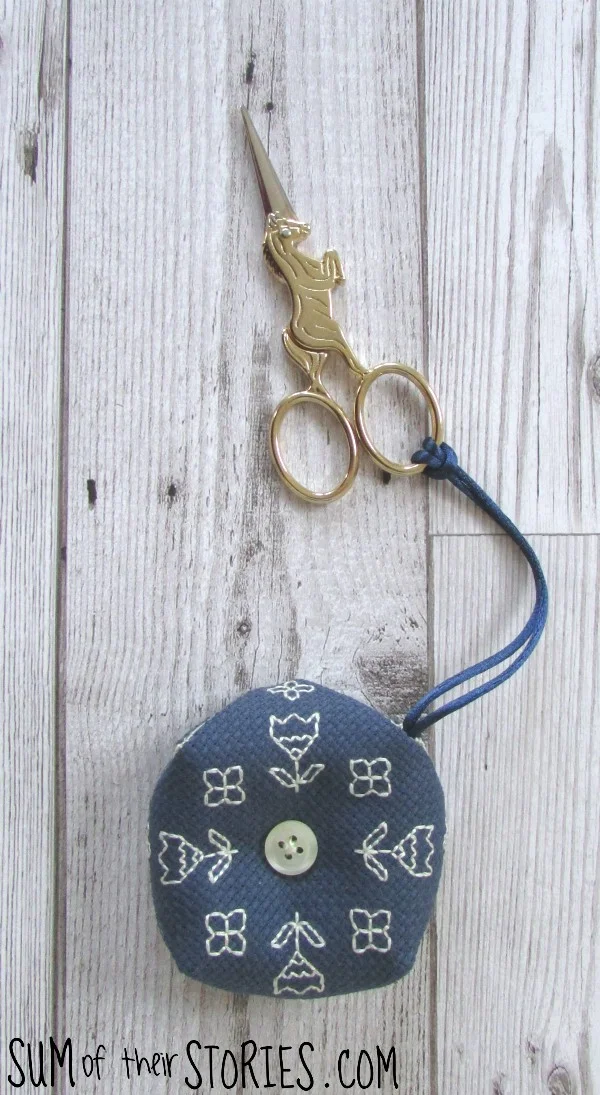
These adorable little unicorn embroidery scissors are our daughter's. I've had to borrow them for this photo shoot as I've temporarily misplaced my own stork embroidery scissors. They'll turn up soon I hope!

I really would encourage you to have a go, it's fun to see how they come together. Not a very quick thing to make, but sometimes a bit of slow hand sewing whilst you veg out in front of the TV is just what the doctor ordered!
I’ve got another simple mini biscornu design which you might also like to check out:
If you are new to embroidery you might find this guide to 9 simple embroidery stitches for beginners useful before you start.
If you like the idea of a scissor keeper but want to make something a little simpler then this felt one might be more your style.

You don’t have to turn your biscornu into a scissor keeper as I have. Miss off the cord and it just makes a really sweet little pincushion.
Tips for successful biscornu making
Aida fabric is the perfect material for making a biscornu. The even squares help to ensure your biscornu fits together properly.
Use a good quality Aida fabric, a slight firmness to the fabric makes it easier to assemble the biscornu.
Using a boldly contrasting thread for your embroidery, especially the border helps to make it easier to see your stitches and not miss any.
Count, count and count again when stitching the border. Each side of your square must be identical for the biscornu to go together correctly.
The most important thing however is to enjoy your stitching. The way the biscornu comes together is so clever and quite magical, I loved making mine and hope you will too.
Julie
I'll be linking this project at these link parties