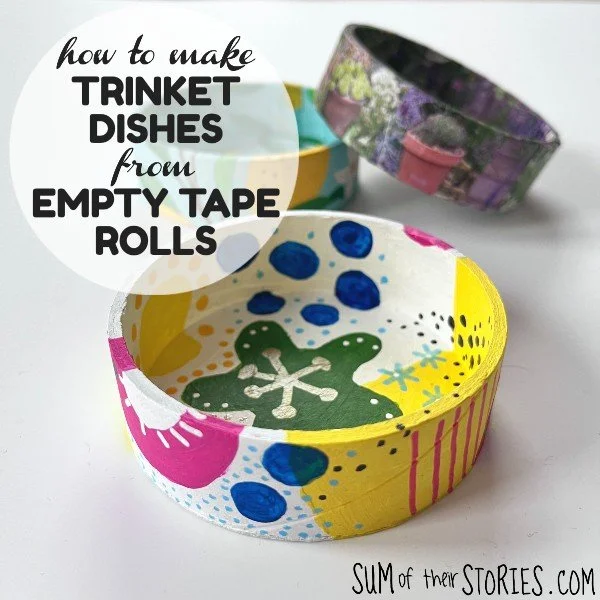
Making a hole in Vellum or card without creasing - a Blu Tack Hack
/A quick tip to make perfect holes in vellum and card without creases.

I’ve been using this method to make little holes in card for things like split pins, brads etc for years and so when Bostik, the makers of Blu Tack, asked me to share a Blu Tack hack I immediately knew what to do!
The Blu Tack for this project was provided for me by Bostik.
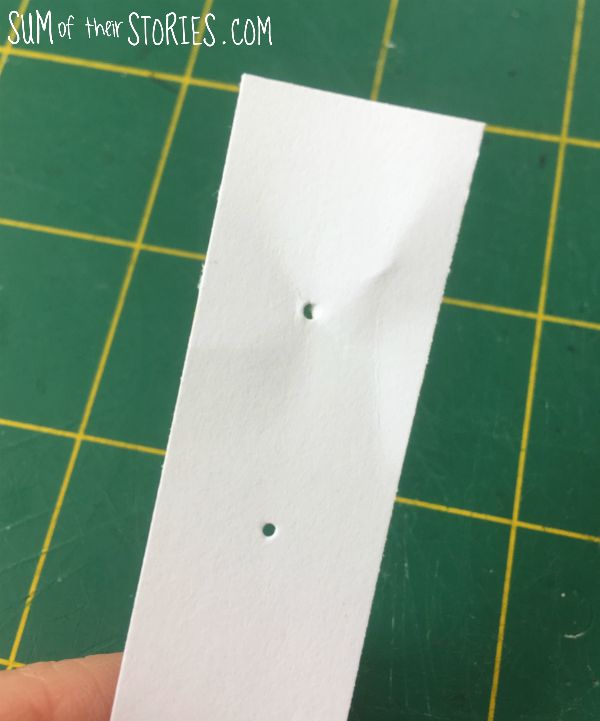
The problem is how to make a small hole in vellum or card without it creasing. Here’s what happened when I just held some vellum and poked a hole with a needle.

If you want a larger hole then a hole punch is great. You can get wonderful spring loaded eyelet settings which can be used to punch holes anywhere you want in card, I love my set from Fiskars..
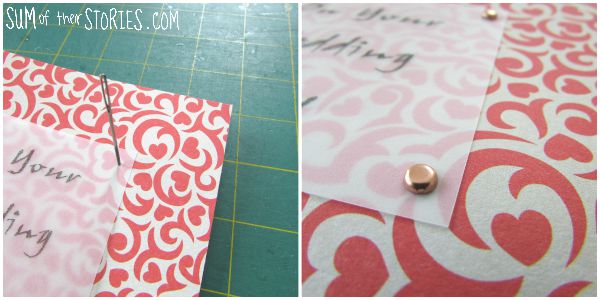
The issue is if you want a tiny hole, to poke a split pin into, or for a fine thread. Sometimes you don’t want a larger hole that will show and if you just jab a needle or cocktail stick through you can very easily crease your card. Look at this example - the top hole i held the card whilst I made the hole with a needle, the bottom hole I used my favourite Blu Tack hack.
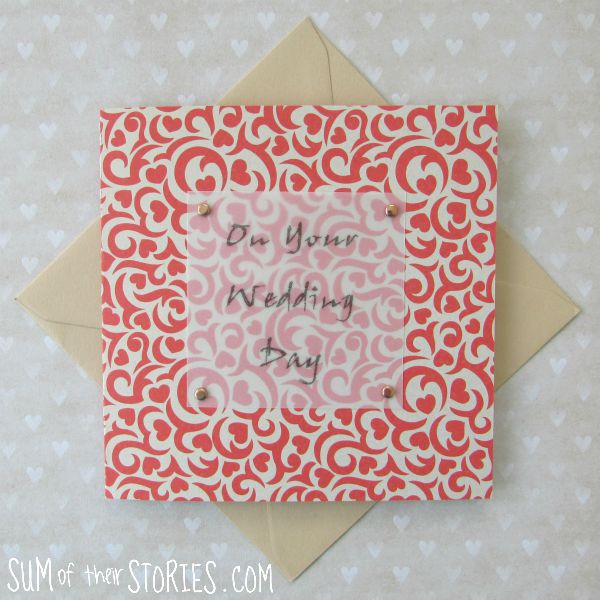
To show this hack or tip in action I’ve made a quick card using the technique.
To make a simple vellum wedding card you will need:
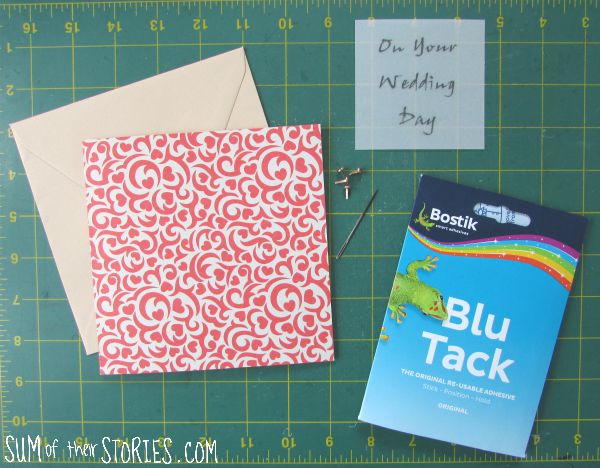
If you are making your own cards with patterned paper then do make sure you have an envelope sorted before you decide on your card size. Cut the card to match the envelope, don’t make a card and then try to find an envelope to match - rookie mistake!
Cut your patterned card to the size card you want, my card is a 5.5” square so I cut the patterned card 5.5” x 11” and folded it in half.
Place the printed vellum greeting centrally on the front of the card.
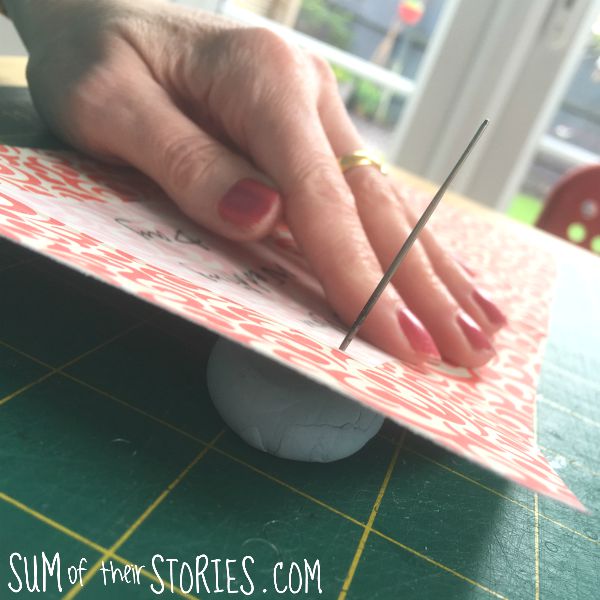
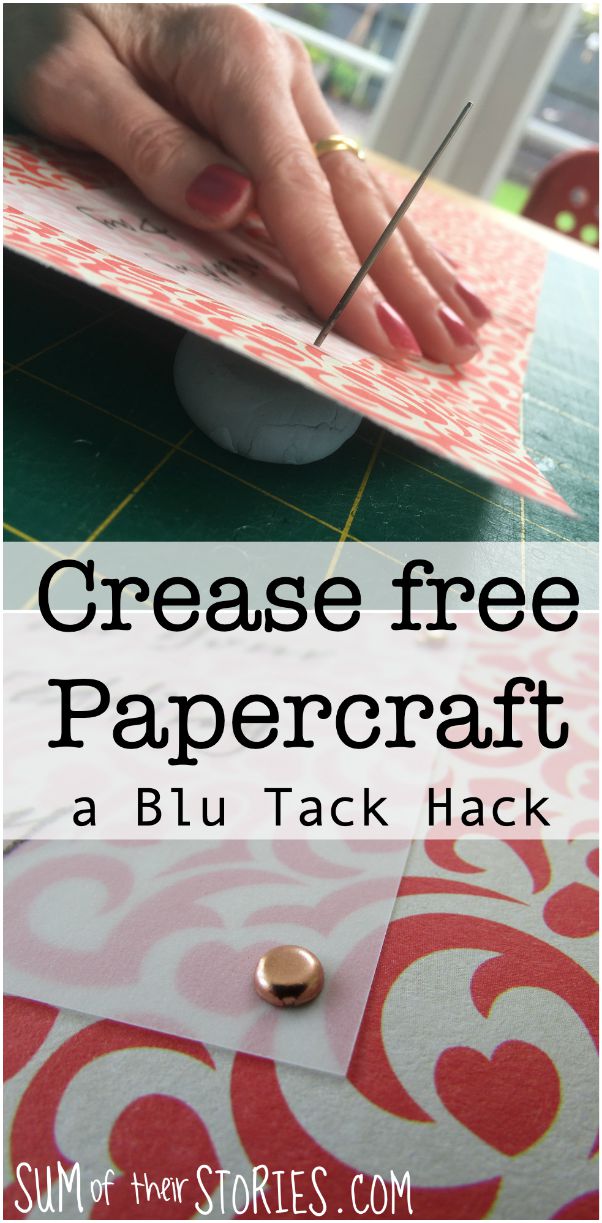
Tear off a lump of Blu Tack and roll it into a ball.

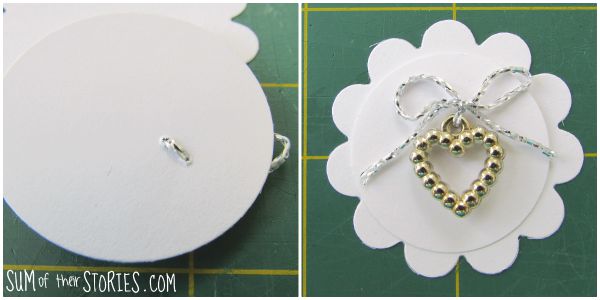
With the card opened out so you are only working with the front of the card, hold the vellum in place with your hands or with a couple of little pieces of washi tape if you find it too fiddly. Place the lump of Blu Tack under the corner of the layered card and vellum and use it to support the card as you poke the hole through with a needle.
Pop a split pin in the hole and repeat on all 4 corners.
On a card like this, with the back of the pins on show I like to add an insert. I don’t add inserts to all my cards, it feels like just an extra piece of paper normally, but when there is something to cover it can add a nice touch. Also this patterned card is double sided so it makes this card easier to write in too.
To make an insert take a piece of regular paper and fold it in half. Trim it so it is just a fraction smaller than your card blank when opened out.
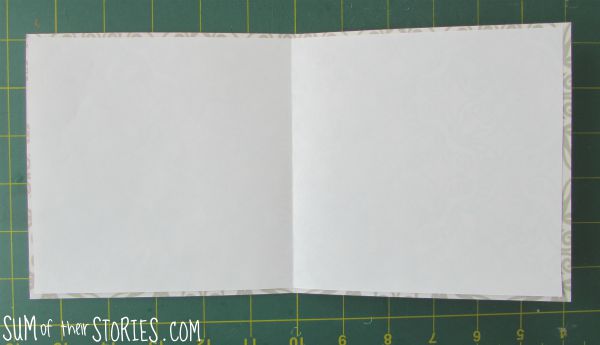
Lay the insert on your table with the fold to the left.
Apply paper glue in a strip all down the fold side.
Place the insert in the inside of the card, lining up the folds.
Close the card and press along the edge.
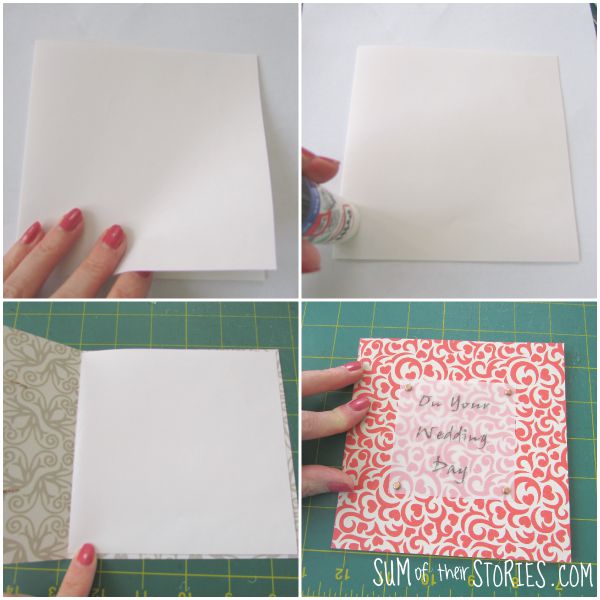
That’s it, a pretty card and completely crease free vellum :-)
I use this Blu Tack Hack to make holes for the card toppers that I make for the 25th and 15th Anniversary cards I have in my Etsy shop.

Blu Tack is great for putting up posters and Christmas decorations but it’s also a really useful thing to keep handy for when you are papercrafting.