
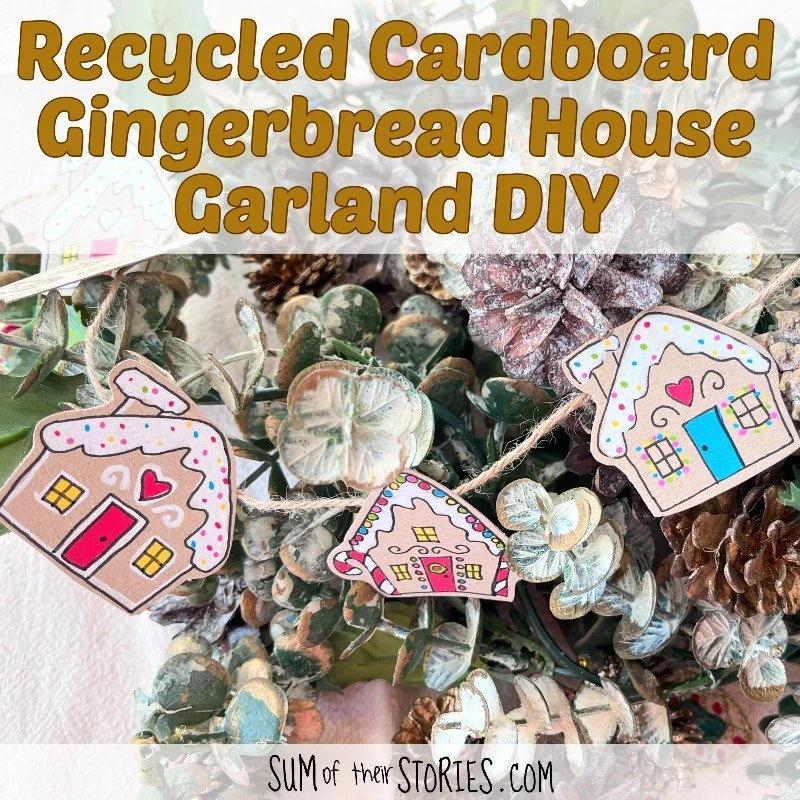
Recycled Cardboard Gingerbread House Garland DIY
/

Christmas can be an expensive time of the year. From buying gifts, sending cards, food, drink, decorations, nights out and travel it can really all add up.
It’s a lot of fun to make some of your own decorations and this really doesn’t have to cost a lot of money, in fact there are lots of great decorations that can be made from items you might normally throw away.
Let me share a really simple and super cute gingerbread house garland that I made from old cardboard packaging.
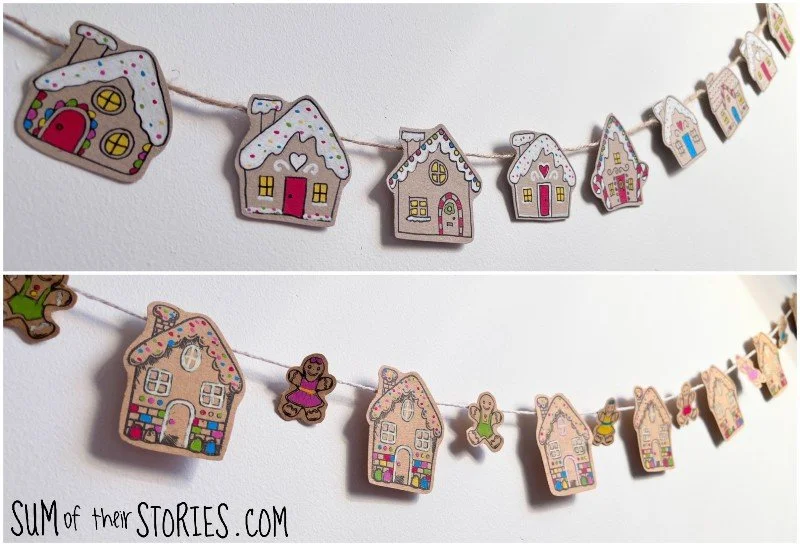
I’ve made 2 versions of this cardboard gingerbread house garland. One that uses a stamp, for people not confident with their artistic skills and one that involves some simple doodling (which is one of my favourite things to do)

To make a gingerbread house garland you will need:
Cardboard - any kind will work as long as it’s brown. Mine was from old packaging envelopes but thicker cardboard boxes will work too.
Gingerbread stamps - mine was from a house clearance but I’ve found a few that are similar - here, here and here.
A permanent ink pad - something like Archival Ink or Versafine. You want an ink that is waterproof so you can colour in your stamped images without it running.
OR
A pencil and black fine liner pen
A white paint pen
Colouring pens - literally anything will be fine, felt pens, paint pens, colouring pencils.
Scissors
String or twine
Glue - I used my favourite Art Glitter Glue but any reasonable strong pva or hot glue would be perfect.
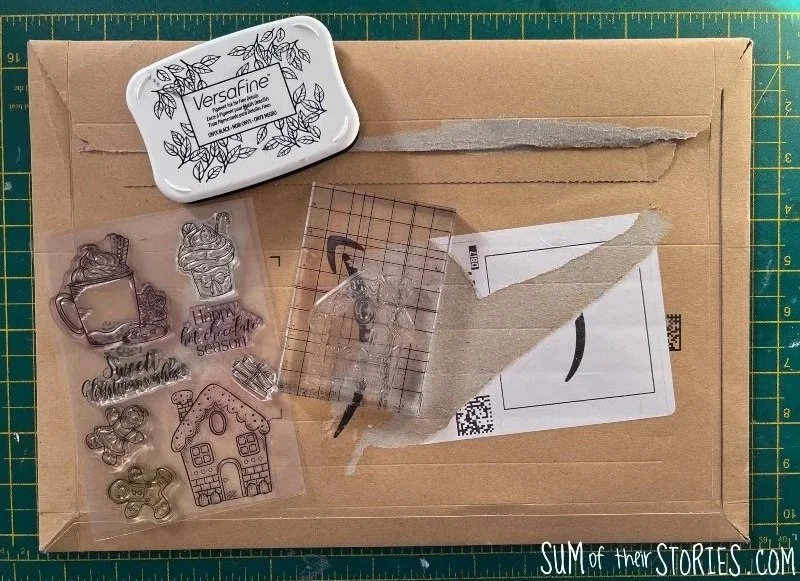
Version 1 - a stamped garland
Stamp the design
Start by cutting your card into manageable pieces. If you have a packaging envelope like me then cut the sides so you can turn it inside out. You want to stamp your gingerbread houses onto plain areas of the cardboard so that might be the back, especially if your card has a lot of printed areas.
Stamp a whole bunch of gingerbread houses. I stamped some little gingerbread men and gingerbread ladies too as I had some in my stamp set.
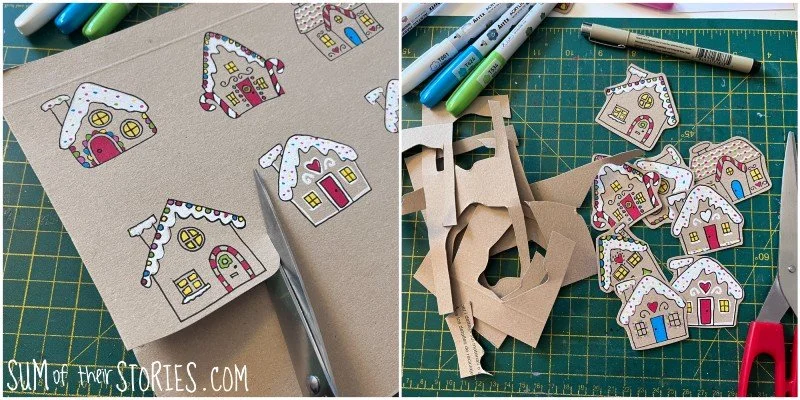
Cut the shapes out leaving a narrow border around the edge. Some of the stamp sets I’d found online that are listed in the “what you need” section come with dies to cut the shapes out too. If you have a set like that and a die cutting machine that obviously use them! I was “old school” and used a pair of scissors because my stamps don’t have dies with them.
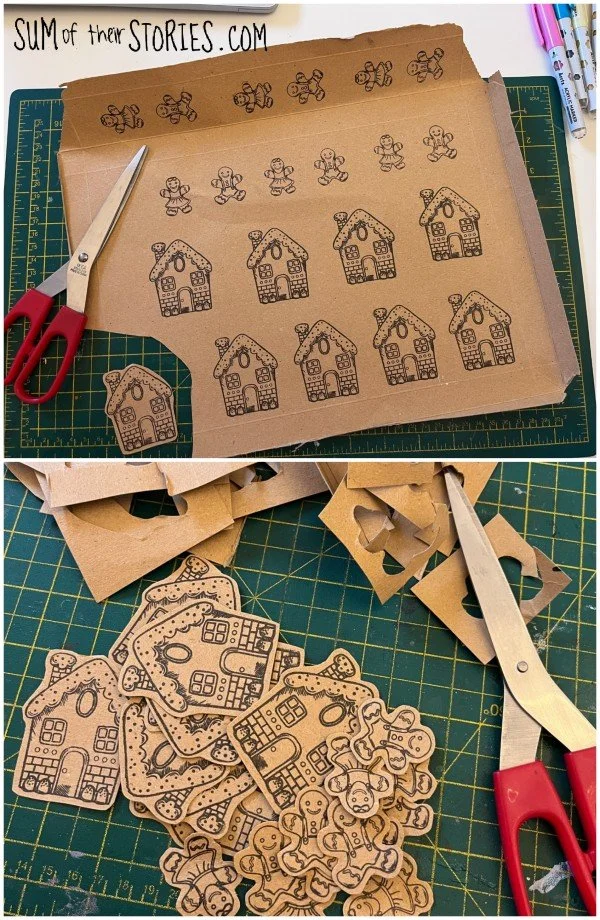
Once your shapes are all cut out them then you can add a little colour. Add as much or as little colour as you like.
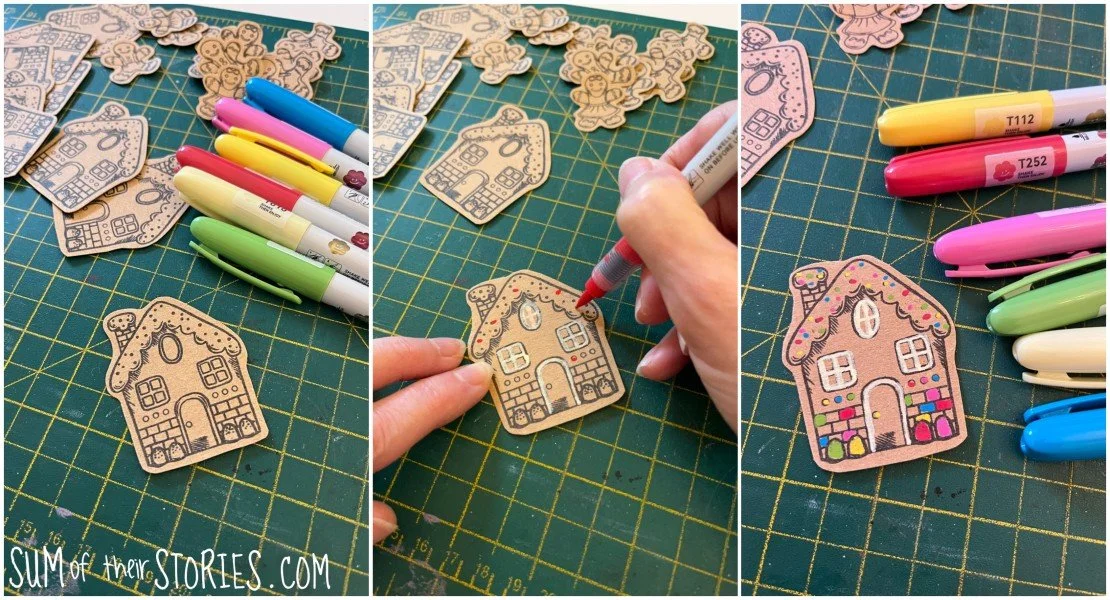
I used paint pens because I have this lovely set from Arrtx but you can use any colouring pens or pencils that you have.
Version 2 - doodle your own houses
Prepare your cardboard as above, remove the sides so you can open it right out and cut it into manageable pieces.
Now the fun bit - doodle some gingerbread houses. Use a black fine liner pen or a fine white paint pen and just have fun. Your houses don’t have to be perfect. Add lots of decoration or just a little.
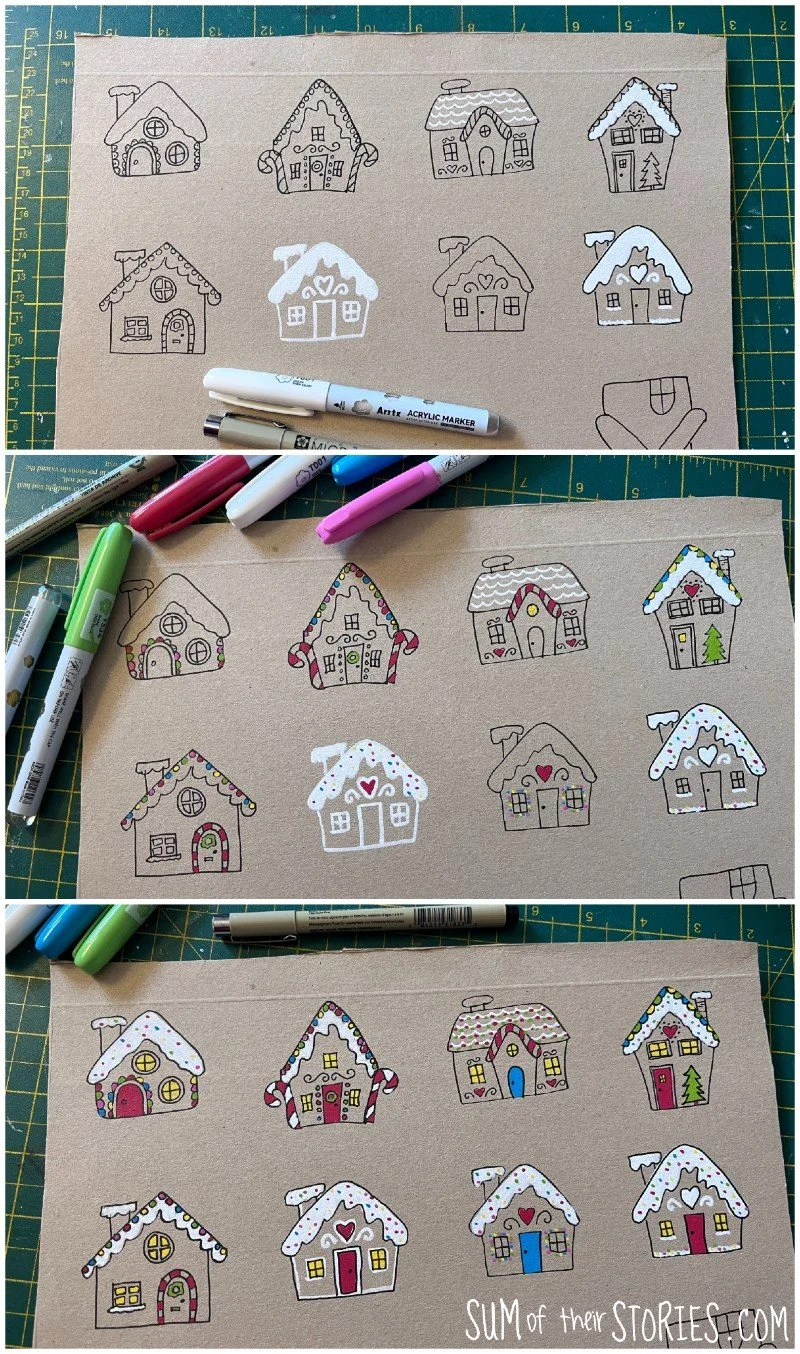
You can see from the photos that I had fun drawing all kinds of different houses. I found the easiest way to draw a cute basic gingerbread house is:
In pencil draw a snowy roof
Add the walls, floor and chimney
Add a door, windows and heart above the door
Colour the snowy roof, door and windows
Outline your house with your black fine liner
Add any more colourful details that you’d like. Things like a doorknob, window panes, colourful dots on the snowy roof etc.
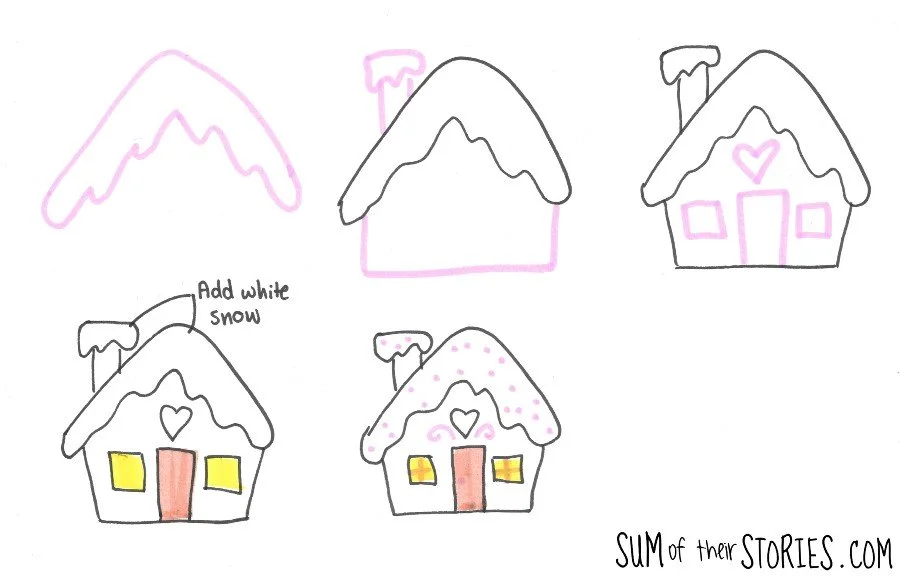
This is just an idea of course, you can draw your gingerbread houses however you like. Here are some more ideas that you are welcome to use for inspiration:
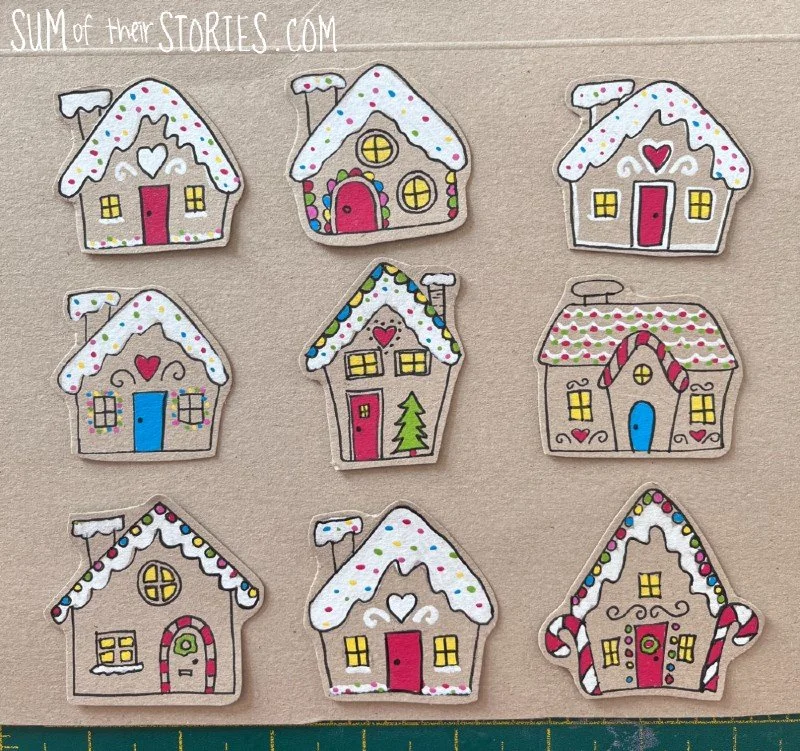
Cut your houses out.
Creating your gingerbread house garland
Lay out the houses and gingerbread people in the order you want them on your garland and flip them all face down.
Cut a length of twine just a little longer than you want your garland and find the centre.
Starting with your middle cardboard cut out house, apply a blob of glue to the back fairly near the top and stick down the centre of your twine.
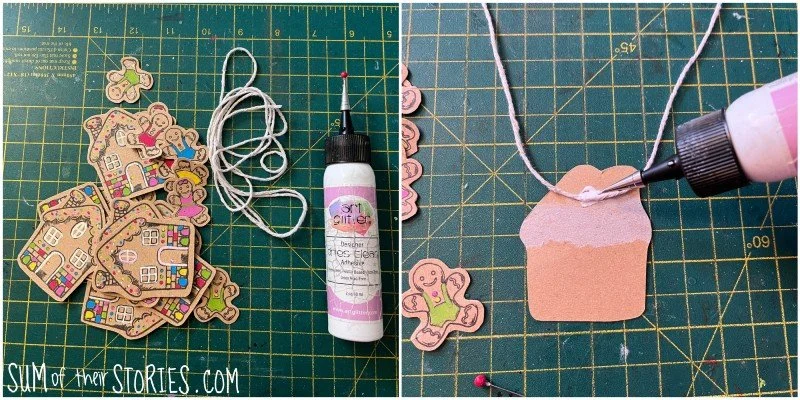
Work out from the centre, on one side and then the other applying blobs of glue to the back of your shapes and then sticking down the twine.
Leave this all to dry and then your upcycled cardboard Christmas garland is ready to hang.
You could attach the cardboard houses to your twine with a little bit of tape if you prefer but I think a tacky pva or hot glue would probably be stronger.
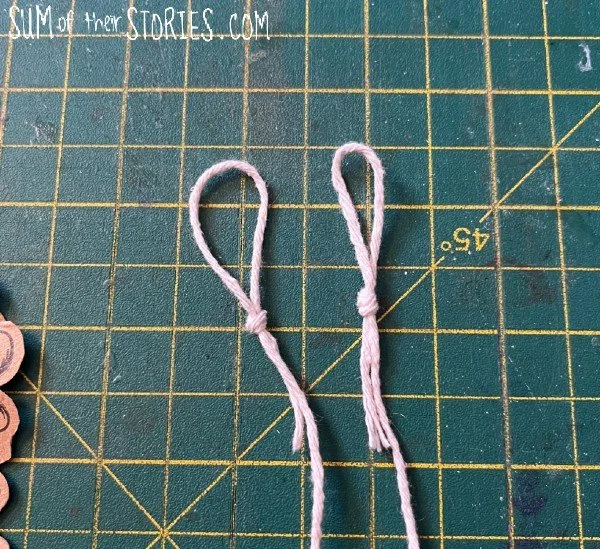
You can tie a little loop on each end of the twine for easy hanging if you want to.
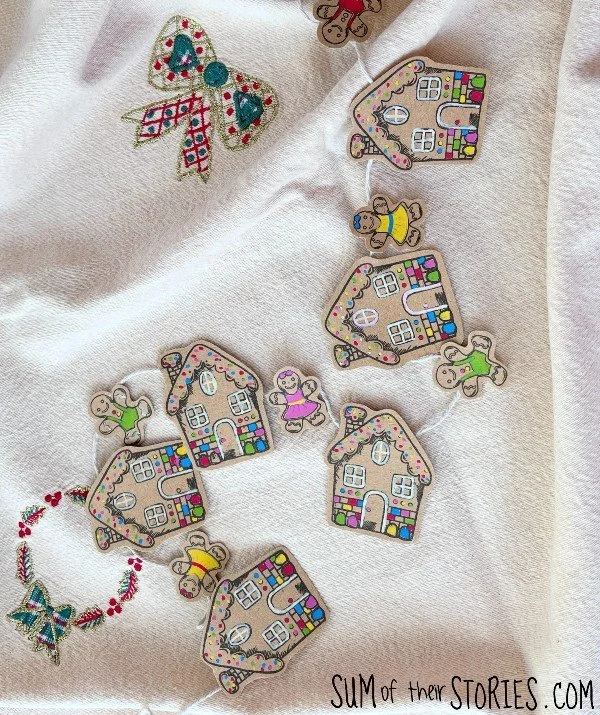
Make your garland as long or as short as you want to.
My houses are each about 6 cm (2 1/2 inches) high but yours can be any size.
Bakers twine would look sweet with the little gingerbread houses, a natural twine works well too. I imagine that a ric-rac braid would be really cute too.
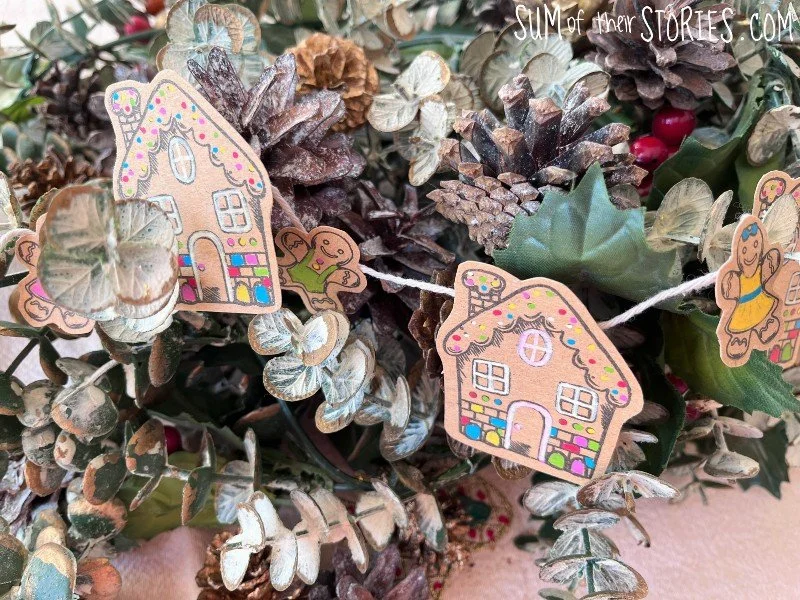
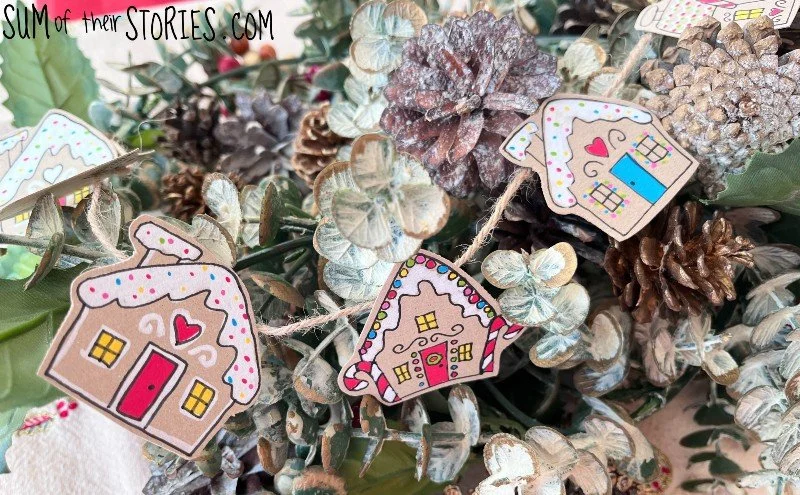
I’m not sure where I’ll be putting my little cardboard garlands yet, they are small enough to go on the Christmas tree but I think I’d like to make a longer garland to go over the door.
I’m also thinking I will draw some of these gingerbread houses on our windows this year too, with my chalk markers. You can see some of my previous window doodles here: Christmas Window Decorating with Chalk Markers. It’s one of my favourite Christmas decorating activities each year, my husband always laughs at how happy I look when I’m doodling on the windows!
Have fun creating your own Christmas decorations from cardboard rescued from the recycling bin.
Julie
I’ll be sharing this idea at some of these link ups
You might enjoy some of my other recycling and up cycling Christmas ideas: