

Easy Wooden Christmas Tree Upcycle
/

I love bringing out the same old Christmas decorations year after year. I’m really not one for changing themes and buying all new, but sometimes old Christmas decorations can get a little damaged or tatty and need a makeover. Actually I’ve got a couple of ideas to update tatty old baubles here, here and here.
Today I’m joining the Do It Over Designers with this really simple wooden Christmas tree revamp.
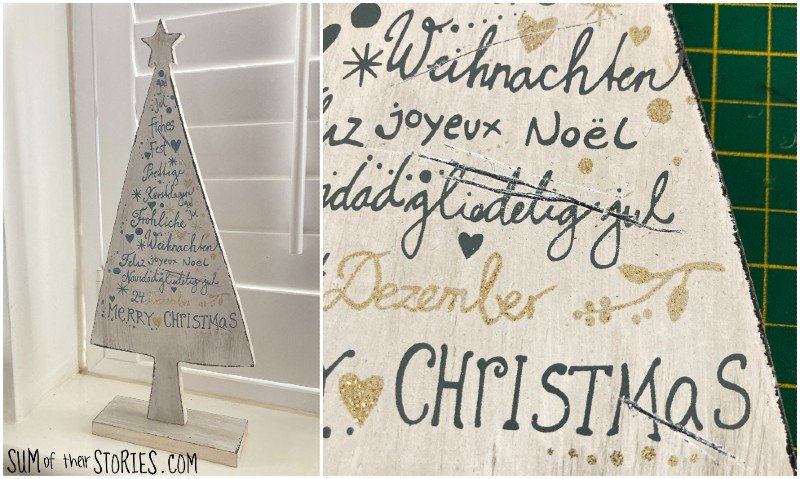
We’ve had this sweet little wooden Christmas tree for quite a few years, I’ve no idea where I picked it up but I’m sure it wasn’t very expensive. I like little tabletop Christmas trees and have quite a few in all different styles that I cluster together to make a fun little “forest”. It always bugged me just a little that this tree says 24 December on it but I know quite a few European countries do their main Christmas celebrating on the 24th so I assumed that was why, no biggie. Last year this poor little tree had a minor fall as it was being put away, got a bit wobbly on its stand and suffered a few scratches. Time for a do over!
This could not be simpler and only took about 30 minutes with just a little drying time, let’s get started.
Materials needed:

A old wooden Christmas tree shaped decoration
White card
Alphabet stamps or a computer and printer
Covering the tree shape with paper
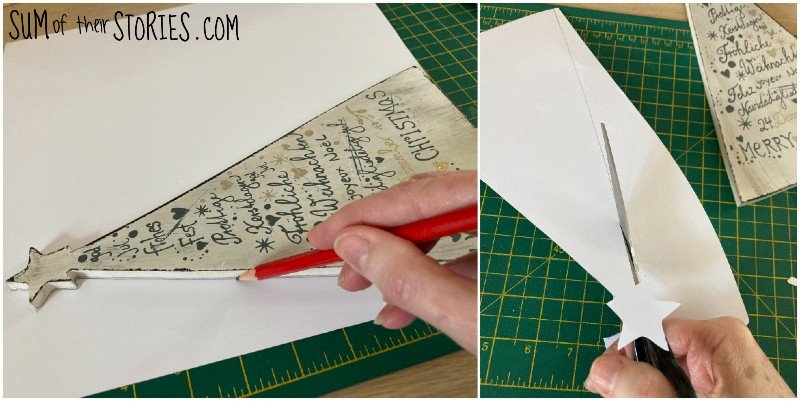
Lay your wooden Christmas tree face down on your scrapbook paper and draw around it and then cut out.

Cover the wooden tree with a layer of Mod Podge and then glue the paper on top and press down firmly. Repeat on the other side with another paper so that your tree decoration is now double sided and leave it to dry completely.
Whilst that dries prepare your words.
You can add any Christmassy words, quote or line from a carol that you like. Isn’t that the beauty of making your own decor? You make what YOU like.
I have literally hundreds of strips of white card, all left over from a magazine storage thing my daughter did - she gave me a box full of card strips with a “I hope you can do something with these” so I’m always on the lookout for something that needs a strip of card. They are actually super handy to be honest, they come in for all sorts of things and I’ve probably used about a 1/4 of them now ….… but that has taken a little over 3 years!
I appreciate that you may not have this seemingly unending supply of card strips so you might want to print your chosen words in a cute font onto thin card on the computer, spaced out so you can cut them out separately.

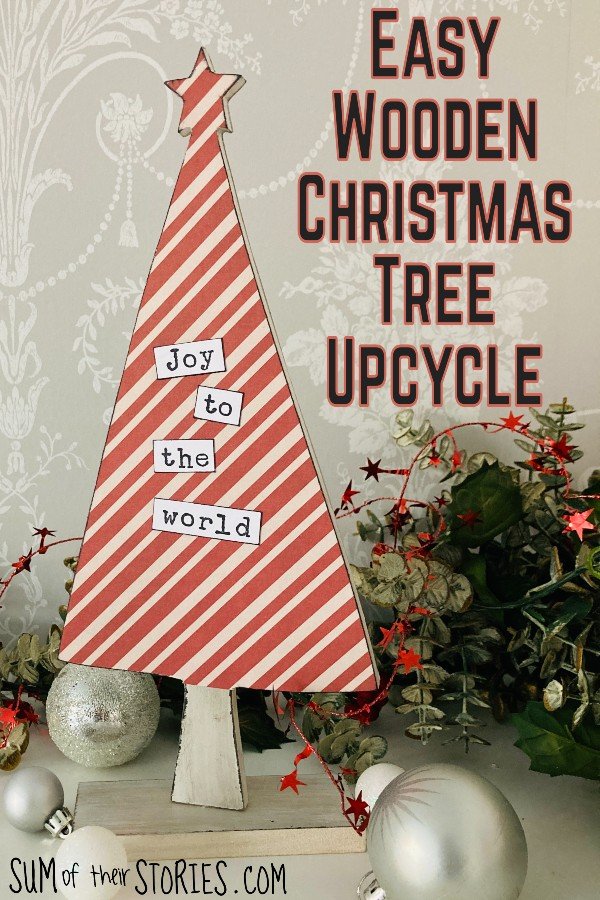
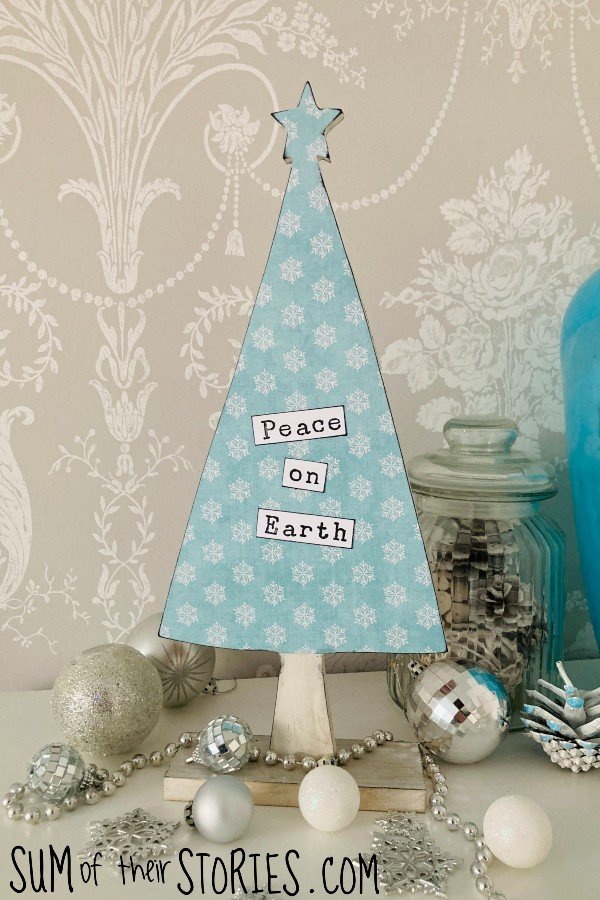
I used my alphabet stamps to print the words Peace on Earth and Joy to the world onto my white cards strips.
Once the words are printed or stamped, cut them out and ink the edges.
When the tree is completely dry check the edges. You may find the paper overhangs the edge everso slightly. Nothing to worry about, when you draw around something and cut it out with scissors it’s hard to get the size exact. You can either trim this with a craft knife or even sand it off carefully with sandpaper.

Ink the edge of the tree if you want that slightly distressed look, leave it uninked if you prefer a clean bright look.
All you need to do now is decide on the positioning for your words and then glue them in place, again with a little Mod Podge.
I just needed to glue the tree back onto its base using wood glue and it was finished.
I contemplated adding more, maybe decorating the base somehow, adding some additional sparkle somewhere but in the end I decided I really like the simple look this tree has now, no need to gild the lily as my mum always said!

I chose completely different papers for each side of the tree and I love how versatile this has made it.


Do you have an old Christmas sign or tree decoration that is looking a bit tired or damaged? Instead of just throwing it away why not “do it over” and give it a whole new look.

Now just take a moment to check out the lovely upcycling ideas from the other creatives in the Do It Over Designs Challenge:
Purple Hues & Me - Christmas Tree Basket
Color Me Thrifty - Monopoly Money Rosette Ornament
The Apple Street Cottage - Unique Jewelry Tree
Pandora’s Box - Painting on Glass
Birdz of a Feather - Aluminum Can Wall Art
Exquisitely Unremarkable - Wooden Gingerbread Row Houses


