

Upcycled Greeting Card Bunting
/
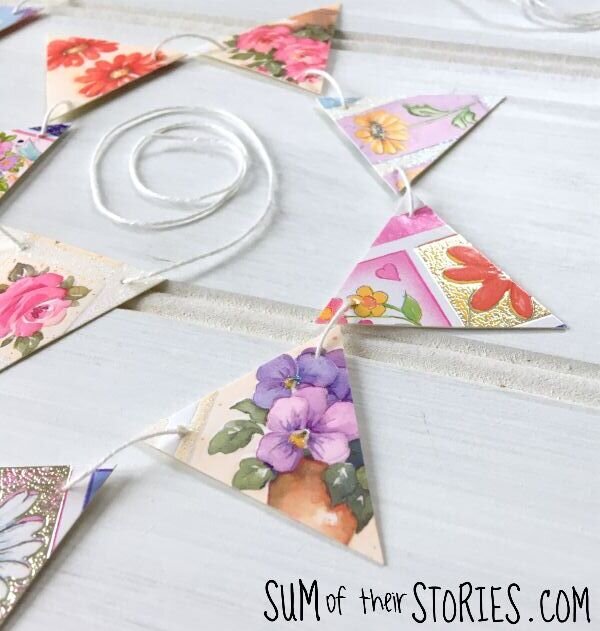
Save your birthday cards and turn them into pretty bunting.
Today I’m joining the Pinterest Challenge. It’s been a few months since I joined in so I’m very excited to be back at it! The Pinterest Challenge is all about motivating the participants (and you too) to not just pin, but to make it happen! This month's challenge is about Spring Crafts/DIY Projects, so I chose to upcycle some old greeting cards into pretty Spring bunting. I was inspired by a few pins I saved here and here.
This is another one of those ‘does it translate across the pond?’ projects. A quick google told me that bunting is not a common word used for these flag or pennant type garlands in the US. Is it a word you are familiar with where you are in the world?
Here in the UK we call these strings of pennants ‘bunting’ and it’s used for all types of celebrations and decorations. Summer garden parties, village fetes (think Bake Off tent) children’s bedrooms, pretty dressers all NEED bunting, it’s practically the law!!
It’s easy and fun to make pretty Spring bunting suitable to use indoors from old greeting cards. I changed the way I joined the flags of my bunting to the versions that I had pinned, I just find this way works best for me.
To make pretty Spring bunting from old greeting cards you will need:
Old greeting cards
Some sort of twine, cord or ribbon
Scissors, ruler and pencil
A large needle and a lump of blu tack (optional but advised)
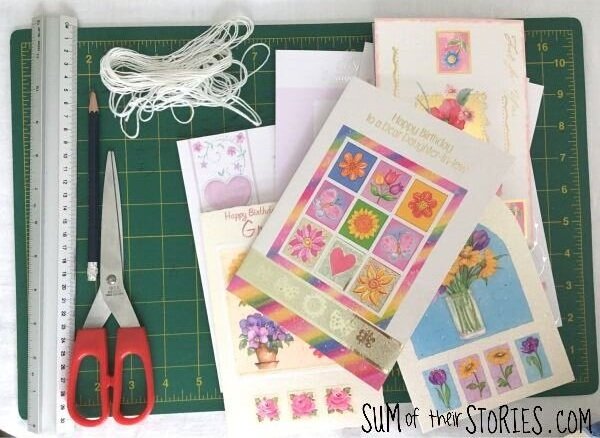
I had a load of old greeting cards given to me recently and lots were pastel and/or floral so perfect for making into bunting for spring. How many cards you need depends on the size of bunting you want to make.
If you make mini bunting with tiny flags then you’ll only need 2 or 3 cards, if you want to make slightly larger bunting then to make a decent length you’ll need at least 5 or 6 cards.
To join the flags you can use almost anything that is long and thin! Garden twine would give a rustic look, bakers twine would be really cute, fine ribbon would work well too. I wanted to keep this an upcycling project so I used the cord from the tape at the top of old curtains. Whenever I cut up old curtains to make something else (I make a lot of bags which I sell in my Etsy shop) I always remove and keep the cords from the tape at the top. It is super strong and really useful for all sorts of things, like drawstring bags and bunting!
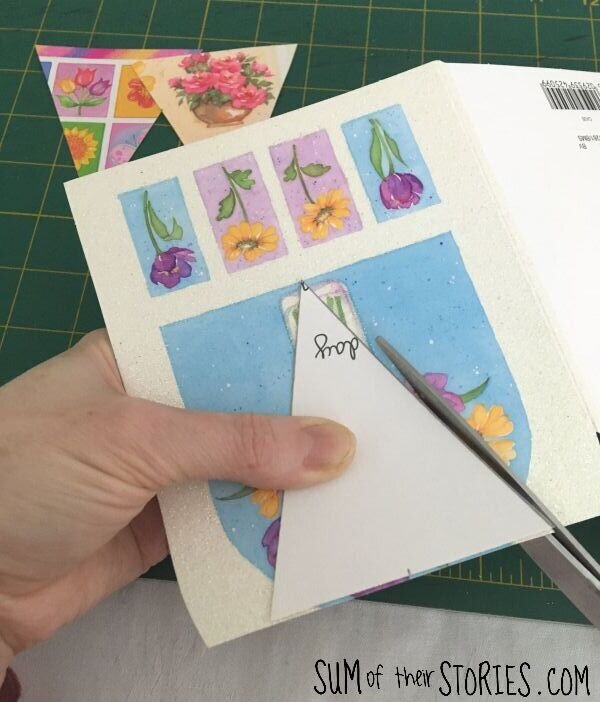
The first thing you need to do is to make yourself a template for the flags of your bunting. This can be any size and shape you like. I’ve provided a few here for you to download or you can simply draw your own.
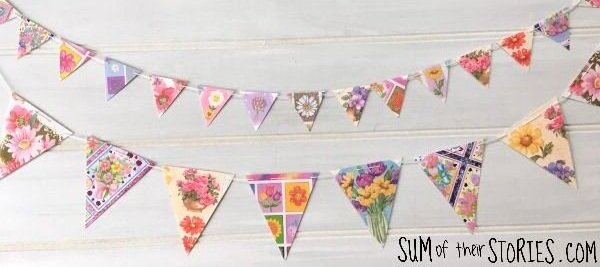
I made 2 sizes, the larger are 8cm x 9cm (3” x 3.5”) and the mini ones are 4cm x 4.5cm (1.5” x 1.75”) I’ve labeled them medium and mini on the download.
Cut your chosen template from the back of one of your old greeting cards.
Then you are ready to start cutting out flags. Position the template over the card and cut round. I didn’t mark them, I found it easy enough just to cut round but you could draw around the template in pencil and cut them out that way if you prefer.
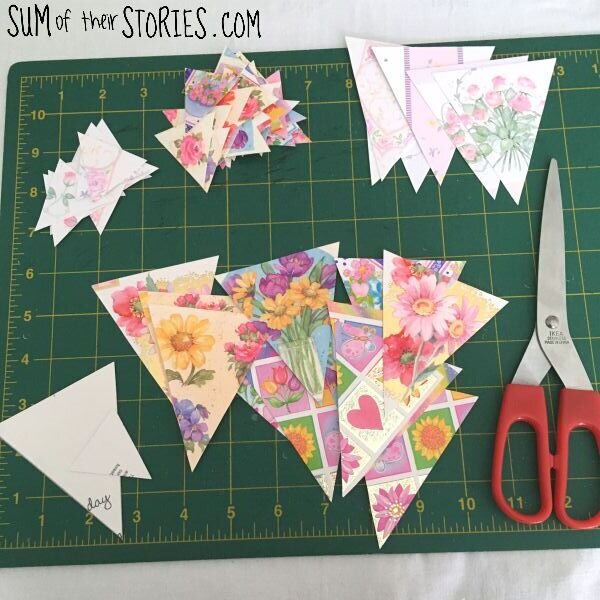
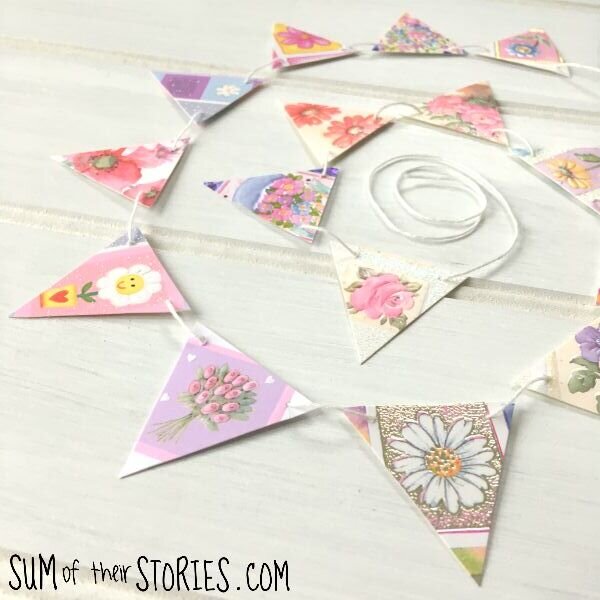
Once you have cut out a bunch of flags you are ready to assemble the bunting. You can see the 2 sizes I cut out here. I also divided mine into brights and pastel colours, just because I had plenty and thought that would look nice. You can choose whatever colour scheme suits you or the cards you are working with. A right old mish mash would look lovely too.
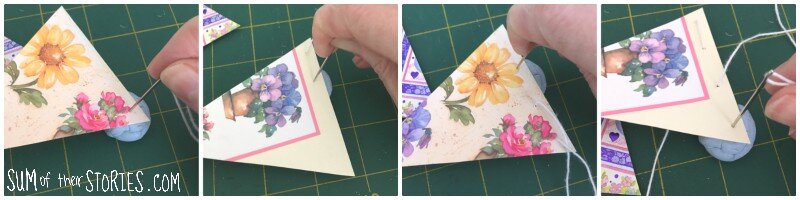
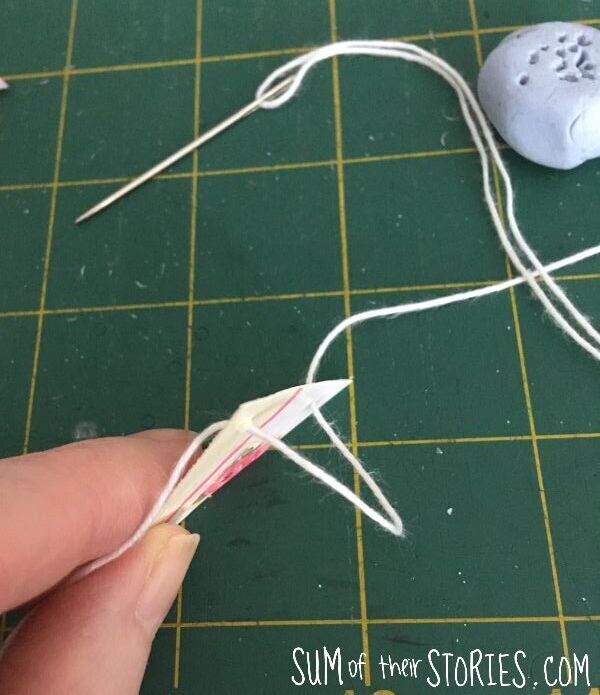
Cut a long length of the cord or twine you are using and thread the needle. Make the thread just a bit longer than you want your bunting to be, it’s always better to be on the safe side, you can trim it if it’s too long. You’ll need to allow a length each end for tying the bunting up remember, about 30cm or 12” extra should be plenty for that.
You are going to sew the cord along the top of the bunting flags. I prefer this method as the flags don’t slip about like they can do if you thread string or twine through punched holes. I find it much less fiddly than glue too.
This is where a lump of blu tack can come in really handy. As I explained last year in my Blu Tack Hack, if you pop a lump of blu tack under card when you are making a hole it will help to prevent it creasing.
Continue sewing the flags until you have enough.
I know that sounds really vague but you can have big ol’ gaps between the flags, have them butted right up to each other or somewhere in between. There is no right or wrong here, it’s whatever you prefer.
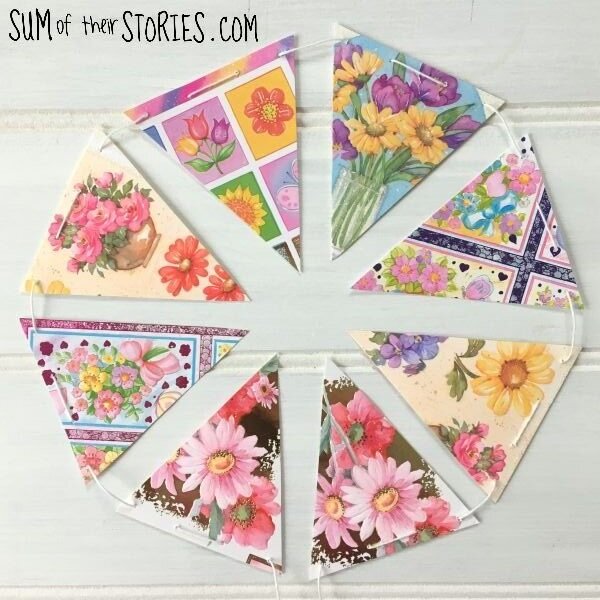
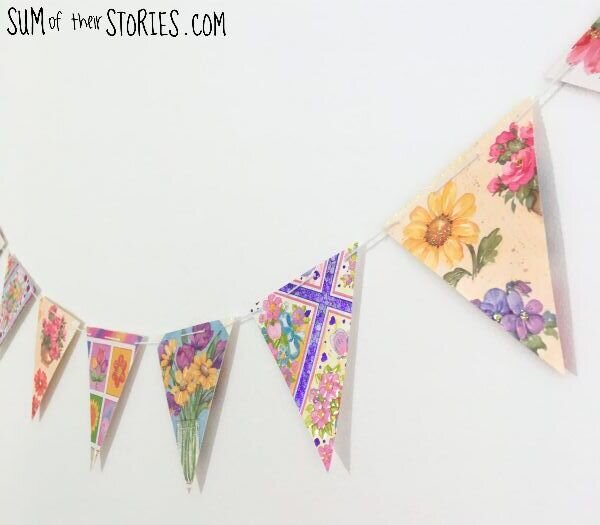
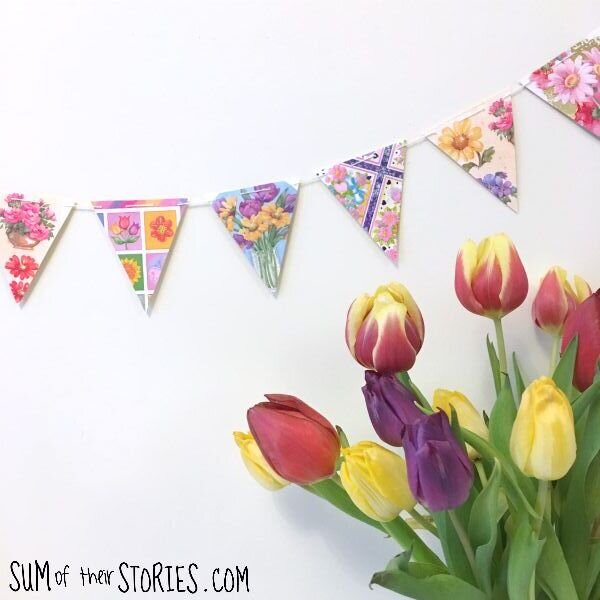
Just to give you an idea, on my medium sized flag bunting I added 8 flags, allowed a small gap between each one and the finished length is 70cm (28”) , just the right length to go over a door.
For the mini bunting I added 15 little mini flags and it’s roughly the same length.
The mini bunting is made in exactly the same way except less stitches in the top, just in then out. there isn’t really room for lots of stitches and on the mini flags it’s not really necessary. On the larger flags the extra stitches really do stop the flags from sliding together so it helps to keep them evenly spaced.

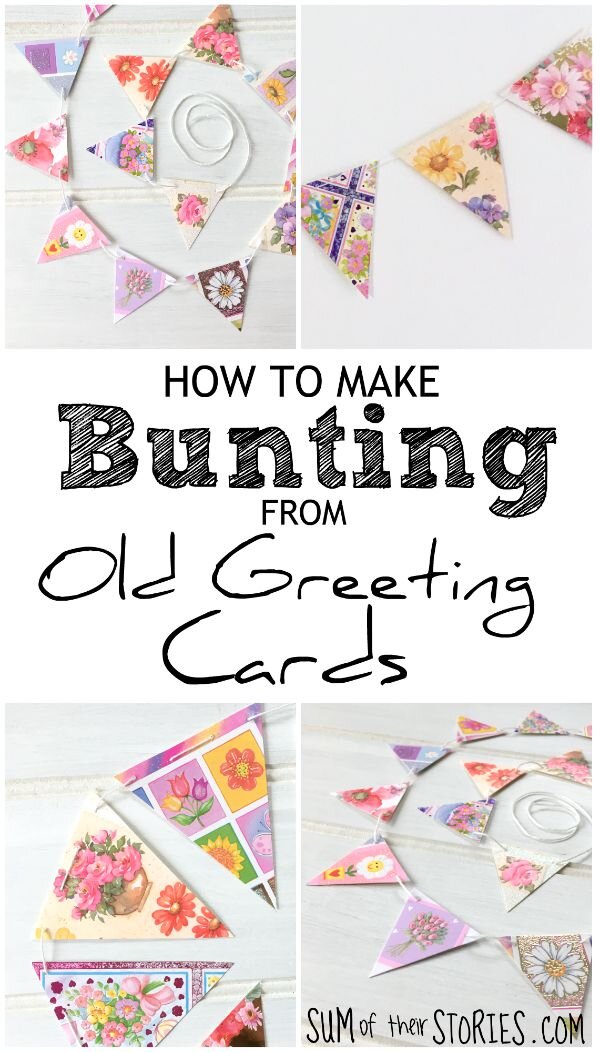
A fun and easy way to add some pretty Spring decoration for free and do a little recycling at the same time!
If you don’t want to make your own you can buy this bunting in my Etsy shop
Julie
I’ll be sharing this idea at these link ups
For more Pinterest Inspired projects from this month’s Pinterest Challenge hosts check out the links below:
Hanging Kitchen Towel from a Pot Holder


