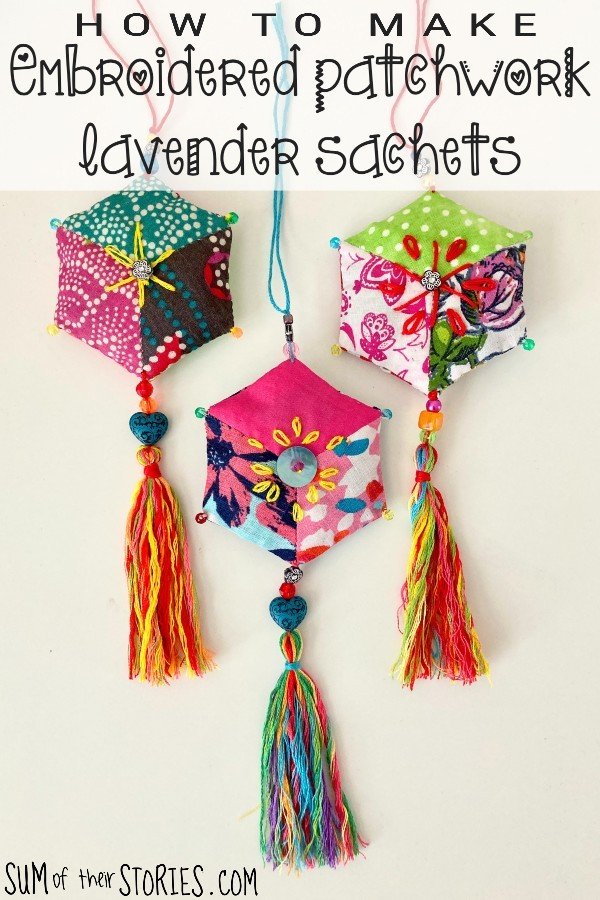
How to make Embroidered Patchwork Lavender Sachets
/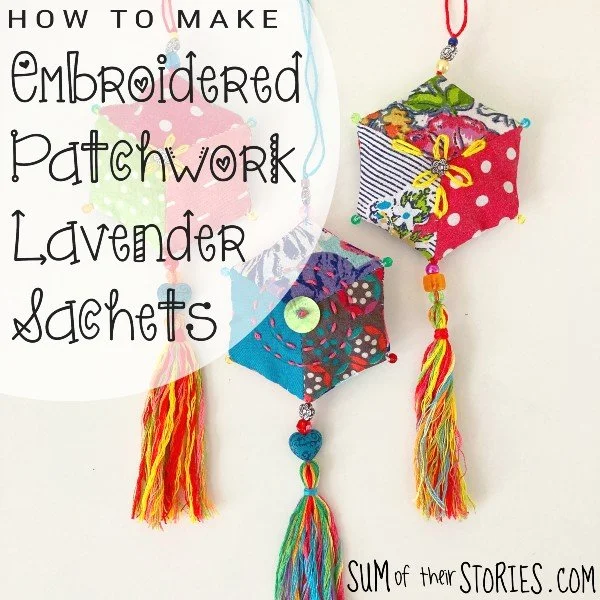

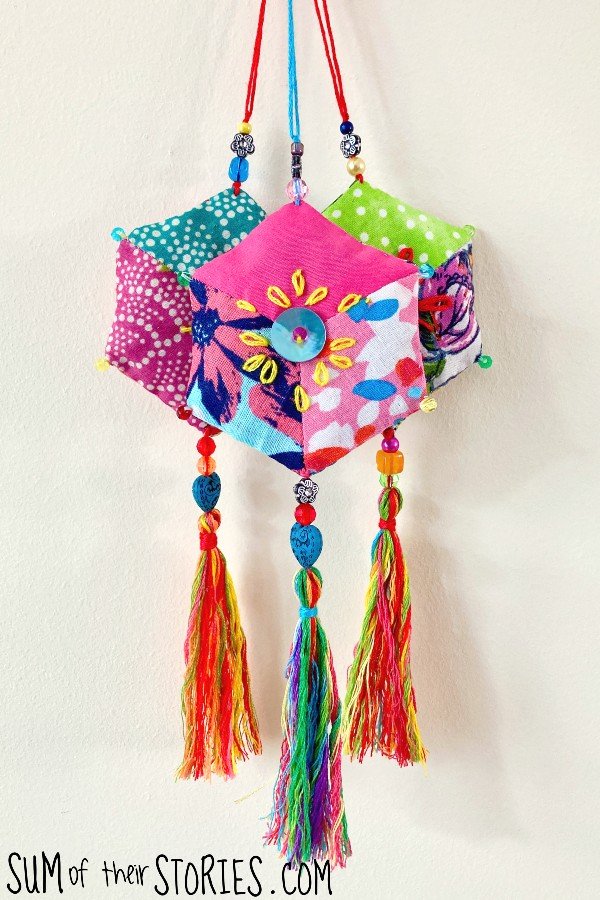
How to make pretty hanging scented sachets with just small scraps of fabric, embroidery thread and beads.
I’ve been on a bit of an English Paper Piecing patchwork or EPP vibe just recently. I’ve always dabbled but just recently I’m a tiny bit obsessed. (Anyone who follows on Instagram will have seen) It’s not a quick way to create patchwork but it’s very portable and perfect for a bit of TV watching/crafting multitasking. Let’s face it, you can’t watch tv and use the sewing machine really can you? Maybe if you live alone it would be ok, but it sure does annoy other family members (allegedly!)
I’ve shared a couple of projects over the years that use the EPP method. Previously I’ve mostly used hexagon shapes but this time I mixed things up a bit with diamond shapes.

I’m joining the Craft Room De-Stash Challenge today with this project and I was at least able to make a small dent in my stash of fabric scraps, assorted threads and box of beads.
Beverly | Across the Blvd
Gail | Purple Hues and Me
T’onna | Sew Crafty Crochet
Marci | Stone Cottage Adventures
Allyson | Southern Sunflowers
Vicky | Vicky Myers Creations
Julie | Sum of their Stories
Joanne | My Slices of Life
This photo doesn’t show the beads very well, sorry about that! I try to be organised and at least some are in tiny zip lock bags which are a bit reflective in this photo. You get the idea though, I have a box full of beads, mostly rescued from old jewellery.

To make embroidered and beaded patchwork sachets with fabulous tassels you will need:
Scraps of fabric
Embroidery threads
Beads
Sewing thread and needle
Diamond shaped patchwork template. I used the 4.5cm wide ones from Imaginesque printed onto thin card and cut out
Start by prepping your diamond EPP shapes. I have lots of instructions and photos on how to do this in my EPP patchwork tutorial if this is not something you’ve done before and you need more information.
Cut the fabric to the size of the card diamonds leaving a 1cm (1/2”ish) seam allowance all around. Tack the fabric to the paper shape, you can use thread or fabric glue for this, I always use thread but it is a personal preference.

You need 6 diamonds for each lavender sachet, 3 for each side. (So you can see I was making 2 sachets at the same time here)

Join 3 diamonds using a small neat whip stitch, to form a hexagon.

Now press these shapes really well on both sides with the iron and then remove the tacking stitches and papers.

Now it’s time to add some embroidery. You can do whatever you like here. I wanted bold and beautiful so I kept it really simple and bright. I used all 6 strands of my embroidery thread and straight stitches or lazy daisy stitches. If you’ve not embroidered before I have a guide to basic embroidery stitches which might be helpful.

Add a bead in the centre if that takes your fancy. Or you might have used such lovely fabrics that you want to leave the embroidery off altogether and just let the fabrics do the talking! You can see with the circles I drew around something round with a ironable frixion pen to get my circles close to even. This pen just disappears when you iron it.
Once you are happy with the embellishments it’s time to sew the 2 hexagon shapes together. Normally with this kind of patchwork you’d leave the papers in and stitch then together from the wrong side but when I tried that on my prototype it made the embroidery difficult afterwards, so I found this slightly weird method worked best for me. You could try sewing your shapes together before you remove the papers and embroider afterwards if you prefer.
But what I found easiest was to place the 2 hexagons together, wrong sides facing and stitch them together. I used a ladder stitch and sewing thread but you could make your stitches visible and use an embroidery thread and something like a blanket stitch or oversewing.

Before you start sewing them together you need to decide which is the top and bottom points of your hexagon. As you sew the shape up, add a bead to each corner that’s not the top or bottom! What a weird way to explain that! Let me try again. Add a bead to each corner except the top and bottom.
You’ll also need to tuck in any tufty bits of the fabric sticking out at the pointy ends.
Leave one short side open, but you can leave your needle and thread just hanging for a moment.
Fill your shape with dried lavender and then stitch up the gap. I just use a simple funnel to fill my lavender bags but you can just spoon it in or make a paper funnel.

Once it’s filled with the dried lavender just sew up the gap.
You could add little beads all the way round your hexagon shape, instead of just on the corners, that would be fabulous! I might try that next time.
Now it’s tassel time! Oh boy! I love a tassel. I used to be all about the pom poms but I do think if I had to choose I actually prefer a tassel. Of course the good news is I don’t have to choose and I can have both tassels and pom poms in my life and my crafting.
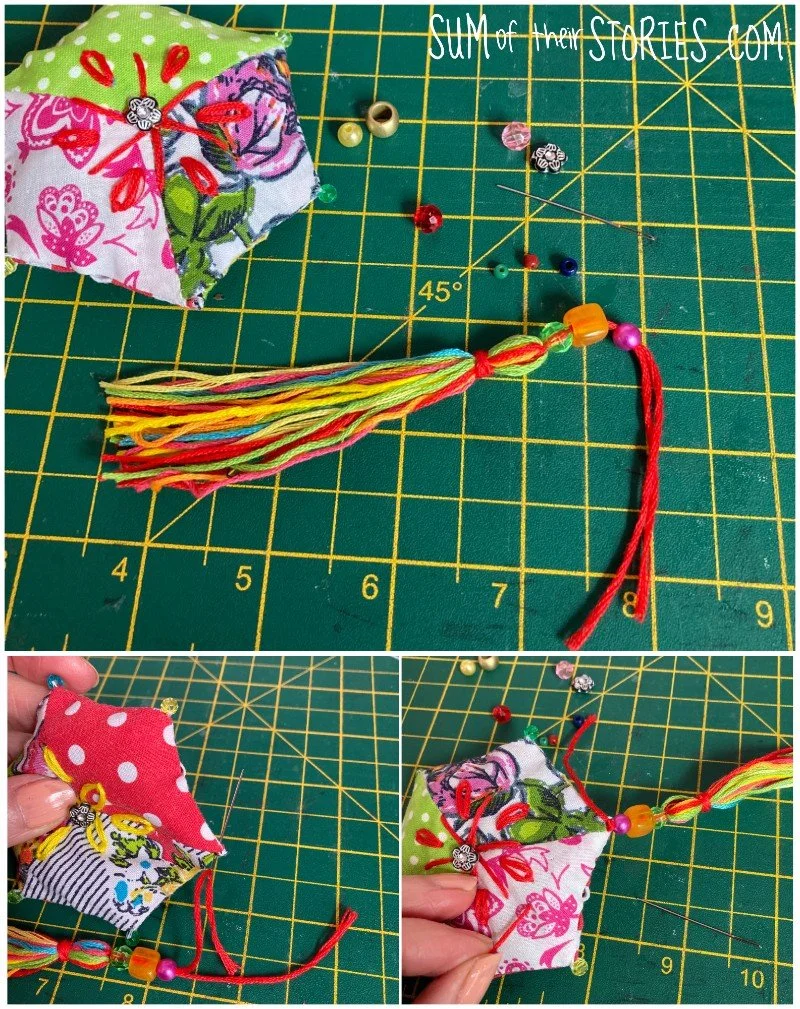
Cut 15 lengths of embroidery thread about 8” long, tie them in the middle with another length of thread and fold in half. Wrap yet another length round and round about 1cm (1/2”) from the folded end and then knot that tightly. I’m not doing a full “how to make a tassel” tutorial here, if this is new to you then you can find a few times I’ve gone through the tassel making process here in my Pom Pom Tassel Spool Ornaments Tutorial and also at the end of my Pentagon Crochet Bunting Pattern.
Take your tassel and add a few beads then sew it to the bottom corner of the sachet. Just tie it securely and then “lose” the thread ends in the sachet.
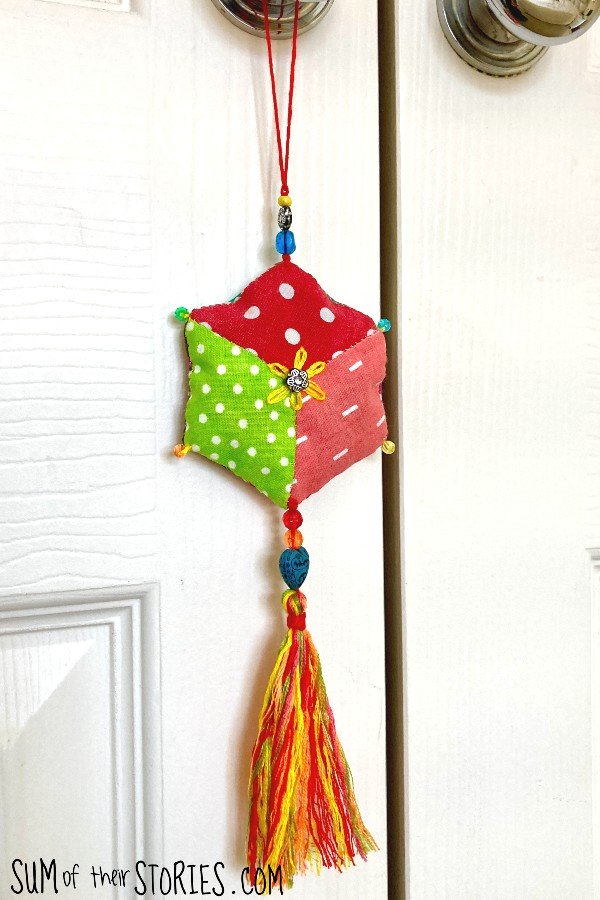
Now add a hanging loop to your sachet. Take a length of thread, about 12” (30cm) is about right and stitch it to the top corner, add some beads and then tie the top for hanging.

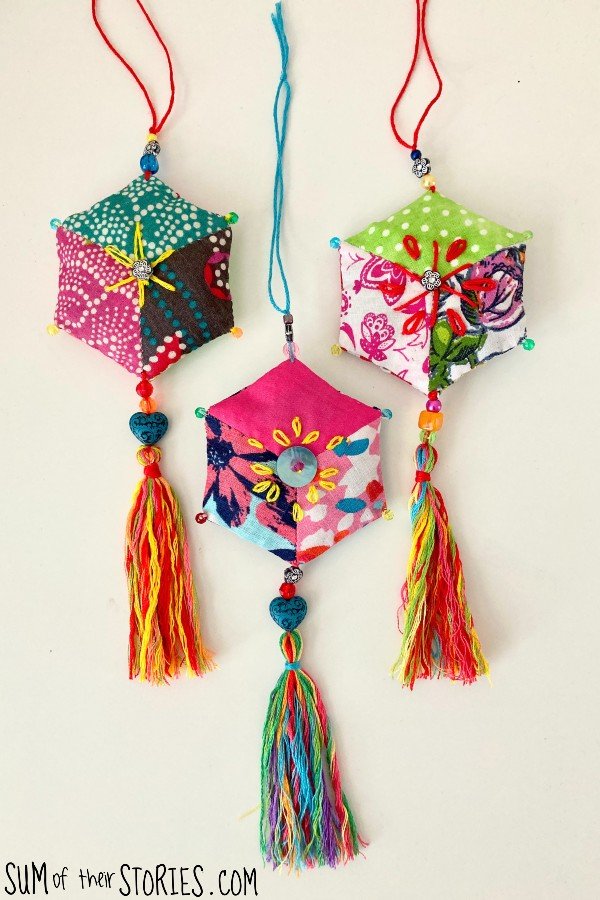
The last thing I did just to finish off my embroidered, beaded patchwork lavender sachets was to “fluff out” the tassels. This is completely optional of course, but I just like how they look a bit fluffier! To do this you can just separate the threads with your needle, kind of like combing them but you don’t have to be too thorough!
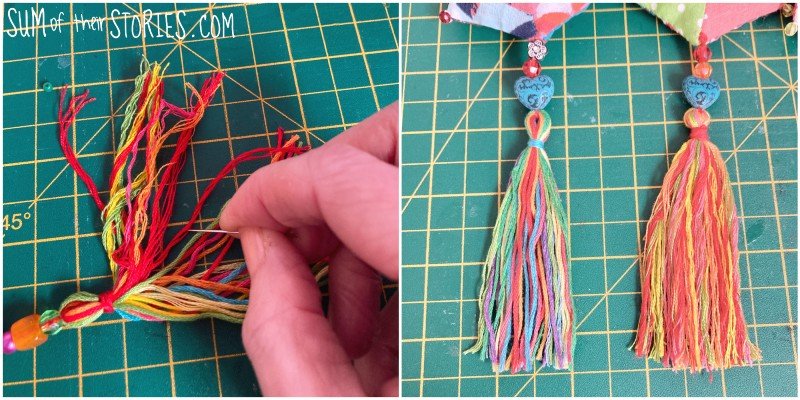
In the photo above the one on the right is fluffed, the one on the left is not. If you don’t like the fluffier look just don’t do it!
Your beautiful hanging sachets are finished. I love these vibrant colours but I think the idea would work just as well with pretty pastel shades if your prefer.
If you are gifting a sachet like this do keep it in a ziplock plastic bag so the lavender scent is preserved until you are ready to give it. Dried lavender will actually smell amazing for ages, sometimes even years but once it’s in the open the scent does start to fade. If you give the bag a little squish though, new scent is released.
Now take a moment to check out the craft ideas below from my creative friends in the Craft Room De-Stash Challenge and see what they de-stashed from their craft rooms.