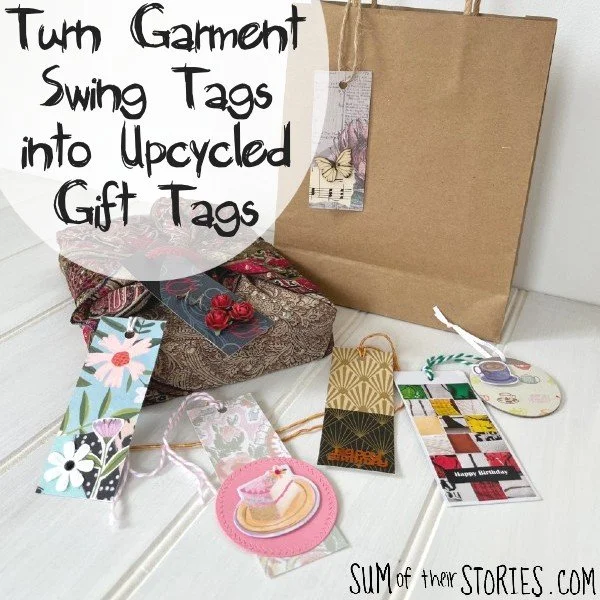
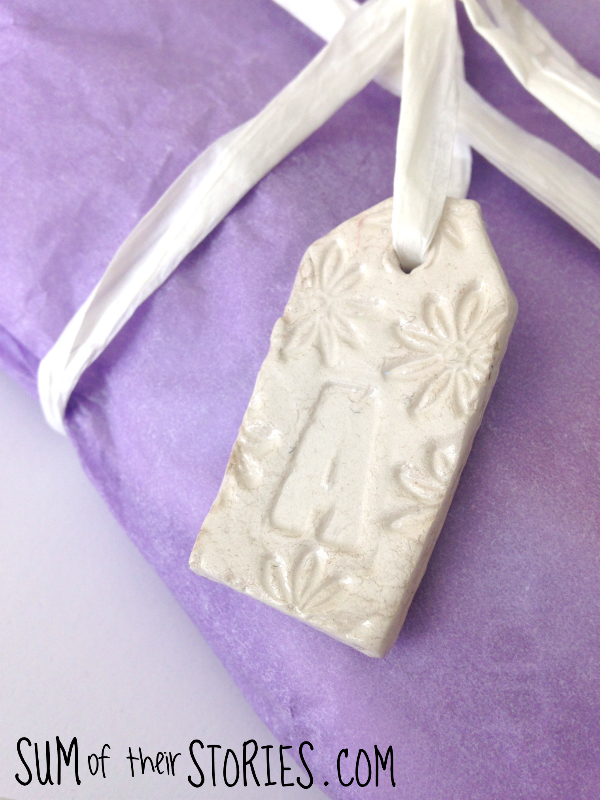
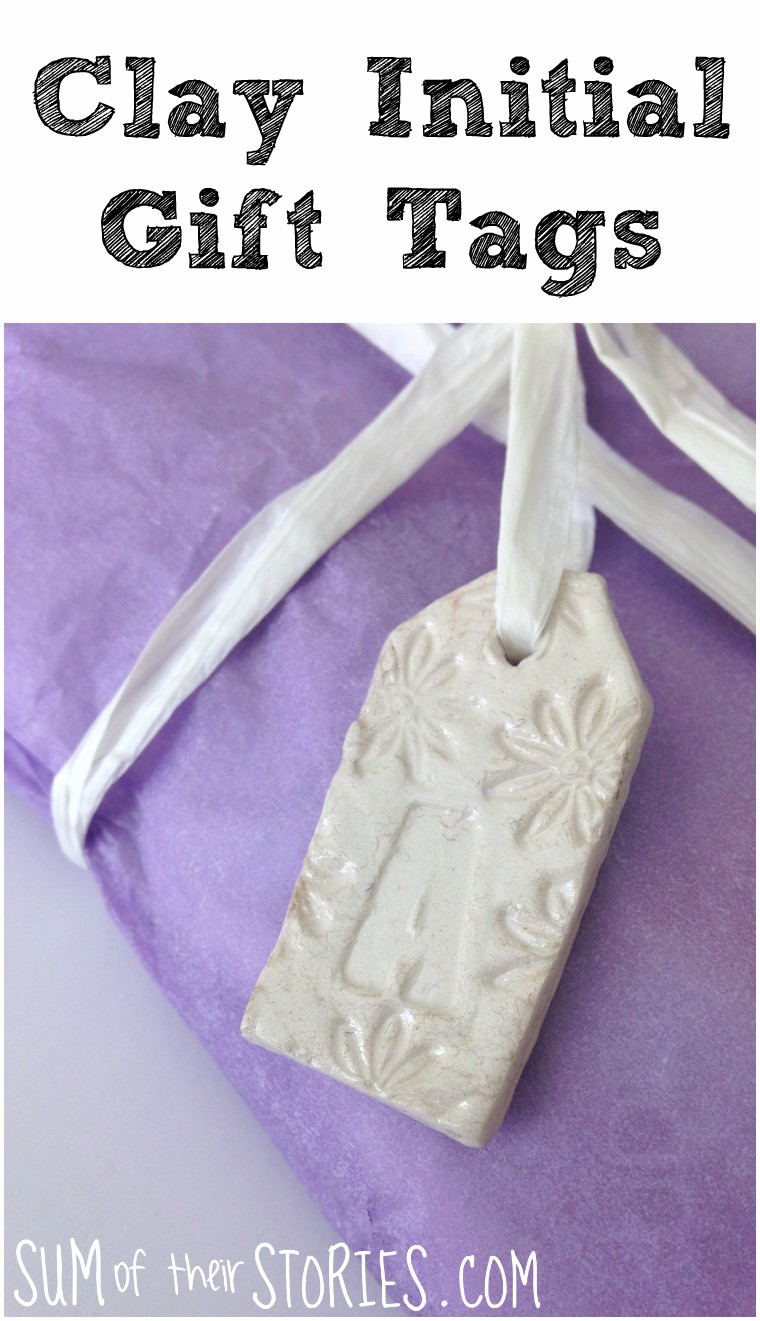
Clay Initial Gift Tags
/Make delicate clay gift tags with air dry clay, to make a gift extra special.


A while ago I had some fun testing out some Air Dray clay from Cass Arts and made some fun things - a marbled cone shaped ring keeper and some jewellery. I also made some gift tags for my friends and forgot to share them with you. Sorry! So better late than never, here they are. Simple to make and nice to give.
To make clay Initial gift tags you will need:
Clay glaze - I used DAS Vernidas
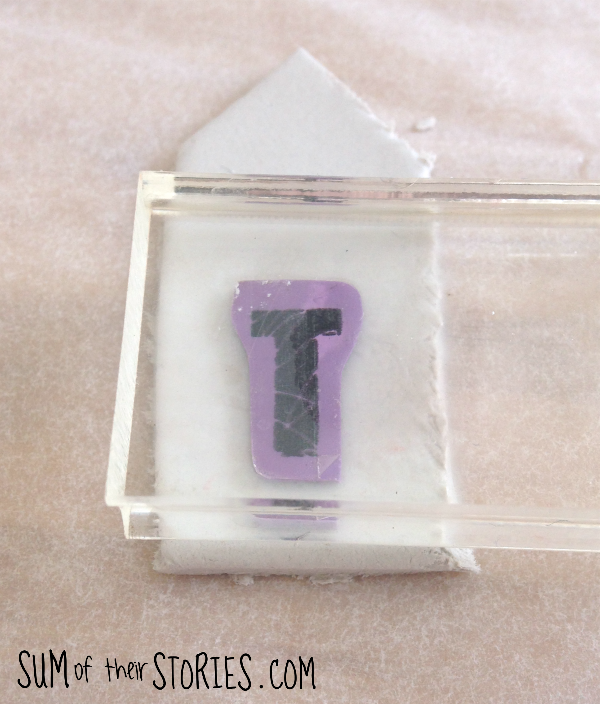
Alphabet and flower stamps (I've had mine for years, I'm afraid I don't remember where they are from, but these and these are similar)
A rolling pin
A knife
Scrap paper
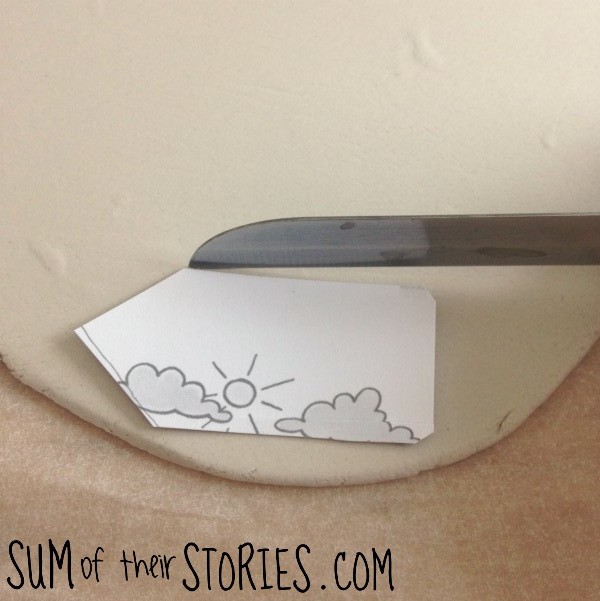
First draw a tag shape on your scrap paper and cut it out. You can make it any size you like, depending on the size of your stamps. My tag shape was approx 6cm x 3cm (2.5" x 1.25")
Take a lump of the air dry clay and give it a good kneed until it is smooth and not crumbling. If it is a little bit dry you can slightly dampen your hands but I'd be wary of making it too too wet or I think it will be hard to stamp the design later on.
Roll the clay out to about .5cm thickness (.25")
Lay your template on the clay and cut out a tag with a knife . I just used a regular kitchen knife and just washed it well in the dishwasher afterwards.
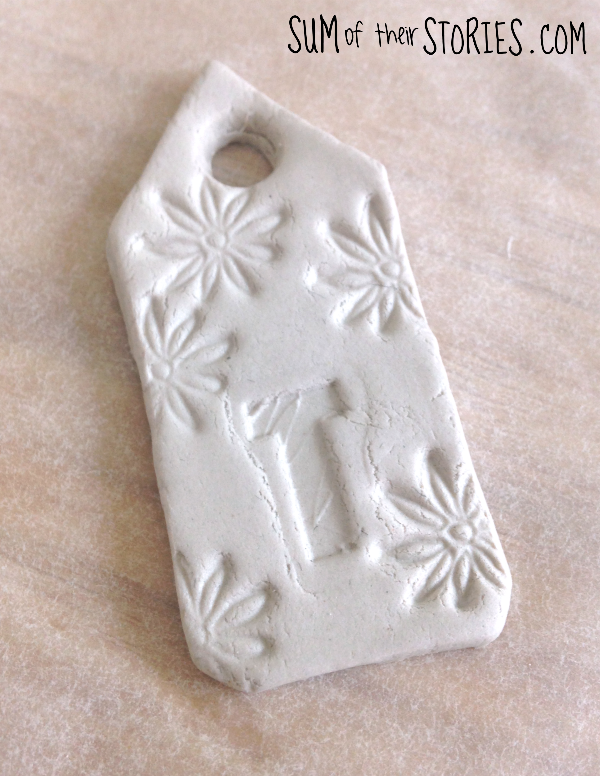
Press the stamps into the clay, I did a letter and some simple flowers.
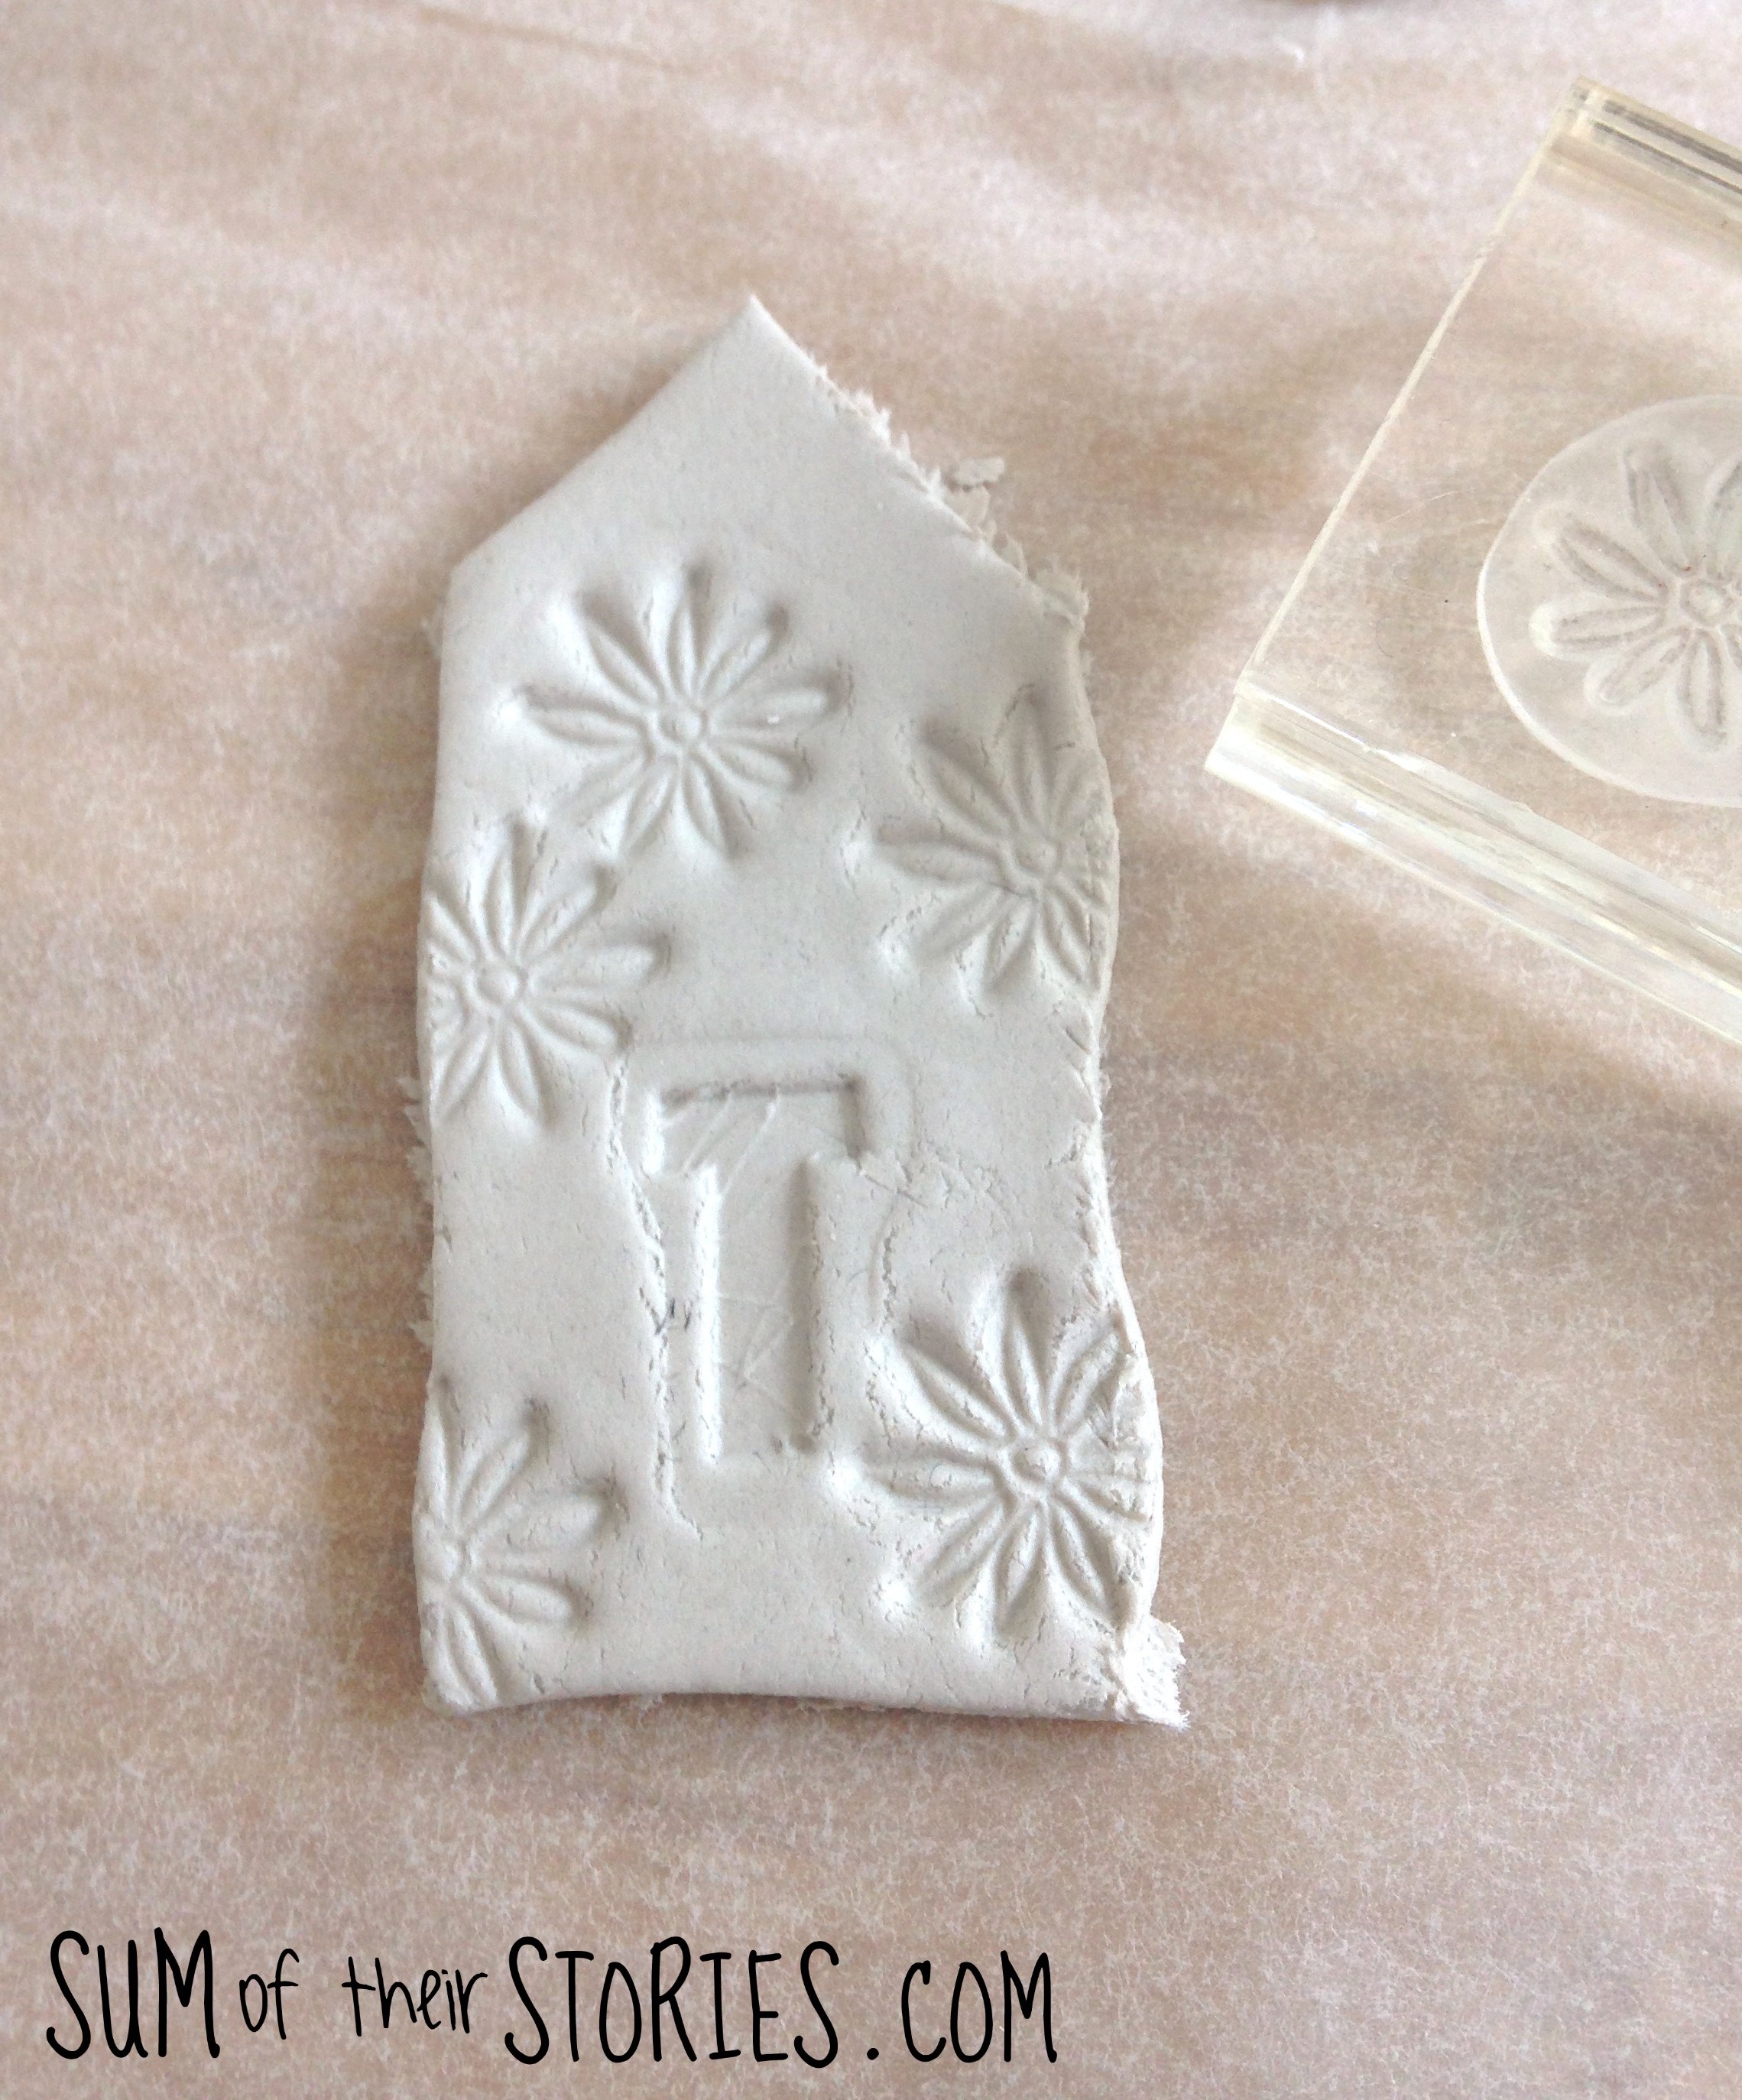
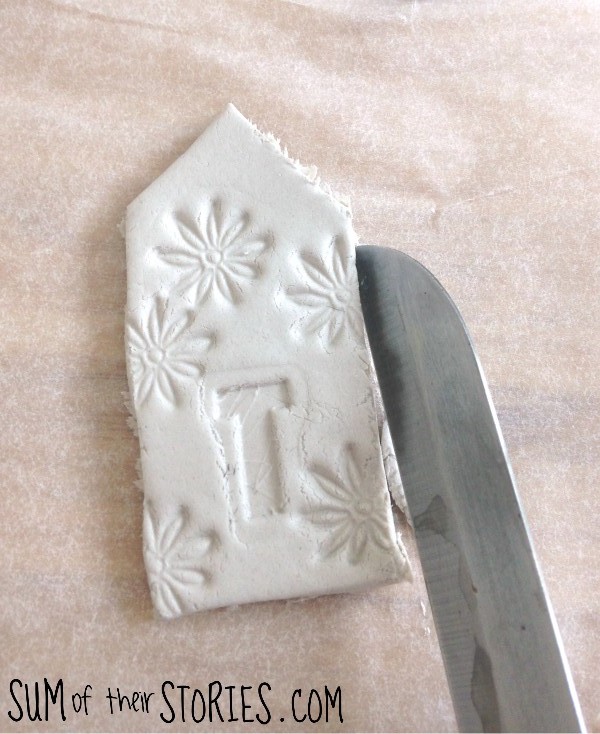
The stamping will distort the sides of the tag a little so tidy that up with the knife. I guess you could stamp and then cut the shape but I found it difficult to centre the letters that way so this was easier for me.
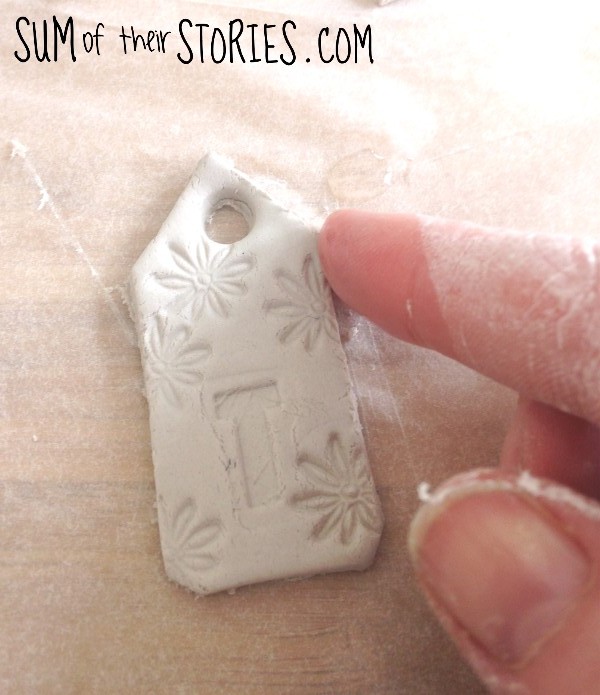
Make a hole with a straw and then damp your fingers and smooth the sides.
Then just leave it to dry.
These little tags don't take too long to dry, probably about 24 hours in a warm room. Turning them over halfway through feels like it speeds up the process a little but I can't honestly say if that made any difference or not!
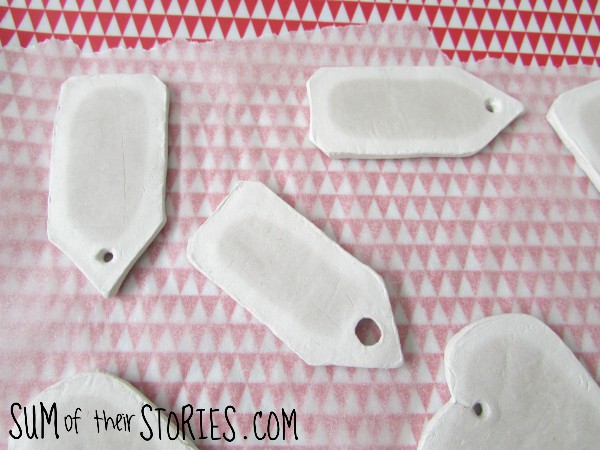
As the clay dries it turns a lighter colour. Once it's completely dry varnish the tag. Paint the varnish on one side, leave it to dry completely then turn it over and paint the other side.
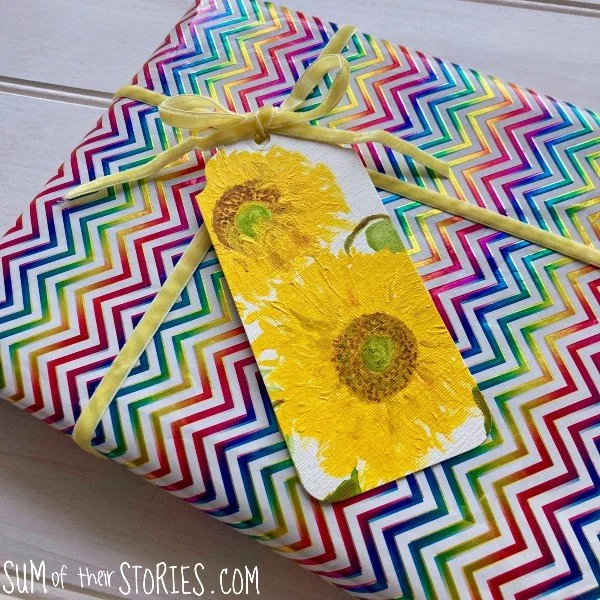
Then your tag is ready to attach to a lovely gift for someone special.
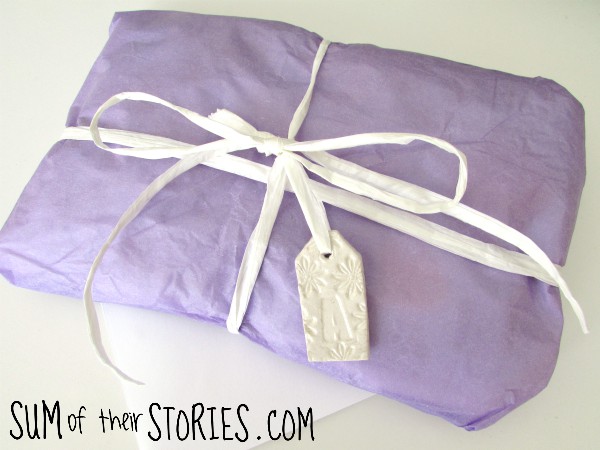
You could paint your gift tags, or put ink on the stamps to give the letters a little colour. I like the plain white but the options are endless. The only thing I would say is if you do plan to make these, do a whole bunch at once and treat all your friends and family. I would be a bit of a faff to make just one, I think mass production is the way to go here!

I’ll be sharing this idea at these link ups