

Ceramic Garden Ornament Refresh
/

If you have a ceramic garden ornament that is looking a little tired, chipped and tatty you don’t necessarily need to throw it away, you might be able to give it a refresh or even a complete makeover.

Today I’m joining the Do It Over Designers Challenge, when I join a group of creative folks and we all give something old and tired a bit of a makeover. This month out theme is FOR THE GARDEN. Stay tuned at the end for links to all the other garden themed ideas.
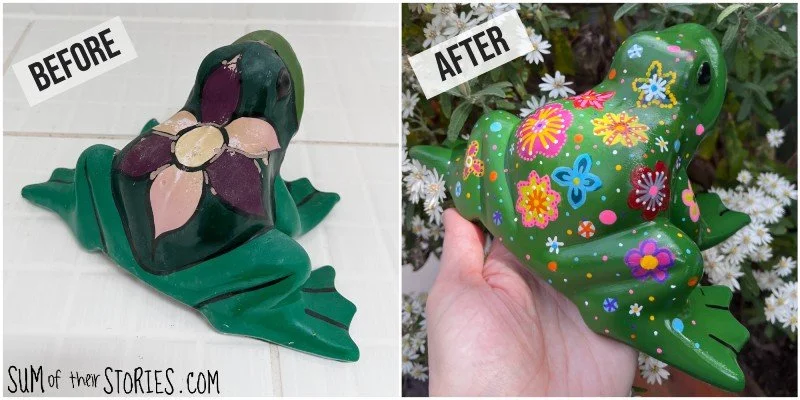
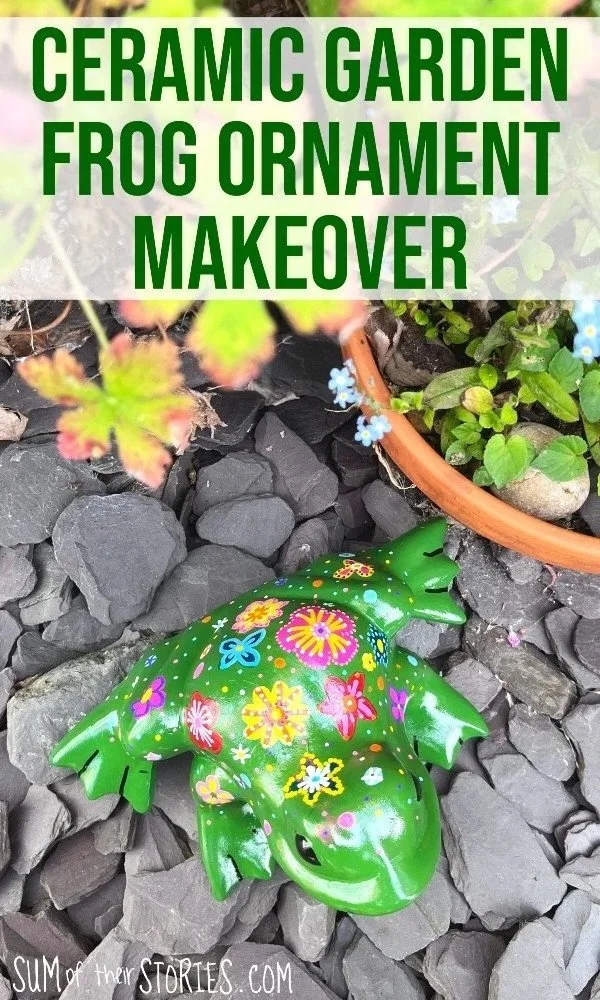
For my contribution to the For The Garden themed Do It Over Designers Challenge I decide to give this little ceramic frog ornament a makeover.
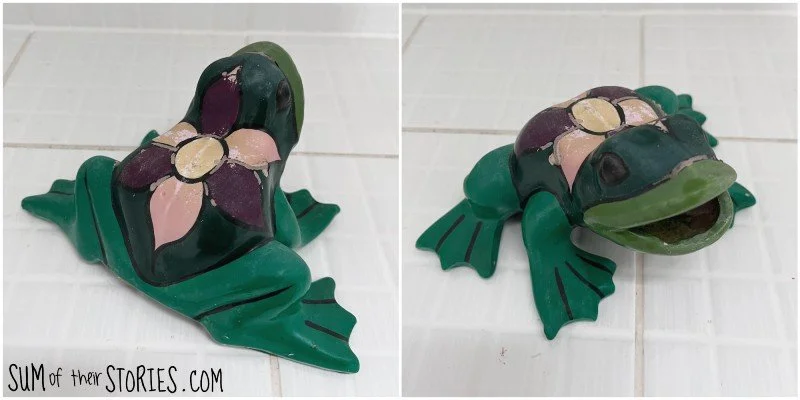
We’ve had this garden frog ornament for years, I honestly can’t remember how long. He was a gift from a neighbour at our old house and we moved 11 years ago so he’s a minimum of 12 or 13 years old, maybe more. We looked after our neighbour’s cat whilst they were away on holiday and they brought him back as a gift. I think in right in saying that my neighbour painted him themselves at a ceramic painting activity and gave him to me, knowing that I love all things handmade.
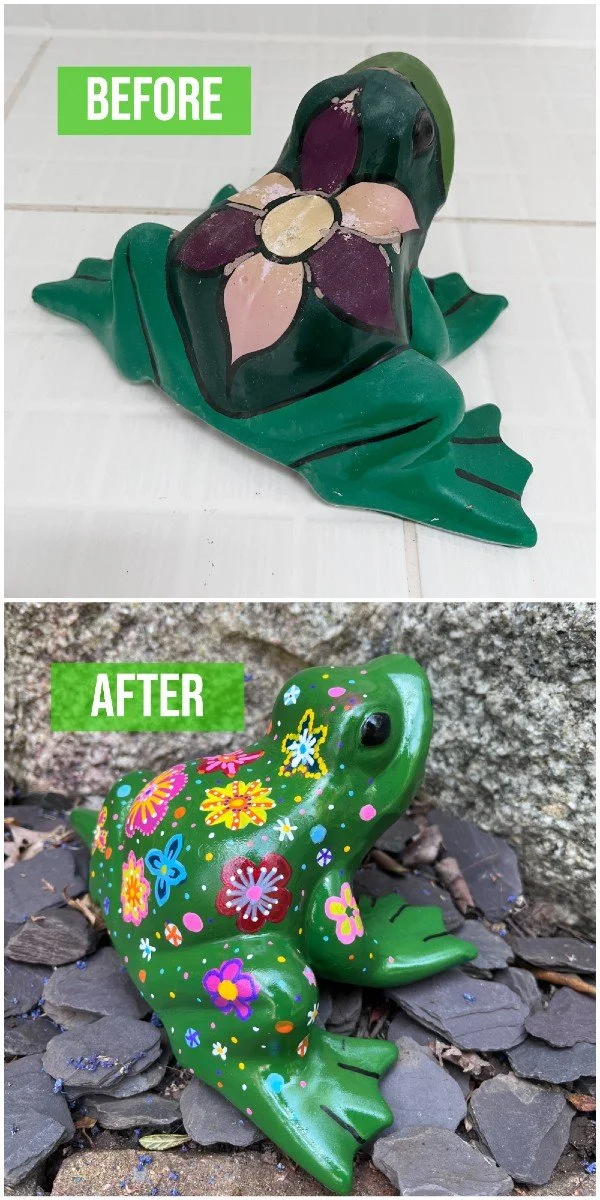
This little ceramic frog ornament has served us well, he’s been a fun addition to our garden bringing a little pop of extra colour all year round. But sadly he had started to look a little tatty. Some of the paint had flaked off and his colours were no where near as vibrant as they used to be. Time to give him a makeover.
I did a little research about the types of paint that would be suitable for a garden ornament and from what I read it seems that the sealant you used to coat your ornament is the most important thing in this process. I have lots of acrylic paint so I thought this was a good chance to use what I already have. My favourite clear spray sealant from Rustoleum is suitable for outdoor use so I decided to give it a try on the frog ornament.
I will, of course, be keeping a close eye on my new and improved frog ornament and will be reporting back to show how well this “do over” method worked over time.
Prepping your ceramic garden ornament for painting
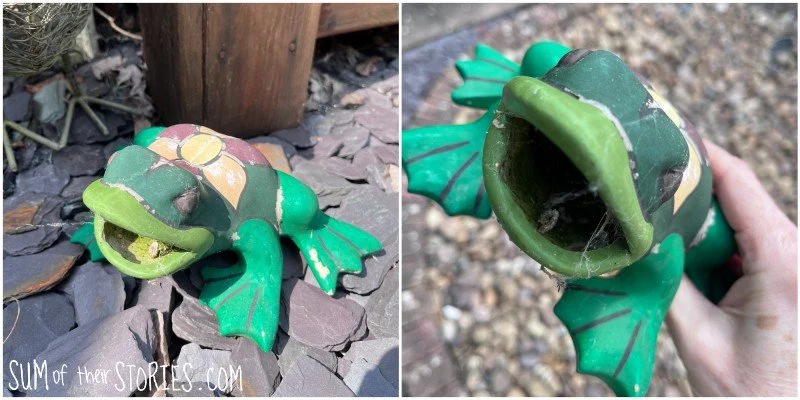
First I gave my ceramic frog a good clean up. This ornament is hollow and over the years had filled up with debris.
Outside (of course) I used the garden hose to give him a good blast from a distance and all sorts of debris flushed out. Masses of spider webs, lots of dead bugs, crispy leaves and other miscellaneous “stuff” that I don’t even want to think about!
Once the worst was over I brought him inside and gave him a good scrub in a bowl of hot soapy water.
The final preparation step was to give him a sanding all over with a fine grit sandpaper, followed by a last wash and dry.
Painting a ceramic garden ornament
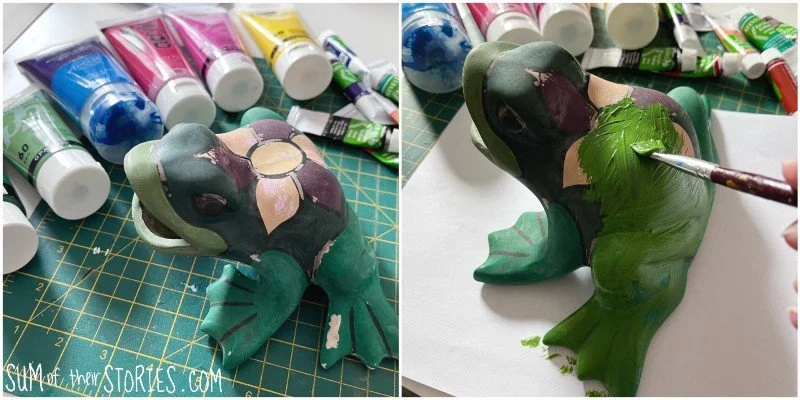
First I gave my ceramic frog 2 coats of green acrylic paint to cover the old design and any flakes or chips.
Next the fun bit - the decoration!
I confess at this point I did consider going for a natural and realistic frog paint effect. I have a few different green paints and thought about maybe sponging and dabbing paint layers on might work. I’m afraid my “I love bright colours” instincts got the better of me and I decided to go for a bright floral design.
I follow an amazing German designer on Instagram, Bine Braendle and her colourful vibrant work really inspired me.
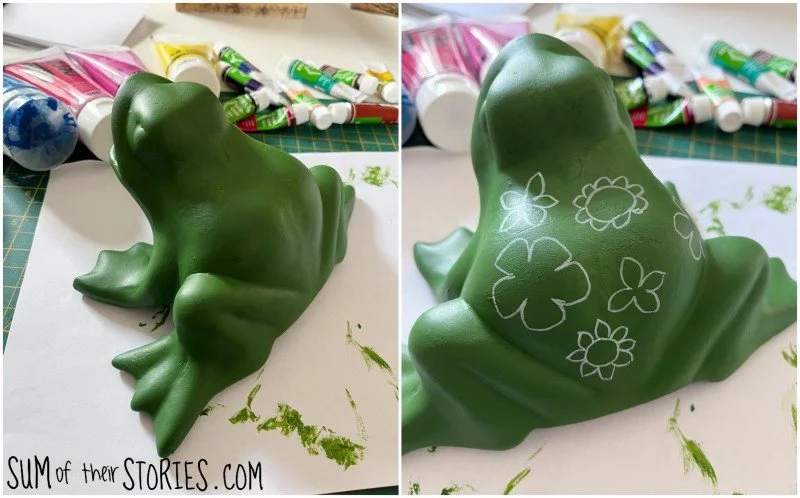
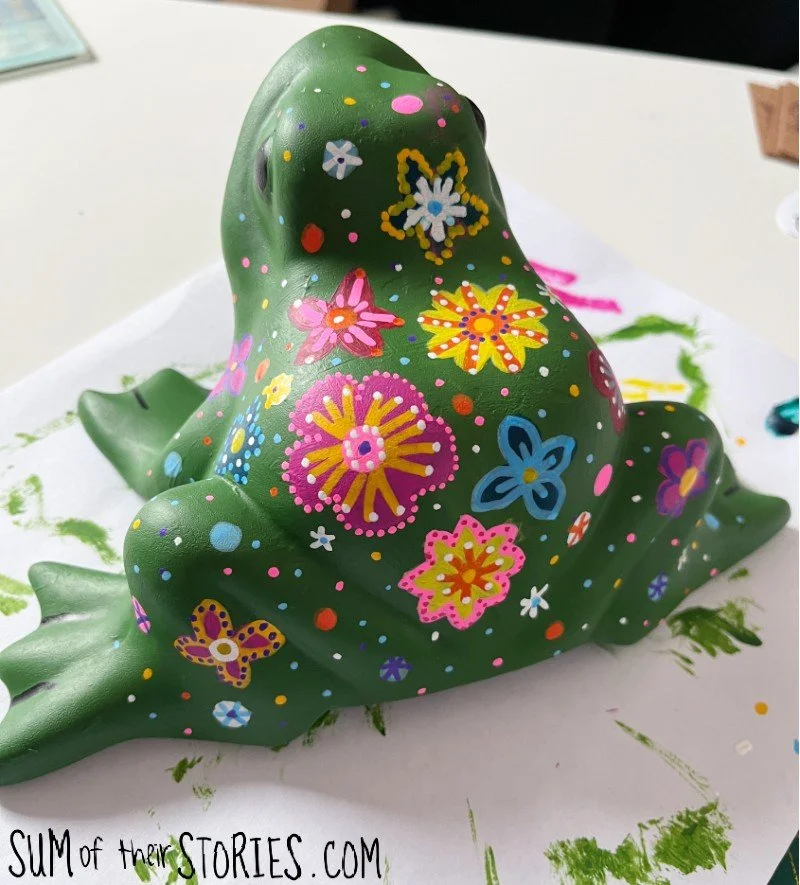
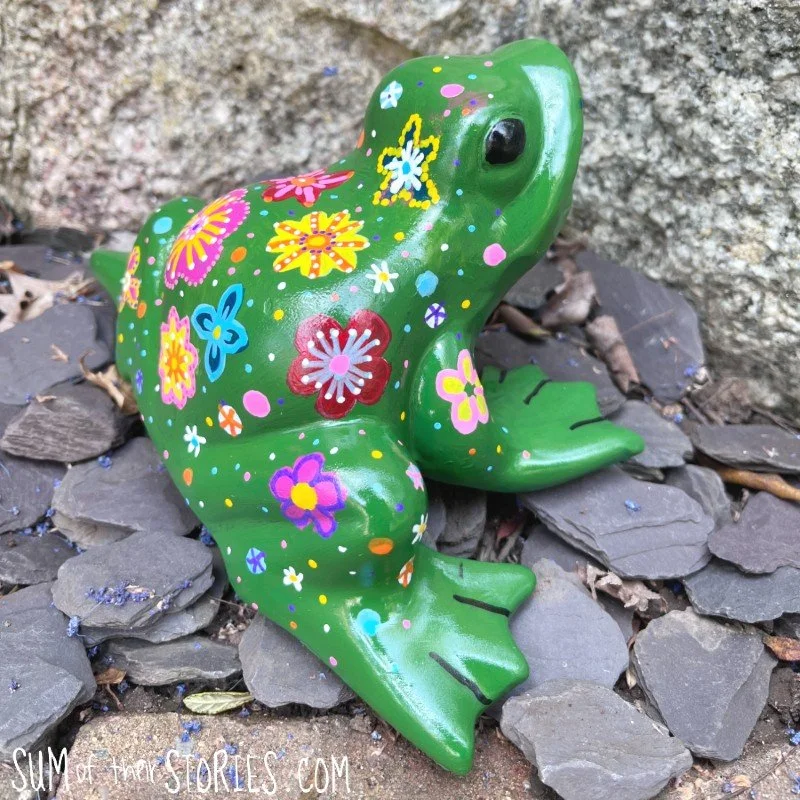
I drew a few basic flower shapes onto the frogs back with a chalk pen just to give me a starter Then I just filled in the shapes with bright acrylic paint and added a few more simple simple flower shapes as took my fancy.
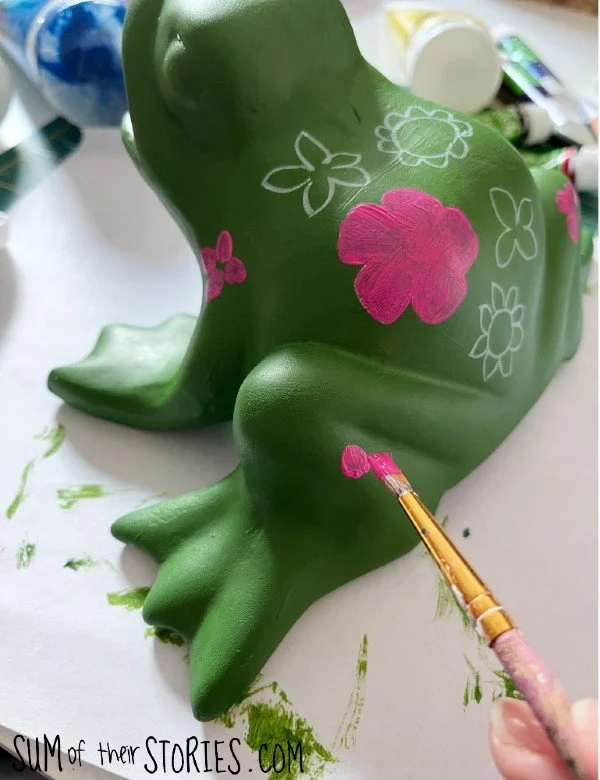
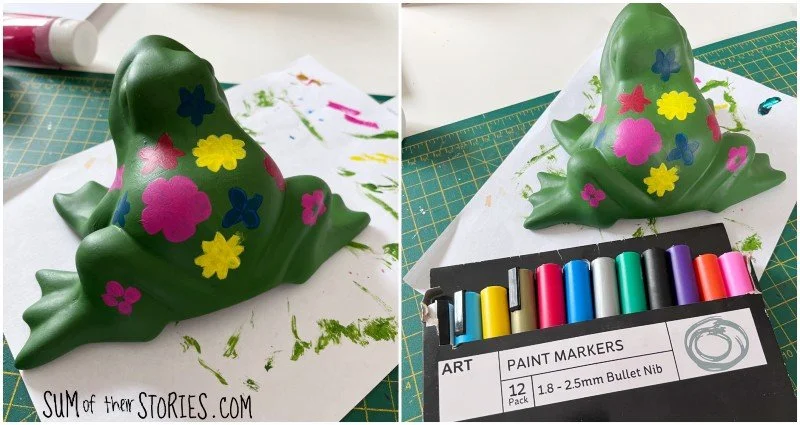
I gave these flowers 2 coats of colourful paint and then once that was dry I went a bit crazy with some paint markers.
This bit is SO much fun!
I outlined some of the flowers, added lines from the flower centres and dots - lots of dots!
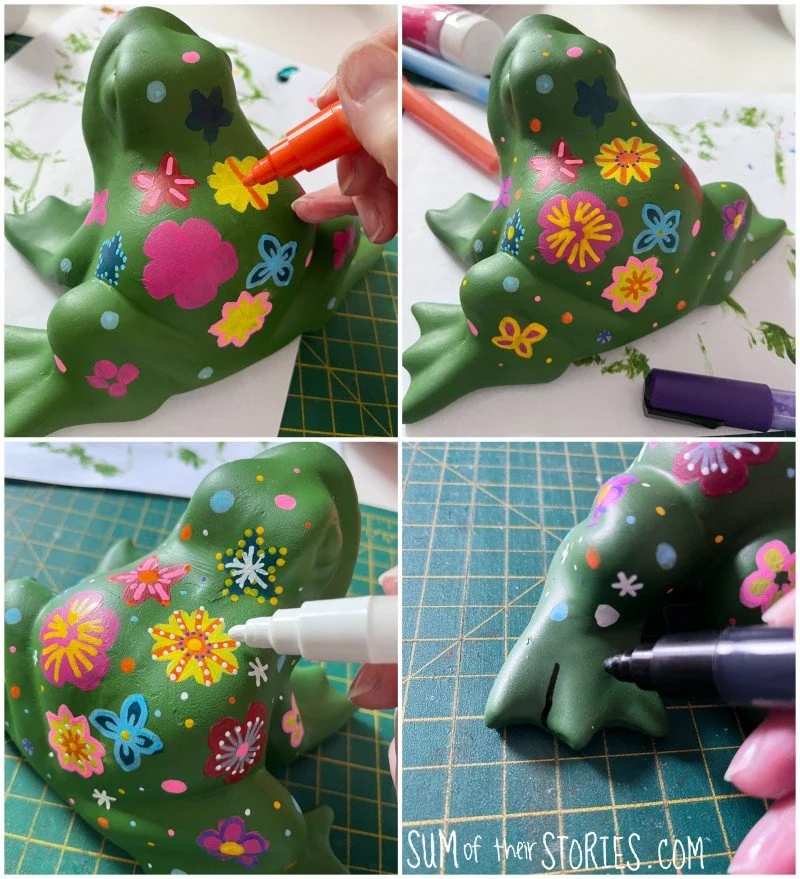
The design just builds up as you paint more and more. No rules; just add a bit and then add a bit more. I stopped every now and again to let what I’d painted dry and to assess if any more embellishment was needed.
Once you are happy and your design is a busy as you’d like it to be it’s a good idea to let it dry completely overnight.
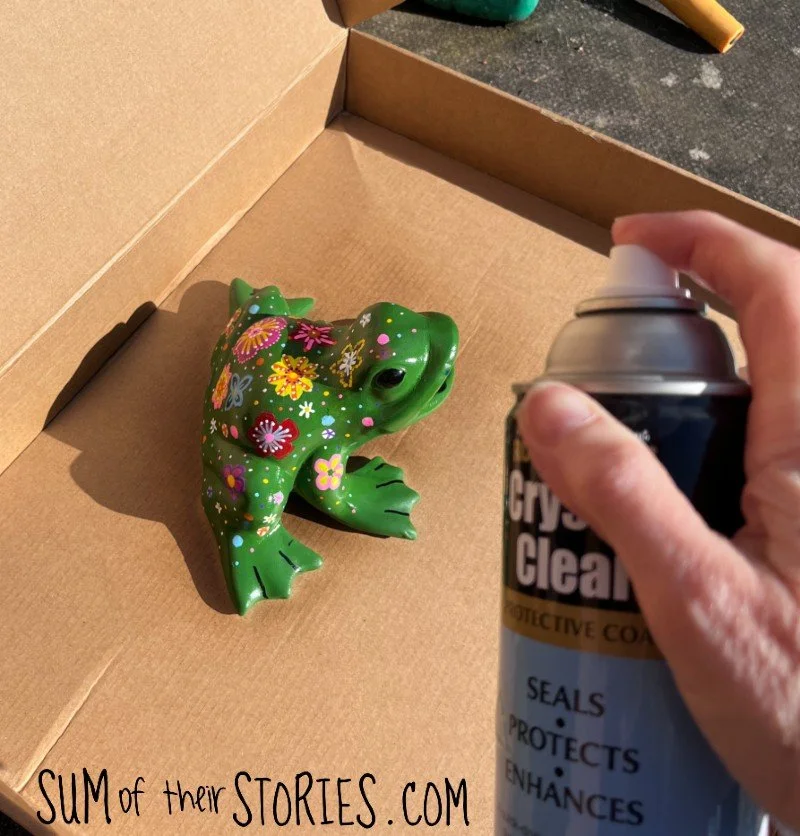
The next day take your garden ornament outside in an old box and give it several coats of sealant, allowing each one to dry between coats. Just follow the instructions on whatever sealant you are using.
I’ve used Rustoleum’s Crystal Clear, but I’m not sure if that is available worldwide. You want something that is suitable for outdoors of course, clear and non yellowing.
I gave my newly decorated frog ornament 3 coats of spray sealant in all, making sure all the sides were well coated.
As I said at the start, I will be checking on my frog regularly to see how this paint decoration and sealant are holding up to the weather and I will be reporting back.
Now let’s take a look at the other ideas shared in this month’s Do It Over Designers Challenge - For The Garden:
Little Vintage Cottage


