How to back an embroidery hoop with felt
/

This is my favourite way to back an embroidery hoop. It’s easy and the results are really neat.
This is not the only way to back an embroidery hoop of course but it is definitely my way of choice.
An easy and neat way to back an embroidery hoop
I had an embroidery which I’d finished, it was a kit from the old Mollie Makes Magazine, and it seemed like a perfect time to take some photos to share how I like to back embroidery like this.
To finish an embroidery hoop like this you will need:
A piece of felt as big as the embroidery hoop
Strong thread - I used an extra strong hand quilting thread but you can double up a regular sewing thread too. You could even use 2 strands of embroidery thread
A needle
Fabric scissors
A pencil
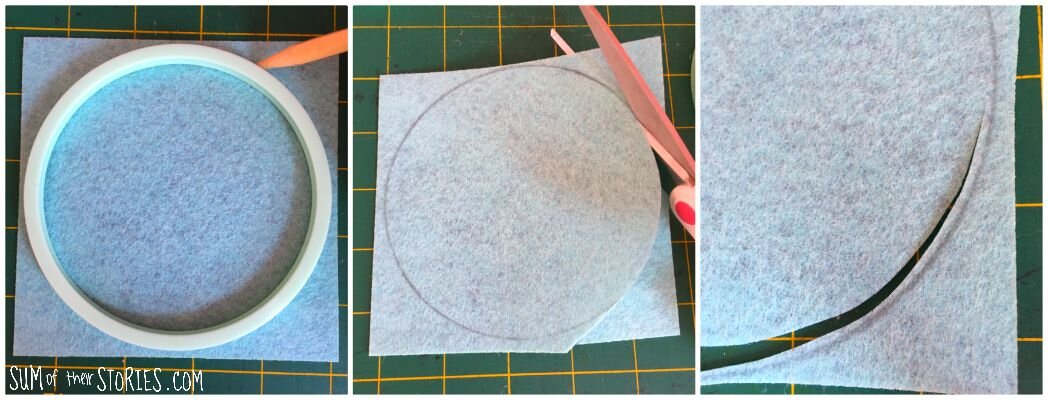
Prepare the felt
Start by drawing around the outside of the inner hoop on the felt. Cut it out, just inside the line.
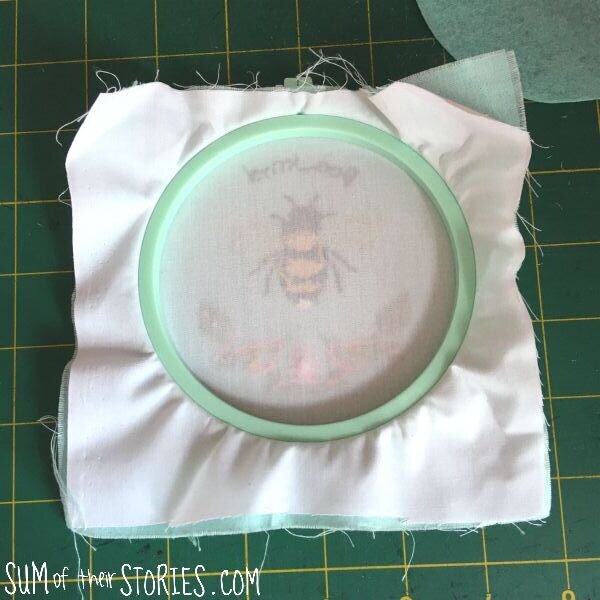
Positioning the embroidery in the hoop

Now position your embroidery in the hoop centrally.
You can see in the photos that I’ve added an extra layer of fabric to the back of this embroidery. That was because the fabric was very thin. If your fabric is substantial you won’t need to do that.
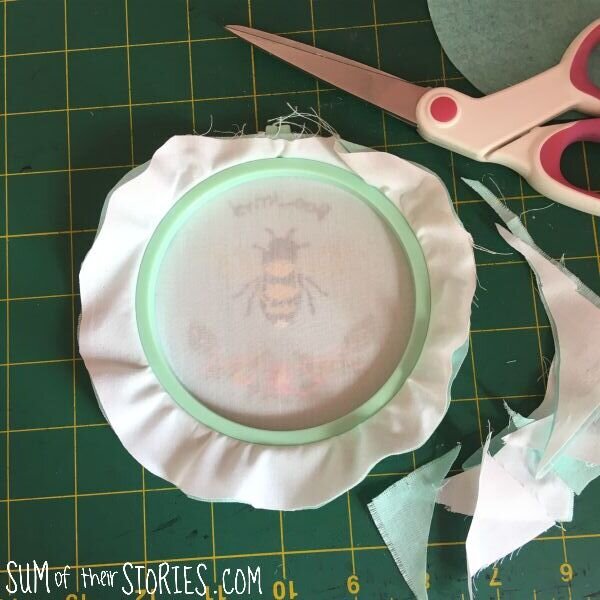
You will notice that this embroidery is not central on the fabric, the design was pre printed on the fabric so I’ve had to work with what I have. Obviously it would be better if the design was more central on the fabric but thankfully there is enough fabric for this backing method to work. Ideally there would be a little more overhang at the top.
Trim the fabric, leaving about an inch or 2.5cm all the way round (see what I mean about it being a little tight at the top here) Make the overhang of fabric more even if your fabric allows for that.
Gather the fabric
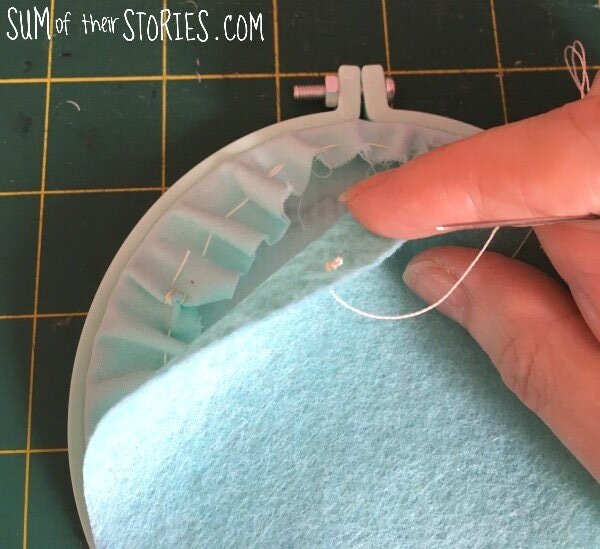
Take a length of strong thread, (or doubled up thread if you are using regular sewing thread) start with a knot, and sew a running stitch all around the fabric. Pull tight and cast off securely.
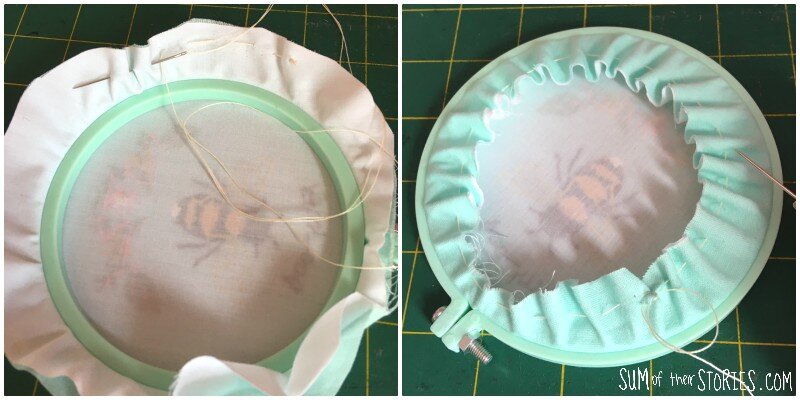
Even out the gathers as much as possible.
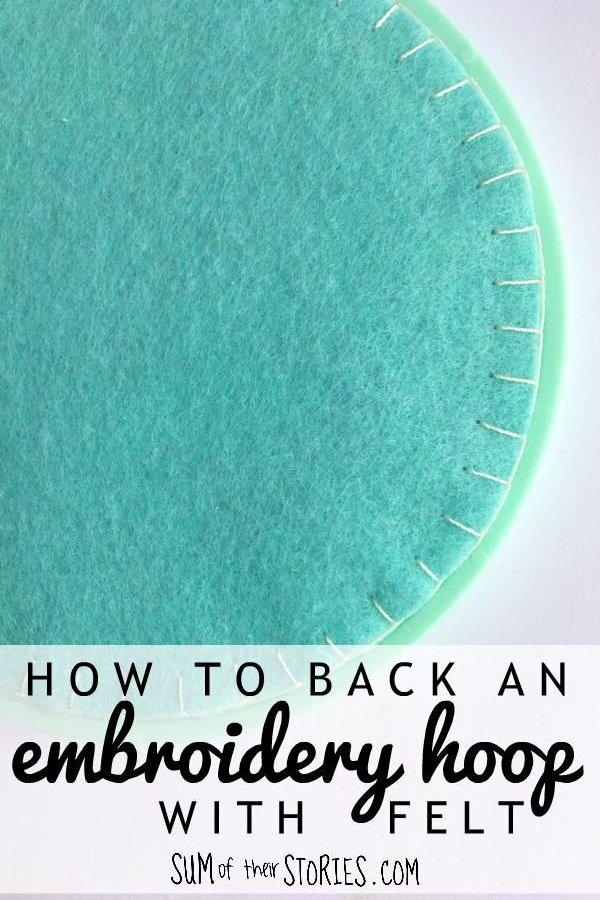
Sew on the felt circle
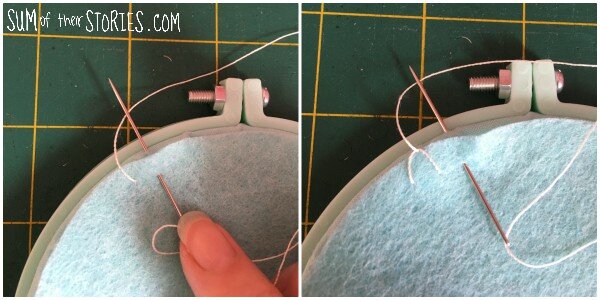
Place the felt circle over the gathers. Start another length of thread with a knot on the wrong side of the felt.
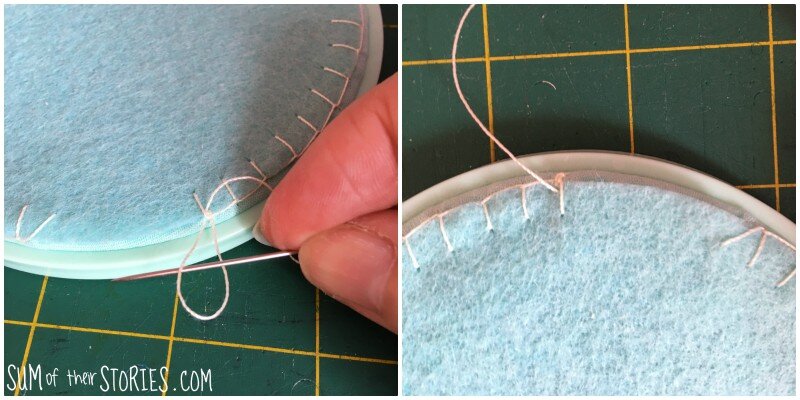
Work blanket stitch all around back of the embroidery hoop on the felt edge, catching the gathered embroidery fabric too.
Tips for a good finish on the back of your embroidery hoop
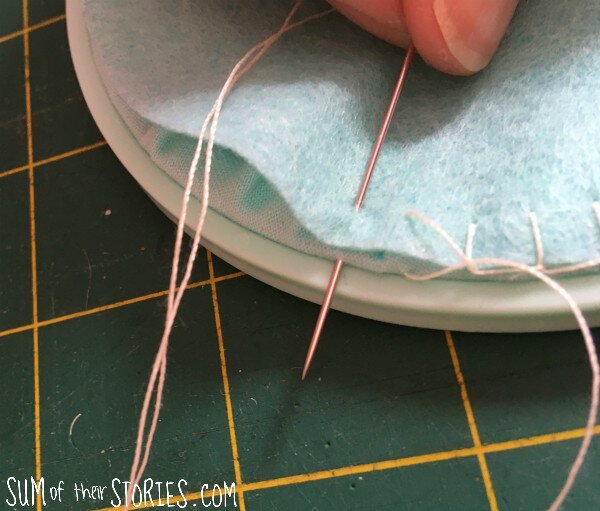
As you work your way around use the needle to flatten and smooth the gathered fabric if it bunches up at all.
Slide the needle along the flat surface of the hoop, so it comes out at the edge of the gathered fabric.
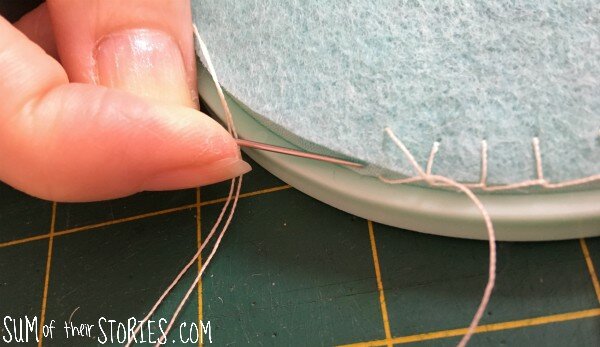
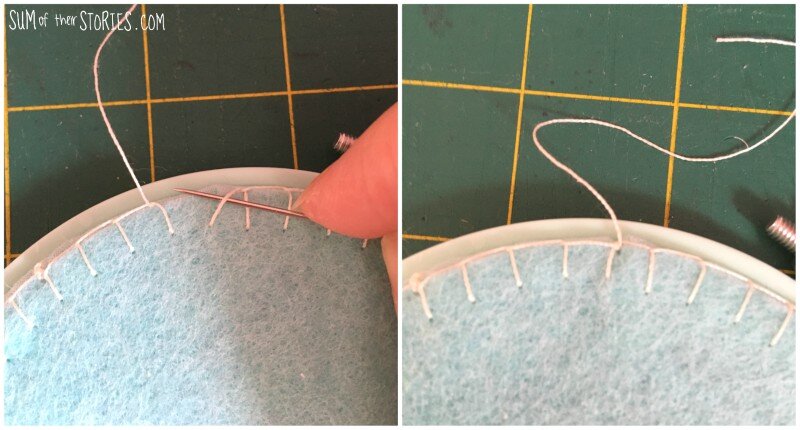
When you run out of thread, cast off at the top of a stitch, the edge of the fabric and then start a new thread, hiding the knot under the felt.
See how close I was to getting back to the beginning when I ran out of thread!!! It is always better with hand sewing to cast off properly and start again than trying to squeeze a last few stitches when it’s really too short. That’s always a recipe for trouble, you think it will save you time but it never does!
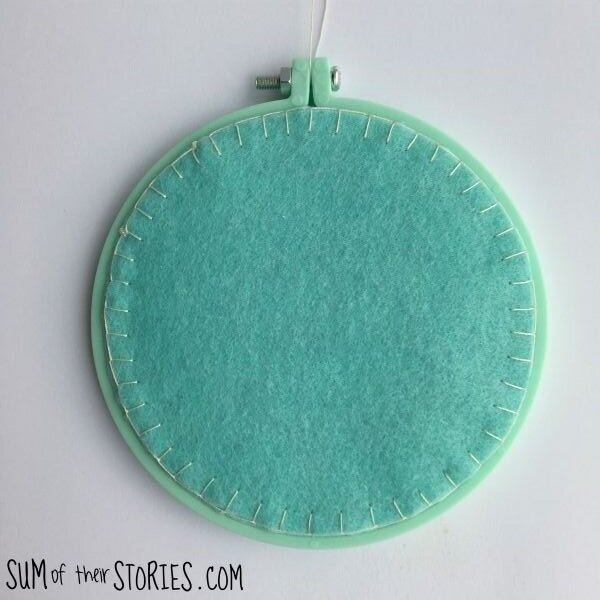
When you get to the end, just cast off as before, picking up that loop from the first stitch so the blanket stitch looks lovely and even.
That’s it! Finished! A beautifully neat back to your embroidery hoop. Whoop Whoop!
An optional extra that I didn’t do here is to add a circle of thin wadding/batting under the gathers, before you sew the felt on if you like a padded effect to your embroidery.
A nice idea for a personalised gift is to embroidery a message, name or date on the felt. If you decide to add that then do it before you sew the felt to the hoop.
Julie