

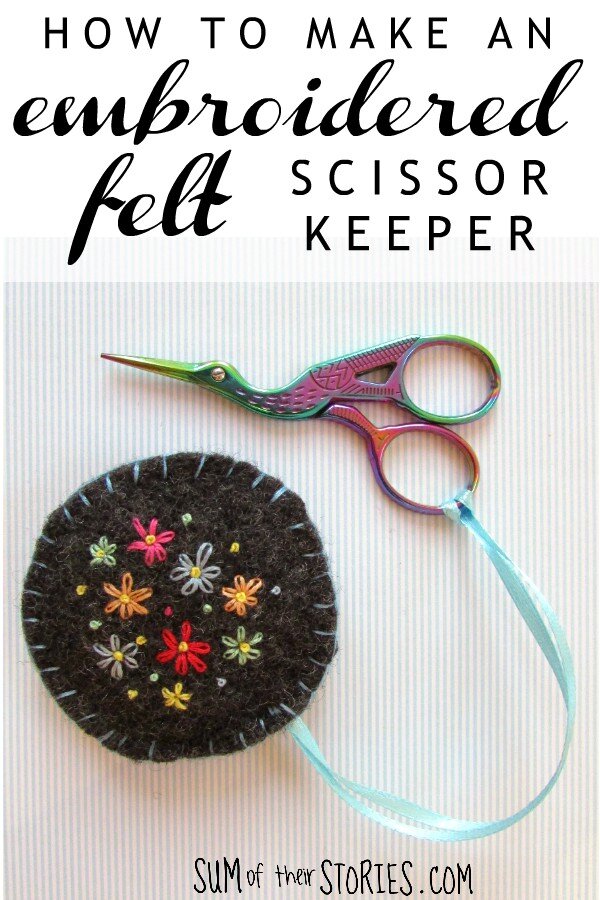
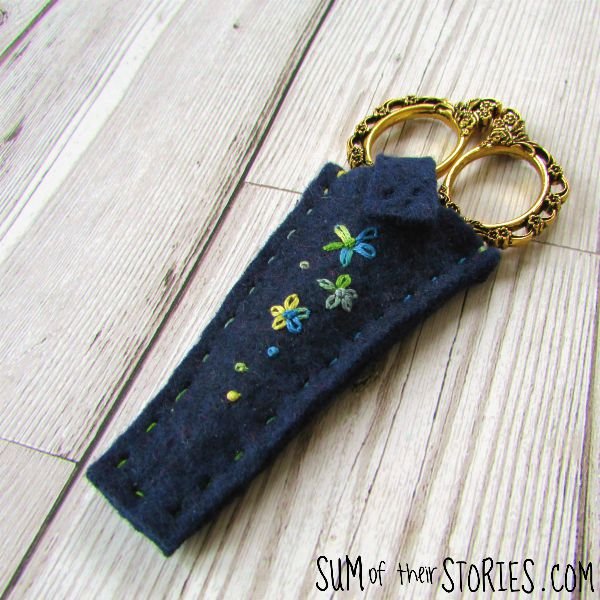
How to make an embroidered felt scissor keeper
/

If you are anything like me scissors, especially small scissors, can have a really bad habit of getting lost. They slip down the side of the sofa cushions or disappear to the bottom of a project bag.
One simple solution is to attach a scissor keeper or scissor fob. They are kind of like a keyring is for your keys. They are practical, you can pop your needle or safety pins to them like a mini pincushion and the best news is that they are easy to make too!
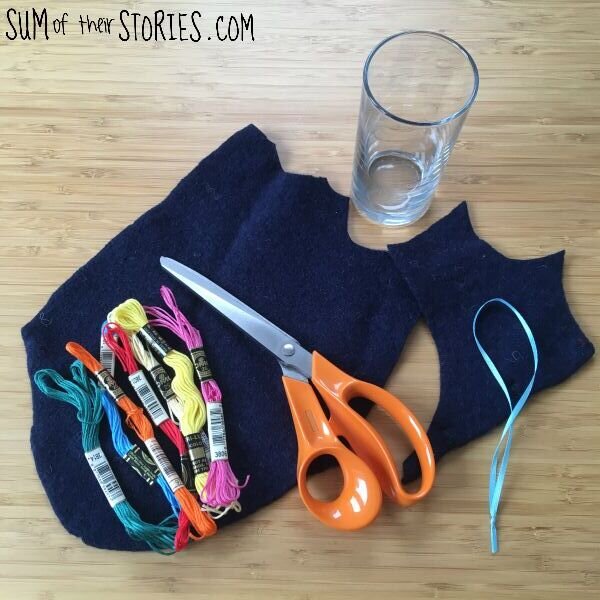
I made these from an old felted cardigan and a felted jumper but you can use any thick felt. I save all our old jumpers and cardigans for felting if they get holes that are beyond repair and also any that get shrunk in error in the washing machine.
Let’s get started!
How to make a felt scissor fob with embroidery
To make a felt scissor keeper you will need:
Thick felt
A glass (or something else round) to draw around
Fabric chalk or a white pencil
A small amount of fibre fill
A length of ribbon - about 20cm - 25cm is a good length
Needle and scissors
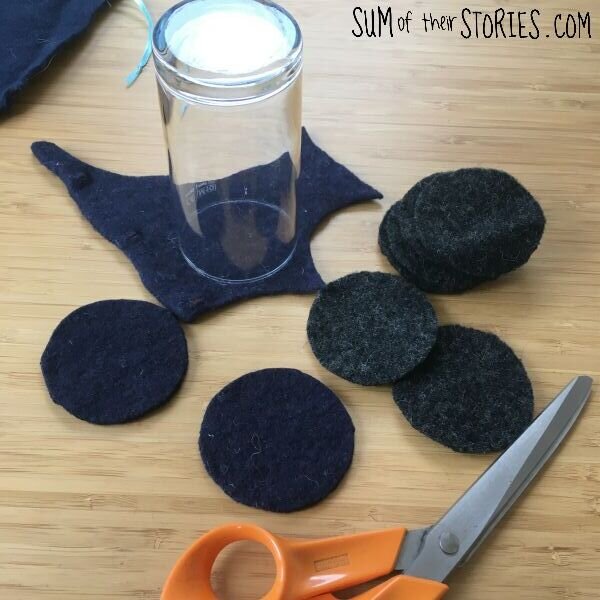
Prepare the felt circles
Draw around the glass and cut out 2 circles of felt for each scissor keeper.
Embroider a design
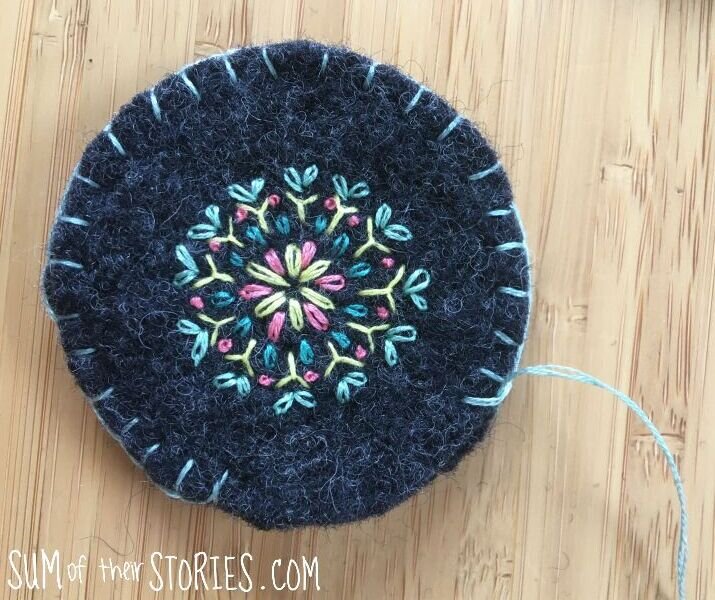
Start by embroidering a simple design onto one of the felt circles.
I generally use 3 strands of thread at a time, embroidery thread can disappear a little in thick felt so you’ll get a bolder result with 3 or even 4 strands.
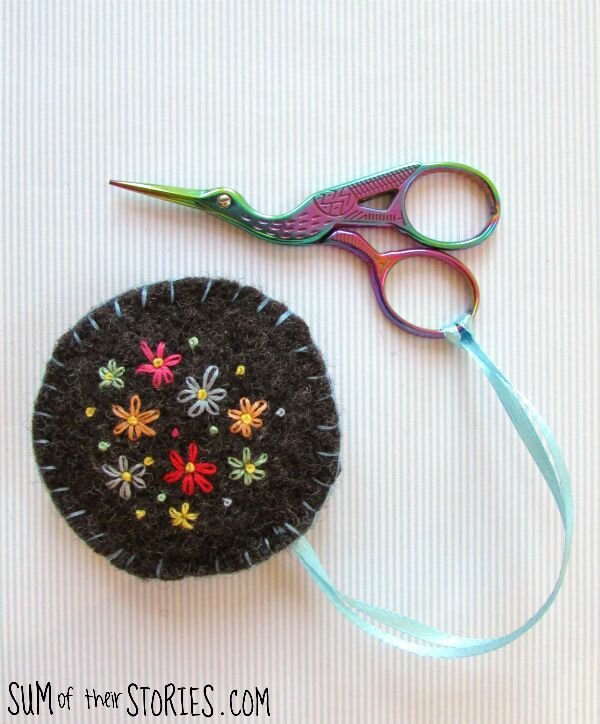
You can do any design you like, lazy daisy flowers are easy, I gave mine french knot centres and added a few more french knots randomly .

Here are some more design ideas:

It’s hard to mark the design on thick dark felt like this so it’s easier to just free style it. For the round designs just start in the centre and work your way out.
You can use this design sheet for ideas if it’s helpful.
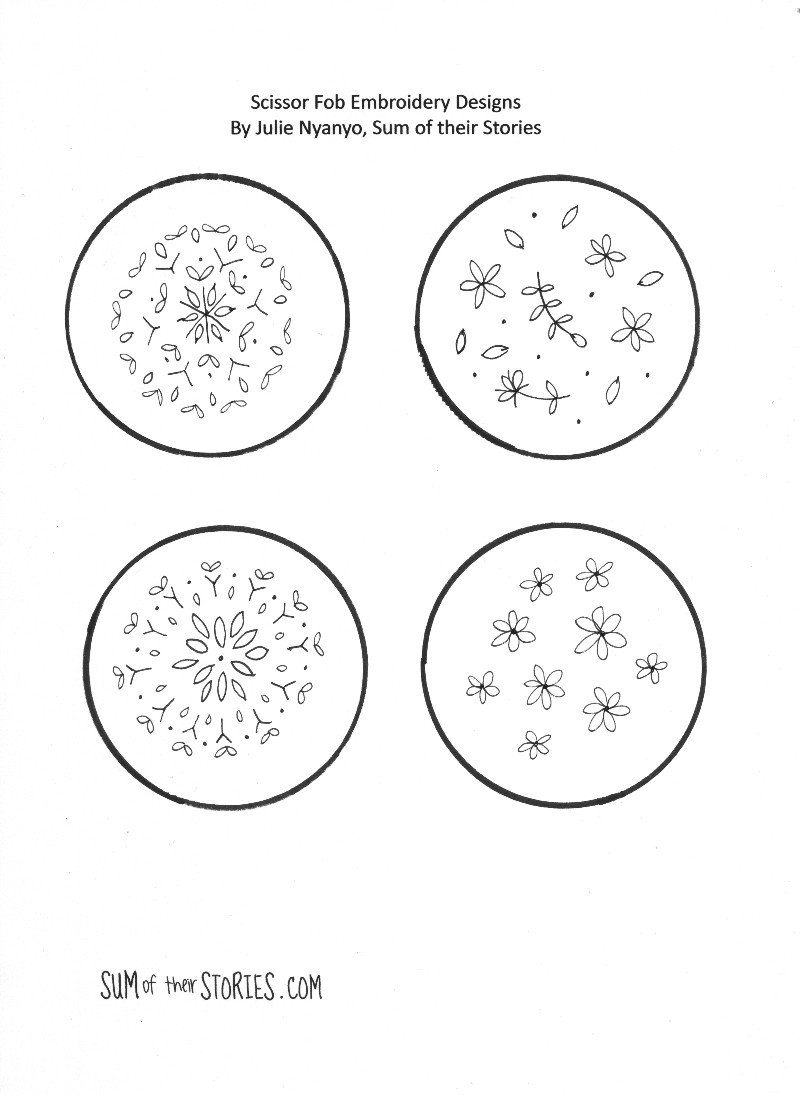
If you look at all these designs they are all really simple, just lazy daisy, french knots, running stitch, straight stitch and back stitch. I’ve got a quick guide to these stitches if they are new to you.
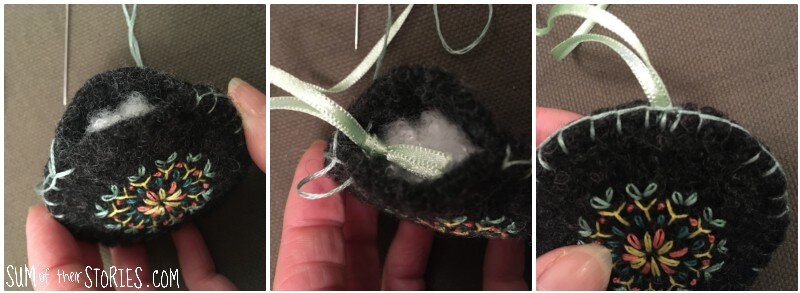
Join the felt scissor fob together
Once you are happy with the embroidered design place the 2 felt circles together, and work in blanket stitch using 2 strands of embroidery thread. Stop before you get back to the beginning, so there is a small gap.
Pop a small amount of fibre fill inside the felt circles and then fold the ribbon in half and knot near the ends.
Pop the knot inside the felt and then secure it with a few stitches and then continue with blanket stitch to close the gap.
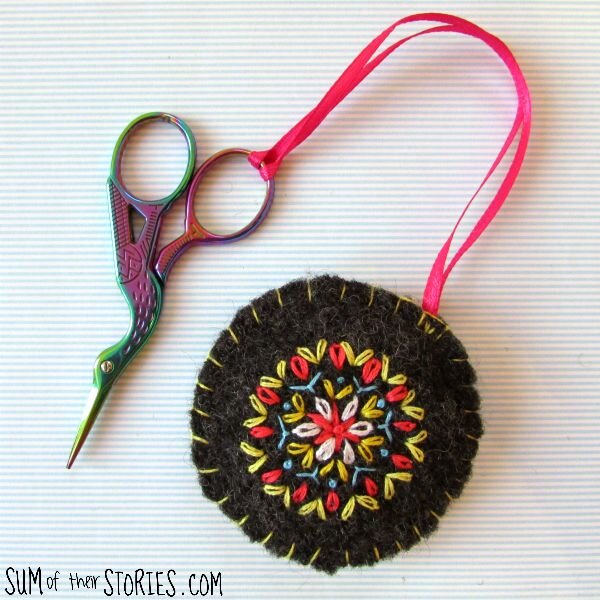
How to use your scissor fob
Loop the ribbon through the scissor handle and that’s it! Simple eh?
The nice thing is that you can make the embroidery as simple or as complicated as you like. You don’t even have to add embroidery at all if you don’t want to. If you felted a patterned jumper you could just cut out circles and then blanket stitch round them.

These are really quick and easy to make, you could make one for each of your crafting friends.
If you don’t want to make a scissor fob I do have a few available in my Etsy shop
I love my stork embroidery scissors, you can buy them here from Minerva Crafts or from Amazon here, or similar golden stork scissors here and here.
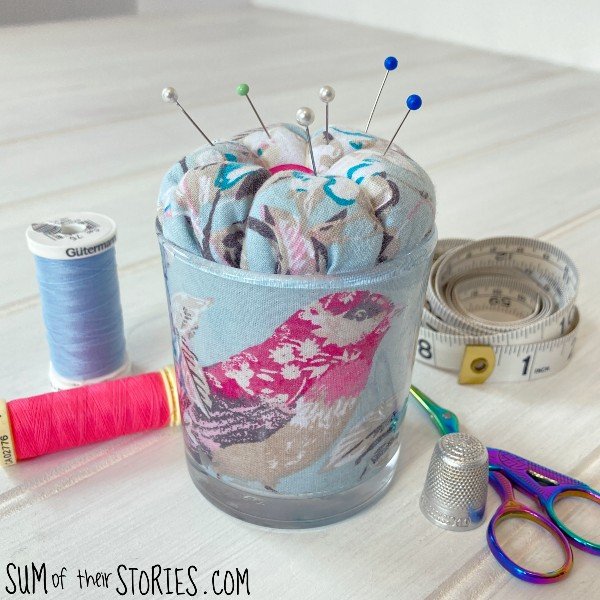
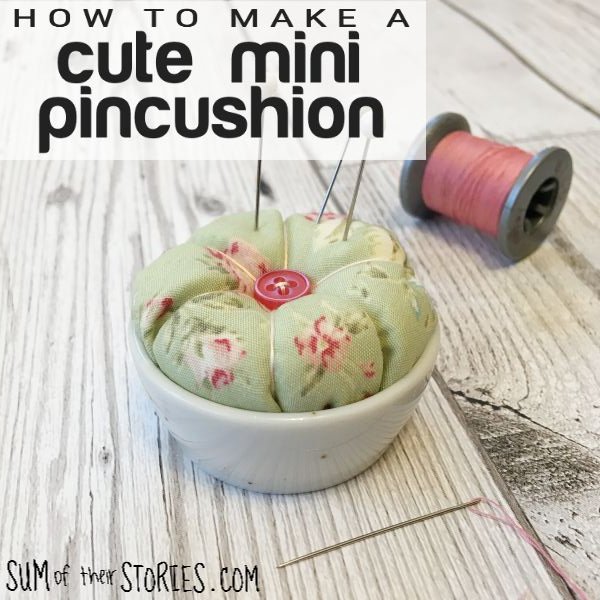
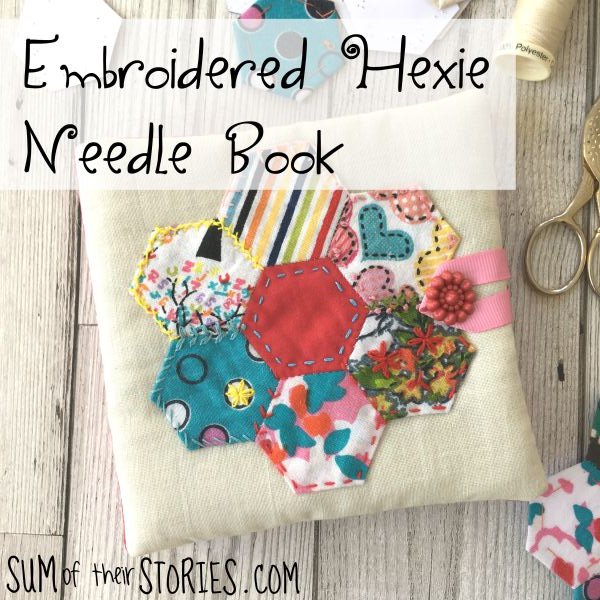
If you like making sewing accessories for yourself and as gifts for family and friends who sew then you might also like to check out these projects:

Julie
I’ll be sharing this project at these link ups


