

How to make a Delicate Felt Star and Bead Garland
/
How to make a delicate star garland from an old felted sweater and beads.
Do you ever have an idea to make something and then once it’s made love it so much more than you ever imagined you would? Not just me, right? This little garland is firmly in that category.
I’ve had the idea floating round in my brain for almost a year to make a pretty felt star garland, ever since I made these felt star hanging decorations last Christmas in fact. When I made the hanging decorations I went a bit overboard and cut out more small stars than I needed and I had a feeling they’d make a nice little garland. The Sustainable Craft Challenge is back and this month the theme is CHRISTMAS, the perfect push I needed to turn this garland idea into reality.
Stay tuned at the end of this tutorial to see lots more beautiful Christmas themed craft ideas with a sustainable twist.
How to make a felt star and bead garland
Materials needed:
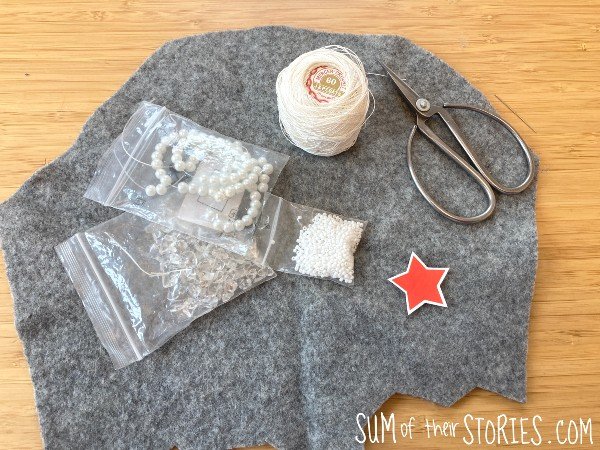
Scraps of felted woolens, old jumpers/sweaters and cardigans
Beads, most of mine were rescued from broken jewellery
Crochet cotton - any strong thread will work
A needle - you’ll need a needle that is thin enough to go through your beads
Sharp scissors - for cutting out the stars
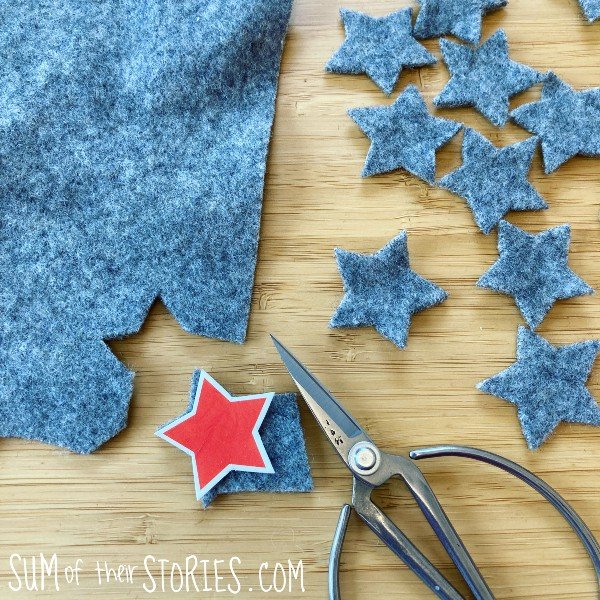
Start by cutting out lots of stars from your felted woolens. You can make your stars any size, mine are the “small” size on the star template, each one is about 1.5” from the furthest point to point. For a garland that is a yard (90cm) you’ll need about 15 small stars.

Next prepare your beads. You can add beads to your garland totally randomly of course but for this grey felt garland I wanted mine even and all the same so I laid them out on a bit of spare felt (so they don’t roll around) first.
Threading the garland
Cut a length of strong thread longer than you want your garland to be. I started with 170cm of thread and my finished garland is approx 100cm. (5’ 7” for a garland that end up 3’ 3”)
I used a fine crochet cotton as that is what I had. A quilters thread or other strong thread would also be ideal. Regular sewing thread would not be advisable as it wouldn’t be strong enough, although you could try it doubled up if that is all you have.
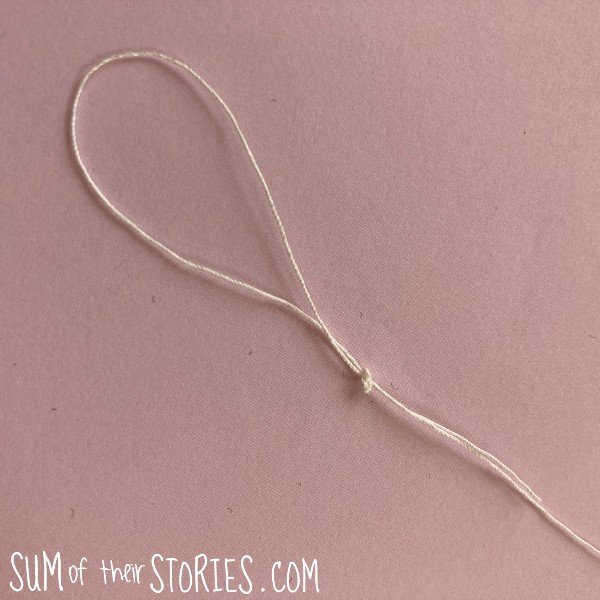
Tie a loop for hanging at the end of your garland.
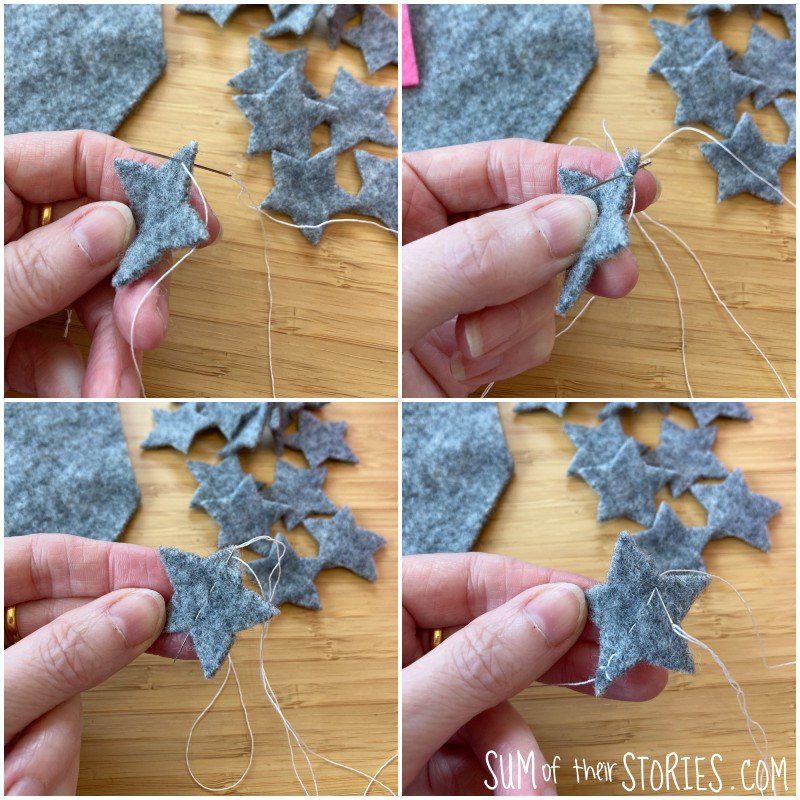
Next thread your needle and then start by adding a few beads. Now add your first felt star. You could just attach the stars to the garland with a few running stitches. I attached mine a little differently as I wanted the stars to be secured in place so they don’t slide around on the thread and they’d be evenly spread and not bunched up when the garland is hung up. I was probably fussing though and a running stitch would be fine, especially if your felt is a thick old sweater like mine!
To secure the star work a couple of stitches at the top of one point then a running stitch straight through the star, then a couple more securing stitches at the opposite internal angle.
Next add a few more beads.
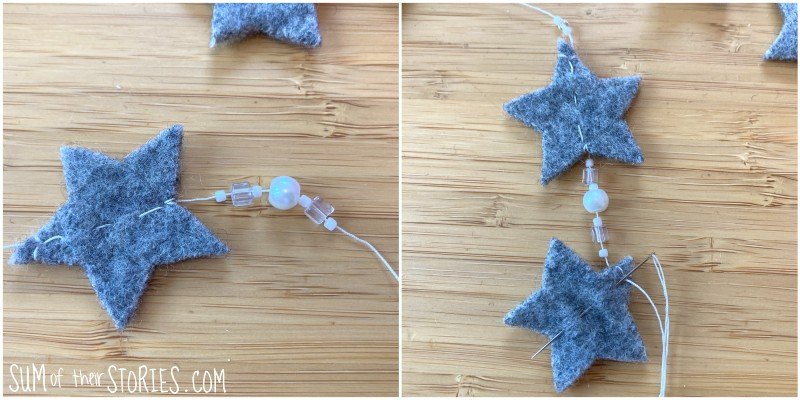
Continue like this, adding stars and beads. I added 15 stars to my metre long garland.
Tie another loop at the end of the thread and your garland is ready to hang.


I also tried out a patterned felted wool and a more random bead effect. This felt was some left over scraps from my Christmas tree decorations that I shared a few years ago.
You could mix and match colours for a completely different look or stick to a single felt like I did. It’s a fun way to make a pretty Christmas garland just using what an old felted sweater and beads.
Felting an old sweater
Felting an old sweater or cardigan is a great way to turn an old woollen into a great new craft material. It works best with woollens that are 100% wool and that are not the modern “machine washable wool” - that has been treated in a way to which makes it harder to felt. You can felt old garments that are up to about 95% wool and still get pretty good results, it might take a little longer or require hotter water though.
When I’m felting old sweater or cardigans I put them inside an old pillowcase, tie it at the top, and then pop it into my washing machine on the hottest wash it does. I generally save it until I have a few to do and put them all in together as it’s an expensive way to run the washing machine! The heat and movement causes the fibres to matt and felt together so each garment goes in a separate pillow case. That way they matt up to form a thick felt but don’t matt up with each other in a hot mess!

Now let’s take a look at the other projects shared for the Sustainable Craft Challenge this month with a CHRISTMAS theme.

Our Good Life: End of the Season DIY Rosemary Wreath
Purple Hues and Me: Nature Inspired DIY Wreath
Stone Cottage Adventure: Framing a Quilted Pig
Simple Nature Decor: Jeweled Oyster Shell Ornament
Crazy Little Love Birds: Winter Tree Scenery using Cardboard
Sew Crafty Crochet: Upcycled Christmas Baubles
Christine’s Crafts: Christmas Tree Diamond Decorations
Southern Sunflowers: Christmas Tree Pillow No Sew Tutorial
Mimi-A great name for Grandma: DIY Christmas Tree String Art
Decor Craft Design: Christmas Snowman from Socks


