

How to Make Easy Watercolour Christmas Tree Cards
/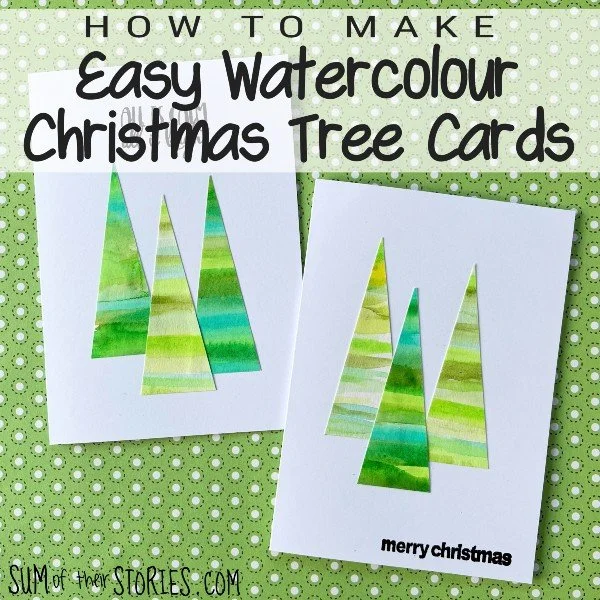
Handmade cards are such a lovely and thoughtful thing to send to your friends and family. This can be difficult for Christmas, especially if you send a lot of cards. Ideas that are quick, easy and designed for batch card making are needed.
I love making and sending handmade cards so I’m always looking for ideas so I can make a large number of cards fairly quickly whilst keeping the quality high.
The Christmas trees design I have for you today is really easy. No special artistic skills are required at all.
Before we start I must warn you that I made my trees using cm. The measurements I used do not convert nicely to inches so I’ve done some rounding. The good news is that exact measurements are unimportant and you can actually make your Christmas trees any size you like!
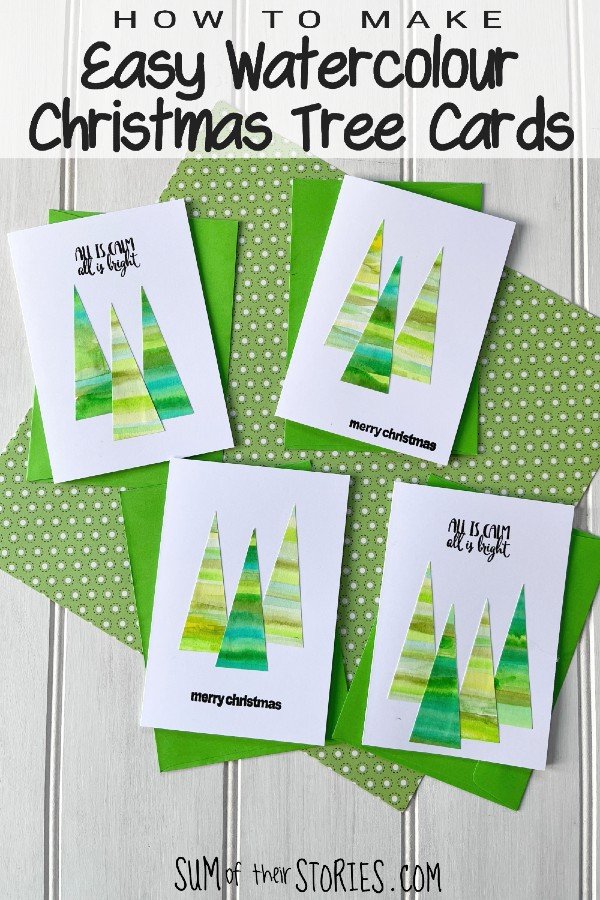
Easy to make Christmas Cards with simple watercolour trees
All you need to make these watercolour Christmas tree cards are:
Greeting card blanks
Paper - either watercolour paper or sketchbook paper.
Watercolour paints and brush
Sentiment stamp and ink pad or a pen
Glue - I used a Pritt stick glue
Pencil, ruler, washi or masking tape
Scissors or a guillotine
Create simple watercolour Christmas trees
Start by taping your paper down with the washi or masking tape and then painting stripes of green. As I said, you can use watercolour paper but any heavier weight paper is fine. I used some sheets of sketchbook paper but anything around 120 - 170 gsm would be great. Copier paper will work at a push but it will curl when you paint it making it more difficult to cut to shape.
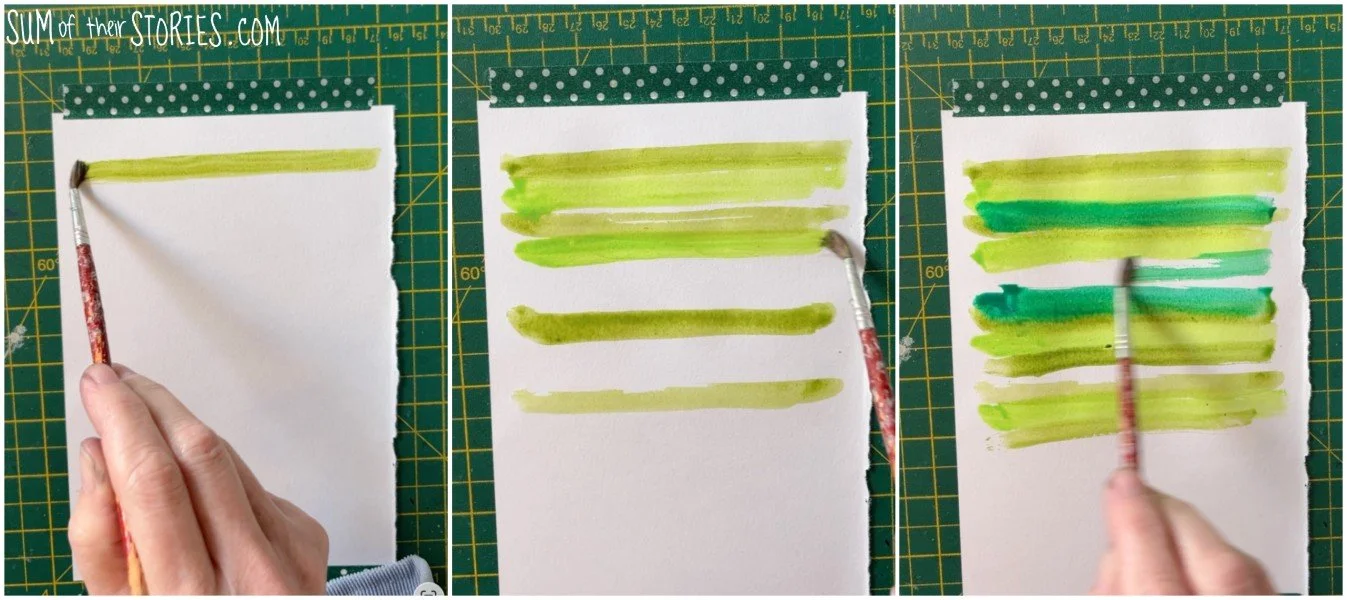
Vary the shades of green by using any different greens you have in your watercolour palette. You can also mix in a little yellow or blue to get different greens. Add more water for a paler shade.
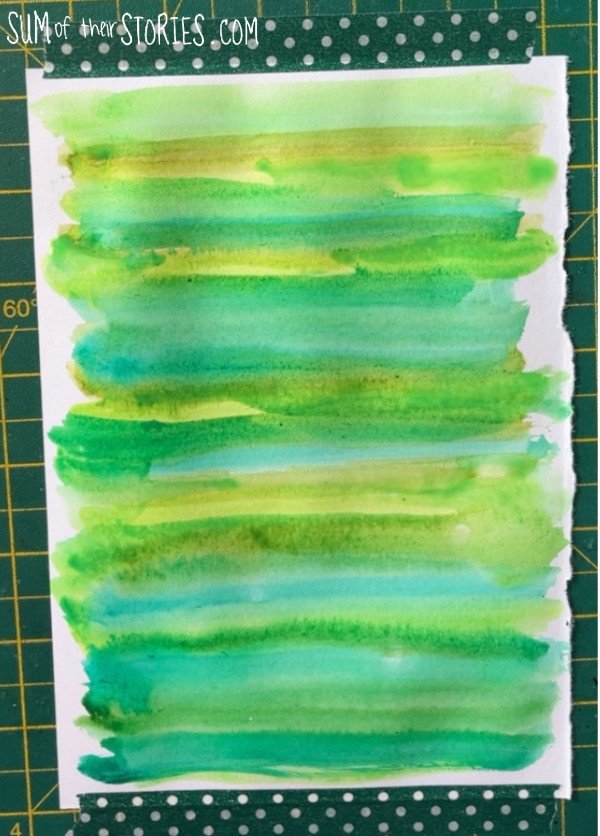
There is not right or wrong here, we are just covering the paper with various shades of green.
Once the paper is dry cut it into strips that are 8cm or 3” high.
Turn your green painted paper face down and mark on the back with light pencil at 3cm (1”) intervals along the top.
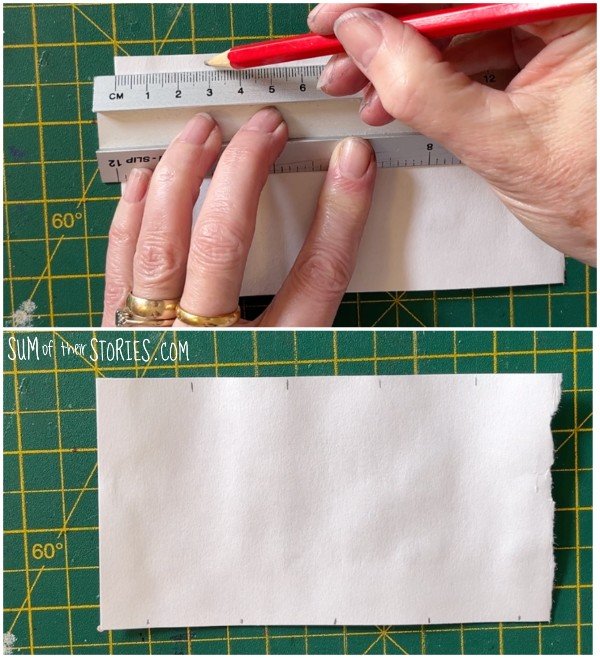
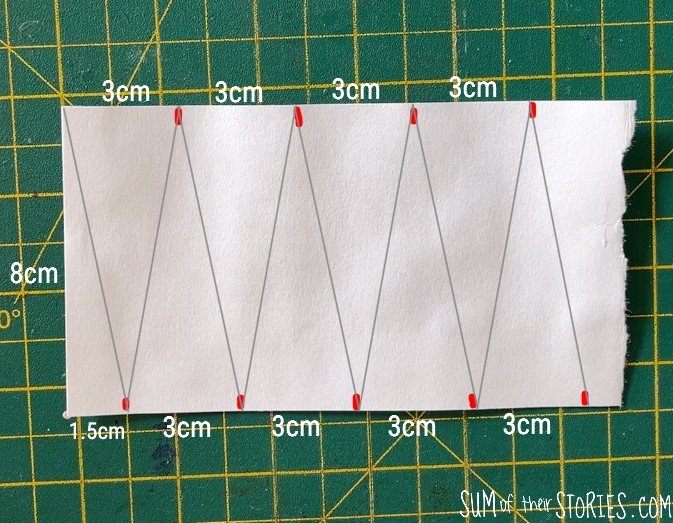
Mark along the bottom at 1.5cm (1/2”) then again at 3cm or 1” intervals.
Join the little marks you’ve made with diagonal lines and cut with scissors or a guillotine.
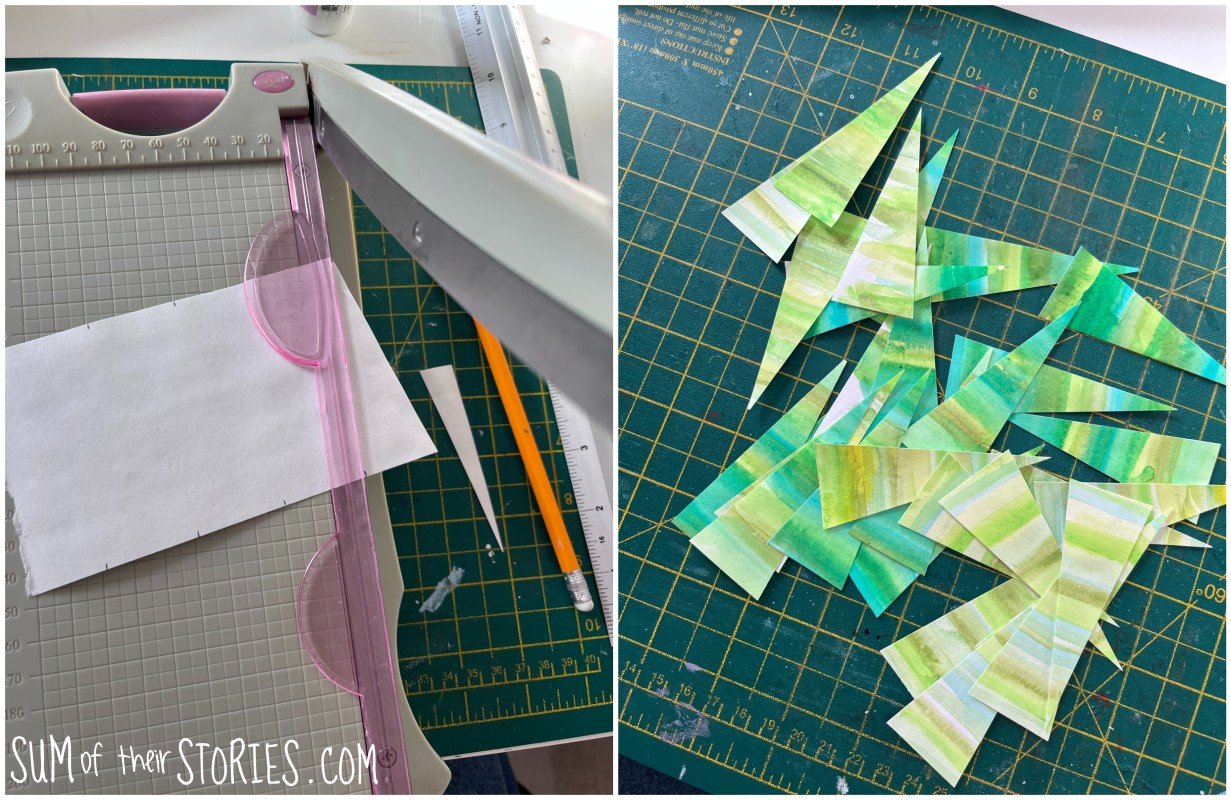
You should end up with a whole load of tall thin green stripy triangles.
Putting the card together
Take a blank greeting card and arrange some of your triangles on it. Play around with them until you are happy with the arrangement.
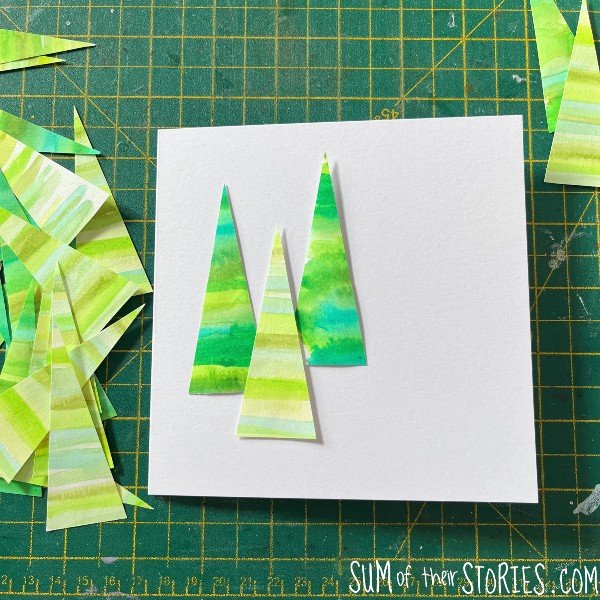
Following the old flower arranging rule that you always put things in odd numbers, I generally like to use an odd number of triangle trees on each card and to position them overlapping slightly and quite higgledy piggledy. You can use my photos as a guide if you like, I’ve tried out a few ideas to show you how versatile this card idea can be. I even used an even number of trees on one card and you know what, I kind of like it! Rules are made to be broken I guess!
You can arrange your trees however you wish, just enjoy playing around with them and once you have an arrangement that you are happy with them simply glue then in place.
If you’ve got room on your card you can add a sentiment, although this is entirely optional of course.
You can stamp a sentiment using an ink pad and stamp or write your message if you have nice writing.
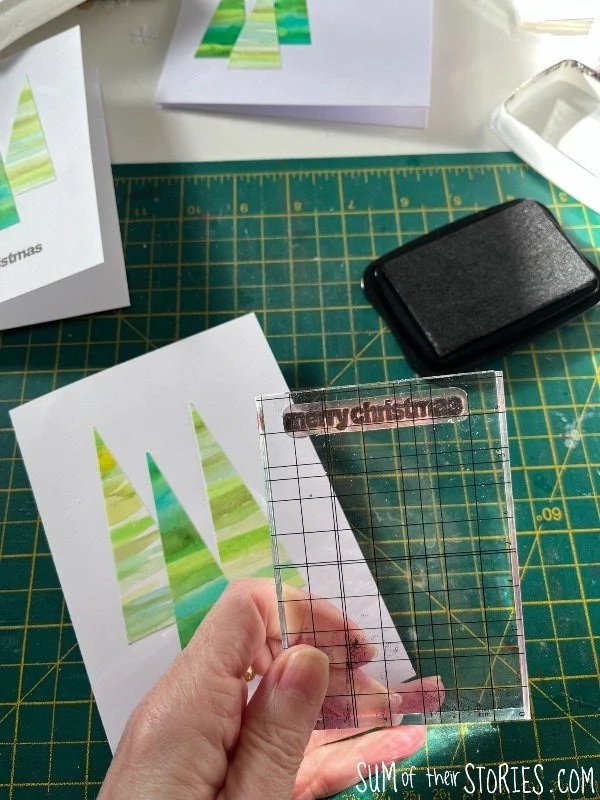
The sentiment can go below a row of trees, above, or to the side. Wherever the space on your card allows.
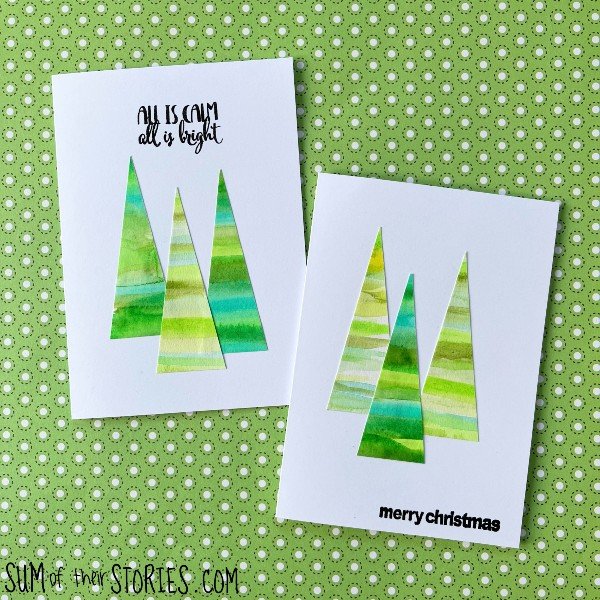
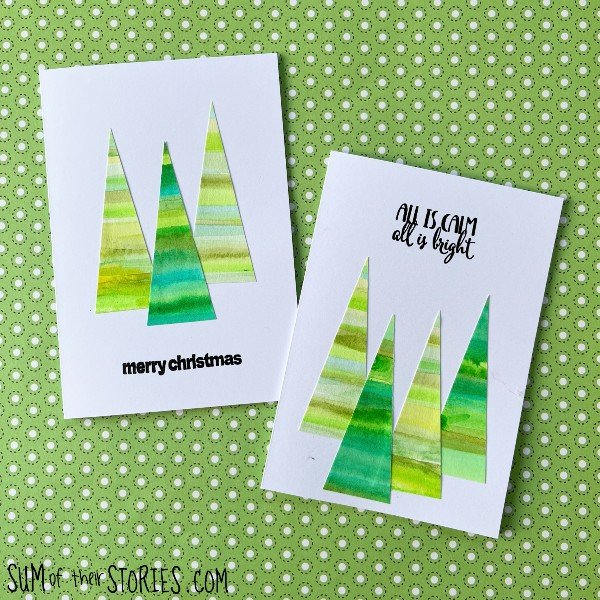
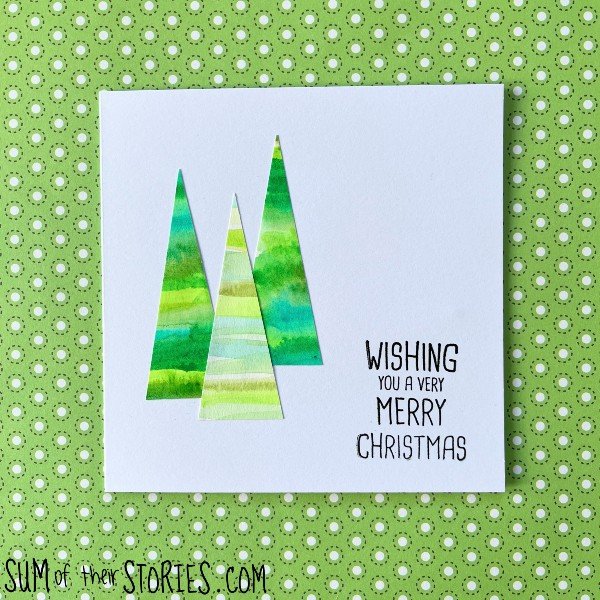
This is such a simple Christmas card making idea which is just perfect if you have a lot of cards to make. You can have a session painting several sheets of paper with green stripes and then another when you cut out a whole heap of triangle trees and turn them into cards. You could really get some speed up but still create lots of variety in the cards you make.
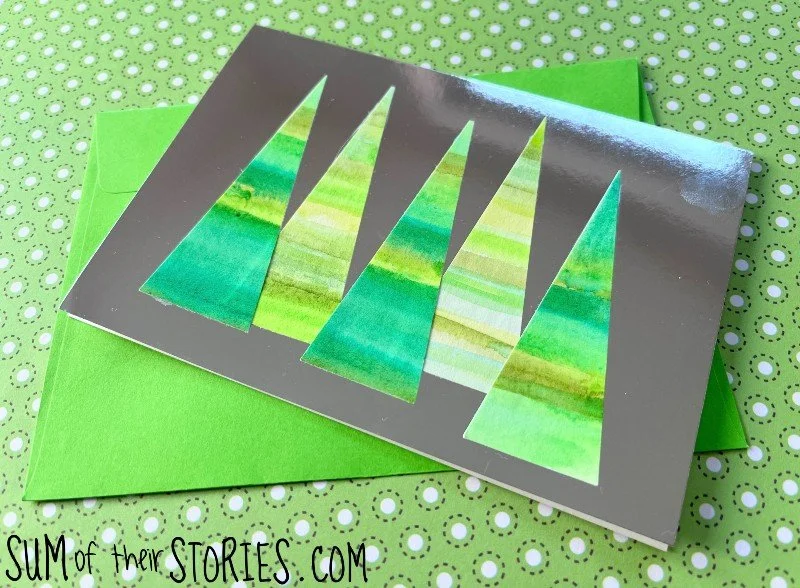
This card below is a shiny silver reflective card, the matt watercolour trees contrast nicely with the shine of the card base.
More ideas to make your Christmas tree cards unique
add gems or tiny dots of paint to your trees to look like decorations
splatter white paint all over the green watercolour painted paper before you cut it into triangles to give a snowy vibe
top each tree with a tiny star sequin
use a black or dark blue card base and splatter it with white paint before you add the trees, another way to get a snowy effect
make your triangle trees different sizes
Have fun, play with the basic idea and make lovely, unique Christmas cards for your friends and family.
Julie
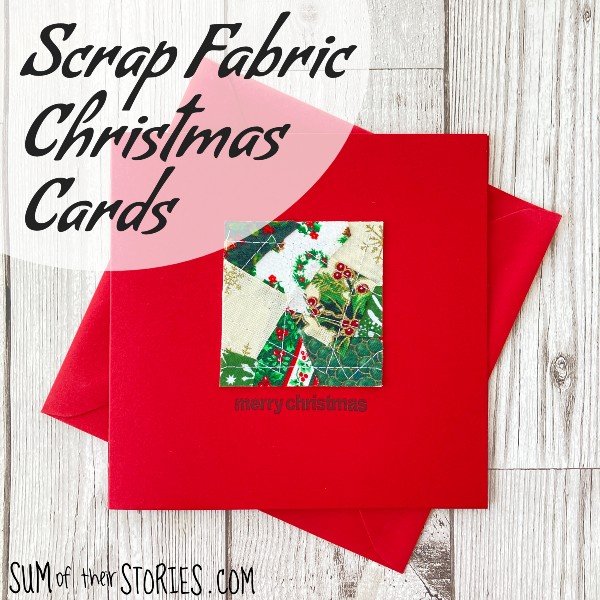
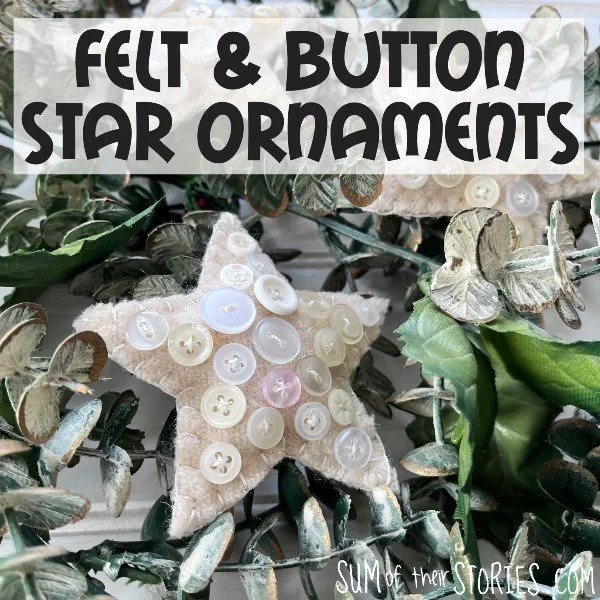
If you are looking for more Christmas card ideas I have plenty as I tend to make something different each year.









Easy to make Christmas Cards with simple watercolour trees, a card making tutorial