How to make Stitched Paper Christmas Cards
/

This Christmas a lot of us are not going to be seeing as many of our friends and family as we’d like to usually. This is a good opportunity to maybe make special handmade Christmas cards to send just to let people know how much you love and miss them.
I love to make handmade cards and try and think of a few new Christmas card ideas each year. You can see some of my previous ideas here.
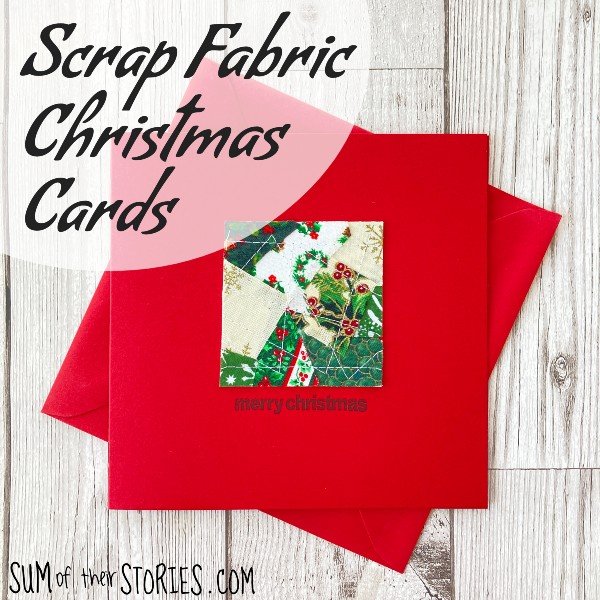
These cards are a fabulous way to use up even really quite small scraps of patterned paper. You can also use embellishments saved from old Christmas cards that you have received in previous years, bits of packaging, wrapping paper, pages of old books or magazines etc.
By stitching these scraps of paper on your sewing machine you can really add an extra dimension.
I had a large box of sewing threads that I inherited from my mum, some of the threads I think she inherited from my nan. I stay away from using these threads in my sewing normally as I have no idea how old they are and I’m not sure how well they would stand up to garment making. I don’t like the idea of just throwing them away though so they have turned out to be ideal for little craft projects like this. Waste not want not!
Once you start making these little stitched card toppers you’ll probably come up with loads of ideas of your own. What you make will depend on what scraps of paper and embellishments you have. I’m going to share a couple I made step by step just to get you started and give some ideas. I promise, once you start laying up the papers and stitching them together you’ll get carried away and make loads - I know I did!
To make stitched paper Christmas card toppers you will need:
Scraps of Christmas paper - scrapbook papers, wrapping paper, packaging, magazine pages etc
Embellishments from old cards - buttons, jewels, card cut outs etc and/or Christmas stickers
Scissors, glue, foam pads, pencil
Punches, I used a snowflake, circle and scalloped circle
Something round to draw around - like a glass or jar
Sewing machine and thread
A sewing machine needle that you only use for sewing paper - more on that later!

Let’s start with some round card toppers:
Start by cutting some circles from your patterned papers. I drew around a glass and cut it out with scissors. I purposefully didn’t cut too neatly, I wanted slightly wonky circles.

Cut some slightly smaller circles, I used the lid of a tube of hand cream to draw around! I also punched some 1” circles using a circle punch.
Once you’ve got a stash of elements you are ready to start assembling.

Layer up two circles and stitch around with a large zig zag stitch. Whatever needle you are using is going to become your ‘stitching on paper’ sewing machine needle from now on. You really won’t want to try sewing fabric with it afterwards. I sew on paper quite a bit for various things I make so I keep a few old needles especially for this purpose. I keep them on a bit of blue felt so I know they are just for paper and card.

Add some more elements and stitch them on. You can switch between a zig zag and straight stitch as takes your fancy. When you are using a straight stitch have the stitch length on 4, you don’t want the holes too close, your card topper might fall apart if you make too many holes!
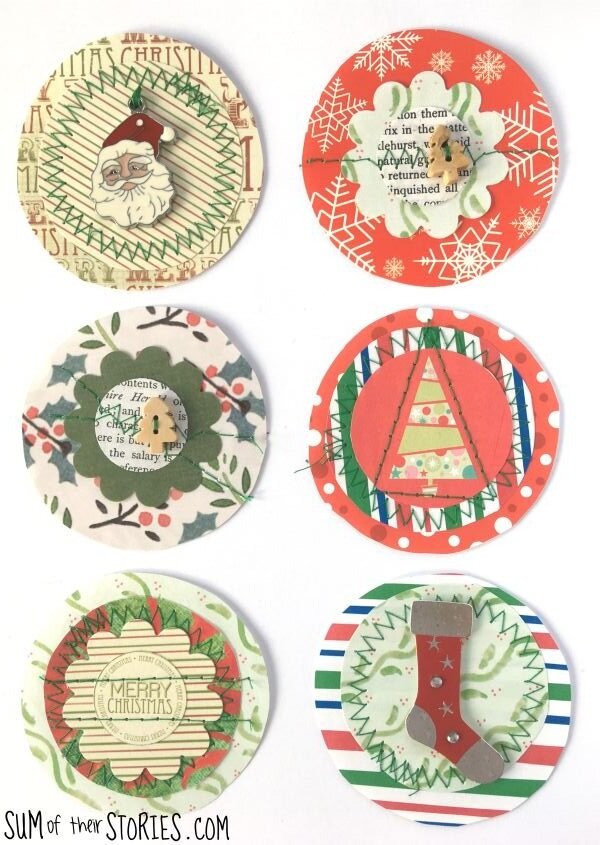
For this next one I stitched 2 layered circles as before and then hand stitched a little dangly santa charm which I’d saved from a card a few years ago. Because the hand stitches were a little close and the charm is metal and quite heavy I added a small bit of washi tape on the back over the holes just to keep everything secure. I’m not sure if that’s strictly necessary but I figured it can’t hurt.

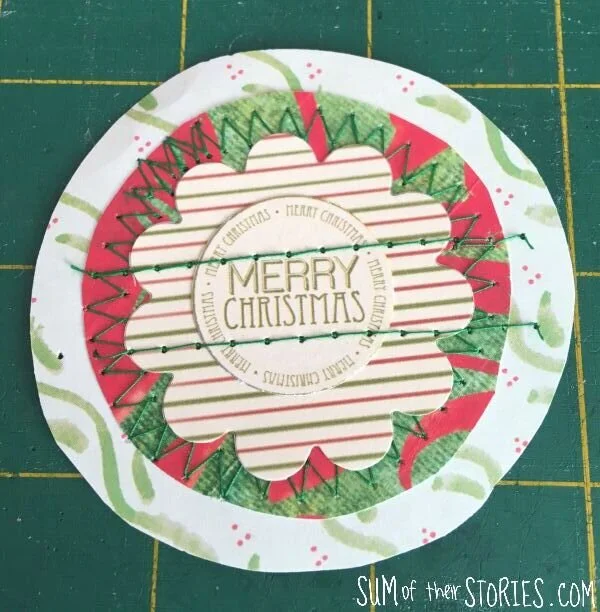
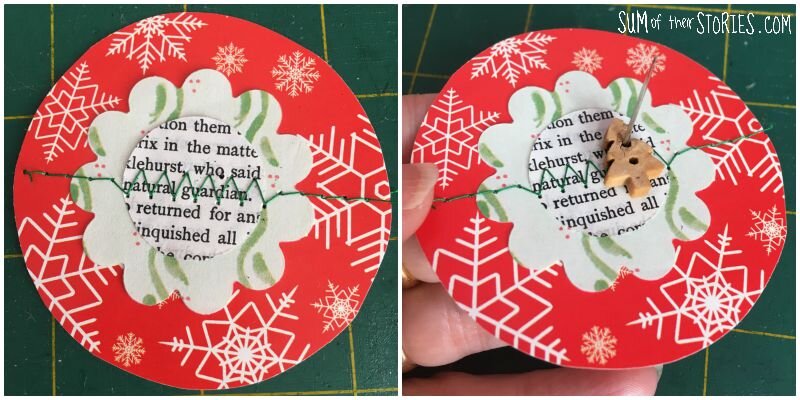
For this next card topper, I took a circle of paper, added a punched scalloped circle on top and a smaller 1” circle of old book page. I stitched a little straight stitch then then switched to zig zag and then back to straight stitch again. If you do this it is REALLY IMPORTANT that you switch from one stitch to the other on your sewing machine with the NEEDLE UP. If the needle is down in the paper when you change the stitch you could snap the needle - you don’t want to do that!
I finished it by hand sewing on a little tree shaped button that was saved from a card we received last year.
Here you can see the kind of thing you can make if you add a cut out embellishment rescued from an old card. I just carefully gave this little stocking some new foam pads to raise it up a bit - really simple.

Just have fun and play with the pieces of paper and embellishments which you have. See what looks nice layered up and then stitch them however takes your fancy.
Layered Square Stitched Christmas Card toppers:
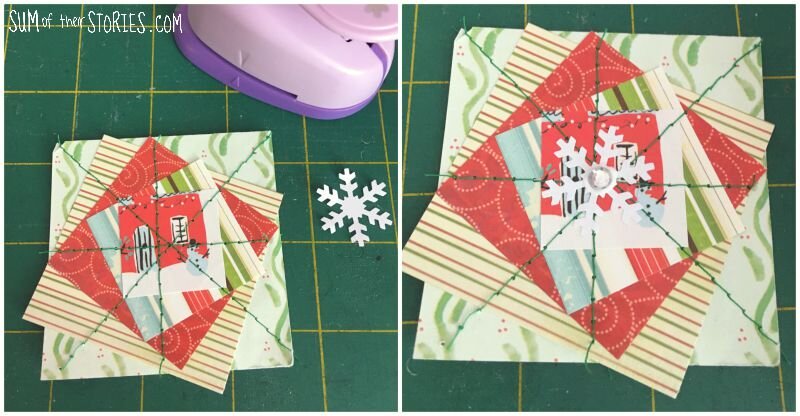
Cut a series of squares from your patterned papers. I did 3cm, 4cm, 5cm, 6cm and 7cm squares. You can vary that however you like. You’ll also probably want something decorative to go in the centre.

Layer them up and then stitch diagonally and straight through the middle of each side.
Glue an embellishment of some sort in the centre.

For this next version I layered the paper squares at an angle. I don’t think I like this one as much but I’m sharing it because you might! As you can see my stitching is a bit wonky too so I covered the centre with a punched paper snowflake and a gem.
Play with the papers and embellishments that you have and see what you can make. There is no right or wrong at all, just build up layers of what you think looks nice! These pictures might give you some ideas.
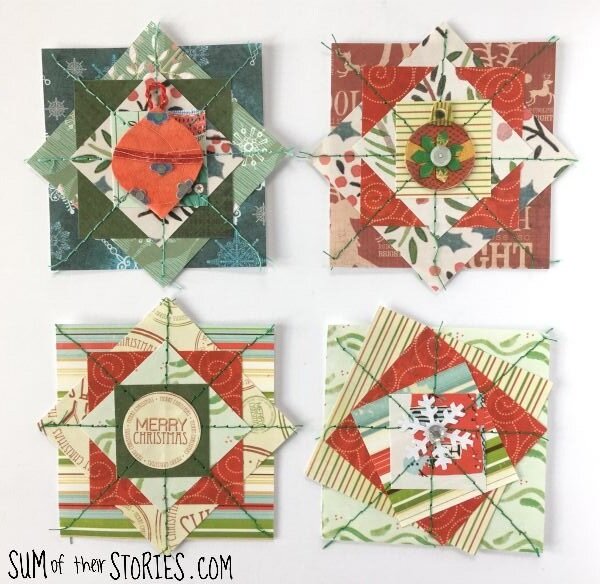
I tried some of the pastel shades of Christmassy papers that I have too:

Use the stitched card toppers to decorate cards.

Or pop them on a gift tag.

You could turn them into a garland too or hang them from your tree by adding a loop of thread.
This is quite a messy craft, you need a bit of space on the table to spread out so you can gather all your stash and see what you’ve got. It’s not too time consuming though, once you get going you can knock out a whole pile of pretty card toppers fairly quickly. I ended up making so many that I’ve listed some in my Etsy shop as well as using them for cards for us to give this year.


This is another great way to make a dent in your craft paper stash, especially if you are like me and don’t like to throw even tiny bits away.

I’ll be sharing this idea at these link ups
If you like making special Christmas cards you might like to check out some of these ideas too: