

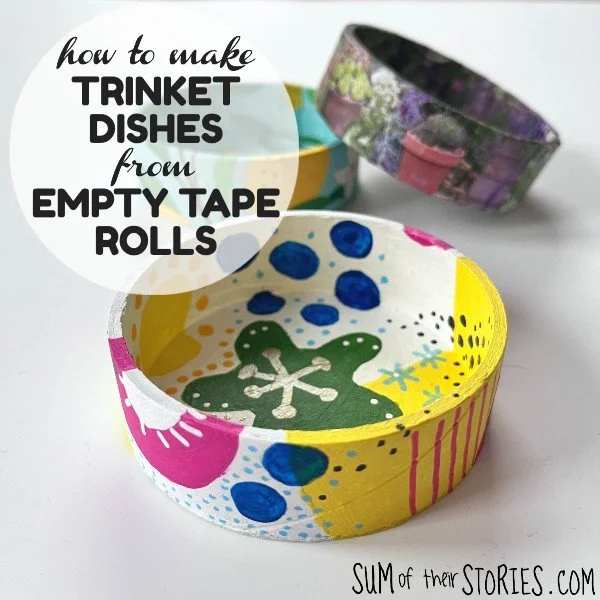
How to make trinket dishes from empty tape rolls
/
There is no need to throw away those sturdy inner rolls when you finish a reel of tape, they are a great craft resource.
Let me show you how to turn an empty tape roll into a useful trinket dish.
When I was a kid my mum kept a box filled with old cardboard boxes, colourful envelopes, magazines, pipe cleaners, empty thread spools etc for us to craft with and of course she would add the sturdy rolls from sellotape, duct tape etc when they were all used up. I remember making a little dish from a tape roll when I was quite small and keeping my hair bobbles/elastics in it.
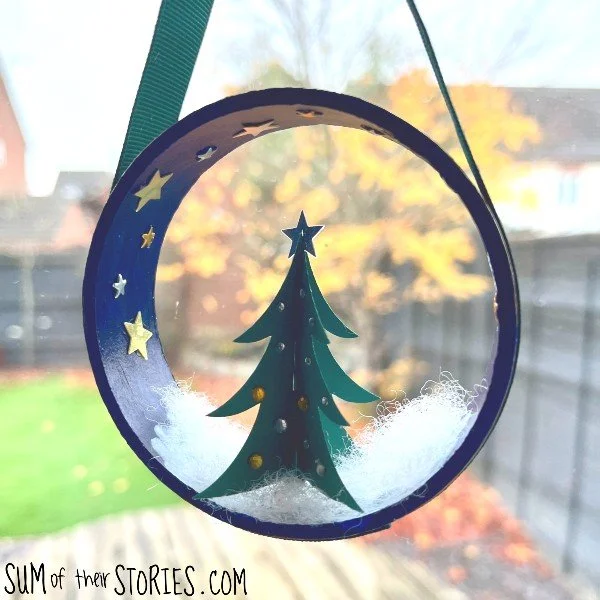
Last year I made this Christmas ornament from an empty tape roll and ever since I’ve been saving my empties instead of throwing them away. My mind has been opened again to the crafting opportunities they offer!

When I spotted that the theme for this month’s Do It Over Designers Challenge is “Out of the Recycle Bin” I knew the time was right to put a few of these empty tape rolls to good use and remake the tape roll trinket dish of my childhood. I’ve made 3 different versions, all easy and all made with things you might normally throw into your recycling bin.
Stay tuned at the end of this tutorial to see the other ideas my fellow Do It Over Designers have been making with things they fished out of their recycling bins!
Let’s get started:
How to make a trinket dish from an empty tape roll
To upcycle an empty tape roll into a trinket dish you will need:

Empty tape rolls
Thick Cardboard
Strong PVA glue - I used Art Glitter Glue, something like Hi-Tack or Aleene’s Tacky Glue would work too.
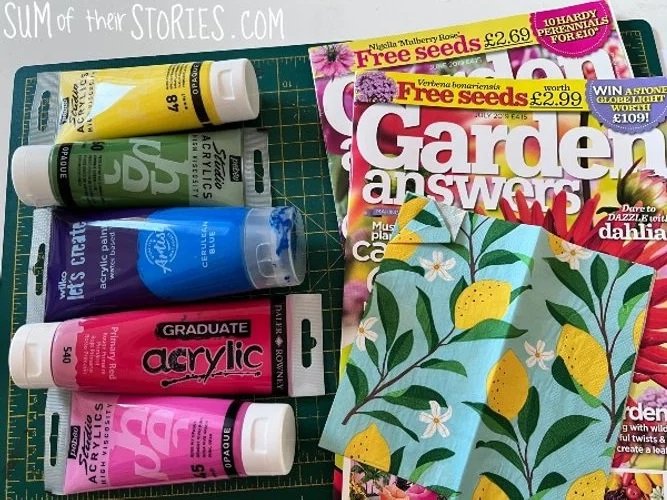
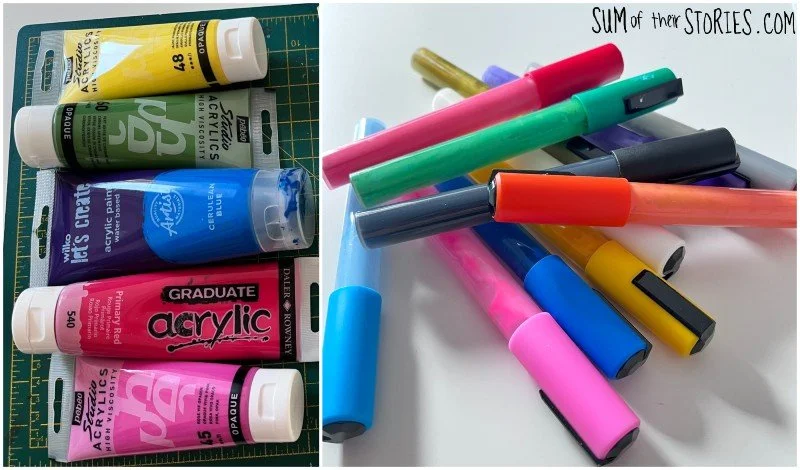
White Acrylic paint and brush
Scissors
Pencil
You can use any kind of thick cardboard. I used some cardboard that was from the back of a pack of watercolour paper so it’s thick, not corrugated but thin enough so I was able to cut it with scissors.
Place one of your tape rolls onto the thick card and draw around it, then cut the circle out.

Apply a thin layer of glue around the top of the tape roll and top with the circle of card. Leave to dry under a heavy book.
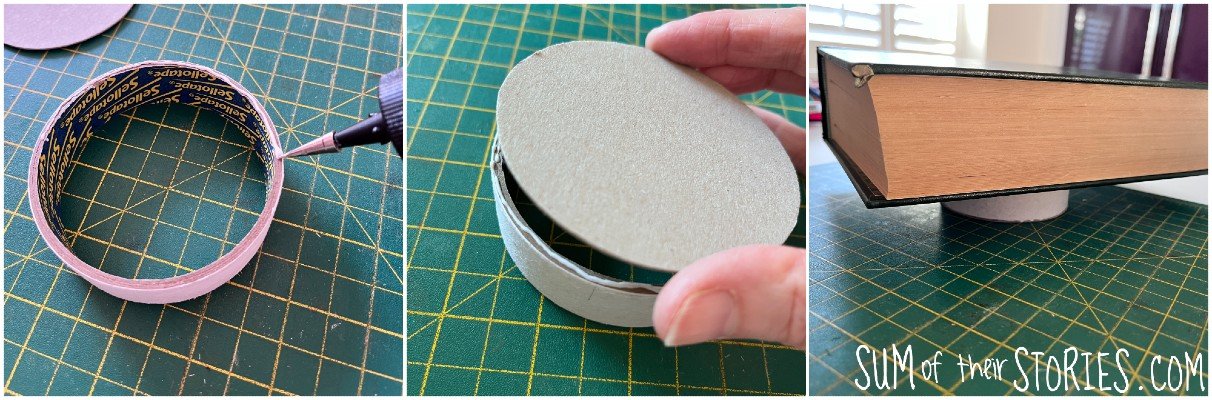
Paint all over with a layer or 2 of white acrylic glue to make a good base for decorating your trinket dish. The white base will cover any logos or marks on your trinket dish card and make any decoration brighter.

Ideas to decorate your upcycled tape roll trinket dish
You can decorate your trinket dishes in any way you like. I have 3 ideas to show you; a painted shape design, paper napkin decoupage and old gardening magazine decoupage.
If your trinket dish base feels nice and secure you can just paint a design. I had used Art Glitter Glue to make my dishes which is one of my favourite paper and card adhesives, it holds really well, and my trinket dish bases felt really secure.
If you’re not confident with the base then I’d recommend using a decoupage decorating technique, just because that will make your dish stronger. If you really want to paint a design and you’re not confident that your glue is strong enough then you could decoupage a layer of white tissue paper first and then paint over that. This would give you the best of both worlds.
Painted Design
To paint a bold design you will need colourful acrylic paints, a brush and a pencil. If you want to add fine details then paint pens are great too.
Draw some basic shapes in pencil and then fill them in with colourful paint. I found 2 coats gave good coverage.
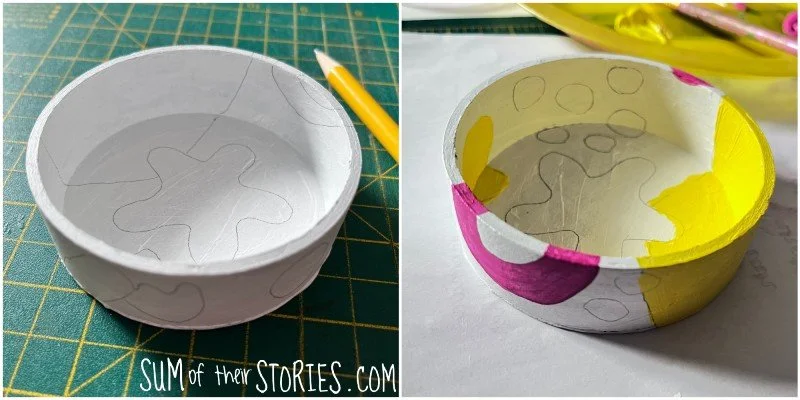
Let each colour dry before you add the next if they are touching to make sure you get nice vibrant colours and they don’t run into one another.
These are just basic shapes, blobs, circles etc nothing complicated.
Add details like stars, lines, dots etc with paint pens if you like.


You might want to seal your dish with some sort of spray sealer or even a layer of Mod Podge. I haven’t so I’ll report back on how it holds up without.
Paper Napkin Decoupage
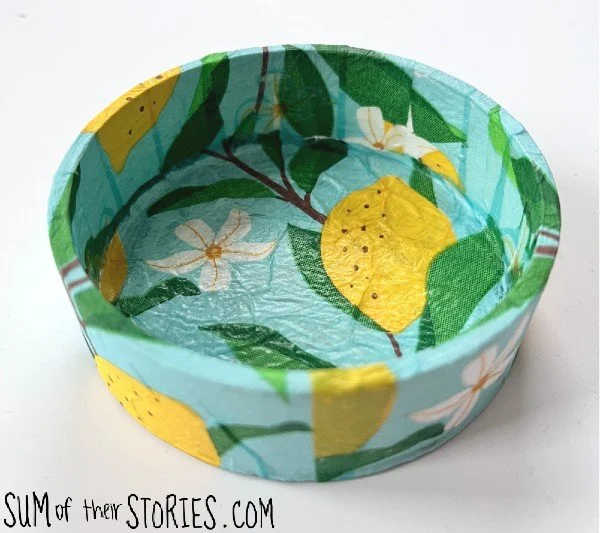
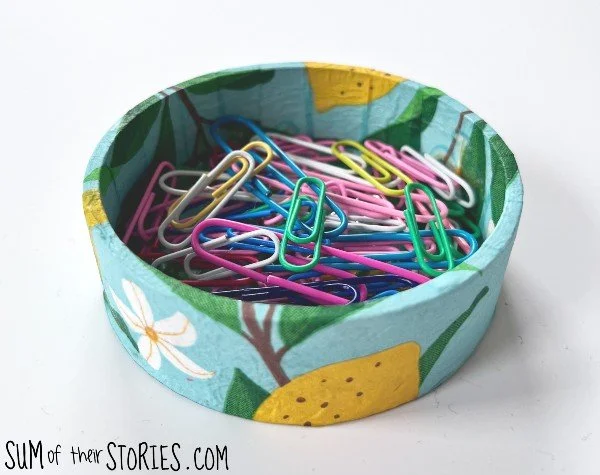
Painting your dish with a white acrylic paint base will really help make the colours on a pretty paper napkin pop. For this idea you need a paper napkin, a decoupage glue like Mod Podge, a brush and scissors.
Separate the layers of your napkin so you just have the very top, printed layer. Cut a rectangle so it’s triple the height of your dish and long enough to wrap all the way around.

Apply Mod Podge all over the outside of the dish and apply the thin napkin rectangle. Position it so it overlaps the base just a little. For best results DON’T fuss the napkin, if it’s slightly creased just let it be. The minute you try to smooth and fuss this kind of decoupage you risk tears.
Apply Mod Podge around the edge of the base and glue down the overlap.

Leave this to dry. I balanced my trinket dish upside down on my glue stick so that the loose paper napkin was not crushed or torn. I’d applied quite a bit of glue to the base and this way it didn’t stick to my work surface.

Snip the excess paper napkin with your scissors into strips and then apply Mod Podge over the inside of your dish. Fold the strips of paper napkin over and press them down gently. Again, avoid over fussing them if you can to prevent the napkin from tearing.
Cut a circle of napkin to fit inside the dish. It’s nice to do what we call “fussy cutting” in patchwork and choose a bit of your napkin design to go centrally in your circle if you can.
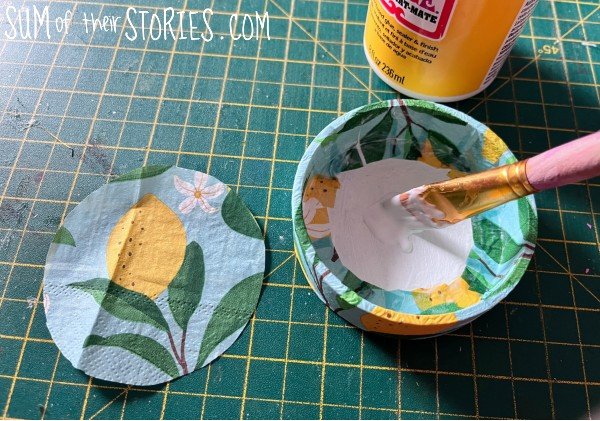
Apply Mod Podge over the base and stick the circle in.
Once everything is dry apply another coat of Mod Podge over the whole thing to seal and protect in the paper napkin decoupage.
Decoupage with old gardening magazines
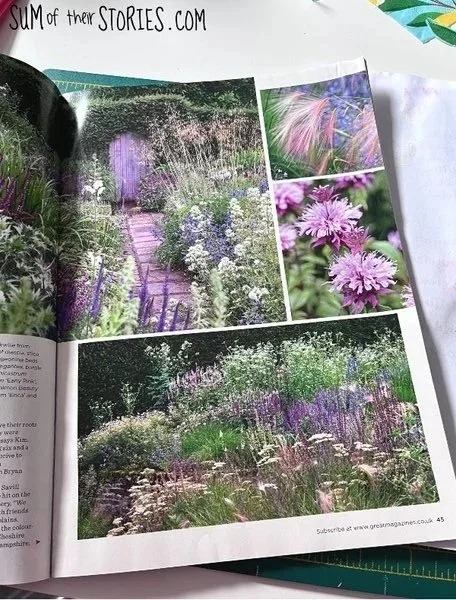
The final decorating idea I tried out on my last tape roll trinket dish was another decoupage idea, this time with an old gardening magazine. I chose photos from the magazine with a similar colour pallet but of course you can choose whatever you like.
For this idea you’ll need an old gardening magazine, LOTS of scrap paper, scissors, Mod Podge and a brush.
Cut thin strips from your magazine of choice and a few images if you want to add extra decorative elements. I cut out some flowers and plants in pots.

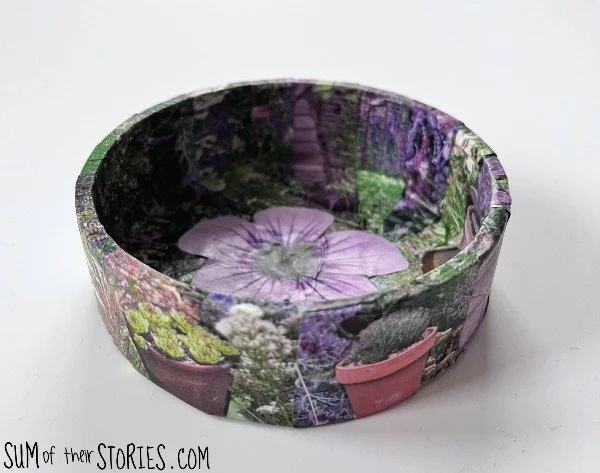
Place a strip of gardening magazine face down on your scrap paper and apply Mod Podge all over. Glue this to the tape roll trinket dish.
Then just repeat until the trinket dish is completely covered.
Don’t be stingy with your scrap paper, make sure you are putting the strip of magazine on a fresh and unsticky place each time. If you lay a magazine strip onto scrap paper that’s got even a little glue on it will stick and most like remove some of the image on the right side (been there, done that!)
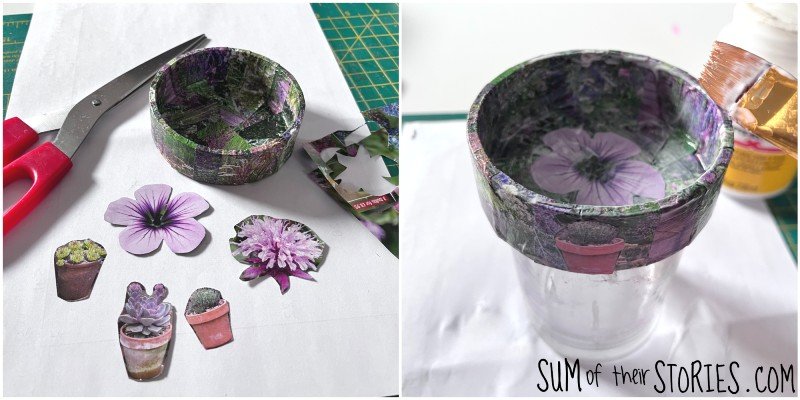
To finish this dish glue on a few images cut out from your magazine to add some extra interest if you want to. My dish had ended up a little more green and less purple that I had intended so a few cut out pots of plants and a couple of blooms helped to brighten it up.
Cover the whole thing in a sealing layer of Mod Podge and then leave to dry. I balanced mine on the water jar I use for watercolour painting.
I was making all these trinket jars at the same time and this explains why the lemon paper napkin dish was so precariously balanced on a glue stick! I was still using my Mod Podge so it couldn’t balance on that and all my other suitable containers were already in use.
So there you have it, 3 trinket dish ideas all made from items you might normally just throw away, things I fished “Out of the Recycle Bin”

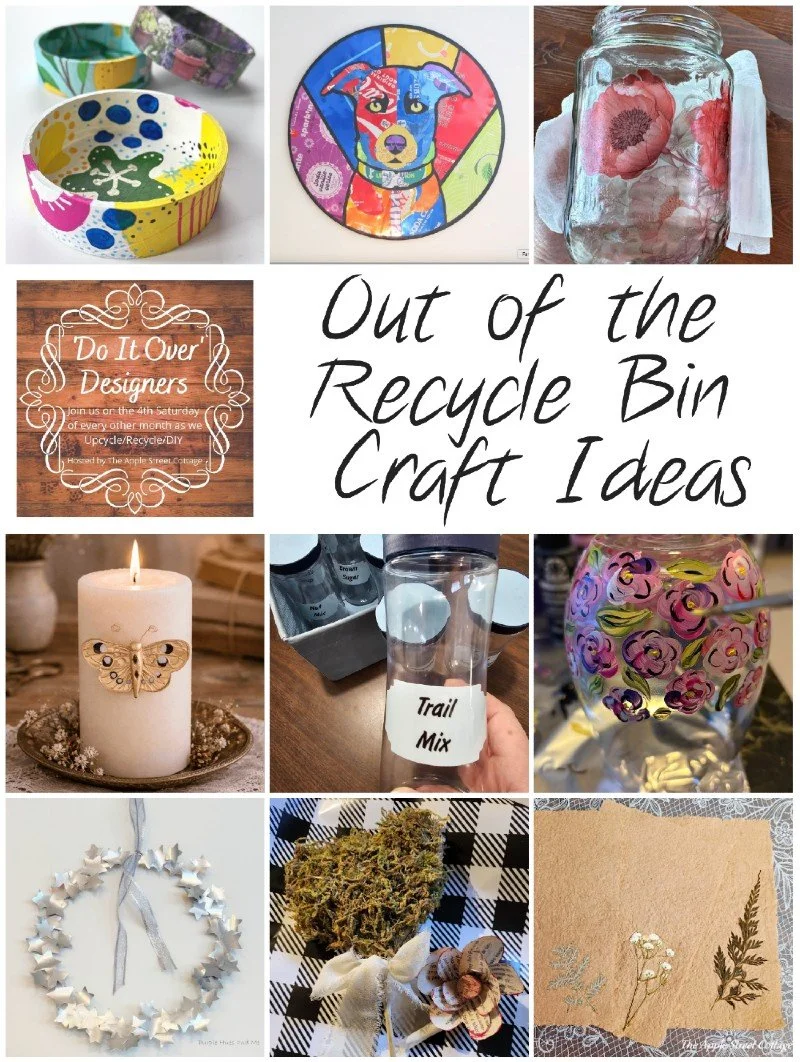
Now let’s check out what the other creative members of the Do It Over Designers have created with things rescued “Out of the Recycle Bin”
Birdz of a Feather - Aluminum Can Art
Exquisitely Unremarkable - Tattooed Glass Jar Upcycle
Little Vintage Cottage - DIY Butterfly Candle
Modern on Monticello - Simple RV Pantry Storage Solution
Pandora’s Box - Handpainted Wine Glass
Purple Hues & Me - Upcycled Star Cluster Wreath


