How to transfer an embroidery design onto fabric
/

There are several ways to transfer an embroidery design onto your fabric, today I going to show you the simple method I’ve always used.
When I was a kid I had a few embroidery kits given to me where the design was pre printed onto the fabric. I found this one in a box the other day, it looks like cross stitch but was in fact printed onto the fabric. It was actually this embroidery that got me interested in the idea of cross stitch and after this I learnt about evenweave fabrics and counted cross stitch.
I remember my nan stitching a pre printed tablecloth too, I may even have that somewhere, I’ll have to have a look for it.
You can still purchase embroidery kits with the design already printed on the fabric for you, Hawthorn Handmade have some really lovely ones, so do Hygge Rituals Handmade and Taylor Made.
You can also purchase iron on transfer designs. As you might imagine, these are designs that you iron on!
Lots of embroidery designs are available online however, which you will be printing out onto paper so the question is….
How do I transfer an embroidery design onto my fabric?
All you need is:
The design
Your chosen fabric
A water erasable pen (this is my current favourite) or a frixion pen
Washi or masking tape
A window
This is a daytime activity, a sunny day is ideal but it will work on a grey day too!
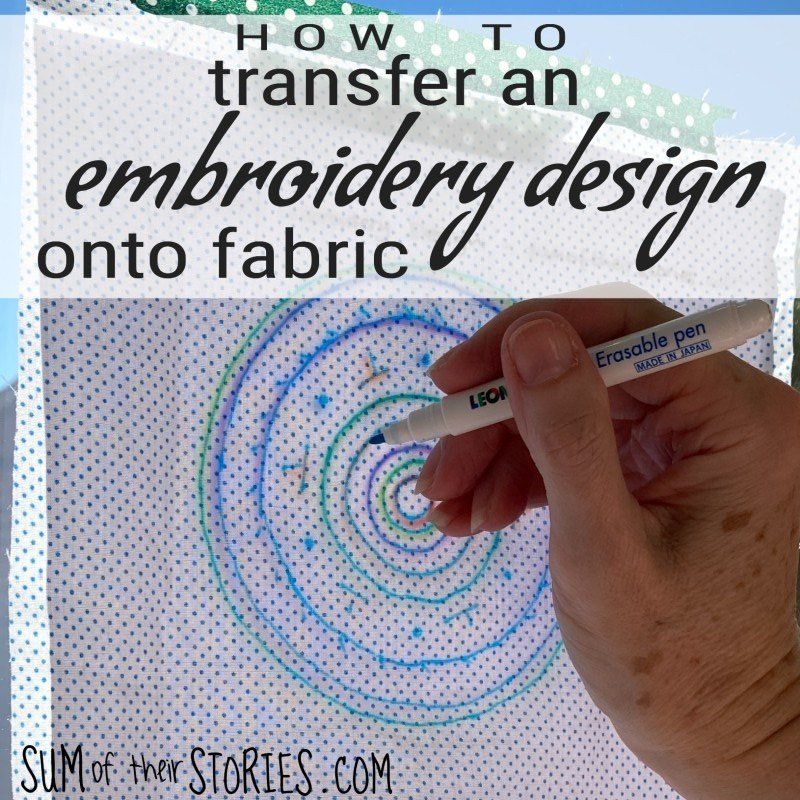
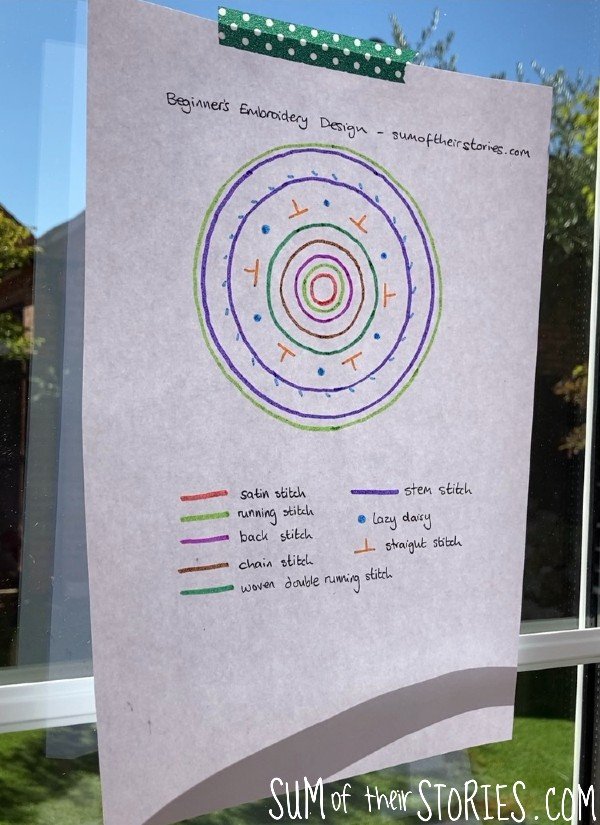
Tape the design to the window.
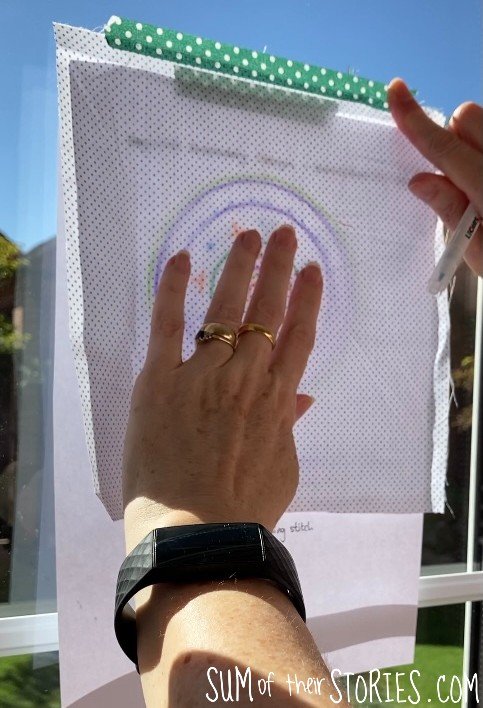
Tape your fabric over the top, positioning it so the design is where you want it.
Trace the design using your erasable pen.
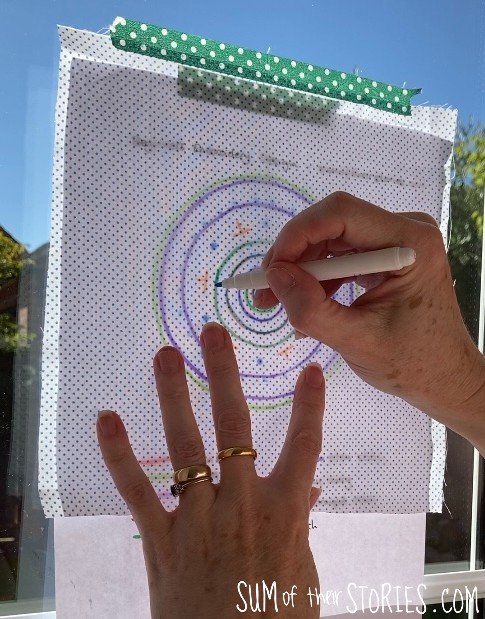
Simple!
Your design is now ready to pop into an embroidery hoop for stitching.

I know some people use a lightbox for this, but if you don’t have a lightbox already you really don’t need to rush out and buy one, a window does the job just fine.

This works with thin and medium weight fabric. You can see here I’ve held up some thick jean weight denim and some medium weight chambray. If I were tracing a design onto something like this chambray I would print the design out in black to get the best contrast, just to make the tracing a bit easier. For the thick denim it doesn’t work at all, denim you’d need to use something like a dressmakers carbon paper.
Here I am prepping fabric to re do the photos on my tutorial to do what I think are the best simple embroidery stitches for beginners. It’s a simple design with 9 really easy embroidery stitches, the ones I think are not only simple to learn but great for creating all sorts of embroideries.

When I first design the embroidery the water erasable pen I had at the time smudged terribly and ran into the fabric so the tutorial photos are a little messy. I’m re-stitching the design and taking new photos which are much neater and hopefully easier to see.
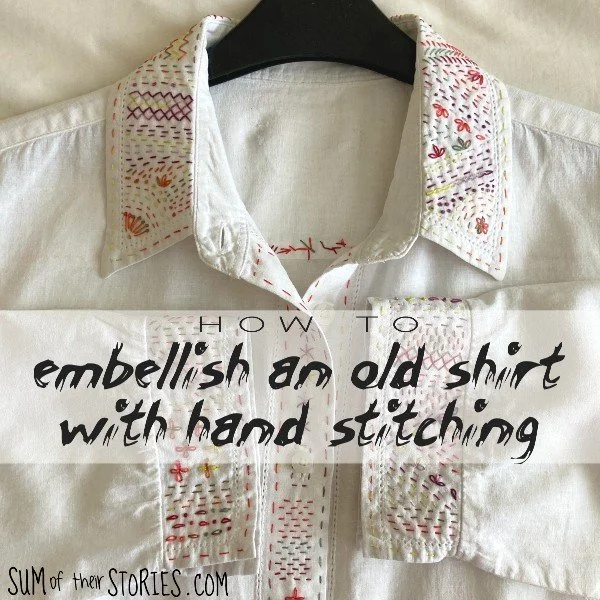
You can use this method for garments too, say you want to embroider onto a shirt. You might need to hold the shirt up on a hanger somehow to take the weight and then tape where you can. It will be more fiddly than a simple piece of cloth but very doable. You might even want to try taping the design to the window upside down and holding the garment upside down too if that is easier - it will depend where you are embroidering on your garment of course.
So there you have it, a simple and very inexpensive way to transfer an embroidery design to fabric.
Julie
You might like to check out these other embroidery projects too: