

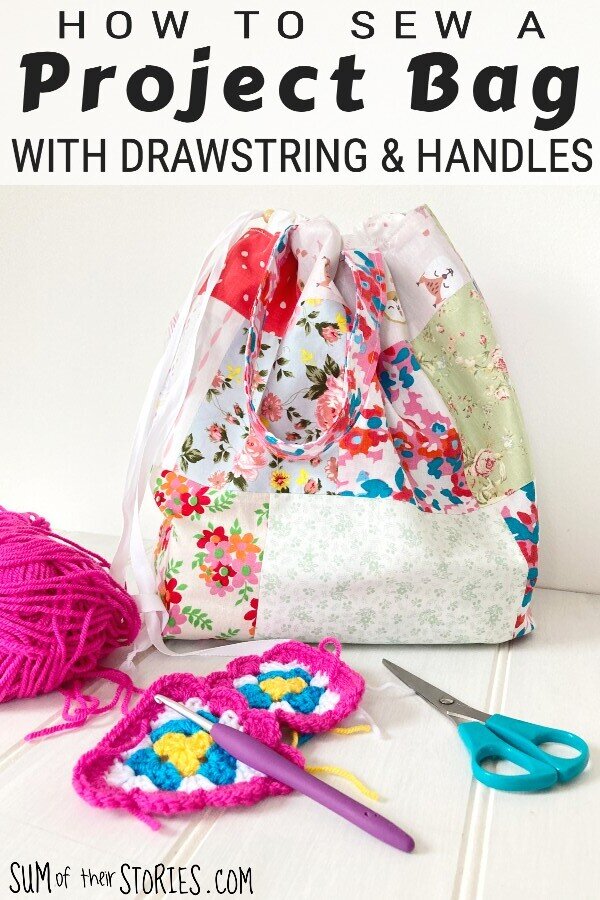
Sew a Project Bag with Drawstring and Handles
/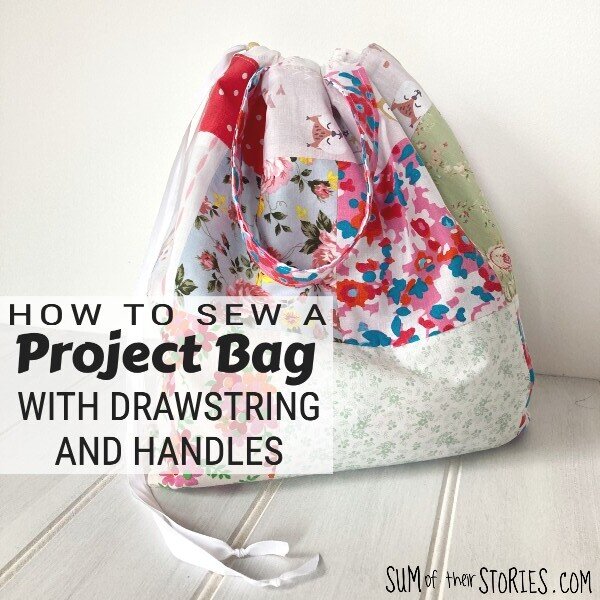
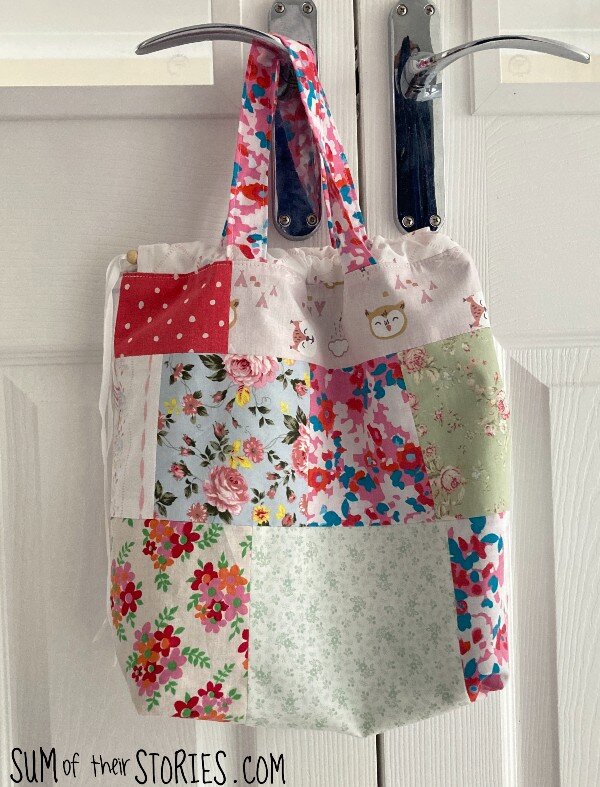
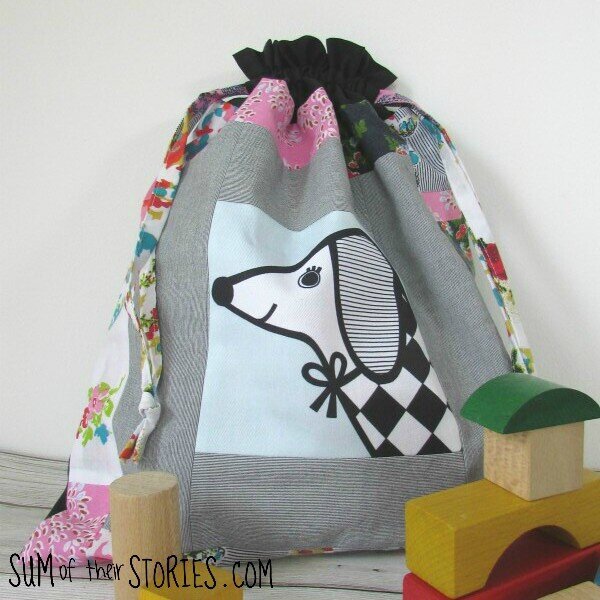
I’ve got a sewing tutorial for you today to make a useful bag that has both a drawstring AND handles. It’s a practical tote bag that keeps everything contained. I use this kind of bag mostly as a craft project bag, made this size it’s roomy enough for a knitting or crochet project, or an embroidery with quite a large hoop. You could use it for EPP patchwork or anything else you like really!
It would also be great for toys, anything you want to corral in one place.
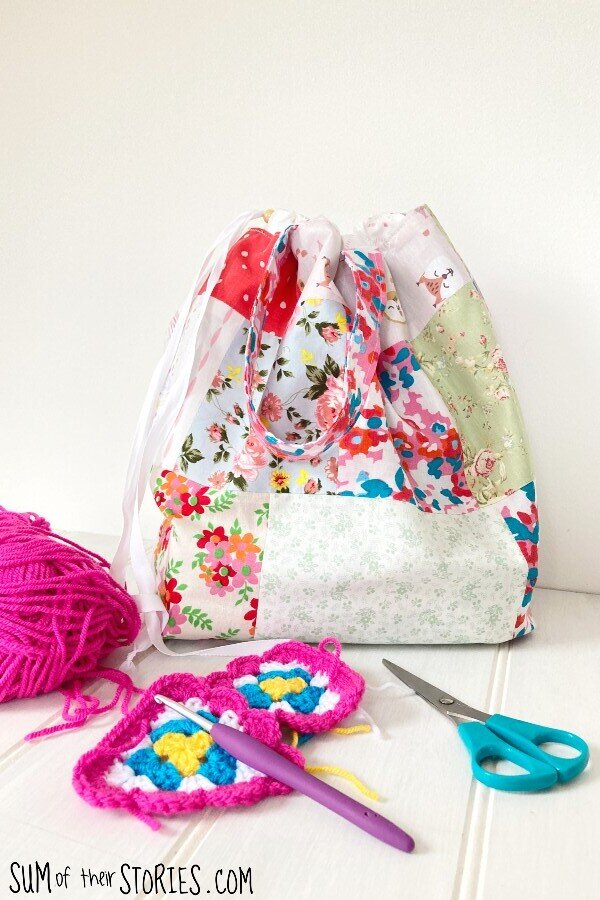
I’ve made my bag with a random patchwork, which made it a great scrap busting project but you can make it with whatever fabric you have. You can make this bag in a wide variety of fabric weights, It would be a good use of an old curtain, bed linen or table cloth. Even a tea towel or two maybe. The only restriction would be not to use all thick fabrics, at one point you are sewing through 6 layers of fabric (when you sew around the top as you go over the handles) If you chose something like a denim for the outside of the bag you just need to be sure to use something thinner like a cotton for the lining and drawstring channels. Unless you have a super robust industrial machine of course.
The finished size of the bag is 35cm (13 3/4”) x 35cm (13 3/4”) excluding the drawstring channel.
It would be easy to size this bag up or down to suit your requirements though, the shapes are very simple.
Let’s get started!
How to make a project bag with drawstring and handles
To make a Project Bag with drawstring and handle you will need:
2 pieces of outer fabric 38cm x 38cm (15” x 15”)
2 pieces of lining fabric 38cm x 38cm (15” x 15”)
2 handle pieces 7.5cm x 38cm (3” x 15” )
2 drawstring channel pieces 7.5cm x 37cm (3” x 14 1/2”)
110cm (43”) length of ribbon
A bead (optional) with a hole big enough for the ribbon to go through
I’d suggest using a 5/8 or 1.5cm seam allowance throughout, but as long as you are consistent throughout the project you could go a little narrower with your seam allowance if you prefer.
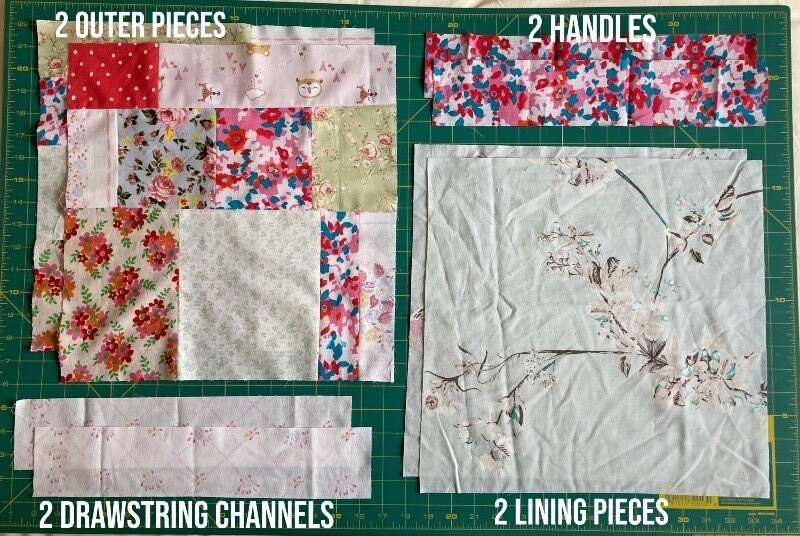
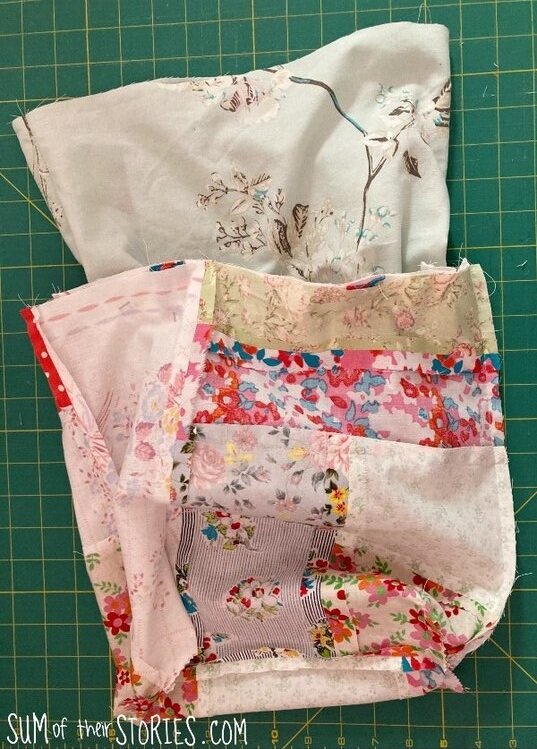
If you are making a patchwork bag from scraps like mine then join your pieces randomly, pressing as you go until you’ve made two pieces of fabric 38cm x 38cm (15” x 15”)
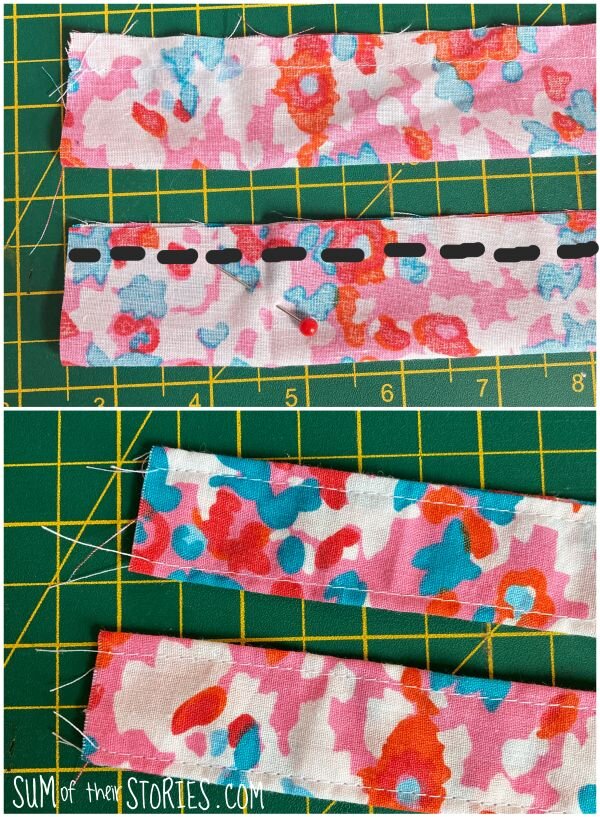
First make the handles. Fold the handle pieces in half, right sides together and sew the long sides. Turn out using a safety pin and then top stitch down each long side.
Next prep the drawstring channels. Turn a narrow double hem to the wrong side on each short end and stitch.

Take the 2 lining pieces and lay them right sides together. Stitch around 3 sides, leaving a 3 - 4 “ gap in the middle of the bottom edge.

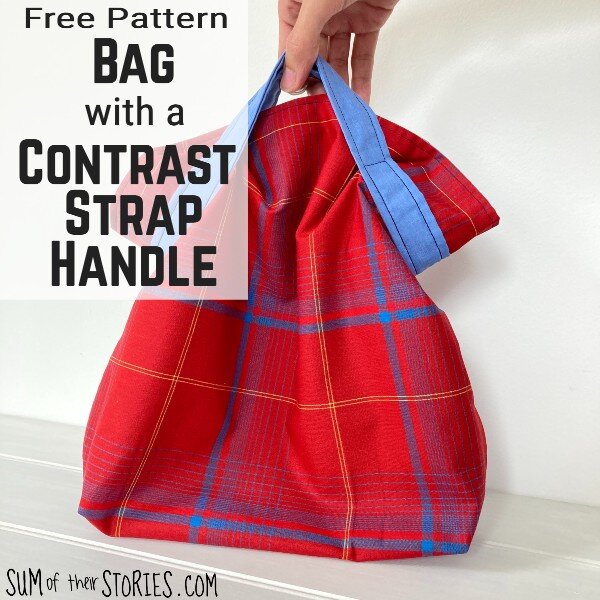
Box the corners by flattening the corner so the side and bottom seam line up. Measure 2” from the corner and stitch straight across. I’ve not taken a lot of photos of how to box a corner this time but the tutorial I wrote for the bag with a contrast handle shows it clearly. Press all the seams open and then turn the bag lining right side out.
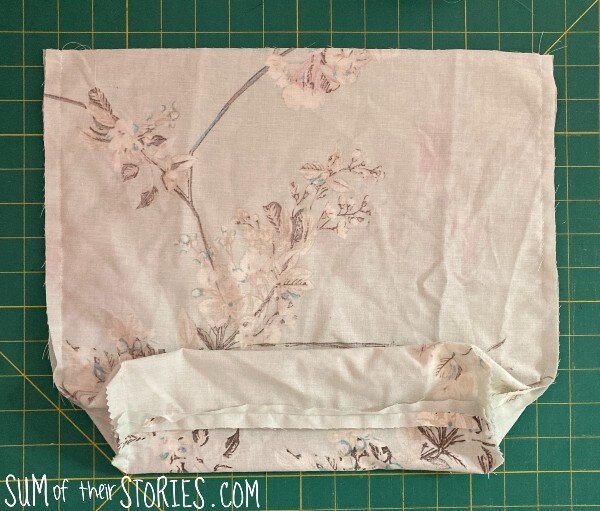
I find it easier to position the handles and drawstring channel on the outside bag pieces at this point, before they are joined.
Lay one outer bag piece out flat, right side up and place one bag handle on the top edge 4” from the side. Use 2 pins to secure each handle to help keep it in place and prevent it from slipping. Make sure the handle lies correctly and is not twisted and have it protrude slightly from the top edge of the fabric.

Fold the drawstring channel in half, wrong sides together with the hems inside and lay this on top of the handles. Position it so the raw edges align with the raw top edge of the bag and there is an even gap at each side. It’ll be about a 1” gap on each side. Pin all the way along.
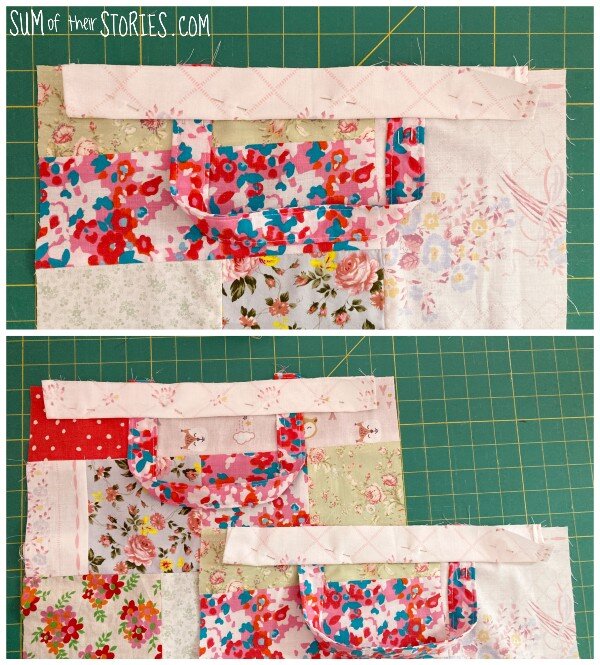
Repeat on the other bag outer piece.
Place these 2 outer pieces right sides together and stitch around 3 sides, leaving the top edge open.
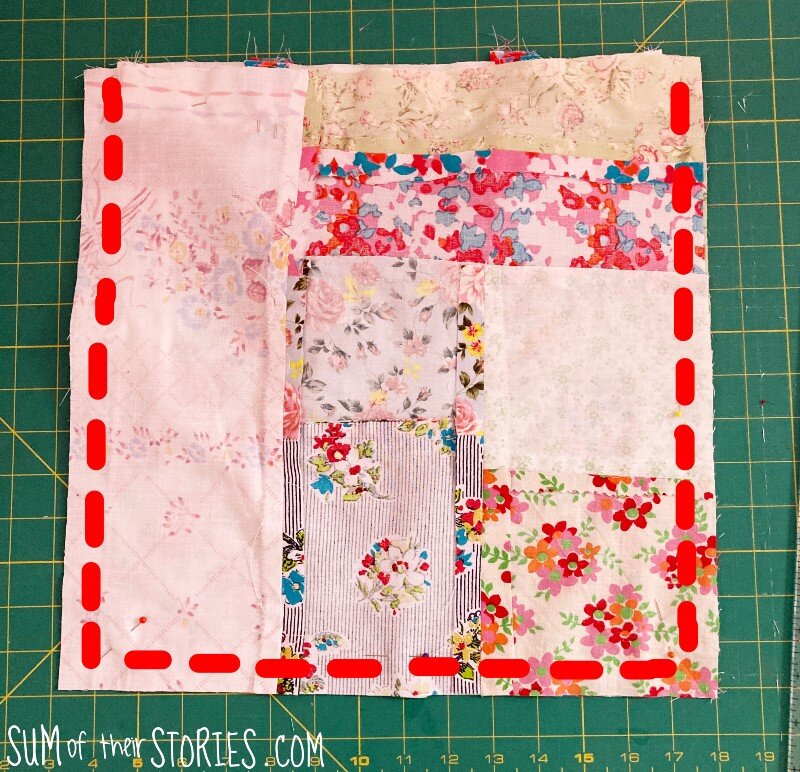
Box the outer bag corners in exactly the same way as you did for the lining.
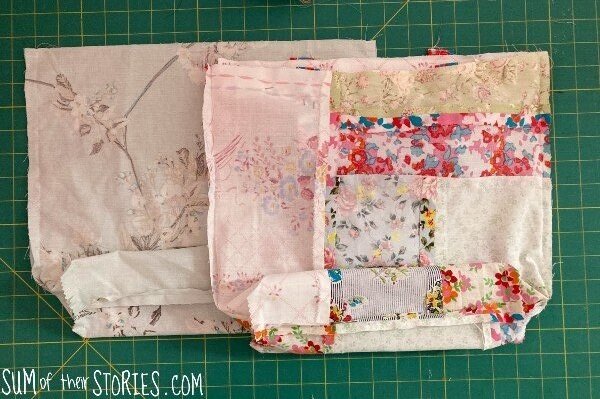
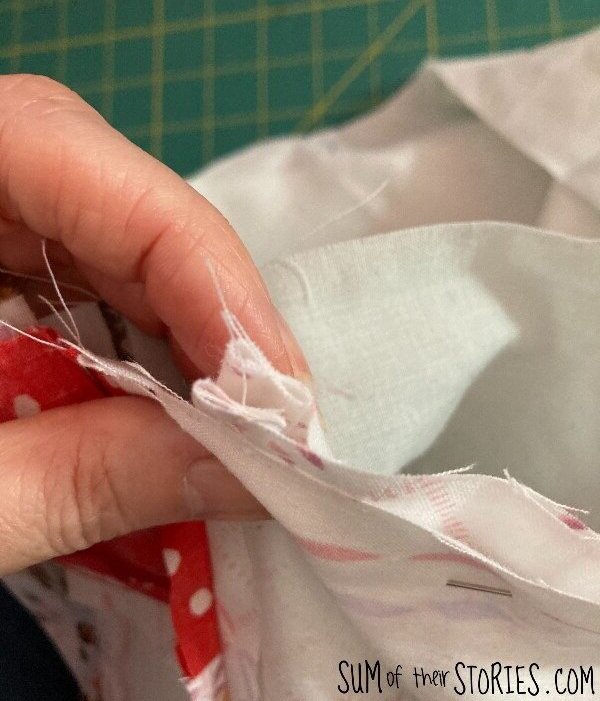
If you haven’t already done so, turn the lining right side out and place it inside the outer bag, lining up the side seams.
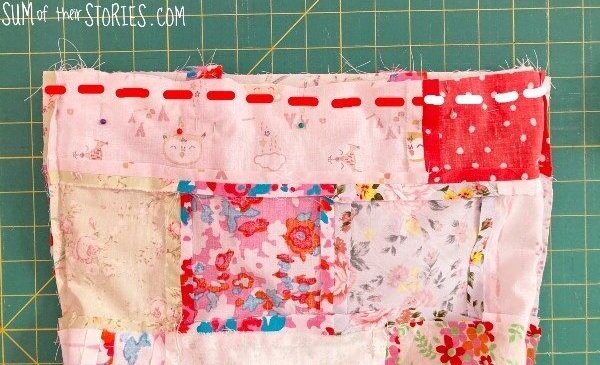
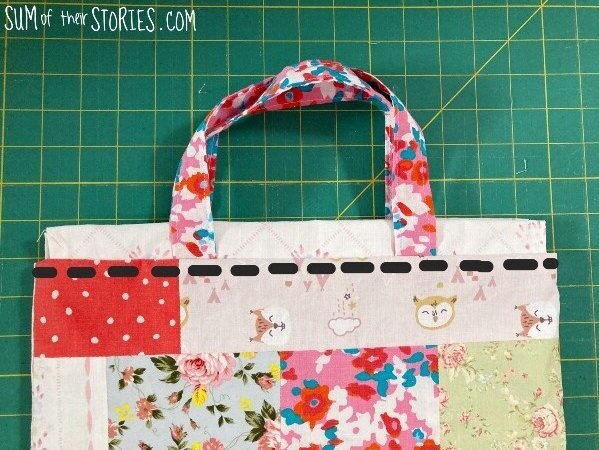
Pin all around the top, lining up the raw edges. Pay special attention to the handles and drawstring channel, make sure it’s not folded down at all anywhere along its length. If you prefer you can stitch the top edge of the bag outer using a narrow seam allowance to hold everything in place before you pop the lining inside. It’s personal preference, I find it ok to just pin a lot and check all the layers are not caught up or folded in but you might find it easier to stitch or tack it separately first.
Once you are happy, stitch all around the top edge of the bag in a circle, joining the outer bag to the lining. This is the point where you will have a lot of layers in places. When you go over the handles you’ll have a total of 6 layers of fabric so take your time. Maybe use a walking foot on your sewing machine if you have one or if you’ve used thicker fabrics.
Find the gap in the bag lining and turn the whole thing through this gap. BE CAREFUL as you will have a lot of pins in there that were holding the handles and drawstring channel in place! Remove all the pins and stitch the gap closed.
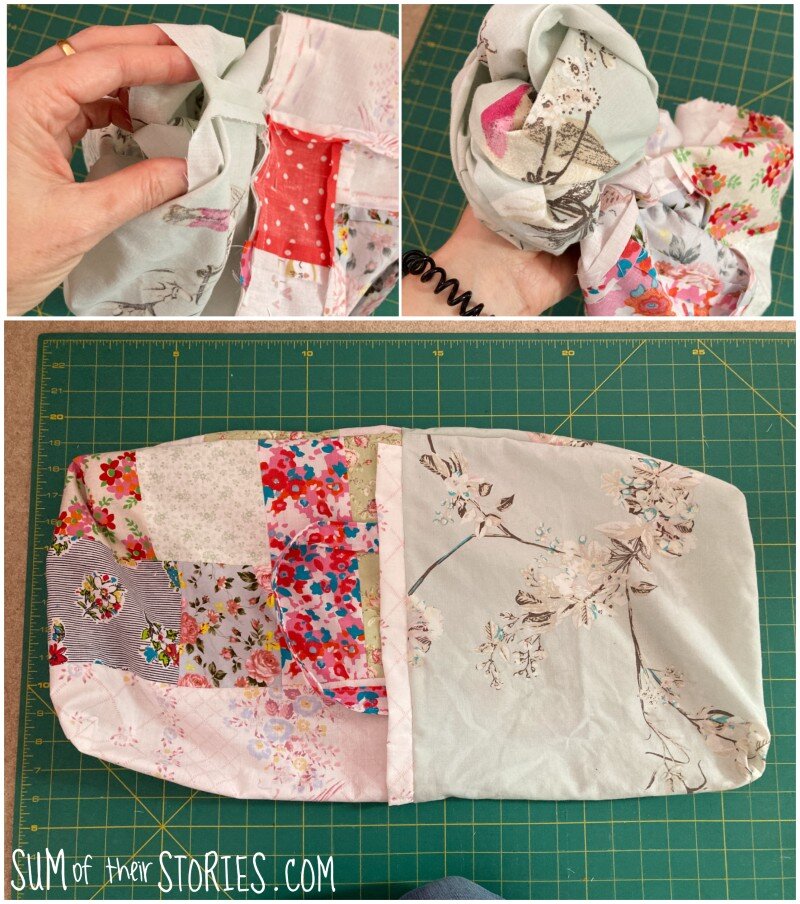
Push the lining into the bag and press well.
Topstitch around the top of the bag just underneath the drawstring channel. If you had the handles protruding just a little then you will be catching them again in this top stitching which will make them more secure.
To finish the bag, thread the ribbon through the drawstring channels, thread both ends through a bead if you are using one, tie the ribbon ends in knots and your project bag is complete.


Make this bag any size you like, it’s really easy to make it a little bigger or smaller, just start with a square of fabric that is bigger or smaller. Make them plain or patchwork, in whatever pattern or design you like. This one was with strips of fabric rather than the random scrappy patchwork of the other one.

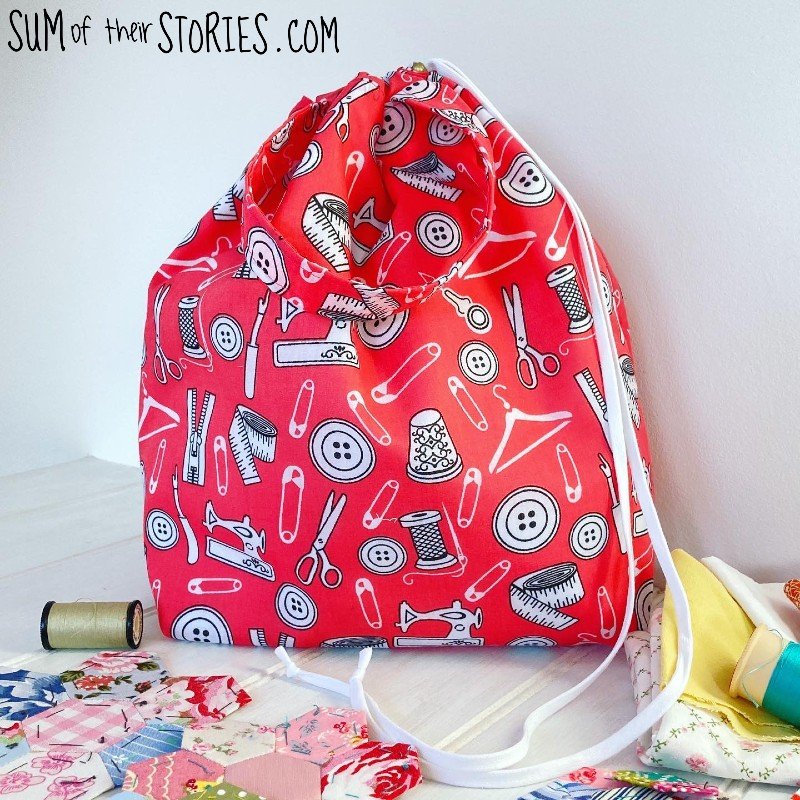
I made a few of these project bags using this cute sewing themed poly cotton from Minerva too. You can find that fabric here - (affiliate link) Sewing Themed Poly Cotton
I have a few of these bags available for sale in my Etsy shop if you don’t want to make your own.
Do let me know if you make one, maybe tag me on social media if you share a photo. I love to see any makes using my tutorials.
If you like making bags like this you might also be interested in these other sewing tutorials:


Julie


