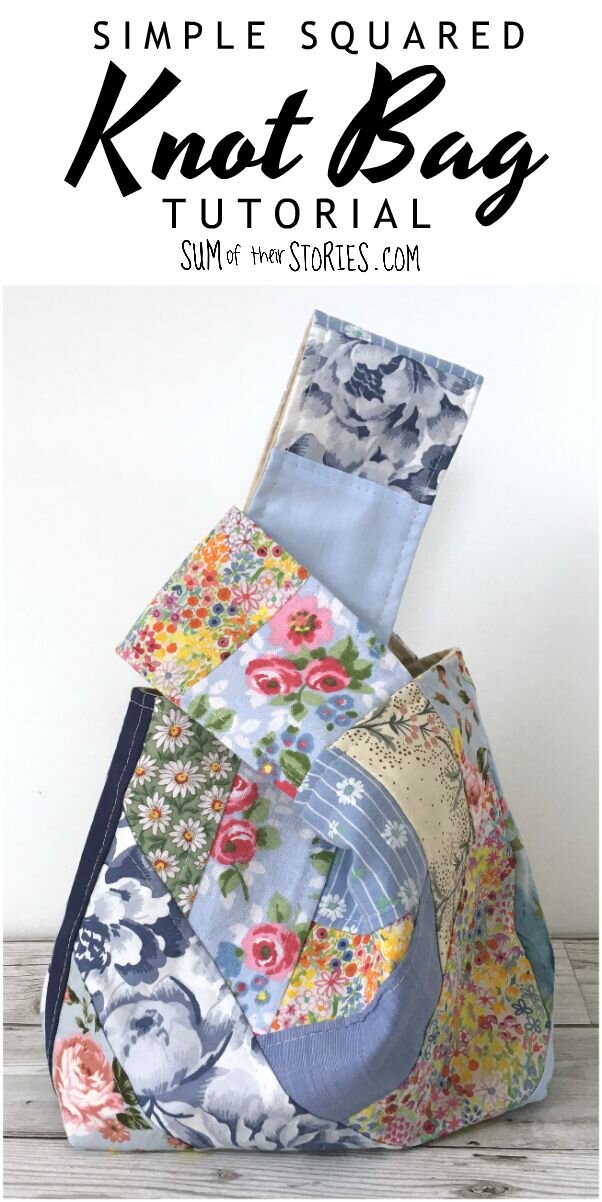
Simple Squared Knot Bag Tutorial
/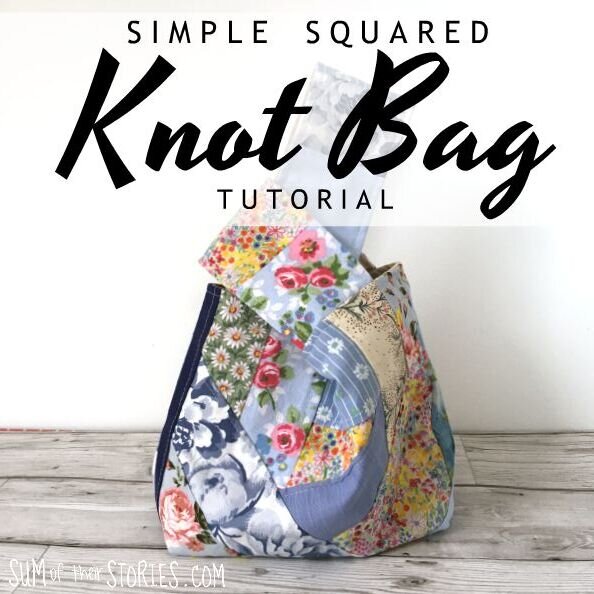
I love the look of a Japanese knot bag, but whenever I’ve tried to make them I’ve always found the sharp curves at the sides difficult to get smooth and neat and my top stitching has left quite a lot to be desired.
I’ve come up with a very quick and easy way to make a bag inspired by a proper Japanese knot bag but that is much easier to make. There is one everso slightly fiddly bit but even that is nowhere near as fiddly as a proper knot bag.
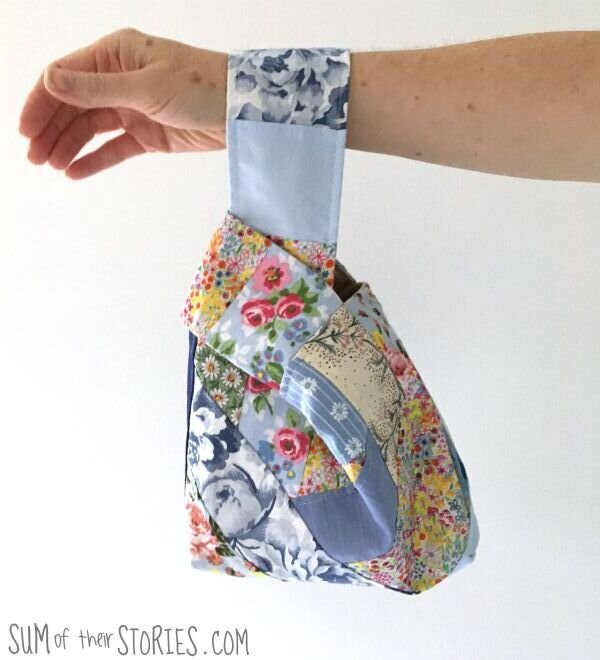
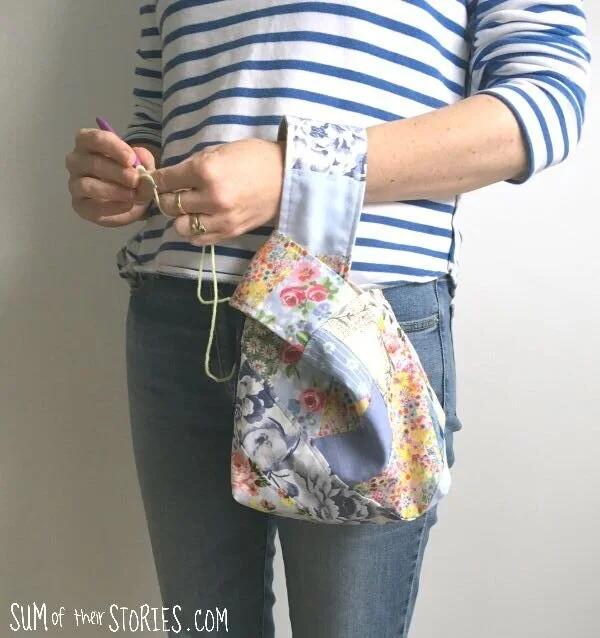
The bag here is 27 cm x 22 cm (11” x 8.5”) and is a great size to be used as a small handbag. It is also perfect as a project bag , you can fit a small crochet, hand sewing or embroidery project in it and … best thing of all …. you can crochet standing up with a bag like this, how cool is that?!
What to make one? Of course you do! Let’s get started.
Square Japanese Knot inspired bag tutorial
You will need:
2 x pieces of main fabric: 30cm x 24cm (12” x 9.5”)
2 x pieces of lining fabric: 30cm x 24cm (12” x 9.5”)
1 x long handle main fabric: 9cm x 36cm (3.5” x 14”)
1 x long handle lining fabric: 9cm x 36cm (3.5” x 14”)
1 x short handle main fabric: 9cm x 24cm (3.5” x 9.5”)
1 x short handle lining fabric: 9cm x 24cm (3.5” x 9.5”)
Use a 5/8” or 1.5cm seam allowance throughout and remember to start and finish each line of sewing with a few back stitches to make everything secure.
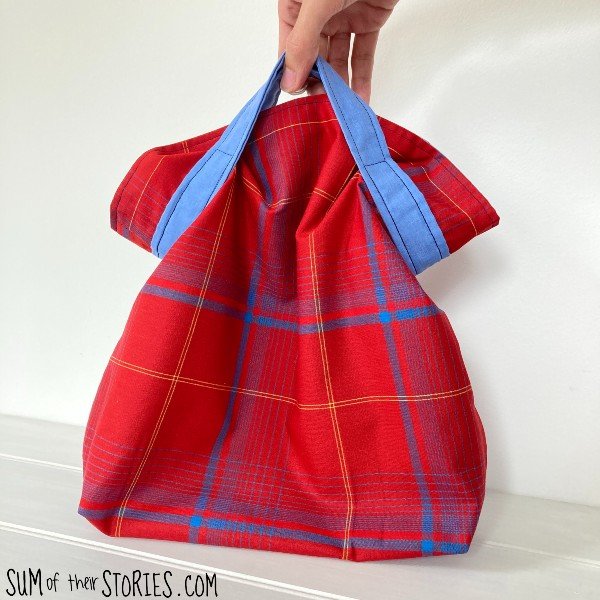
A word of warning. The photos in this tutorial are a mix of 2 separate occasions that I’ve made a square knot bag. Your eyes do not deceive you, the fabrics are different! I simply didn’t get enough photos to show all the steps and had to make another!
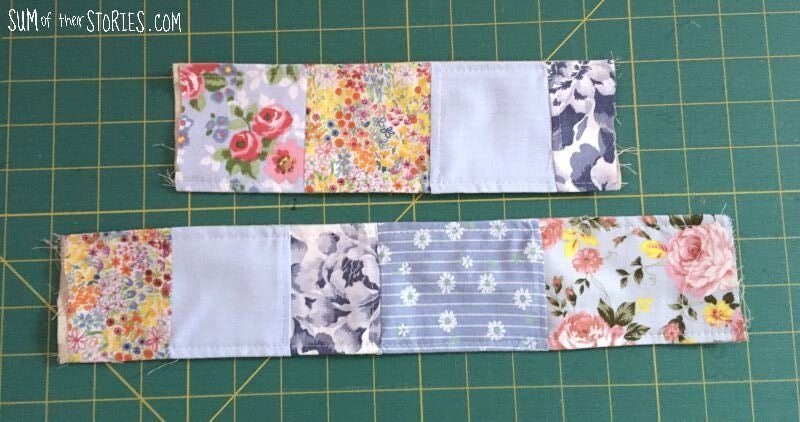
I love to make these bags plain or patchwork. For the patchwork version I used a simple version of the ‘quilt as you go’ method which is perfect for using scraps. You use a piece of light weight fabric and cover it with small scraps of fabric and then trim it to size once it’s covered. My favourite place to see how to do the technique is Sotak Handmade, Svetlana shares videos of the process every now and again on her Instagram.

Start by making the handles
Place the 2 long handle pieces right sides together and stitch along both long sides. Repeat for the short handle pieces.

Turn them right side out, flatten, press and then top stitch the long sides.
Now make the body of the bag
Place the 2 main fabric pieces right sides together and sew around 3 sides, leaving the top edge open.
Repeat with the lining pieces but leave a gap in the middle of the bottom edge, about 3 inches (8cm) for turning the bag out later.

Now we are going to box the corners. Not as painful as it sounds!
Put your hand inside the main fabric bag and flatten it so that the side seam lines up with the bottom seam and the corner points right up. Measure 2 inches (5cm) along the seam from the corner and mark with a pin. Then sew straight across from folded edge to folded edge (don’t forget to do those back stitches at each end to make the seam secure) and then trim off the excess triangle.

Repeat this on the other corner of the main fabric and also both corners of the lining.
Now it’s time to assemble the bag
Stand the main fabric/outer bag up in front of you, with the right side facing in.
Fold the handles in half right sides out and position them 3cm (1.25”) from the edge. Pin them in place, use the photos below to guide you. The handles are positioned with one end on the front and one end on the back of the bag rather than side by side as you might place them for a normal tote bag.
Marg messaged me on Pinterest to suggest stitching the handles in place at this stage as she found her’s slipped. This is such a good idea, often a little more time spent in preparation avoids a load of unpicking and restitching in the future. If you want to secure the handles in place with a line of stitching use a narrow seam allowance so that stitching doesn’t show later. You could tack them by hand if that’s your thing, or if you are a short cut queen then do at least be sure to use plenty of pins.

Take the lining and turn it right side out. Drop it into the bag. This is a little bit awkward as the short handle is a little bit in the way, but there is room.

Line up the top edge all the way round, matching up the side seams. Pin and then stitch all the way round.

Turn the bag out through the gap in the lining. Then sew the gap shut, you can do that by hand or just wizz across on the machine.
Push the lining down into the bag and then press with the iron. Top stitch the top edge to keep everything neat and tidy, this will make your handles more secure too.
That’s it your knot bag is finished.


And look, if you use it as a crochet project bag you can crochet standing up! How cool is that?! (I do realise that I might be the only person excited by this idea)
The version below of the simplified knot bag is made from an old curtain, this thickness of upholstery fabric is ideal. This is the other bag that pops up in my photos in the tutorial now and again.

If you’ve not done much sewing before but really fancy giving it a try then you might find this information about what you need to get started handy. This bag would be quite a good project for a beginner, not a first project but something a beginner could make after just a couple of simple sews.

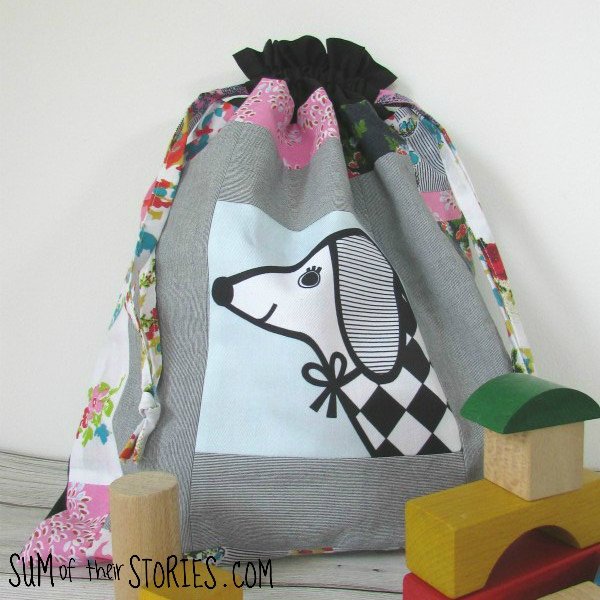
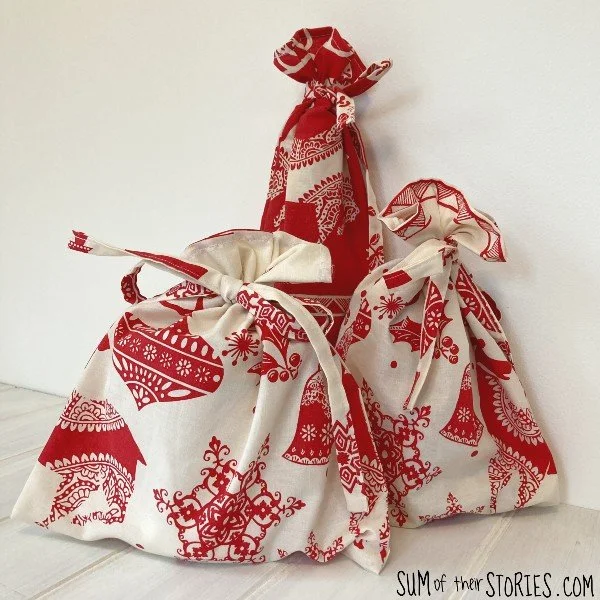
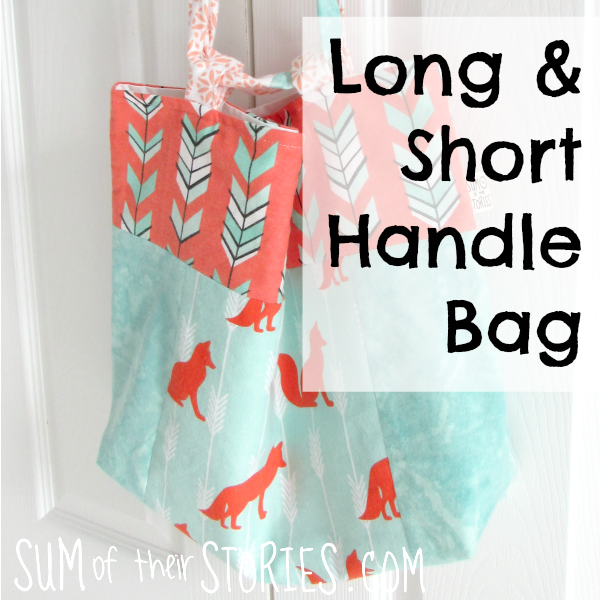
If you like making bags then do take a look at these other tutorials too, none of them are difficult to sew and some might be a good practice run before this knot bag if you are a complete beginner.
These bags are super quick and easy to make but if you don’t want to make your own I do sometimes have a few listed in my Etsy shop.
Enjoy your bag making and please do tag me on instagram or facebook if you make one and share a photo. I always love to see when someone makes something lovely using one of my tutorials. It makes my heart sing, it really does!
Julie
I’ll be sharing this idea at these link ups