

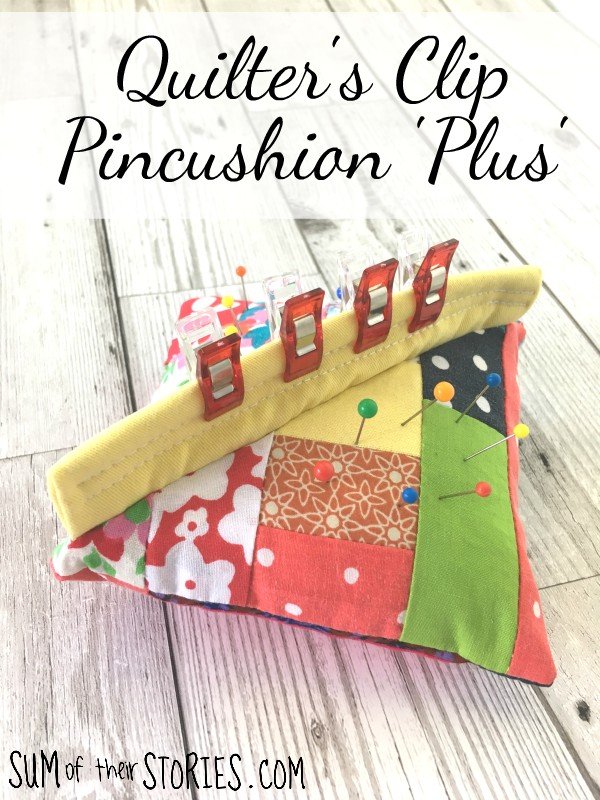
Quilter's Clip Pincushion 'Plus'
/

It’s that lovely time of the month again - Pinterest Challenge time! YAY! I love this challenge! I join a group of amazing bloggers and we all grab a pin from one of our Pinterest boards and actually try it out. This is so good for me, I’m obviously always going to pin WAY more things than I ever have time to do but at least this way I do actually do some of them! The Pinterest Challenge is hosted by My Pinterventures.
This month I’ve taken an idea from a very creative Italian blog friend of mine, Licia from Hobby e Creativita. Licia shared a simple but clever pincushion idea a few months ago, a ‘pincushion plus’ that has an extra bit for quilting clips.

I made a few tweaks to Licia’s original idea, but stuck to her basic tutorial.
The main differences I made were: to make my pincushion a little larger, to make it from a scrappy patchwork to use up a load of my teeny tiny fabric scraps and some stitching on the quilt clip strip.
If you’d like a pincushion for your pins AND your quilting clips I’d recommend having a read through Licia’s tutorial, check out my tweaks and then make the pincushion you want, the size you want! I’ll just run through what I did very quickly, Licia has written a very clear tutorial here if you want more details.
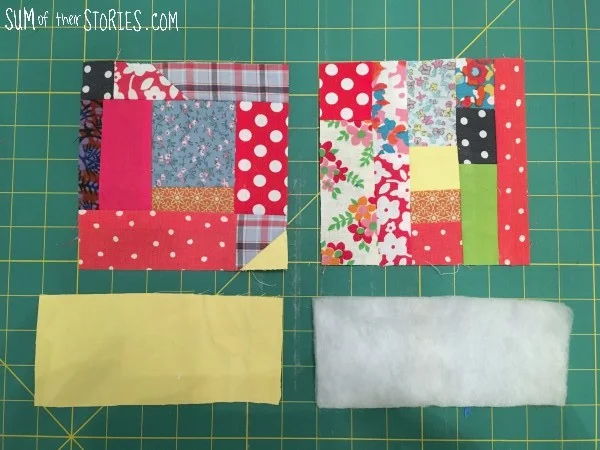
I started by making 2 squares of scrappy patchwork. Just sew little scraps together in whatever way they will fit and then trim the fabric you’ve made to size.
I made mine 15cm (6”) square.
The extra strip for the quilt clips was 17.75cm (7”) x 7.5cm (3”)
First I made the strip for the clips, as per the tutorial instructions.
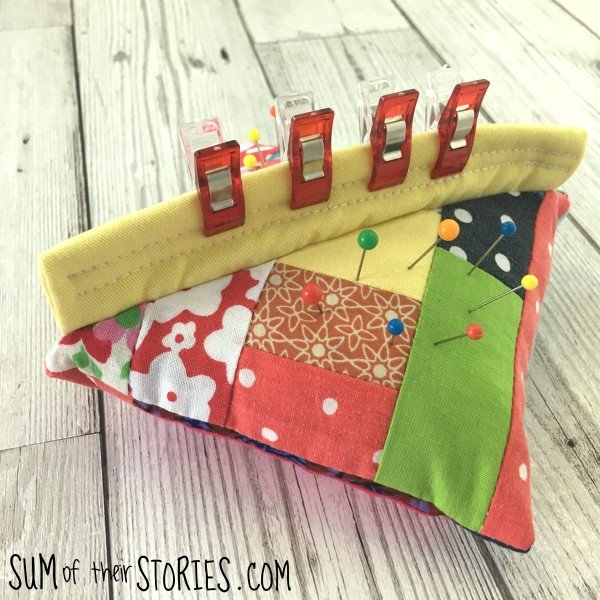
I added 2 horizontal rows of stitching at the end of my pincushion make, on reflection it would be easier to add them at this point.


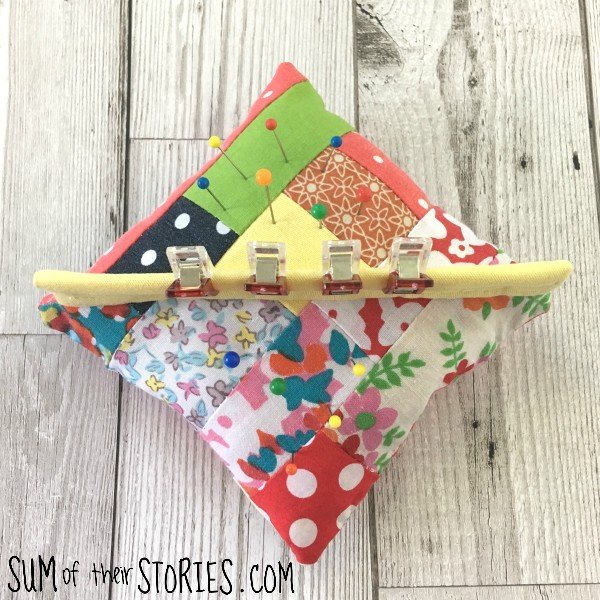
I sliced one of my patchwork squares in half diagonally and then joined the halves back together with the clip strip sandwiched in the middle.

Then all you need to do is lay this new top piece on the bottom piece right sides together and stitch round leaving a small gap for turning. The top piece will now be everso slightly smaller than the bottom, I just placed mine centrally so the seam allowance was a little bigger on the bottom than the top.
Turn it out, stuff with fibre fill or the pincushion filling of your choice and slip stitch the gap close.
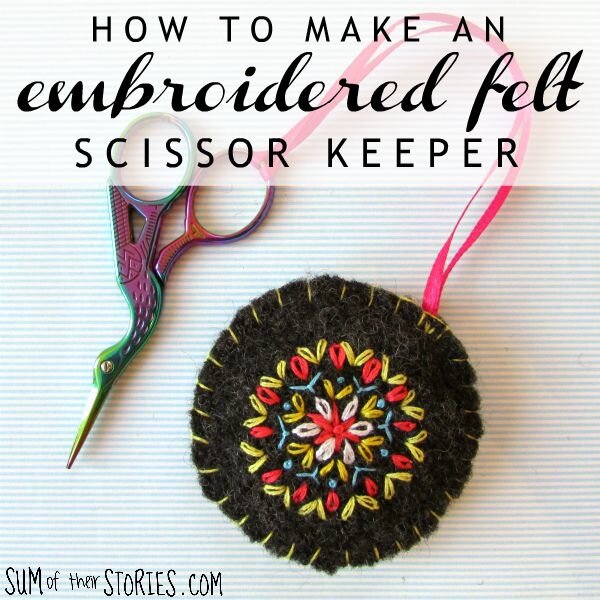
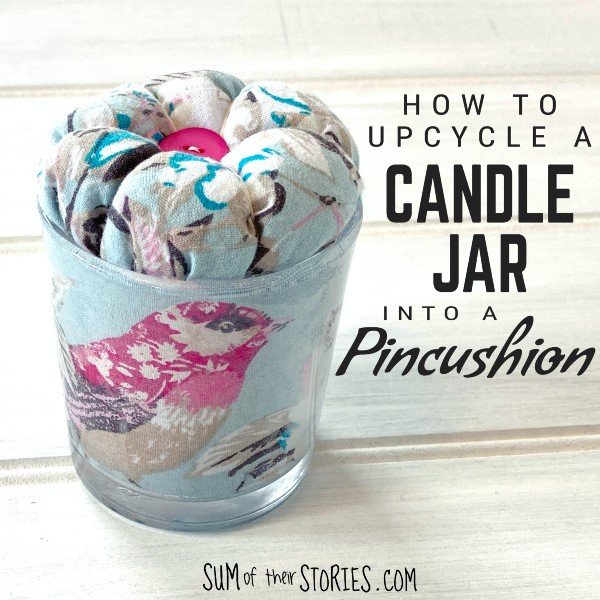
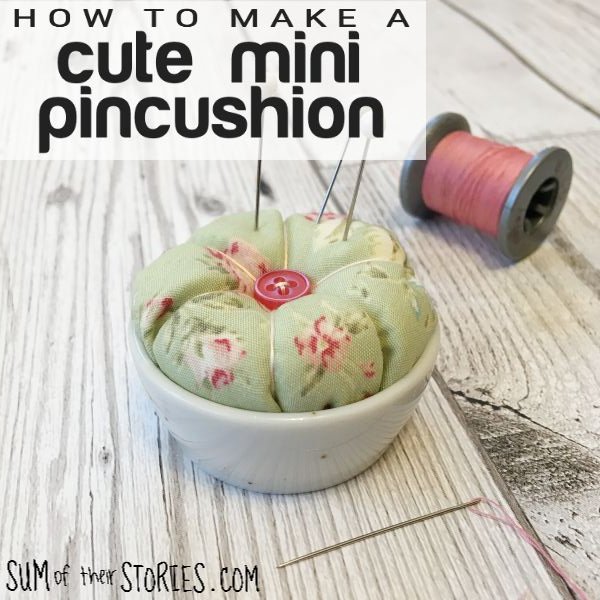
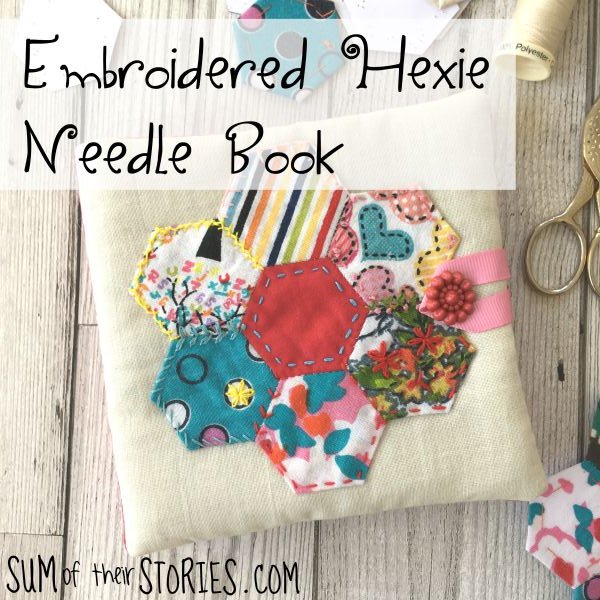
I don’t think it’s possible to have too many pincushions if you are a sewer, I have them all over the place! Here are a few of the other pincushions and sewing accessories I’ve also shared over the years. They make great gifts for your friends who sew too.


I’ll be sharing this idea at some of these link ups

Erlene - My Pinterventures • Alexandra - Eye Love Knots Joanne - Our Unschooling Journey • Laurie - My Husband Has Too Many Hobbies Jenny - Cookies Coffee and Crafts • Kristie - Teadoodles Beverly - Across the Boulevard • Sam - Raggedy Bits Debra - Shoppe No. 5 • Gail - Purple Hues and Me Chelsea - Making Manzanita • Susan - Suzer Space Julie - Sum of their Stories • T'onna - Sew Crafty Crochet Michelle - Our Crafty Mom • Lisa - Blogghetti Marie - The Inspiration Vault • Kelley - Simply Inspired Meals Debbee - Debbee's Buzz • Shirley - Intelligent Domestications Roseann - This Autoimmune Life • Terri - Our Good Life Lydia - Lydia's Flexitarian Kitchen • Emily - Domestic Deadline • Lynne - My Family Thyme Toni - Girl, Just DIY! • Lauren - Mom Home Guide


