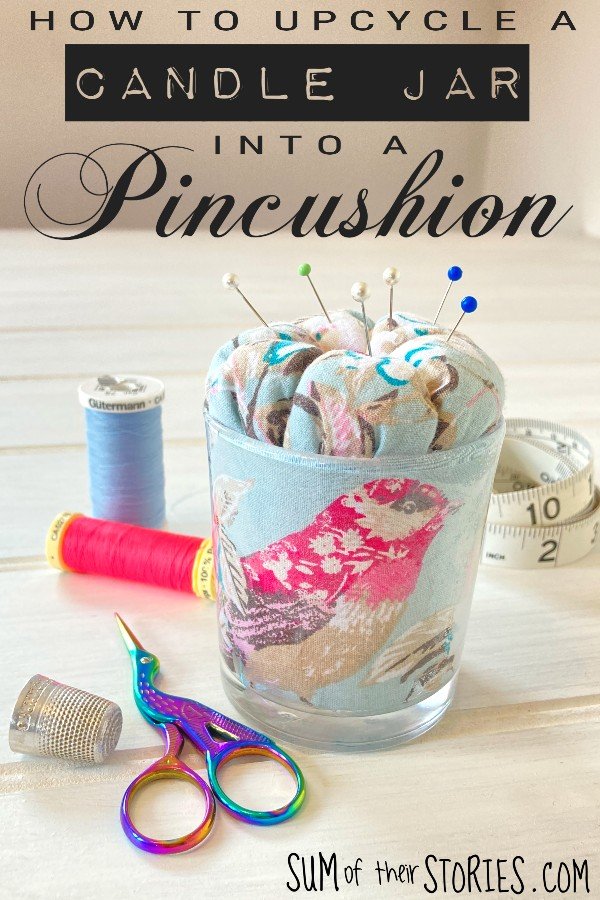
How to Upcycle a Candle Jar into a Cute Pincushion
/

Today I’m in right in my comfort zone bringing you an upcycling project for the Upcycle Challenge Blog Hop. I love finding new uses for old things, anything to give a second or even third life to an object and save it from being thrown away.

I’m going to show you how to make a sweet pincushion from an old glass candle jar and a small piece of fabric. My pincushion is a double upcycle as I used an old pillow case for my fabric, but you can use any medium to lightweight fabric you happen to have.
I have a friend who uses a lot of scented candles and she always gives me the empty jars when she has finished with them. Over the years I’ve used them for all sorts of things. Once they’ve been through the dishwasher they make great water or spirit glasses and they are great for storage in the bathroom for reusable makeup remover pads or cotton buds etc. This time though I’ve got a little more creative to upcycle these sturdy glass jars into pincushions.
To make a pincushion like this you will need:
An empty old glass candle jar
Fabric - mine is an old pillowcase
Mod Podge and a brush
Fibre fill - I used the inside of an old pillow
Strong thread (or regular sewing thread doubled up)
A button
A long sewing needle - no need to rush out for something special but a longish needle will just make sewing the button on easier
Hot glue and a glue gun
First you need to clean out the glass candle jar. I usually prise out the metal wick holder with an old teaspoon - it’s usually held in place with a blob of what seems like a strong hot glue. Then use the teaspoon to scrap out any residual wax that you can. From here I’ve got 2 methods I use depending on the state of the jar:
If there is only a tiny bit of wax left I just give the jar a good wash in hot soapy water.
If there is quite a bit of wax remaining I place the jar in a bowl and then half fill the bowl with boiling water. So the water is just on the outside of the jar and the waxy inside bit is dry. Let it stand for a few minutes for the glass to heat and melt the wax, then wipe it out with kitchen roll or a rag. Then the wash in the hot soapy water is enough to remove any remaining wax smears.
I’ve not had a jar yet that this hasn’t worked on but I’ve also heard some people like to put the jar in the freezer to remove any wax so you might like to give that a try too.


Cut a rectangle of fabric the height of the inside of your jar and long enough to go all the way round. This is tricky to be accurate with but luckily it doesn’t have to be exact, an overlap is fine. Maybe cut it a little bigger and then trim a little at a time until you are happy - that’s what I did! I cut mine so the bird was central but of course what you do will depend on your fabric.
Cut a small circle the size of the inside of your jar, this is also tricky to be accurate with, I drew around the outside of the jar and then just cut about a cm inside the line. It doesn’t have to be perfect.

Apply a coat of Mod Podge all over the inside of the jar and apply the fabric so the right side is facing out - showing through the glass. It’s a bit fiddly, but the fabric will slide around a bit as the Mod Podge won’t dry immediately giving you a bit of time to smooth out any air bubbles and wrinkles.
Leave this to dry completely. I left mine overnight as I’d been pretty heavy handed with the Mod Podge!

Next place the jar on to your fabric and mark a circle around about 5cm (2“) bigger all the way round. Cut the circle out. Again, this doesn’t have to be perfect.

Take a long length of your strong thread and sew all around the edge of the circle with a running stitch. I’m using a strong thread just to be extra safe and secure really. You are going to pull on the thread quite a bit and I am always a bit of a better safe than sorry kind of gall! If you don’t have any strong thread you can double up some regular sewing thread instead.
Pull the running stitch up tight and stuff the ball you’ve made with a good amount of fibre fill. You want it quite firm but still with a little squidginess to it. Pull the thread up tight and do a few oversew stitches to secure it.

Now sew straight up through the ball to the centre of the smooth side. This is why you want a longish needle if at all possible - it just makes this much easier! Bring the thread around the side of the ball and back up through the centre of the pulled up side and repeat. Do this 6 times in all, spreading the threads out evenly around the ball.
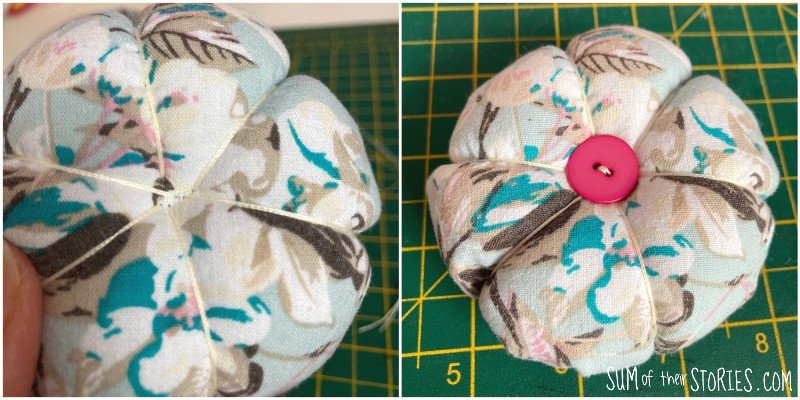
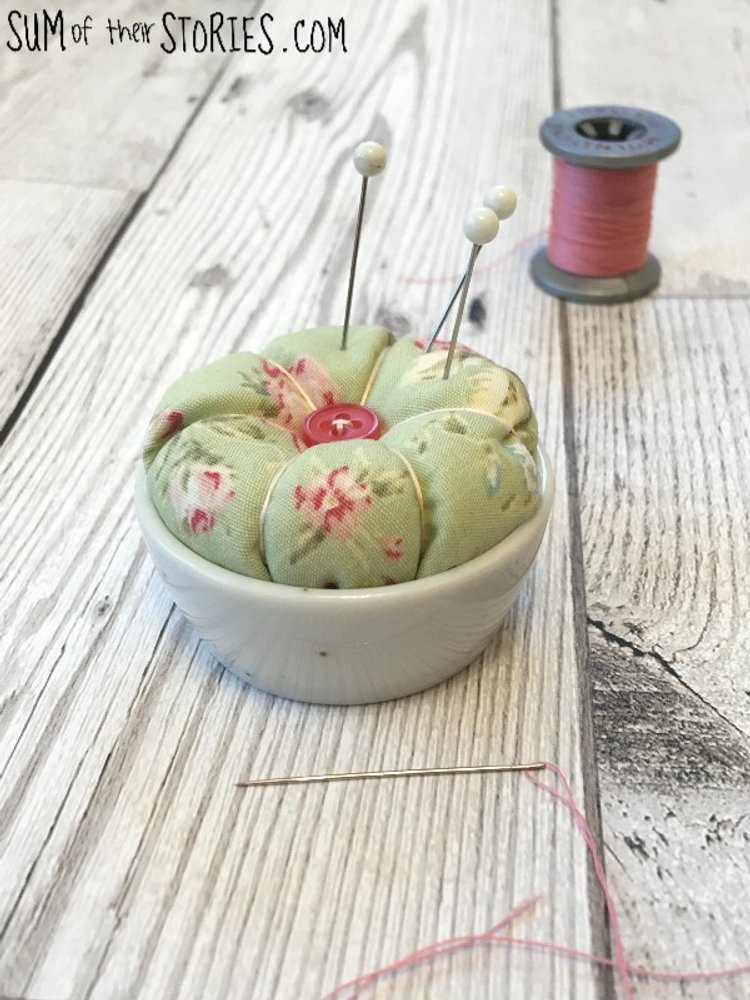
Sew a button to the centre to finish the pincushion top. This is both pretty and functional - it looks cute and it covers any slight unevenness in your stitching in that centre!

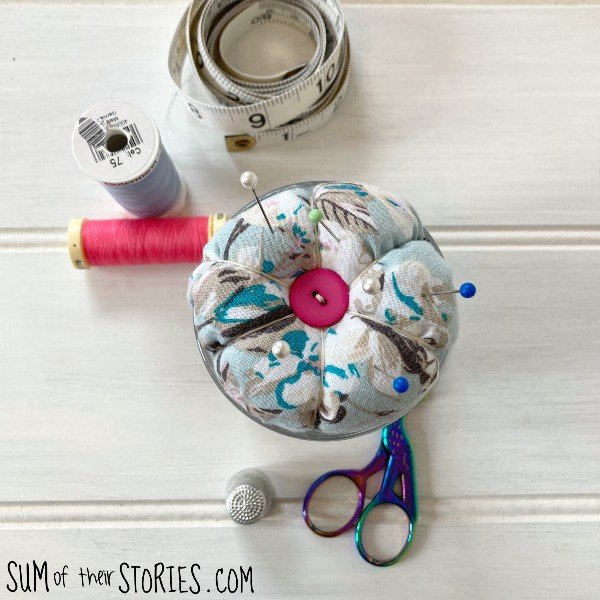
This is what it looks like if you just gently place the pincushion bit you’ve just made on top of the glass jar. It’s a little bigger than the jar. That’s what you are aiming for. We are going to squash it in now to make a nice firm pincushion.

Pop fibre fill in the glass jar, almost to the top and then squish it down with your hand. Keeping the fiberfill squashed as best you can, apply a line of hot glue around the top of the jar on the inside. This is a little bit fiddly but as you can see your hot glue doesn’t need to be a perfect line by any stretch!

Working quickly so the hot glue doesn’t set, push the round pincushion into the jar and hold it for a few seconds until the glue sets.
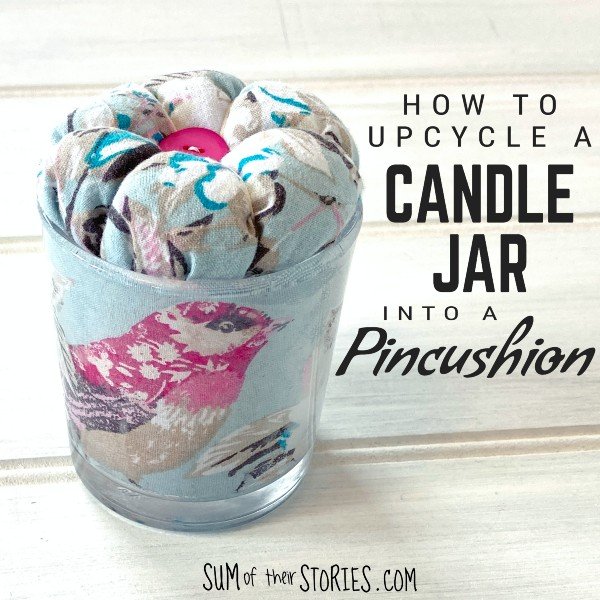
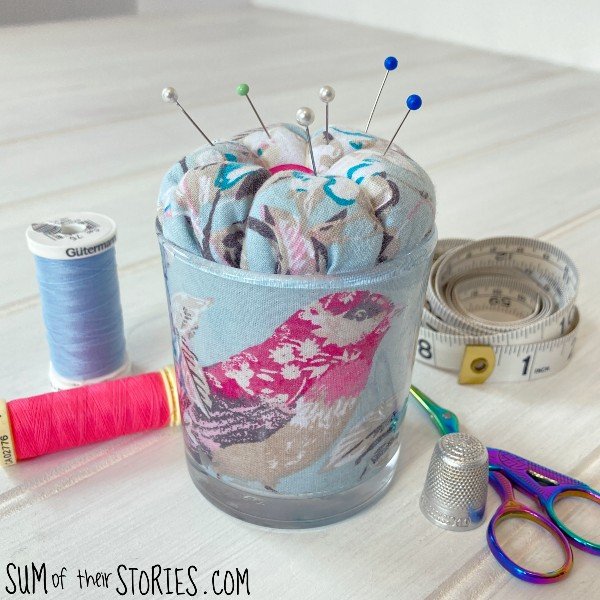
That’s it, your pincushion is finished. Isn’t it pretty? :-D

I’m so happy with my pincushion, the bird print fabric is really pretty which I think helps a lot but I’m getting ready to make more of these with other fabrics soon.
Now let’s take a look at the other Upcycle Challenge Blog Hop Participants and see what they’ve been upcycling.

Beverly | Across the Blvd
Gail | Purple Hues and Me
T’onna | Sew Crafty Crochet
Marci | Stone Cottage Adventures
Vicky | Vicky Myers Creations
Julie | Sum of their Stories
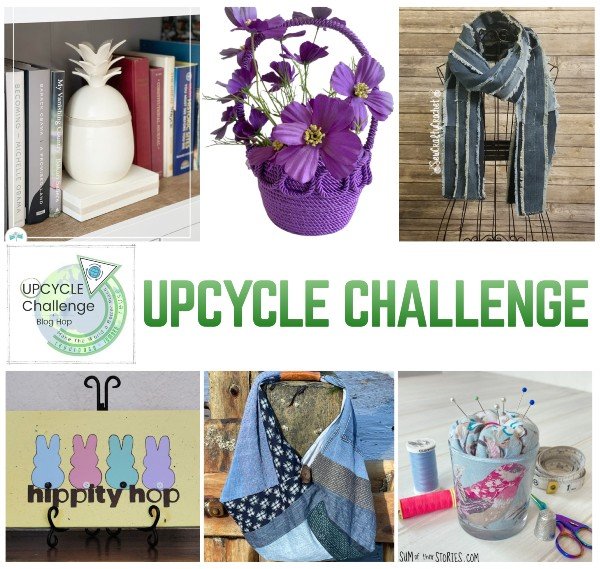
Upcycled Wooden Pineapple into a Bookend
Trash to Treasure Twisted Cord Basket
Candle Jar into a Cute Pincushion (that’s this project here!)
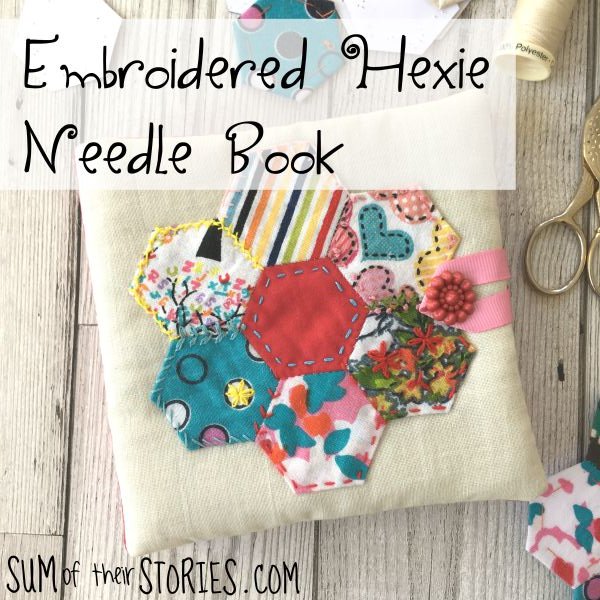
If you like making pincushions and needlebooks you might also like some of these ideas: