

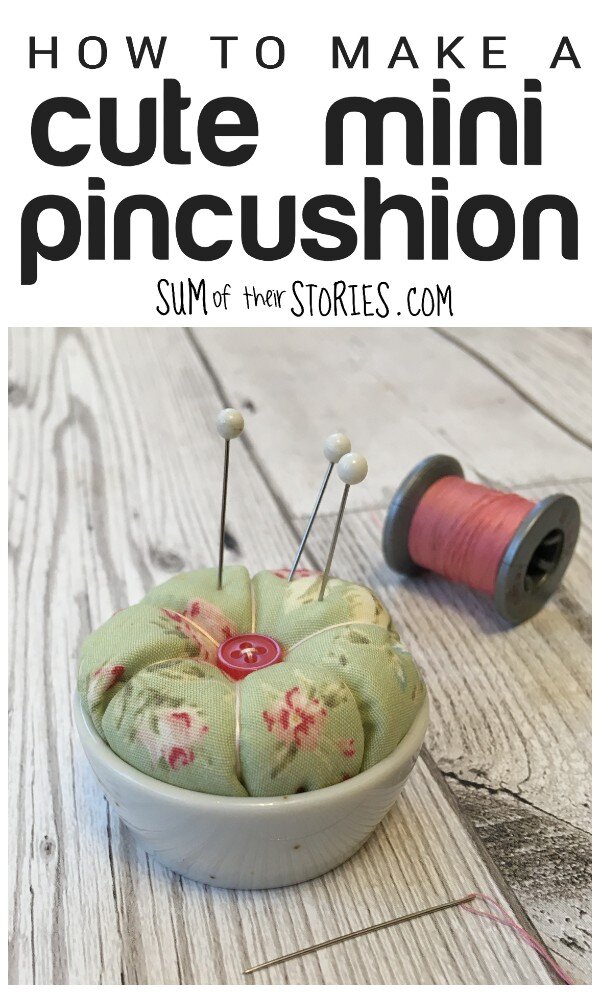
How to make a Cute Mini Pincushion
/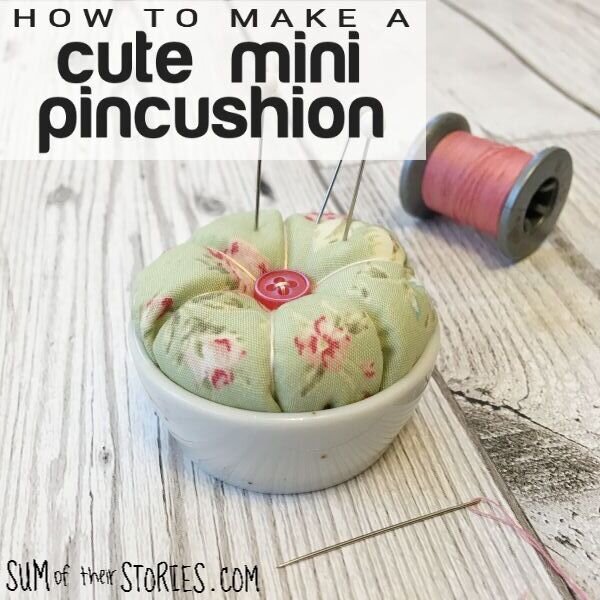

How to make a cute pincushion from an old ceramic dish or container.
I do have a bit of a thing where I keep “stuff” that I think might come in handy one day. I try hard to moderate these slight hoarding tendencies and put a bit of a time limit on how long I keep things for so the house doesn’t just get fuller and fuller. Use it or lose it (after a bit of thinking time of course!) Over the years I’ve collected quite a few little ceramic pots and dishes, many of them have chipped or lost lids, if they ever had lids. I also seem to keep little glass candle holders, thinking I’ll use them for tealight. I do use them but really, there are only so many tea lights a girl needs right? Time to put these little dishes and containers to good use. I decided to make them into mini pincushions, trying a few different methods. This is the final look that I’m most happy with.
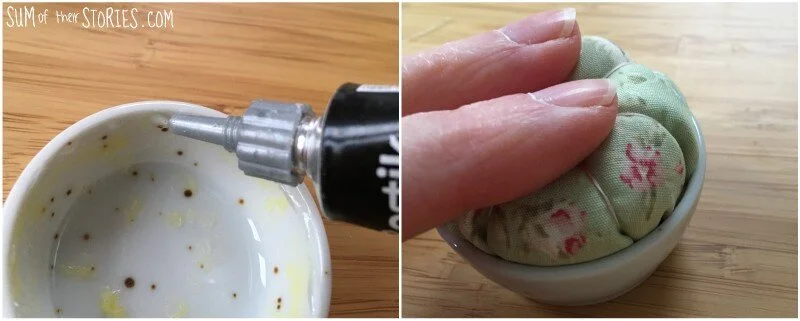
You can see in the photos that the little ceramic pot that I used here has some yellow marks inside. This is glue from my first attempt to make a pincushion with this pot that I wasn’t happy with. I pulled it all apart for a second go but some of the glue remained. That doesn’t matter as it’s all covered again, just to let you know what it is, in case you are wondering!
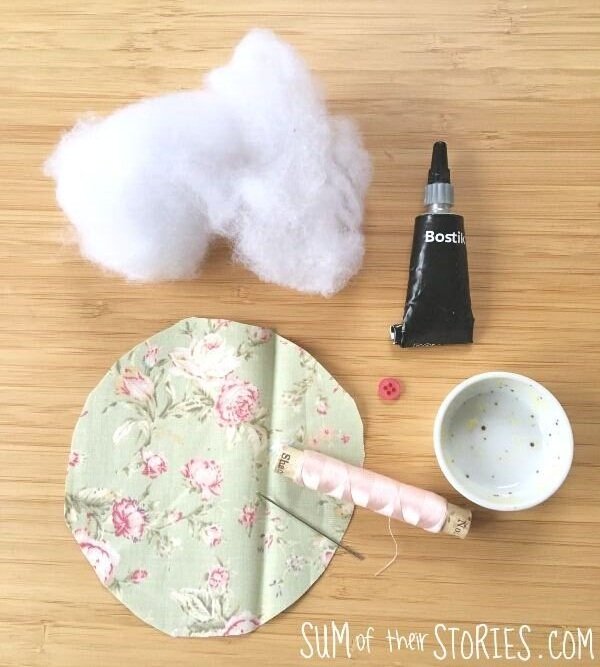
To make a cute mini pincushion you will need:
Some sort of small container
Pretty fabric
Sewing thread and needle
A button
A strong glue, I used Bostik Power Repair but something like hot glue would work too.
Create the fabric pincushion
Place your container in the centre of the fabric and cut a circle which is bigger than the container. You want it to be just under double the height of the container bigger all the way round. My little ceramic pot is 1” high so my circle of fabric is just under 2” bigger than the pot all the way round.

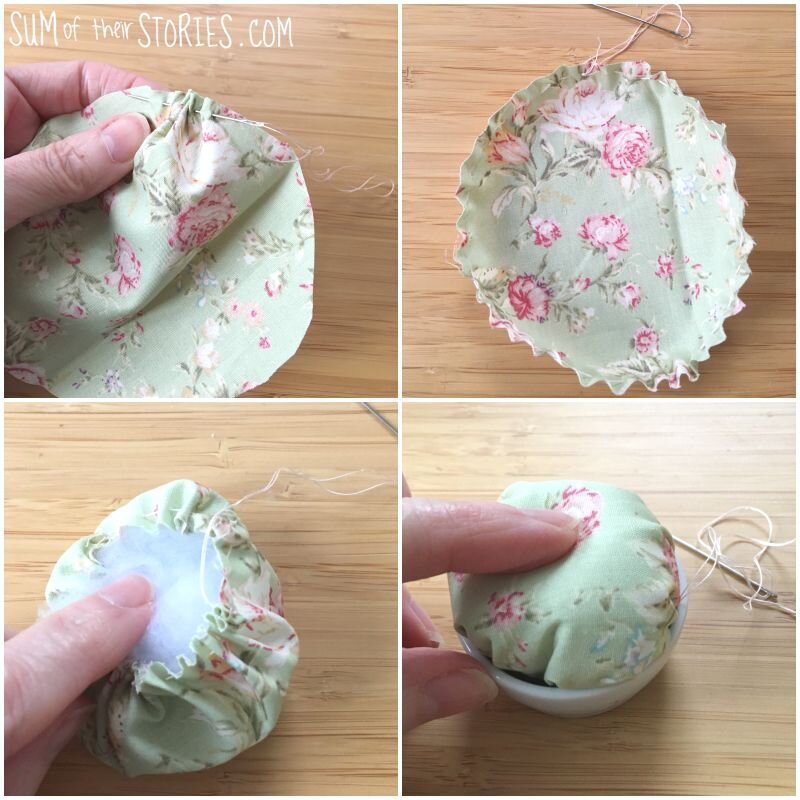
Take a doubled up length of sewing thread and do a running stitch all around the edge of the circle of fabric.
Pull up and even out the gathers, then fill with fibre fill. How much will depend on the size of your fabric and container, just keep trying it in the container until you are happy then pull up the gathering threads tightly and stitch closed.
Now poke your needle right through the pincushion from the centre middle to come out in the middle of the dome you’ve made. Allow the thread to wrap around the pincushion and go back up through the centre of the bottom again. Repeat the thread wrapping 5 more times, spacing it out evenly. Pull the thread fairly tight each time so it pulls the fabric and filling in a little. Cast off the thread on the bottom securely.
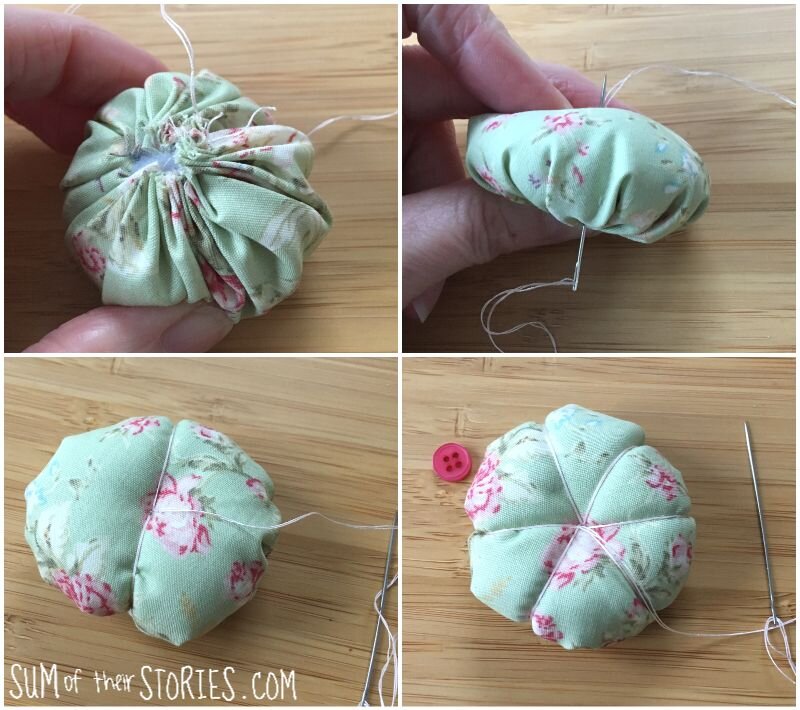
Sew a button in the centre of the top.
Fix the pincushion into the dish
Apply a little glue on the base of the container and around the top edge.
Press the fabric pincushion into the container and leave for the glue to dry.
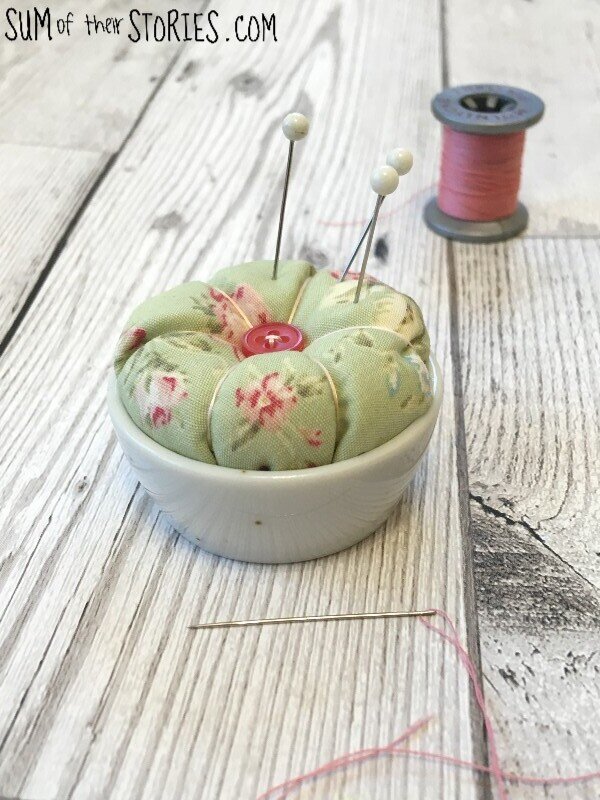
That’s it, your little pincushion is ready to use.
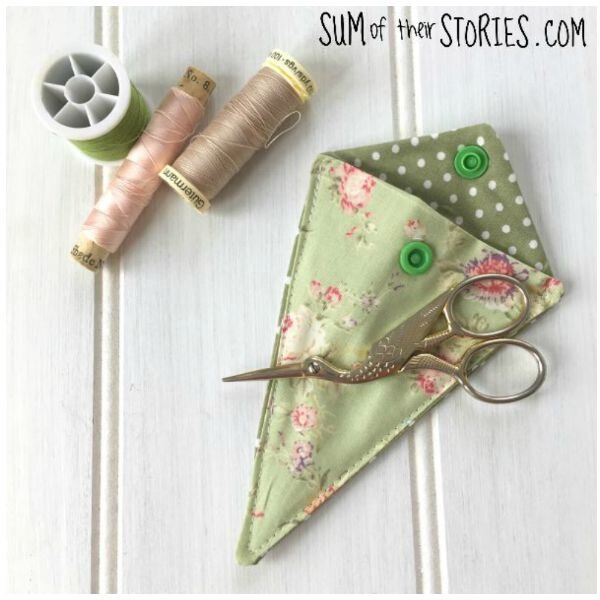
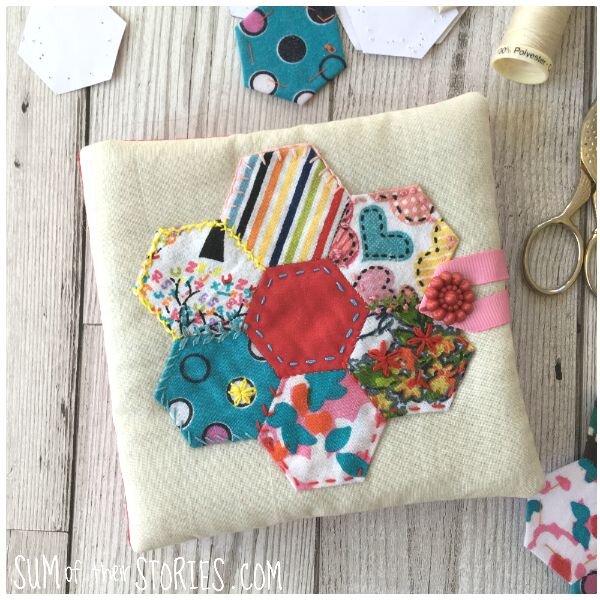
Why not make them for your sewing friends, if you made a needlebook or scissor case in the same fabric they would make a fabulous gift.

Other containers you can upcycle into a pincushion
You can use all sorts of different little containers to make pincushions in exactly the same way. You could use an egg cups, any little trinket pot or container, maybe a small jug or cup. Just make sure whatever you use is clean and dry first.

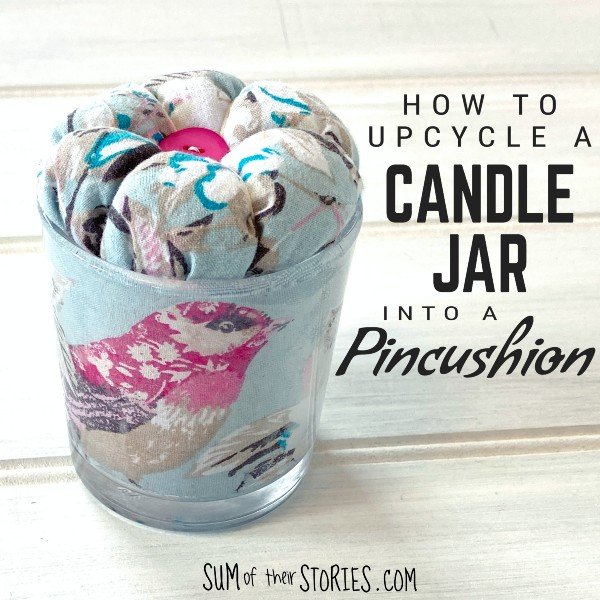
This pincushion above was made using a cleaned out glass candle jar.
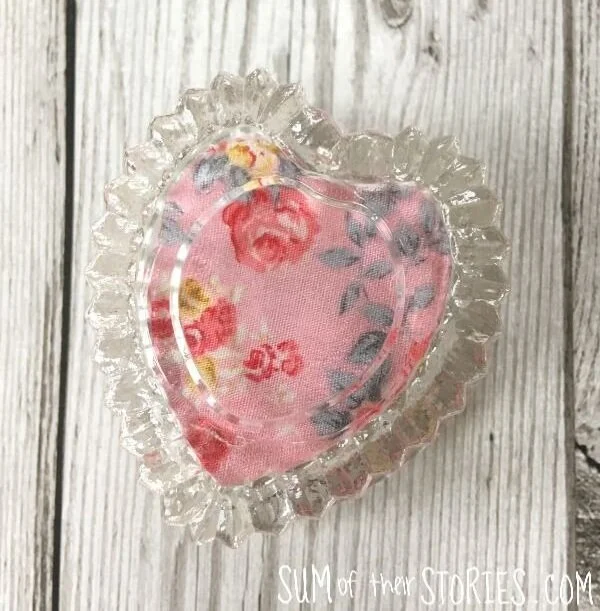
I used the same method as for the candle jar above for this heart shaped tea light holder, you need to cover the bottom so that your gathering stitches and fiberfill don’t show. You can read the full tutorial for the candle jar pincushion which explains what you need to do here: How to upcycle a candle jar into a pincushion.
Why not have a look around the house and see what little containers you can find to turn into pincushions? If you don’t want to make your own I do have a small selection of pin cushions in my Etsy shop.
Julie
I’ll be sharing this idea at these link ups


