
Making Art with the Insides of Security Envelopes
/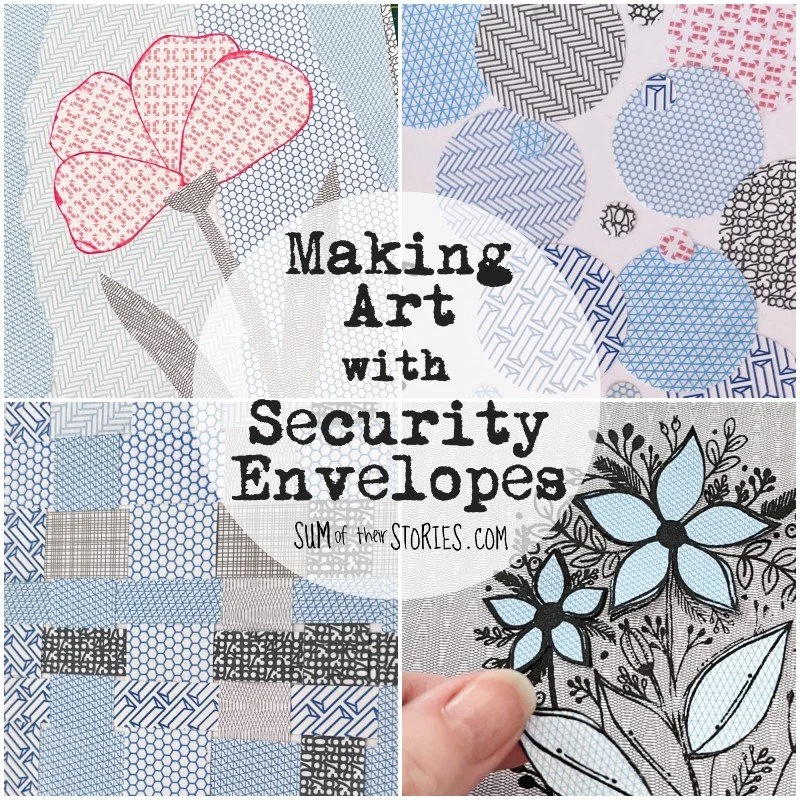
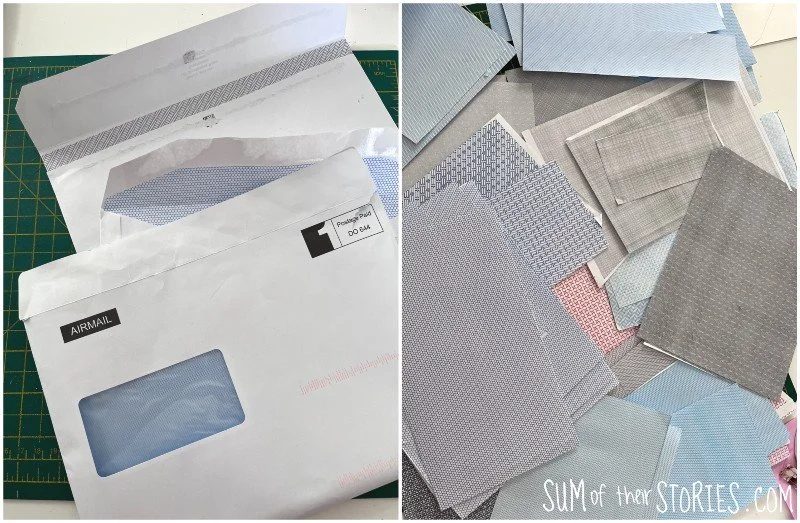
I’ve always loved the patterned insides of business envelopes, there are just so many different ones and they are a great free resource for paper crafting.
These patterns are called the security tint and obviously their primary purpose is privacy of information as letters travel through the postal service but as it just makes sense to reuse whatever we can, why not envelope paper?
Over the last few years I’ve stopped throwing the business envelopes we get into the recycling and instead I’ve been saving them for paper collages.

Today I’m joining the “Do It Over Designer Challenge” when I join some of my creative friends and we each “do over” something old or tired and give it a new life. For my entry I’m going to show you several ways to turn those old business envelopes into art. Stay tuned at the end of these tutorials to see what all the other designers have “done over”.
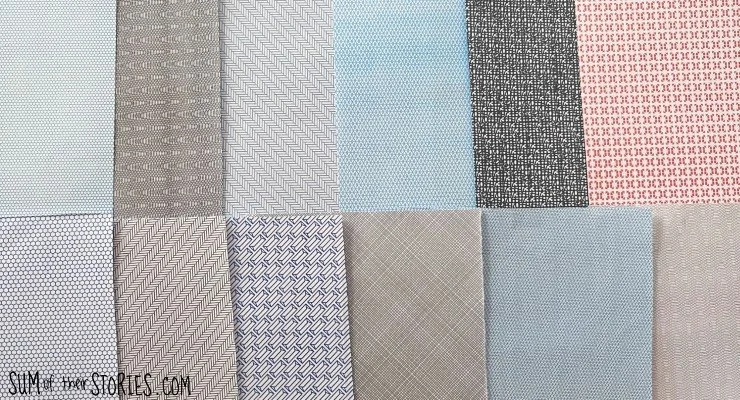
The envelope security tints might all look similar at first glance but when you stop and look there is a wild array of mostly geometric patterns in shades of blue and grey. I am a regular blood donor so I also get appointment reminders from the NHS Blood Donation service and their envelopes have a red pattern inside which makes a nice change from the blues and greys, but I guess what you get will depend on where in the world you live and what kind of post you receive.
My first experiments using the insides of business envelopes for art and collage were back in 2024/2025 when I completed a daily art challenge and made 146 mini art pieces on the back of my dad’s old business cards.

I enjoyed this collage process, the limited colour palette and geometric patterns was fun to work with so I always knew I wanted to make more.
My collection of patterned security envelopes has grown. I had a sort out and discovered I currently have 12 different patterns in my collection.
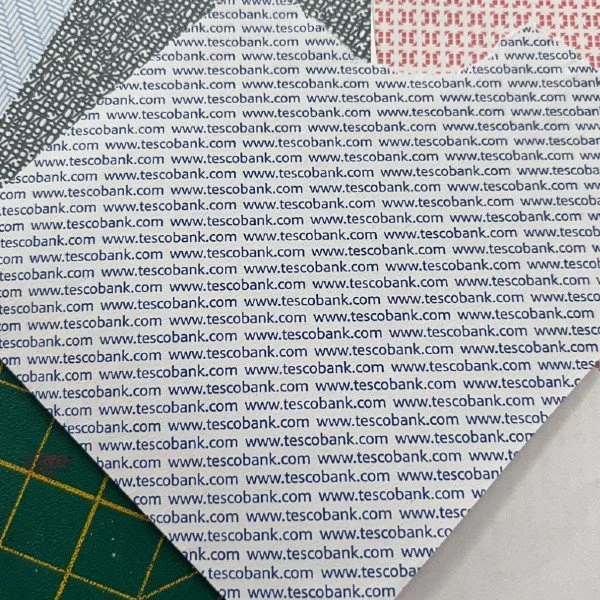
I tell a lie, I actually have 13 different patterns but this one from tesco bank is probably not one I’ll be using in an art collage any time soon!
I’ve really enjoyed playing with these patterned papers and have a few ideas to share with you. I’ve framed a few pieces but I’ve turned most of my paper collages into greeting cards, I always seem to be sending greeting cards to someone so having a stash to choose from is handy.
Let me show you some ideas to upcycle the inside of security envelopes
Punched Paper Shapes
Use paper punches to punch a load of shapes. The more you punch out the more you have to play with!
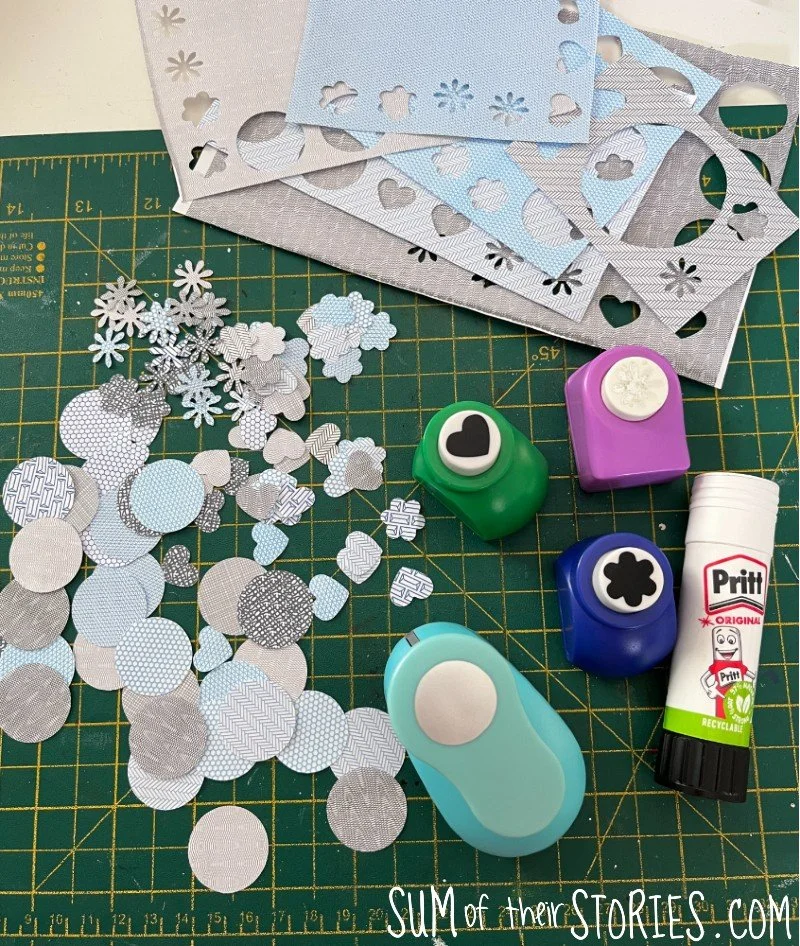
For this circles and flowers card punch a load of 1” circles and arranged them in a grid on a 6” square greeting card.
Stamp or write a greeting centrally.
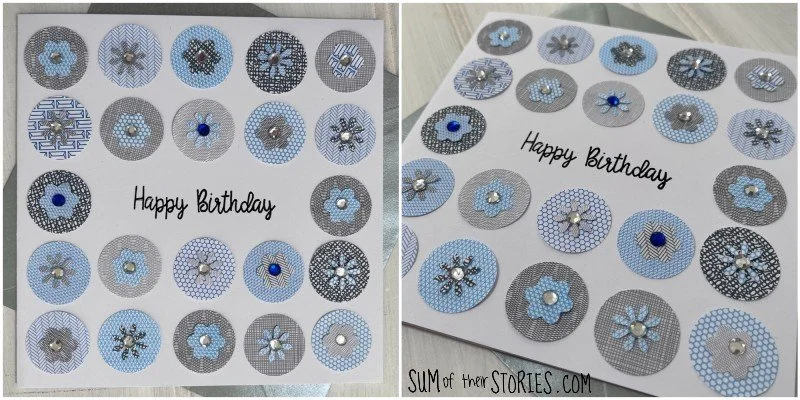
Add punched flowers and maybe some flat backed gems to add a little pizzazz as I have here. If you just use 2 colours, like the blues and greys here it’s nice to try and alternate the colours so blue circles have grey flowers on top and the grey circles have blue flowers. Or not! It’s totally up to you of course, play around with what you have.
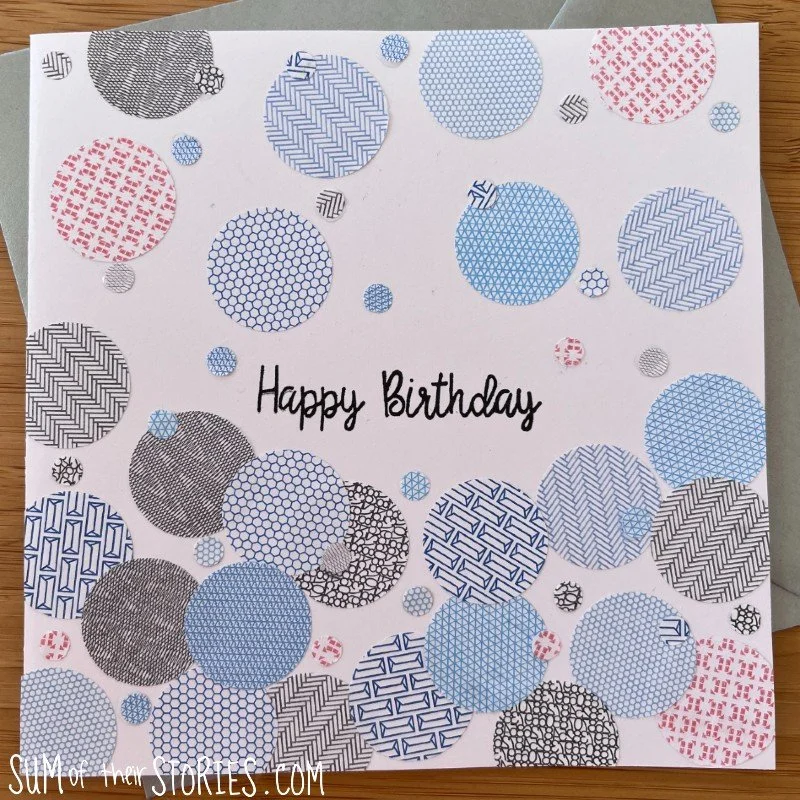
Another way to use punched circles is this simple dotty birthday card idea with a sort of “ombre” effect. The circles are glued to the card more densely at the bottom and more sparsely at the top.
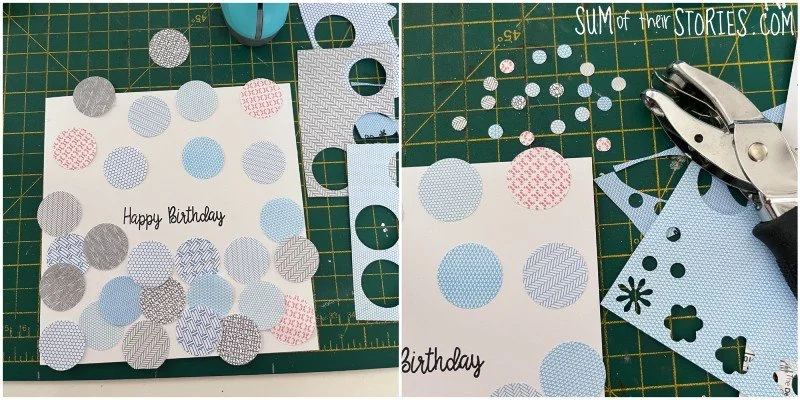
To add a little more detail you can glue on some tiny dots, punched with a regular hole punch. I just sprinkled them around to fill in the gaps.
Paper Weaving
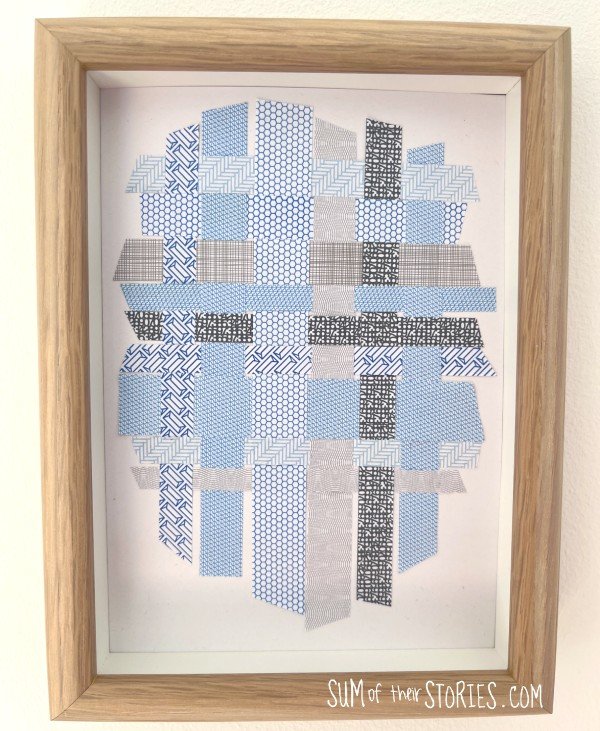
Paper weaving is really easy and versatile, I think it works well with these geometric papers.
Cut strips of paper, the width can vary, and then weave them holding the strips in place with a little washi tape temporarily. A few little dabs of glue is all that’s needed to hold it all together.
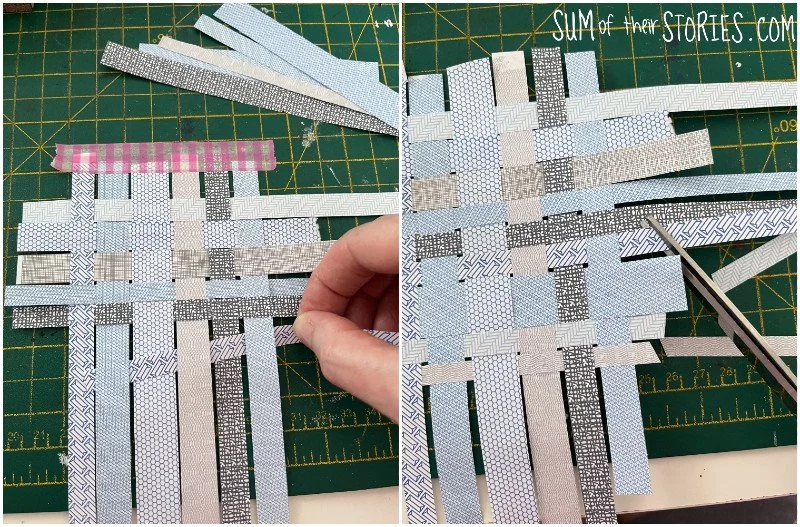
You can find a detailed tutorial showing how to paper weave here: Woven Paper Greeting Cards so I won’t repeat it again now.
Geometric Shapes
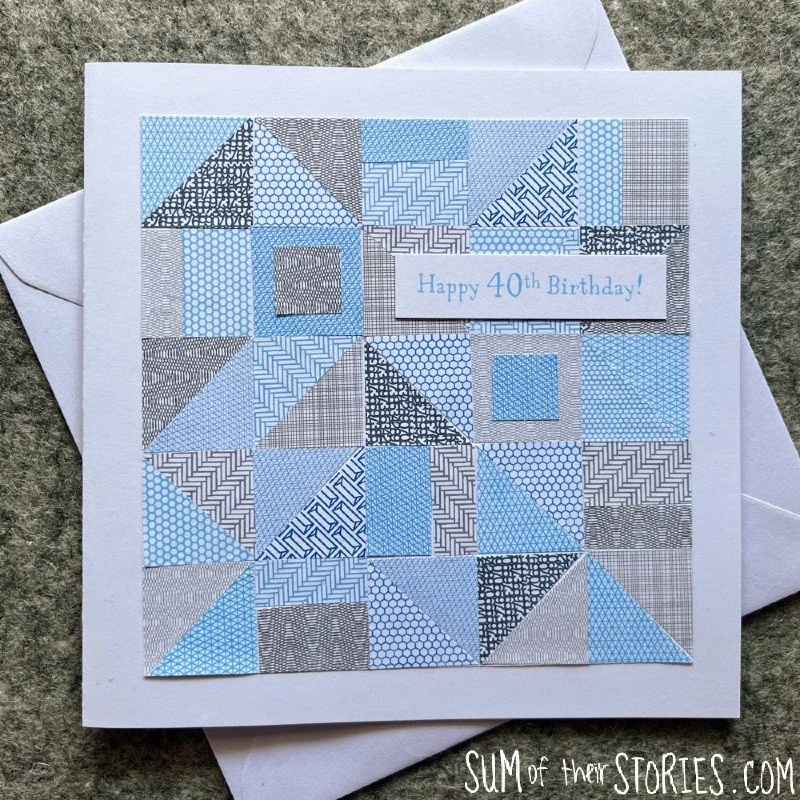
Another greeting card idea, this time with geometric shapes inspired by patchwork quilts.
To make this card cut a bunch of 1” (2.5cm) squares from the security envelopes, ideally with a guillotine to get nice straight edges and square corners. Cut more than you need so you’ve got enough to play around with.
Next sliced some of the squares in half diagonally to form triangles and some into 1/3 and 2/3 pieces. Leave some square.
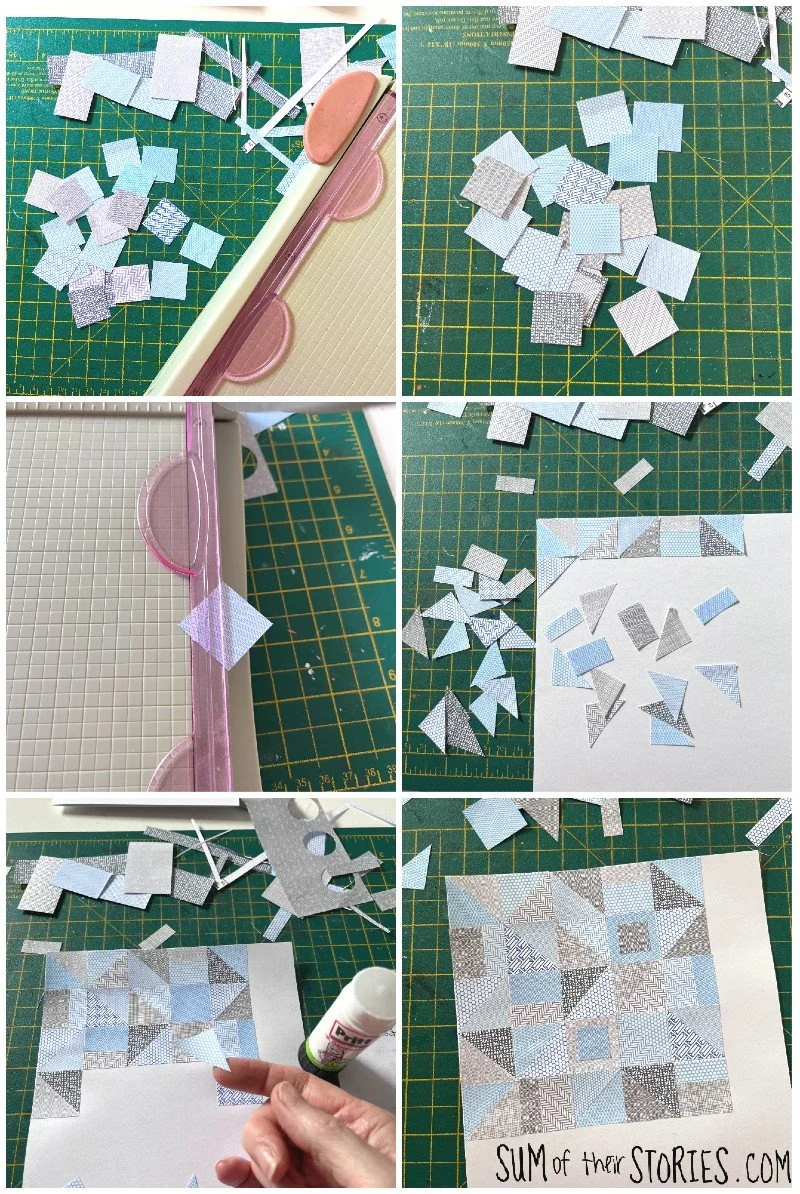
Take some time arranging them and then glue them onto paper. Then cut this paper out and used it to make a greeting card with a sentiment added. I saved this sentiment from an old birthday card I was given and seeing that my 40th was 16 years ago apparently it was high time it was used!
Making a Flower Collage from old envelopes
Make some unique art by tearing and cutting your envelopes to create a flower collage.
For this you’ll need some paper as a base, cut to whatever size you want your art to be. This can be any paper as it won’t be seen. Printer paper, another envelope or even an old cereal box will do.
Start by tearing some larger pieces and glue them down to form a background. I kept mine pretty simple and minimalist so my flower would show up better but you can go more detailed if you like.
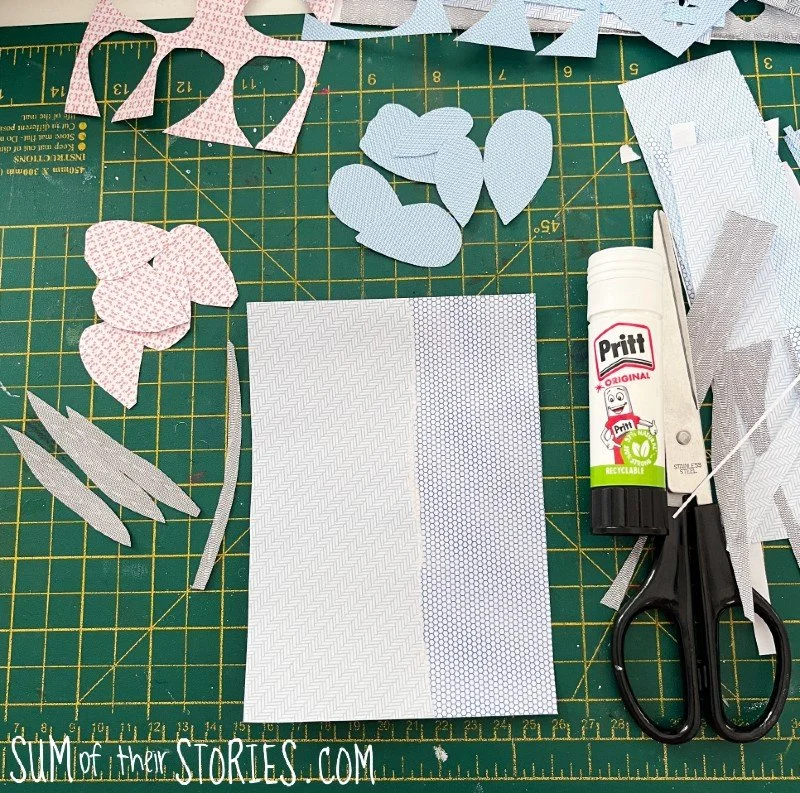
Next cut some simple petal shapes plus and stem and some leaves.
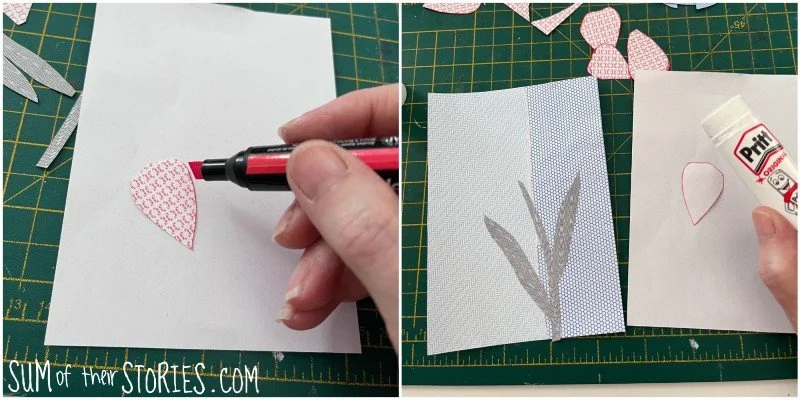
If you like you can “ink” the edges of some of these shapes, either with an ink pad or with a marker pen as I did. This helps them stand out from the background more if that’s the look you want to go for.
Arrange your stem, petals and leaves onto the collaged base and then glue them down.
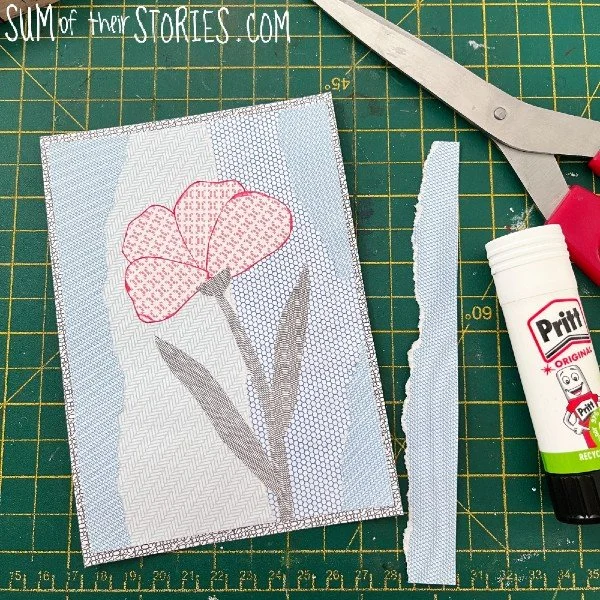
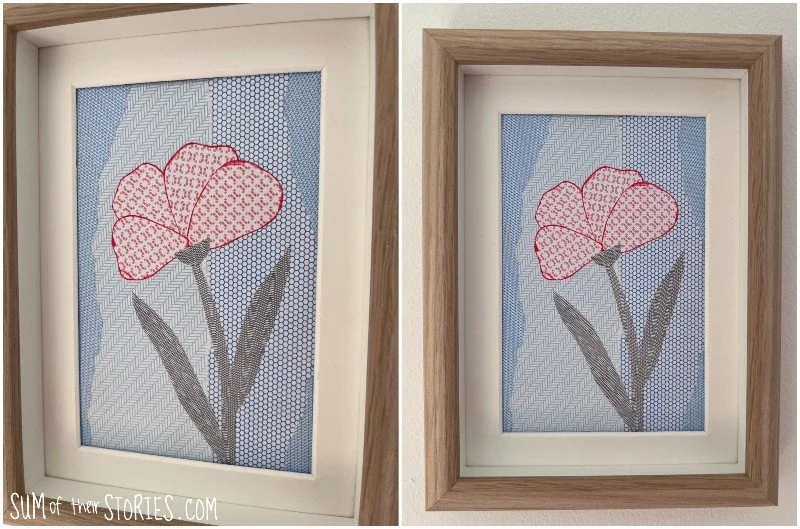
I added some more torn strips to my background on this floral collage, on reflection it just felt a little too plain before. That’s the nice thing about making your own art, there are no rules and you can add more if you want to.
Decoupage with a Stamped Image
For this idea you’ll need a large stamp and an ink pad as well as your security envelopes.
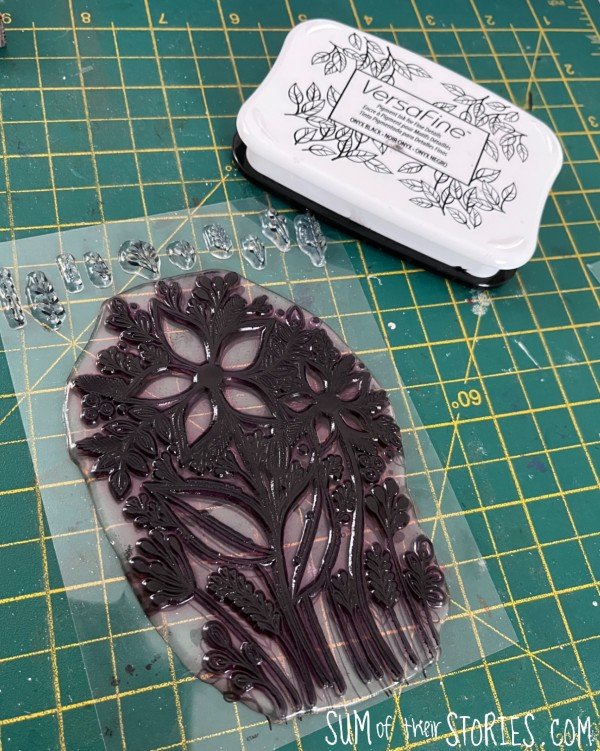
I used this rather old floral stamp, you can see it’s quite badly stained but it still stamps just fine. Stamp your image three times onto 3 different envelope designs. Contrasting colours or shades works best I think.
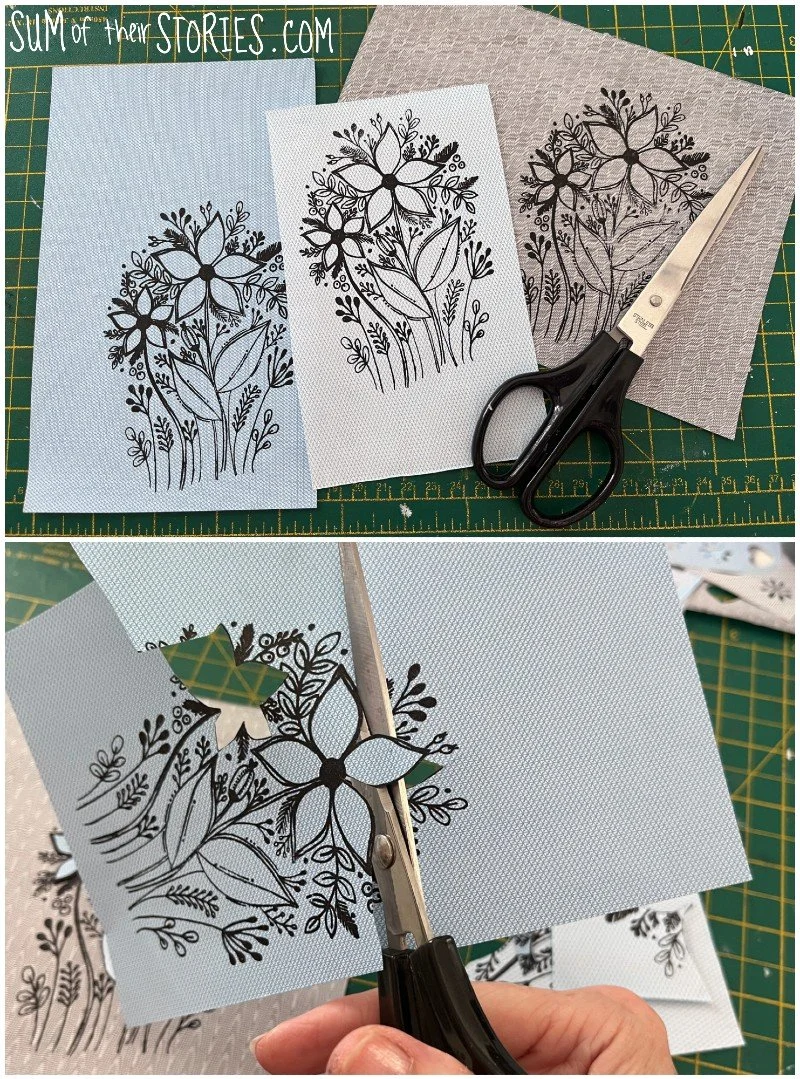
Then all you do is choose some elements of your stamped design to cut out from two of your prints, leaving one intact.
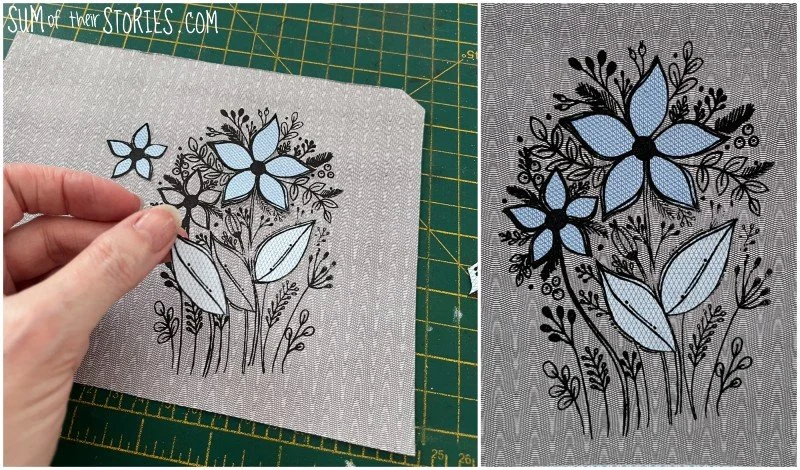
Because the images are identical it’s easy to layer the cut out elements over the intact print for an effect that looks more complicated than it actually is. You simply glue the cut out elements in place in the same spot.
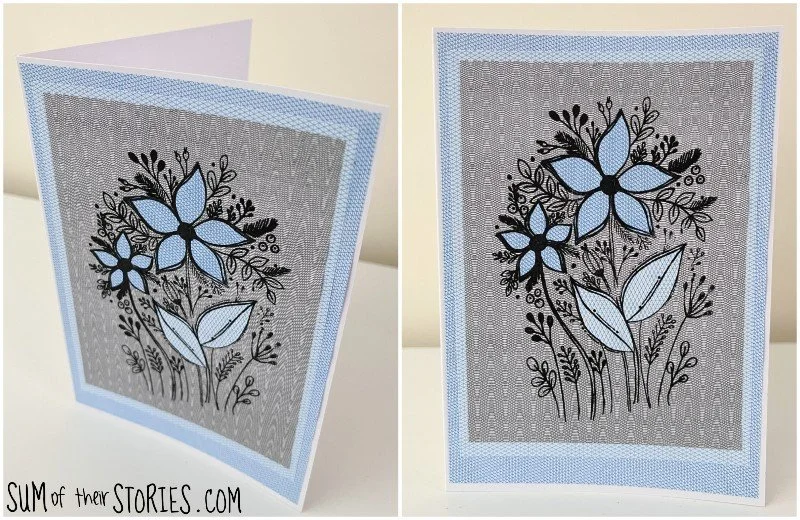
So there you have it, lots of fun ways to use security envelopes in your papercrafting and save them from just being thrown away.
Have I persuaded you to start your own collection of security tint envelopes so you can use them in your papercrafting?
Julie
Now let’s check out the other designers in this month’s Do It Over Designers Challenge and see what creative ideas they have for us:
Modern on Monticello - Interactive Fairy Gardens for Kids
Pandora’s Box - Upcycling Old Calendar Pages
Purple Hues & Me - Outdoor CD Mobile Suncatcher
Vintage Style Gal - Wicker Basket Makeover
The Apple Street Cottage - Repurposed EarPlug Case