
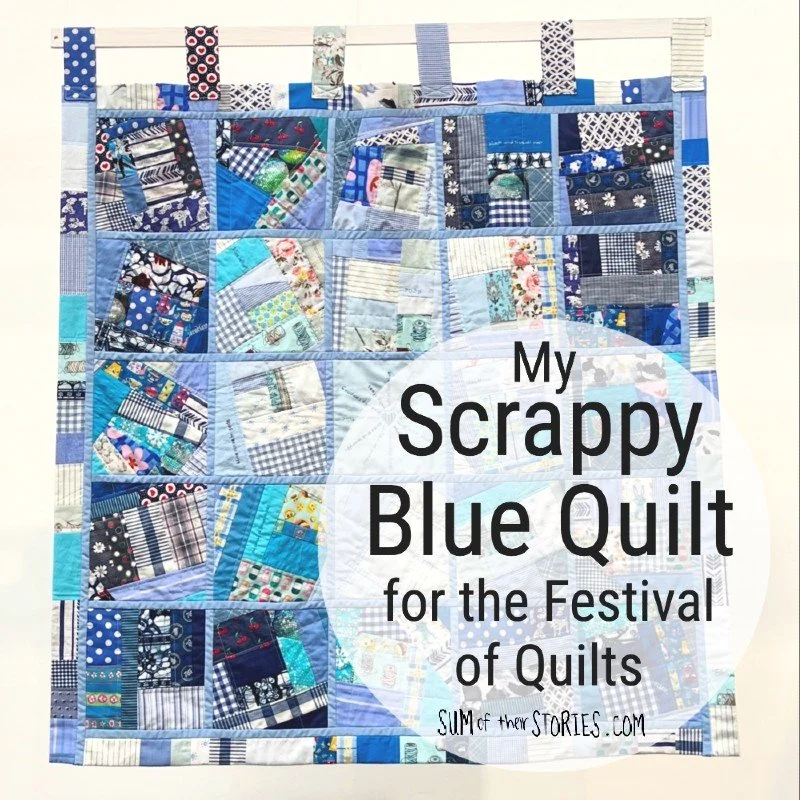
My Scrappy Blue Quilt for the Festival of Quilts
/
If you follow me at all on social media you will know that last weekend I went to The Festival of Quilts. The show is the largest quilt festival in Europe and luckily for me is just up the road from where I live (well 15 minutes in the car, but very close!) You can see my highlights from the show here on Instagram.
This year, 2026, is my 4th time attending the show and my 2nd time entering a quilt.
I never thought that quilt making was for me. I love admiring other peoples quilts but had assumed that without a long arm quilter or easy access to one, making quilts would be outside of my capability.
Turns out I was wrong! The Festival of Quilts allows anyone to enter (there are some rules around size and what qualifies as a quilt of course) so it is a wonderfully inclusive show where the variety of styles of quilt is enormous.
Last year I made a memory quilt with photos and old fabric.
This year, back in January I was sorting out my fabric scraps and discovered I had an enormous amount of blue scraps, more than any other colour, so the idea of a blue themed scrappy quilt was born.
I had a simple basic plan for my blue scrappy quilt but lots of the design choices were made up as I went along. Some steps I added towards the end would have been easier to apply at the start but in the interest of complete transparency I’ll explain exactly what I did and why.
Of course I’m not expecting you to want to make the exact same quilt as me but it might inspire you to have a go, especially if you are a beginner quilter like me.
My sewing machine is not very big and I don’t have access to a long arm for quilting so I decided to give Quilt As You Go or QAYG a try. This is where you make and quilt your blocks individually and then join them to form a quilt. I used a method to join my blocks that uses thin strips of fabric front and back.
Making the quilt blocks
I started by cutting 8.5” squares:
24 from an old cotton sheet
50 from an old flannel sheet
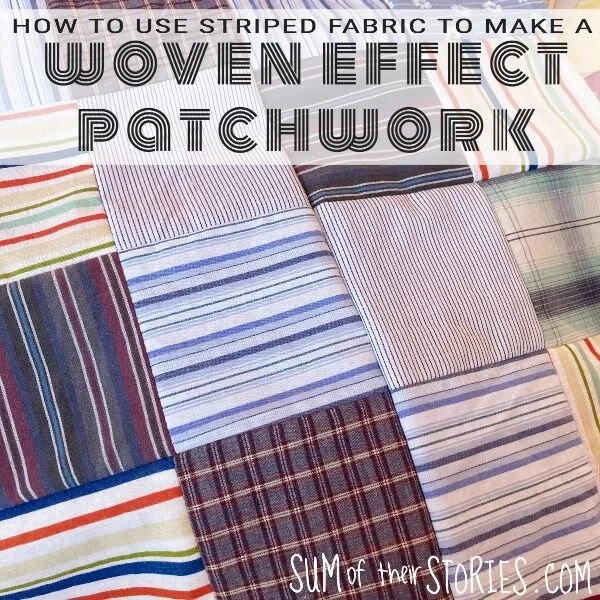
25 from some striped shirting scraps that a friend had given me the year before
I layered these squares up with the striped fabric first, to form the backing of my quilt, 2 layers of flannel in the middle as batting and the cotton sheet on top.
I then started to add my blue scraps using what a believe is called a stitch and flip crazy patchwork technique.
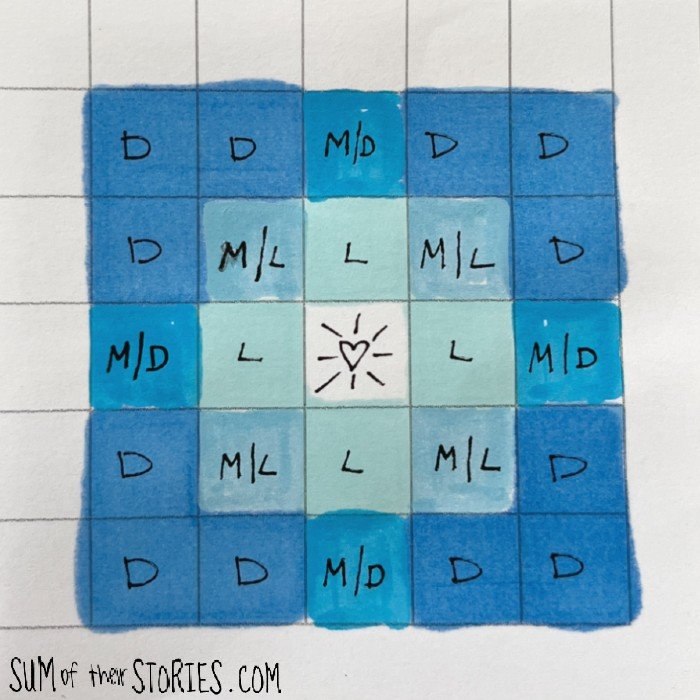
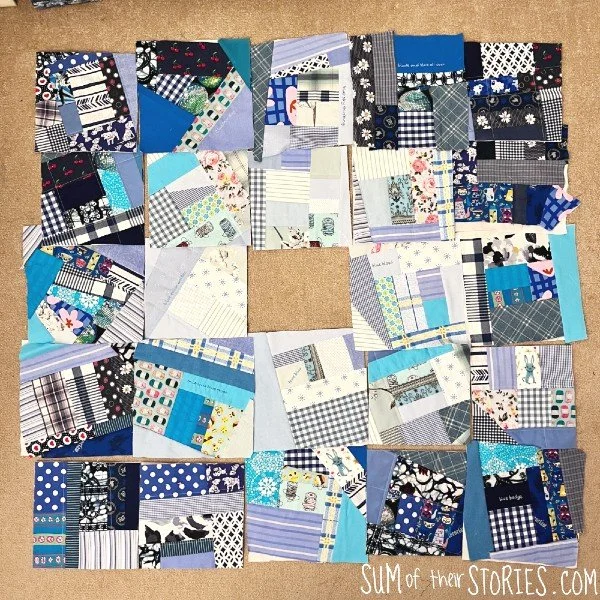
The plan was to make 12 squares with mostly dark blue fabrics, 4 with mostly mid/dark blue, 4 with mid/light blue and 4 light blue. The final central block is not patchworked, that one is embroidered. More on that later.
I quilted the blocks alongside some of the lines of the patchwork pieces but not all of them. Basically just where it took my fancy!
Once these 24 blocks were all made and quilted I trimmed them all to the same size, 8” square.
This was my layout plan:
Embroidering the Blue Themed Quotes
To add extra blueness to my blue quilt I started a list of every quote, expression or saying that I could think of with “blue” in it.
Blue sky thinking
Blue Monday
Blue Suede Shoes
Once in a Blue Moon
Out of the blue
Baby blues
Blue velvet
Blue blood
Bolt from the blue
Blue chip company
Got the blues
Blue collar worker
Singing the blues
Blue badge
Wild blue yonder
Cried blue murder
Blue ribbon
Black and blue all over
Moody blues
True blue
Blue in the face
Blues and twos
Blue rinse brigade
PUSB - this is a very Coventry (my home town) specific thing. It stands for Play Up Sky Blues and refers to the local football team
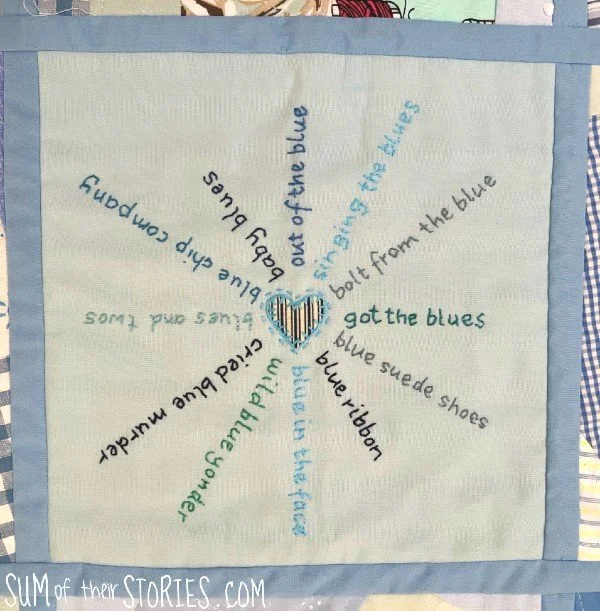
I used some of these quotes to create the central block for my quilt.
I asked on Instagram for feedback to help me decide which fabric to use for the base of the block, a mini polka dot or a plain pale blue. You can see the results were pretty conclusive!
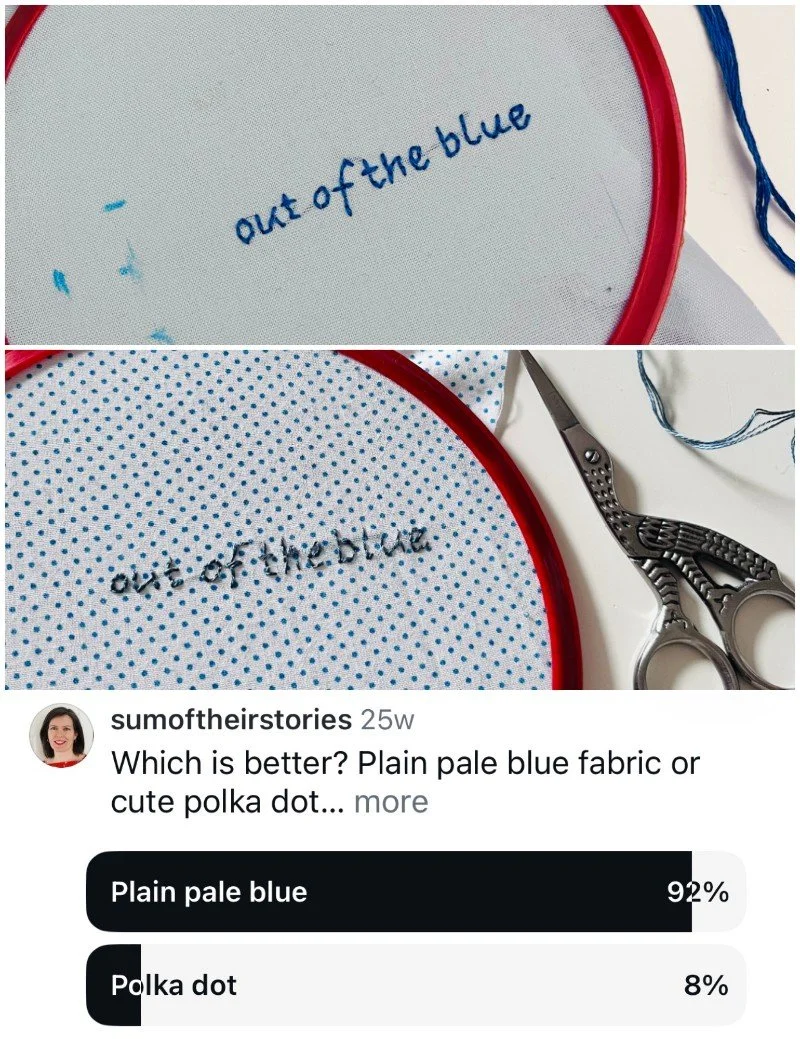
I wrote the quotes in my best writing with a water erasable pen and then used scraps of all my different blue embroidery threads to stitch the words. I used 2 strands of embroidery thread and a back stitch.
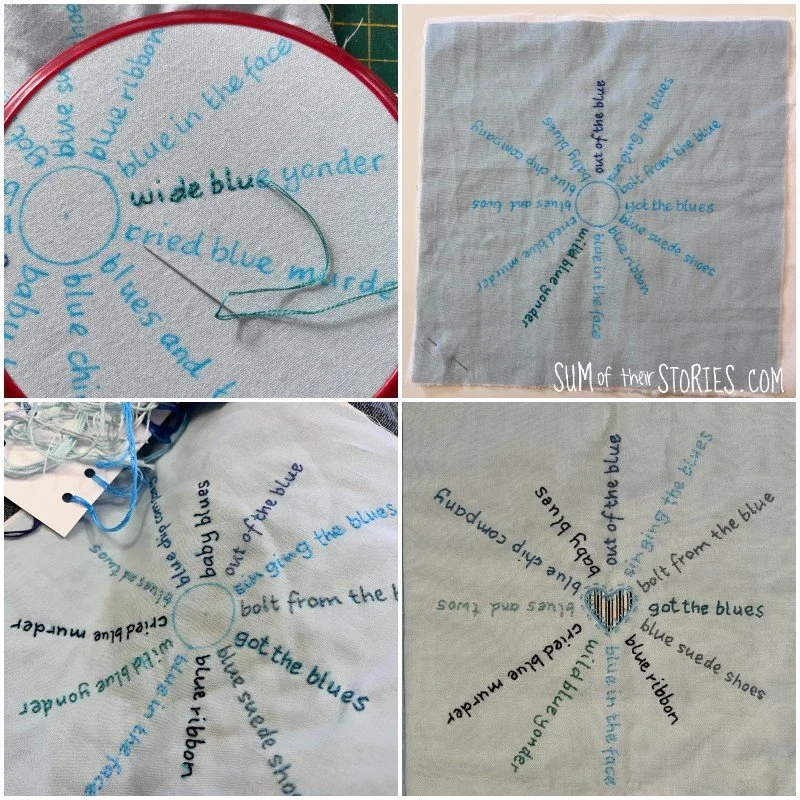
Once the embroidery was completed I layered this piece up on top of the final striped backing square and 2 layers of flannel. The centre heart was backed with bondaweb ironed in place and then finished with blanket stitch. I added a line of running stitched right around the outside, quilting right through to the back for a decorative effect.
This last block was then trimmed to a 8” square to match the others.
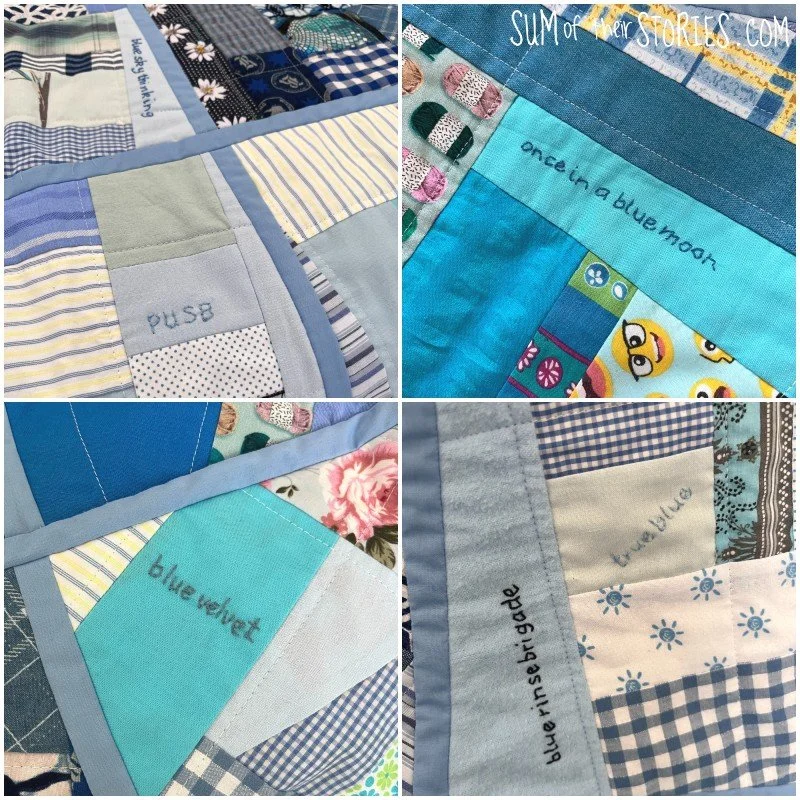
Because the central block only used 12 of my quotes and expressions I added more randomly over the quilt.
Joining the quilt blocks
After a bit of research I decided to join my blocks with joining strips, front and back. I used this QAYG tutorial from my friend Kristen from Scrap Fabric Love.
This technique requires precision sewing. Precision sewing is not normally my thing so this was a challenge, I did my best.
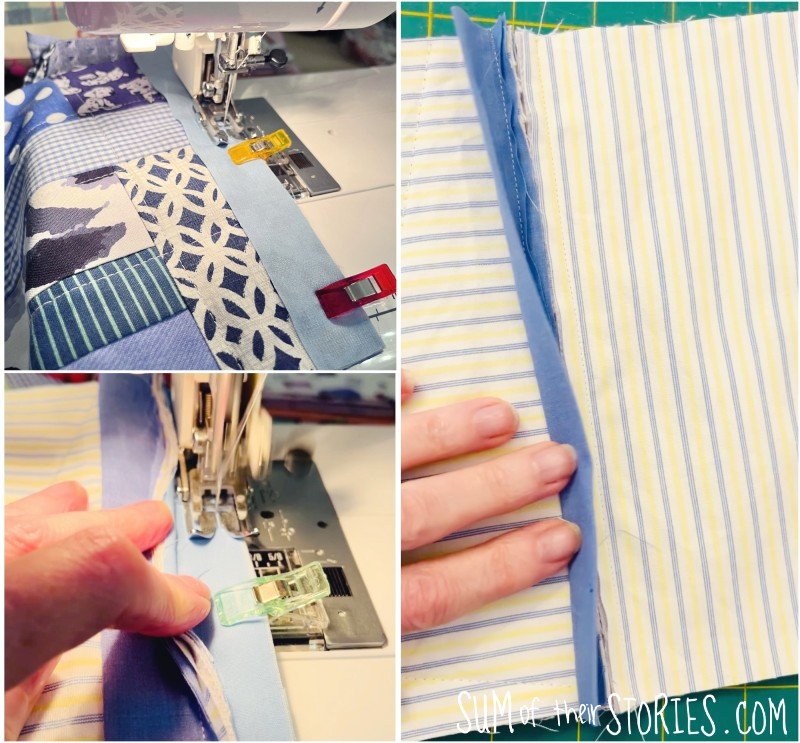
You can finish the strips with neat topstitching but because of my doubts re my ability to be that precise I ended up hand finishing. This took 1 evening of TV viewing so it didn’t actually take as long as I thought it would. I know it’s not for everyone but I really enjoy a little hand stitching sometimes.
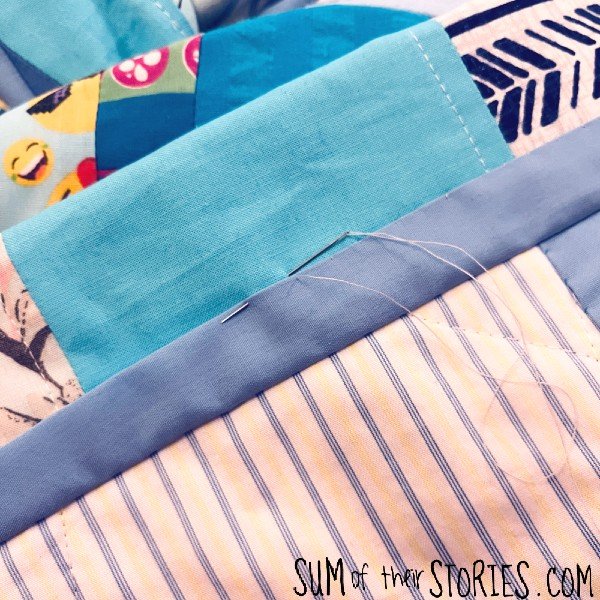
I bound the outside of my quilt in a wide scrappy binding.
At this point the back looked like this:
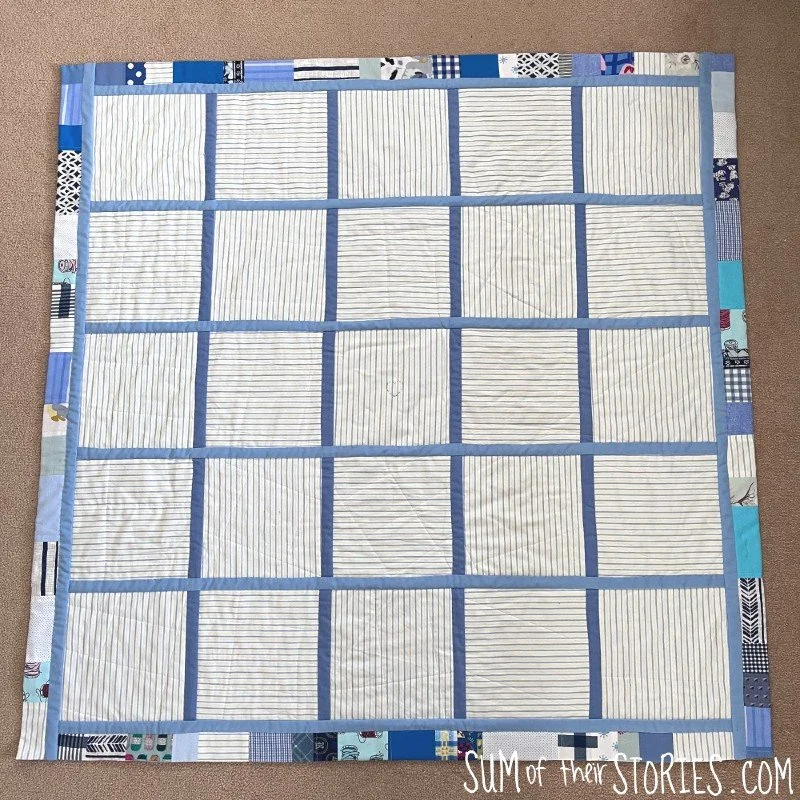
Embroidery on the back of the quilt
The back of the quilt was looking pretty cute, with those stripes going in alternating directions.
For the Festival of Quilts you can enter your quilt as double sided. I was very tempted by this, getting those stripes to work properly had taken ages, it would be a shame not to show them off properly!
That said, I felt it needed a little more to make the quilt truly worthy of being called double sided.
The horizontal stripes are very reminiscent of lined paper so I decided to embroidery more words on them.
I contemplated a poem with “blue” in it but in the end I settled for the word blue in as many different languages as I could find that use the roman alphabet:
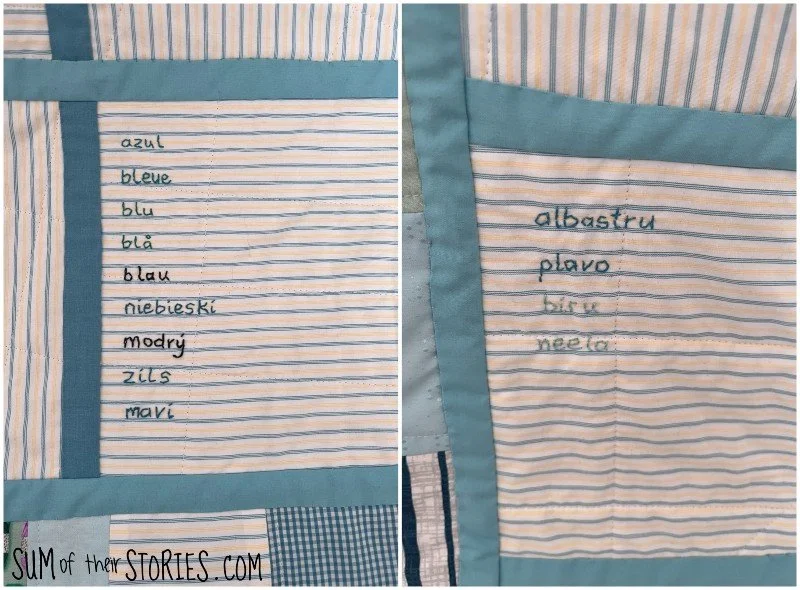
Then I listed as many shades of blue as I could think of:
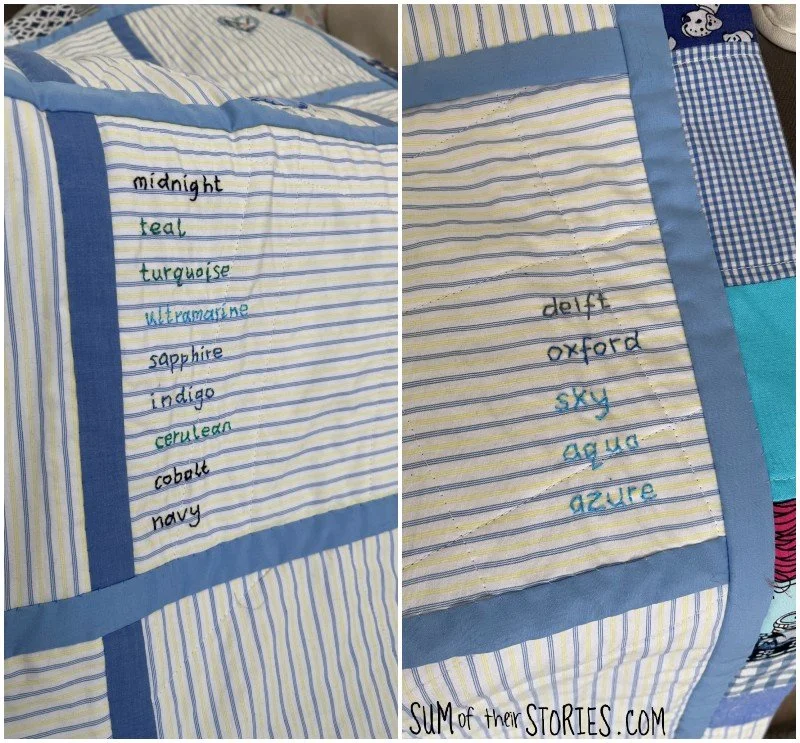
Because by this point the quilt was already assembled I was just very careful as I embroidered all these blue words on to make sure the thread didn’t go through all the layers. I secured my stitches at the end as neatly as I could and just buried the ends in the quilt layers.
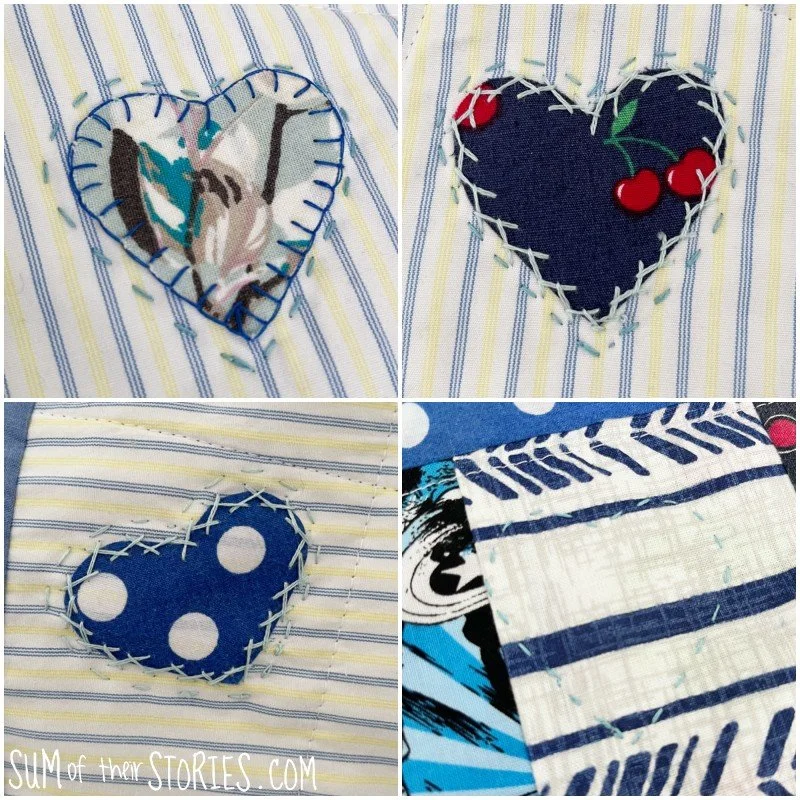
To finish the back of my quilt I cut some more hearts to echo the one on the centre front block, applying them in the same way using bondaweb and then edging them with decorative stitching and quilting as before.
The very last step was to attach hanging loops. I found large enough scraps in fabrics that I had used elsewhere in the quilt for a hopefully cohesive look.
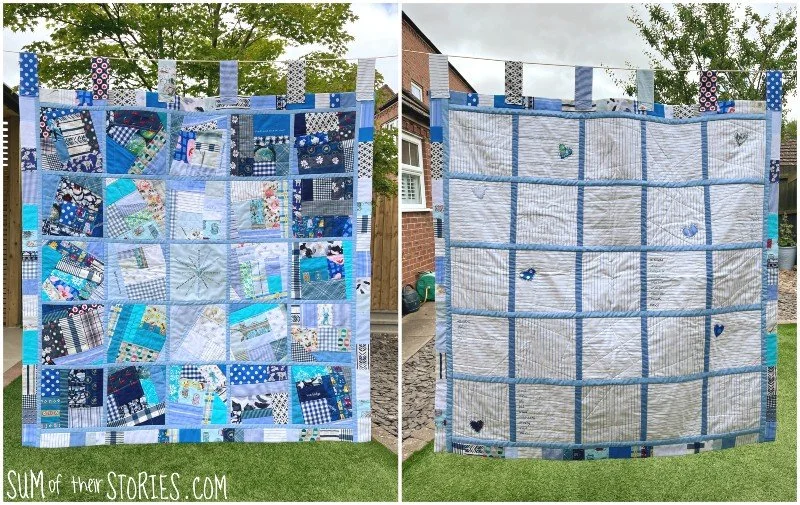
Here is my finished quilt hanging from the washing line in my garden:
And here it is hanging at the Festival of Quilts:
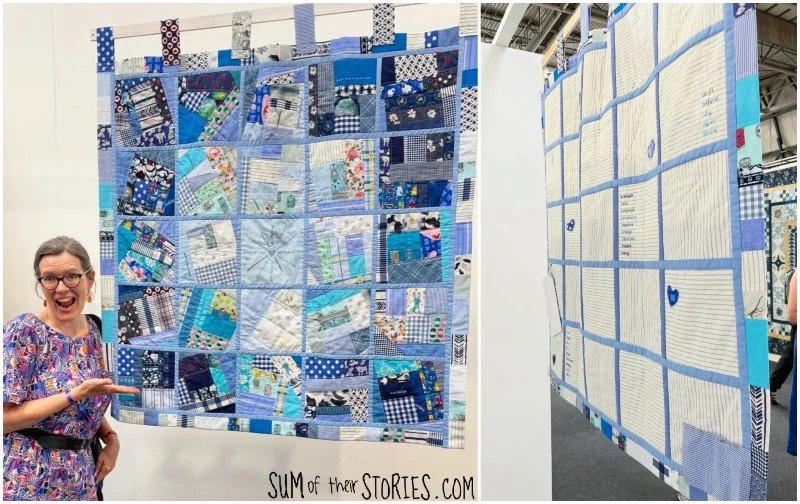
Can you tell how excited I was to see it there?
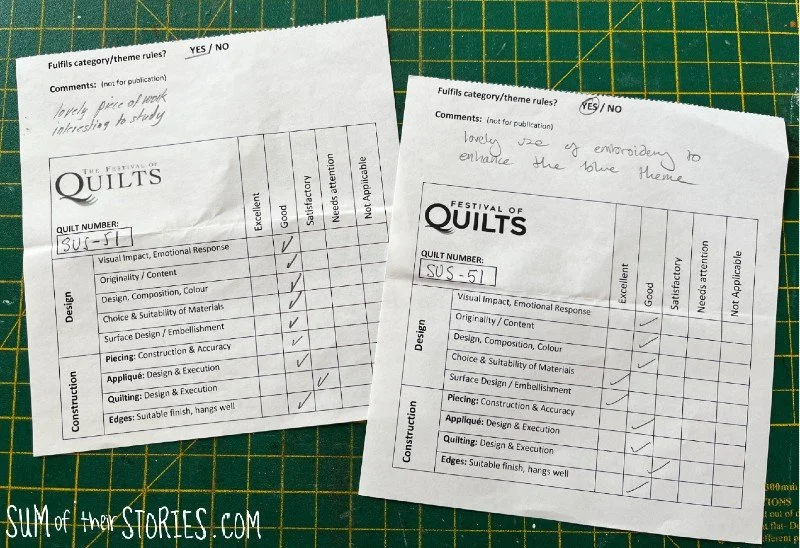
The judges at The Festival of Quilts give feedback to all the entries, it’s a bit like getting your school report. I was very happy with the feedback I got this year and really appreciate the time they take to provide this.
If you’ve never made a quilt before have I tempted you to have a go?
Julie
I’ll be sharing this idea at some of these link ups
You might also be interested in:






Details of my scrappy blue quilt made for the Festival of Quilts