Simple Embroidery Scissor Case Tutorial
/

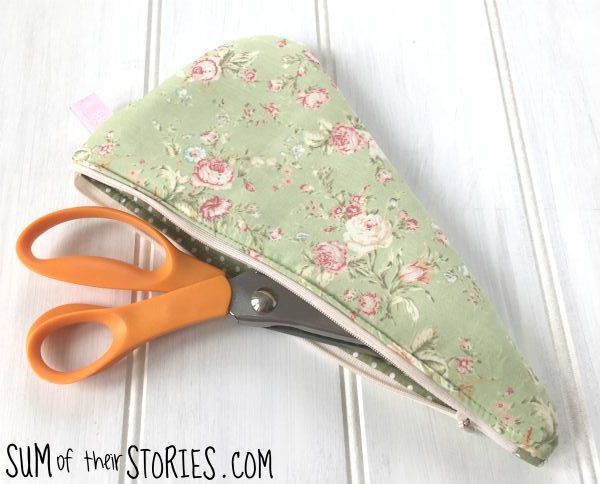
I recently made a scissor case for a friend’s birthday using this free pattern from Sotak Handmade.
I had a little fabric left from the fat quarters I’d used so I thought I’d make a little matching case for her embroidery scissors. I headed off to Pinterest (like you do) and had a very frustrating session where all I could find were pins that went nowhere!
There were cute pictures galore but everything led to broken links, “website is available to buy” pages or something completely different. I tried image searches and all sorts but still no nice little pattern for me to use.
The pictures gave me lots of ideas though and so the easiest thing was to make my own.
This is a great scrap fabric buster project, You’ll need less than 1/4 of a fat quarter of each fabric you use.
How to sew a simple embroidery scissor case
To make your own embroidery scissor case you will need:
Embroidery scissor case template
Scraps of fabric
matching thread
scrap of light interfacing
snap fastening - I used these lovely Kam snaps
The first thing you need to do is make a template. You can use the one I made for my scissors either by right clicking on the picture below and then saving and printing or by downloading it from here or draw out your own using the measurements shown. These measurements work for scissors up to 12cm long, you can easily adjust the pattern piece by making it longer if you have exceptionally long embroidery scissors.
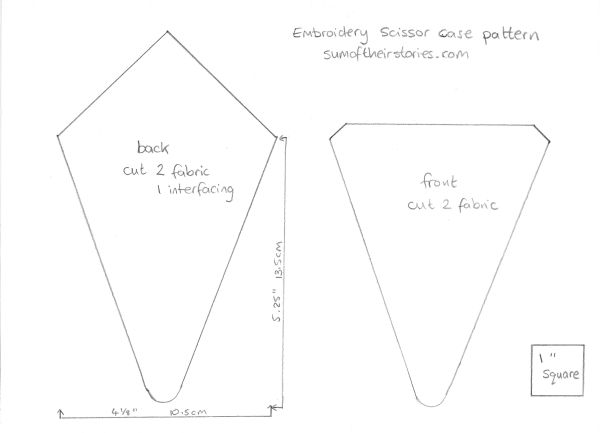
From your main outside fabric cut 1 back and 1 front.
From your lining fabric cut 1 back and 1 front.
From the lightweight interfacing cut 1 back.
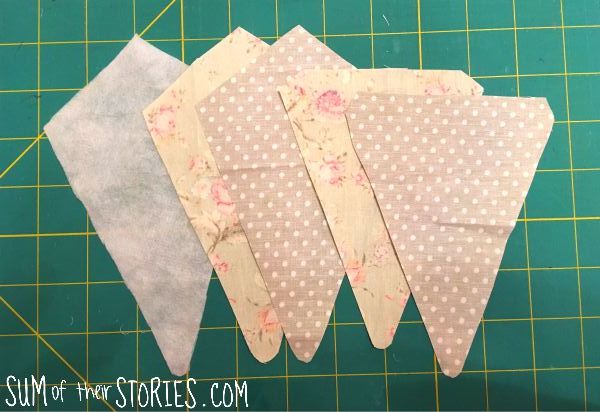
Layer up the back pieces, the 2 fabrics right sides together and the interfacing on top.
Stitch all around the back pieces leaving a gap on one long side for turning. Use a 1/2 cm seam allowance throughout.
Layer the 2 front pieces, right sides together, and stitch around, again leaving a gap for turning.

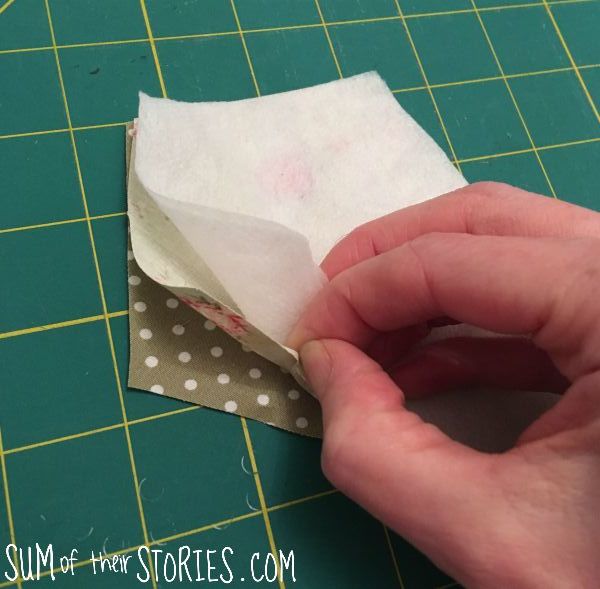
Trim the seams, especially at the bottom point and corners and then turn both pieces out. Push the points and corners carefully with something pointy like a pencil with no lead or a chopstick. Press.
Lay the front on top of the back, and pin together.
Add one side of the snap to the centre of the front piece. Fold the flap from the back over to work out the position the snap needs to be.
Stitch along the 2 long sides. Start and finish by going forward and back again a few stitches.
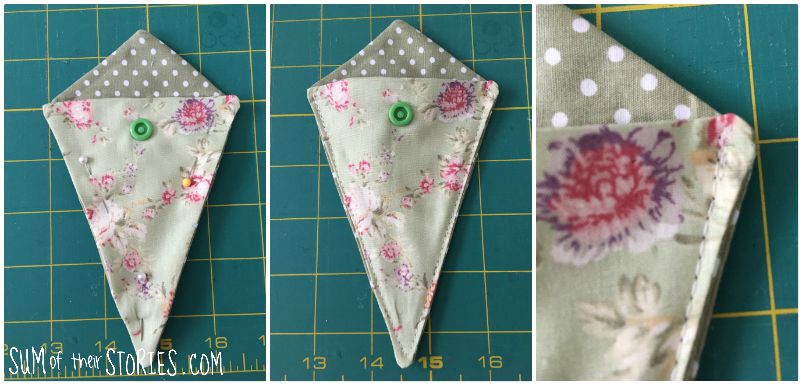
Apply the 2nd half of the snap to the back flap.
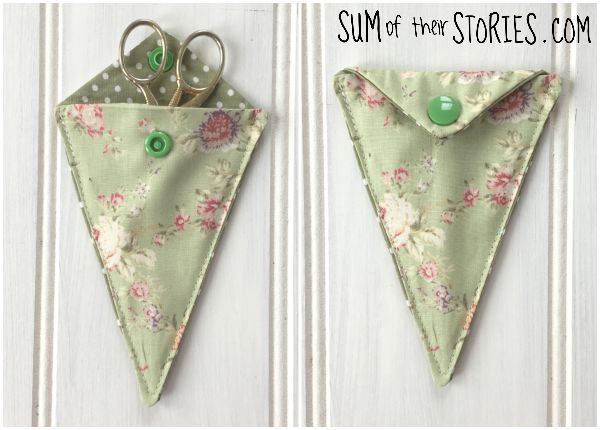
That’s it! Simple as that, you’re done!
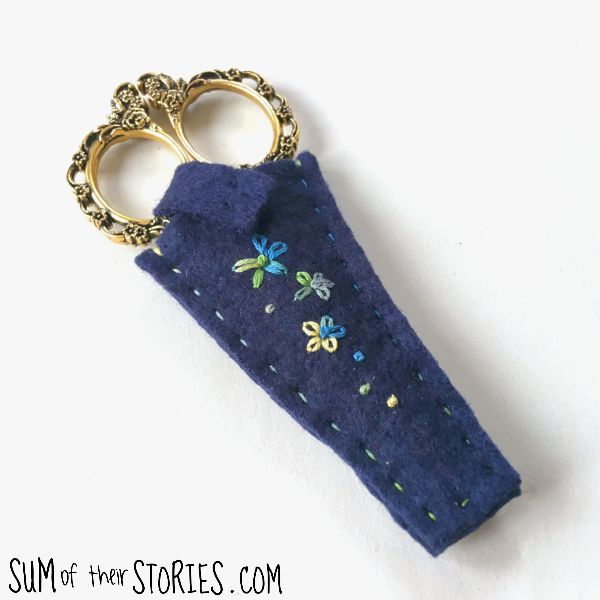
I made a different type of embroidery scissor cover recently too , for another friend. That was more of a little cover, rather than a case, made from felt. You can find the instructions to make that here if you prefer that style.
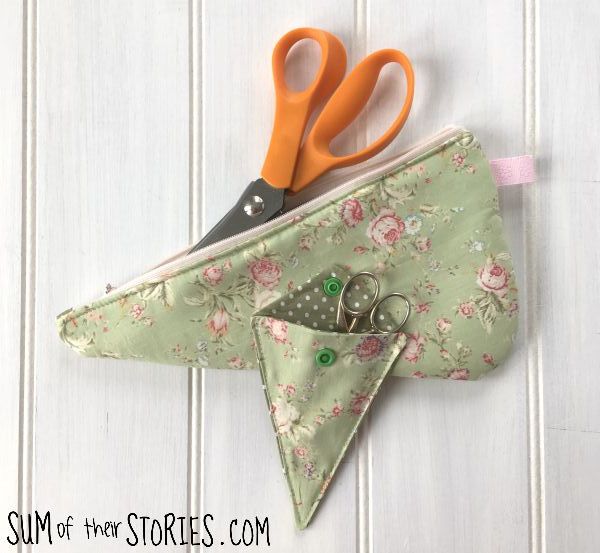
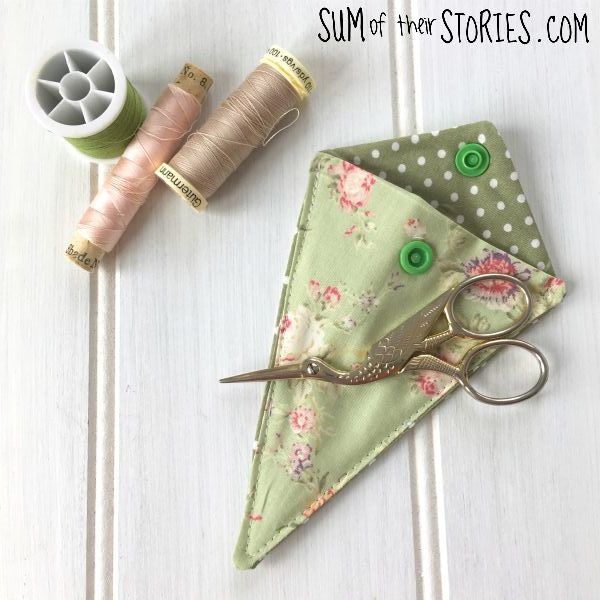
I gave this set to a special friend who loves sewing and the colour green. As soon as I saw this fabric I knew I was going to make her something from it. This way of making a little case for embroidery scissors was so quick and easy.
If you are looking for sweet embroidery scissors Minerva Crafts have some classic stork ones like mine here, you can also find them on Amazon here.
Julie
I’ll be sharing this sewing tutorial at some of these link ups
You might also like to check out some of these sewing project ideas: