

Sew a Softie - Mini Sock Snake
/

Yay! It’s Sew a Softie month! Sew a Softie is a project started by Trixi as a way to encourage kids to learn to sew. During Sew a Softie month over 30 creative bloggers share soft toy patterns, all easy enough for kids to make themselves.
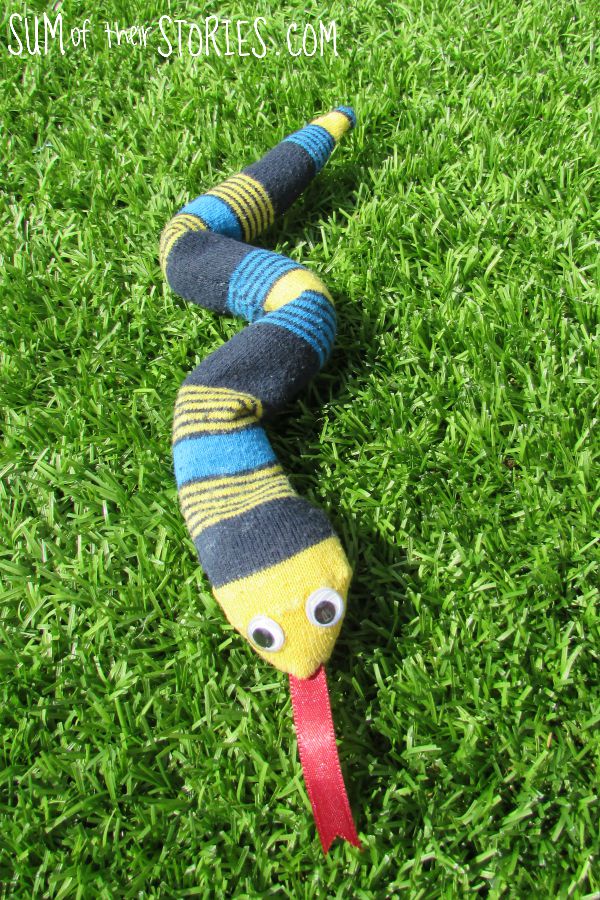
My contribution to Sew a Softie 2019 is this mini sock snake, made from an old stripy sock.
An adult sized man’s ankle sock or child sized knee sock is ideal to make a mini snake softie. A child’s ankle sock would not really be big enough.
I’ve included a pipe cleaner in the middle of my mini snake so it’s poseable. Of course that is completely optional, if you are making this toy for a small child you would want to leave the pipe cleaner out.
To make a mini sock snake softie you will need:
An old sock - mine was stripy which felt perfect for a snake but any sock would be fine
A short length of red ribbon
A pipe cleaner - optional
Sewing Thread and needle
Googly eyes and PVA Glue
OR
Buttons, embroidery thread or felt

Take your clean old sock and turn it inside out.
Cut along the top, removing the underneath section and heel. Chop the ribbing top off too.
Open this top section and just straighten up the edges.
Fold it back in half, right sides together. Round off the toe end and cut the other end to a point.
Take a length of ribbon (mine is about 5cm (2”) ** and cut a v shape from one end.
To cut the V shape just fold the ribbon in half and cut diagonally.

Place the ribbon tongue inside the rounded end of the sock piece. The v shaped end goes on the inside. Use the photos as a guide of how to position it. It’s a good idea to leave about a cm of ribbon sticking out side of the folded sock fabric too.

Take a length of sewing thread, tie a knot or two at one end and then starting at the point where the fold meets the rounded toe end of the sock piece start stitching. When you get to the ribbon do a few extra stitches to make the tongue super secure. I used a running stitch to sew up my snake. You could use a back stitch if you prefer. I used a green contrast thread so you can see my stitches but you could pick one that matches your sock if you like.
Stitch all round your snake but leave a gap of about 5cm (2”) about mid way. To leave the gap cast off the sewing thread and then restart 5cm along starting with a new knot.

When you get to the point of the tail just keep going back up the other side until you get to the fabric fold again, you don’t want any gaps here. Cast off securely.
Turn your sock snake the right way out through that gap that you left.
Push the blunt end of a pencil via the gap to push the ends of the snake out. DON’T PUSH TOO HARD THOUGH, it’s easy to overdo it and push a hole in your stitching, go gently and the snake will turn out nicely.
If you are using a pipe cleaner to make your snake poseable then now if the time to add it.
Fold just a tiny bit of the end over, on both ends. Pipe cleaners have a sharp pointy wire in them and you don’t want that poking through your snake.

Poke the pipe cleaner in the snake through the gap.

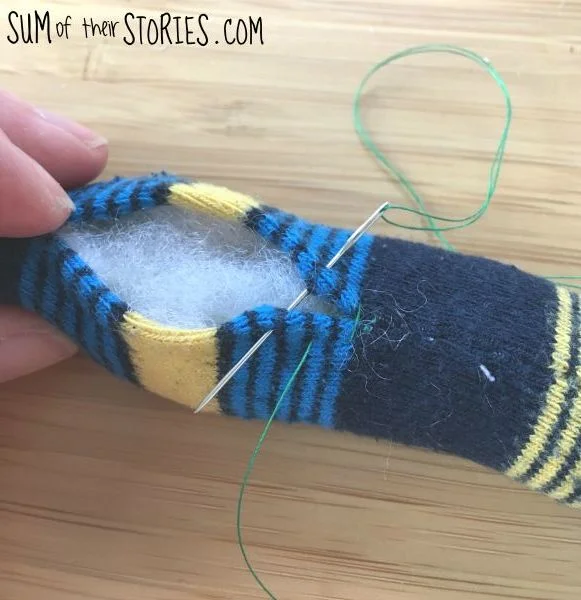
Once the pipe cleaner is in place you can stuff around it with the fibre fill. If you are not using a pipe cleaner you just stuff your snake in exactly the same way. Just poke little bits of fibre fill in through the gap, use a pen or pencil to push the fibre fill right down into the head and tail of the snake each time before you add more.

Once your snake has enough fibre fill to make it firm but still squishy it’s time to sew up the gap.
I used an over sew stitch but you can use a running stitch if you prefer. As long as the gap gets closed up so the fibre fill can’t escape it doesn’t matter too much.
To finish him off your snake needs eyes.
You have lots of options here. You can glue googly eyes on like I have. Or you could cut little circles of felt. You could sew on little buttons, or embroider eyes with embroidery thread. You could even draw eyes on with a sharpie if you like.
Even if your googly eyes are self adhesive I would still use a dob of PVA to secure them better.

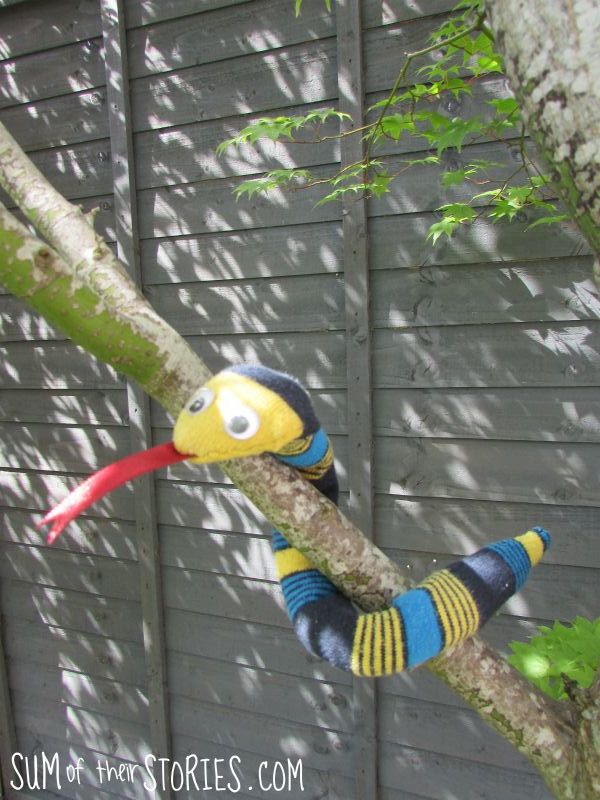
Here he is all finished and out in the wild!
** We had a big debate here about whether his tongue is too long. In real life I think it looks just right, but in the photos it does look a bit longer than perhaps it should. I think it’s the angle of the photos. But that is the beauty of a toy you make for yourself. You can make the tongue any length you like!
Having the pipecleaner inside does make him fun to pose. He can be wiggly or wind round a chair leg or bedside lamp. You can wind him round so he can sit on a shelf.


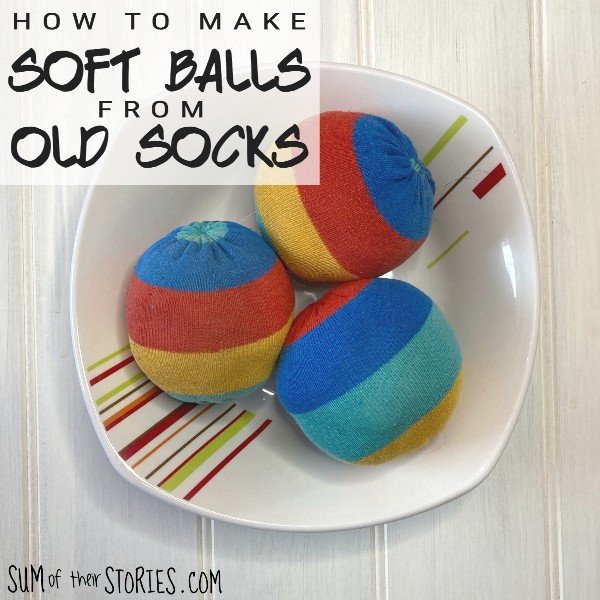
If you have a bunch of old or odd socks that you’d like to put to good use you might like these other ideas:

There is a whole month’s worth of simple softie ideas to make as part of Sew a Softie month. Check out the Sew a Softie facebook group for more details or the Sew a Softie Blog.
If you are on Instagram also check out #sewasoftie and use it if you share any photos of your own softies. We all love to see them :-)
Julie


