Babylon Leather Bag Kit Review
/

Recently I’ve had the pleasure of making a leather bag from a kit from Babylon Leather and today I’m sharing my honest review.
The kit was gifted to me by Babylon Leather for the purpose of this review.
Babylon Leather sell kits to make all sorts of leather goods, bags, wallets, belts, coin purses and more. They also sell leather and patterns for leather work.
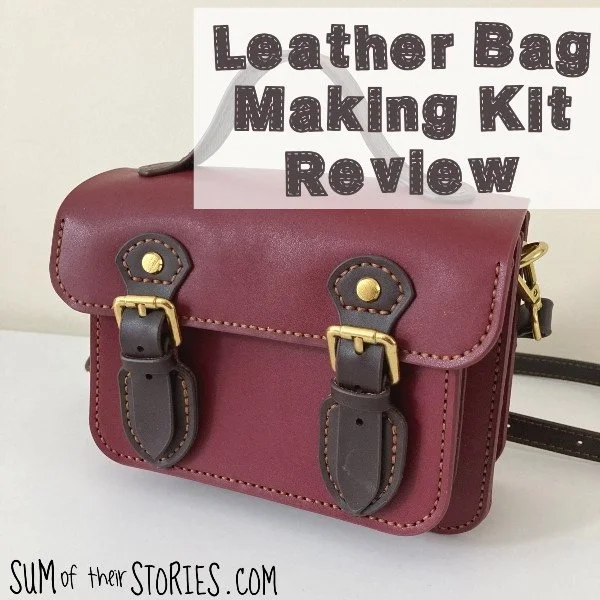
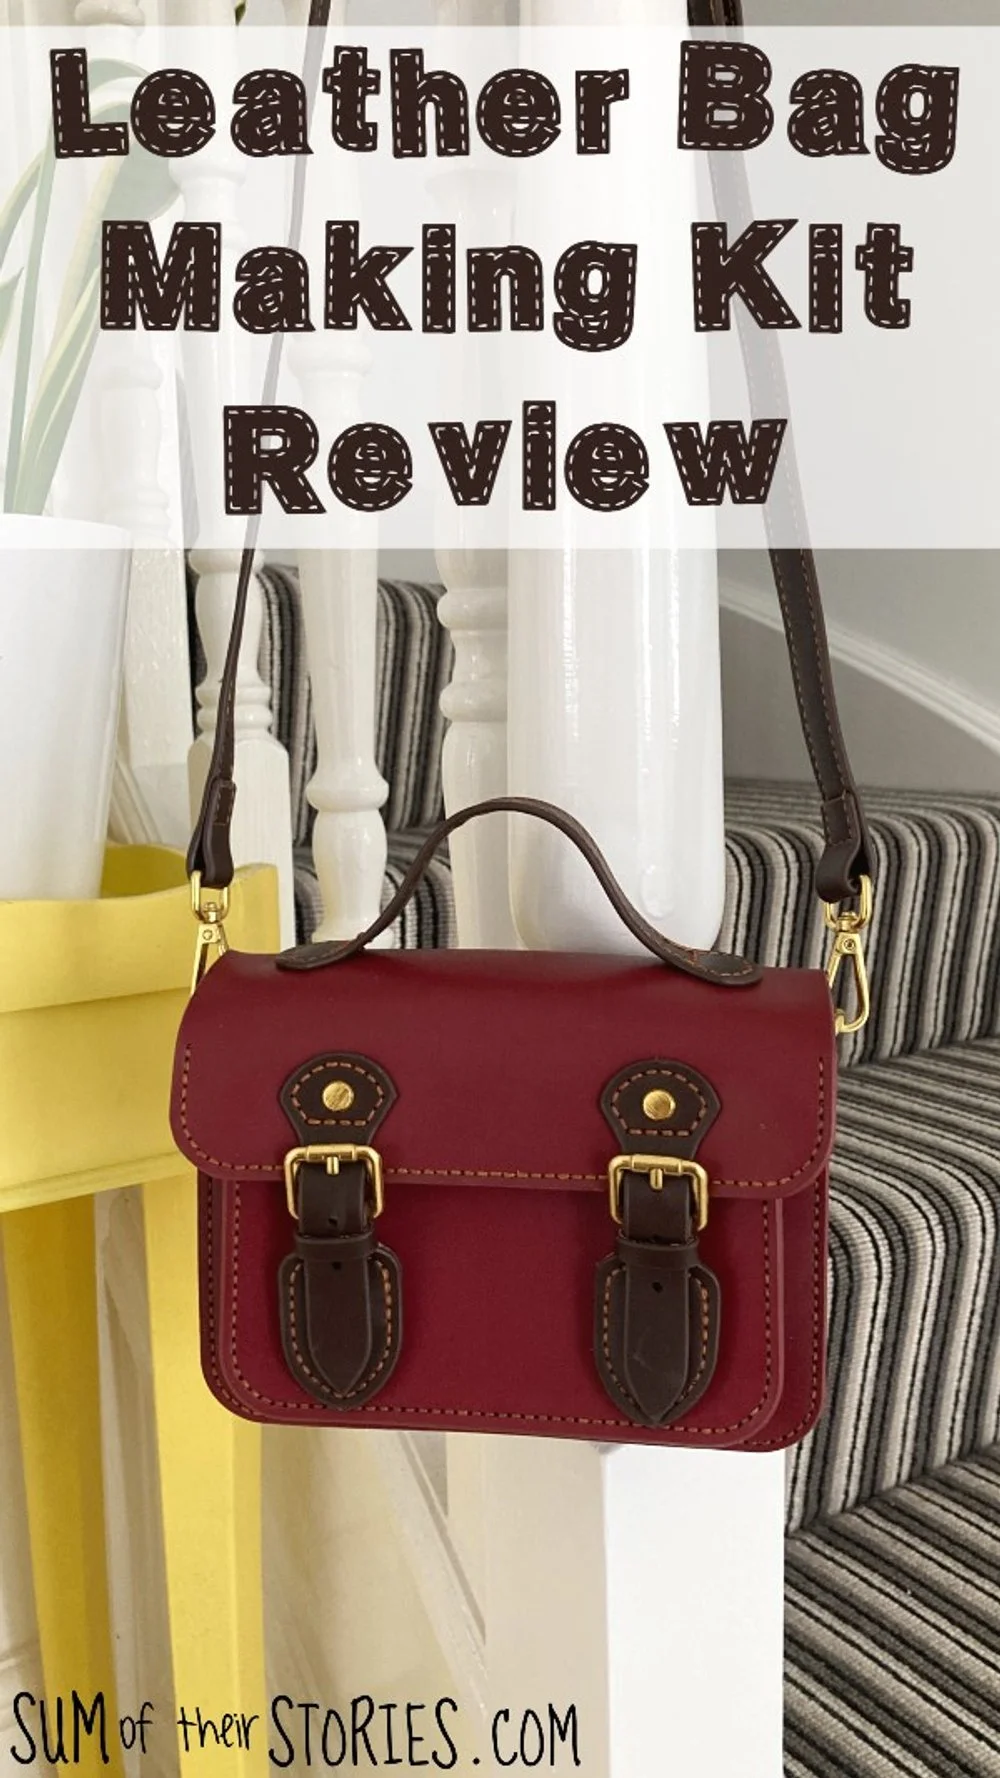
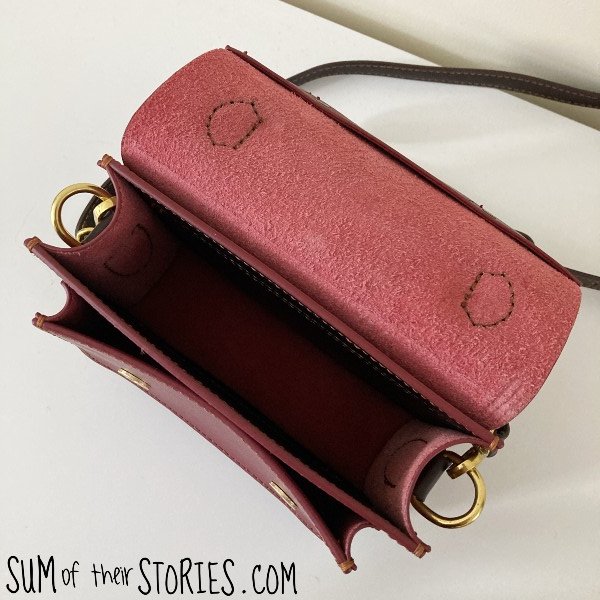
I chose the Cambridge Bag in Wine Red, which as you can see is a mini satchel style bag that you can use as a cross body bag. It measures 19.5cm x 14cm x 8.5cm (7.5” x 5.5” x 3.25”)
Babylon Leather ship worldwide and my kit arrived in the UK in just under 2 weeks. It may normally be quicker, my parcel was sent whilst we were having some postal strikes here so that may have slowed things down a bit.

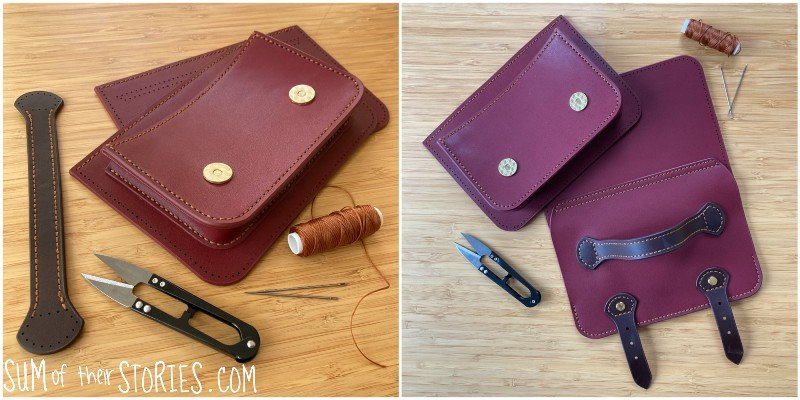
The kit contained everything needed to make the bag as you might expect. The pieces of leather are all pre cut, edged and pre punched with holes for stitching. You also receive all the hardware for the bag plus an awl, a mini screwdriver, a clip, a roll of waxed thread, needles and some snips. The long strap was pre made and feels like it’s made of a different material, maybe a PU leather although I can’t be sure and it’s not specified anywhere. There were also some little finger covers in the kit but I didn’t realise what they were for until I had finished!
There is a “how to make” video for each of the kits on Babylon Leather’s You Tube. I watched the video to make the Cambridge bag all the way through before I started just to familiarise myself with what is involved and then used the video, pausing as I went along, as I stitched the bag together.
The video covers everything you need to know, including how to calculate how long to cut the thread you need for each seam and the way you fasten a needle to each end of the thread. You will probably want to mute the video; the music is a bit much and all the instructions appear as text so you don’t need to hear anything.
I tended to cut the length of thread on the generous side, I didn’t want to have to cast off any more than necessary, and I had plenty left at the end. The amount of thread in the kit is generous, you won’t run out, even if you make a mistake and have to undo anything.
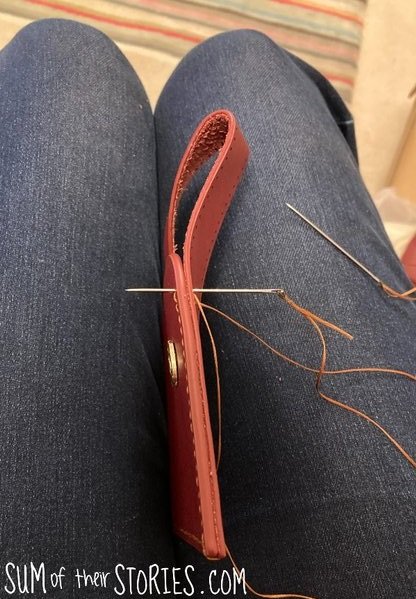
The technique to stitch leather with a needle on each end of your thread does take a bit of getting used to. Anyone who has watched the BBC show The Repair Shop will have seen the leather expert Suzie using the technique and to be honest, she does make it look easy! It’s actually not difficult but to get your stitches neat you tug the threads quite firmly so it is a little tough on your hands. Once I sussed out the technique of using my thighs like a vice (!) to hold the leather whenever I could I found I got on a little quicker.
I spent 6 evenings making my bag. At each session I probably did about an hour, maybe an hour and a half. It’s great for stitching while binging TV because once you know what seam you are doing it’s pretty straightforward and repetitive. I gave myself a day or two off in between each stitching session, as I said I found it a bit tough on my hands. Maybe I was tugging the wax thread too hard? But what I was doing was making my stitches nice and neat and secure so I assume I was doing it right.
The video warns you that the stitching holes are laser cut and therefore a small amount of soot is transferred to the thread and then your hands. I did find that my hands got dirty so as per the advice on the video I stopped and washed them regularly. I guess this is what the finger protector things are for. Sadly it just didn’t occur to me what they were and they weren’t mentioned in the video so I just didn’t realise! Doh!
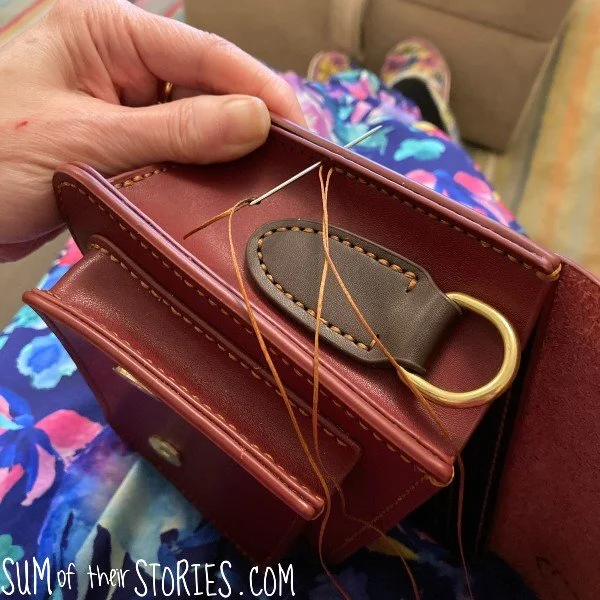
The video tutorial was fantastic, telling me everything I needed to know up until the very end and then I came unstuck. Attaching the small tag that fits to the buckle had me in a pickle! The video is a little bit quick and after 5 viewings I still couldn’t see where I was going wrong. My leather tab was always upside down or back to front or the sticky up bit of the buckle was on the wrong side. I had to call my son in to watch the video and help! Of course he saw straight away where I was going wrong and I was back on track.
I took these quick photos though to show which way round it all goes, just in case you have a go and get stuck on the exact same step:
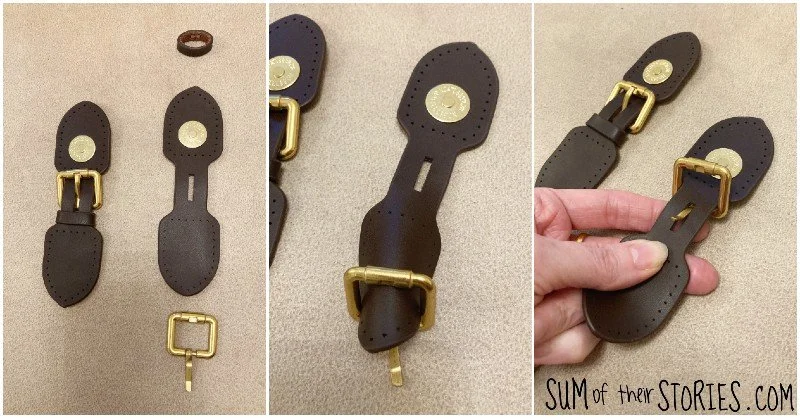
Perfectly obvious when you know what you are doing!
So here it is, my finished bag and I LOVE it!

It’s small, which I like. If I have a big bag I tend to clutter it with loads of stuff which is then heavy to lug around. This bag is just right for my purse/wallet, my keys, phone, lippie, tissues and hand sanitiser - I don’t usually need any more than that with me!
If you want to try a new craft I really don’t think you can beat a kit. You can find out if you like it without investing in lots of special equipment and materials.

I’ve found this kit from Babylon Leather to be great quality, the leather pieces are all finished nicely, the holes on every piece lined up perfectly. There seemed to be a lot of pieces in the kit but working through the video step by step was actually pretty easy and, save for my muddle with the buckle at the end, everything was really straightforward.
Use the code JULIE20 for 20% off any purchase from Babylon Leather.
Update 3 years later (June 2026):
I thought you might like to see how my Babylon Leather Bag is holding up after almost 3 1/2 years. I use this bag quite a lot and it’s holding up well. I used to leave the bag hanging when I wasn’t using it but found this was causing a bit of a dent in the sides of the flap, nowadays I keep the bag with the strap folded up inside whenever I’m not using it.

The only other thing is that the little handle on top of my bag is slightly wonky now. I could probably fix this by stuffing some paper under it next time it’s stored in the wardrobe for a week or two but it’s not something that bothers me so I’ll most likely just be using it as it is.
Julie
You might also be interested in: