Recycled Heart Art Canvas
/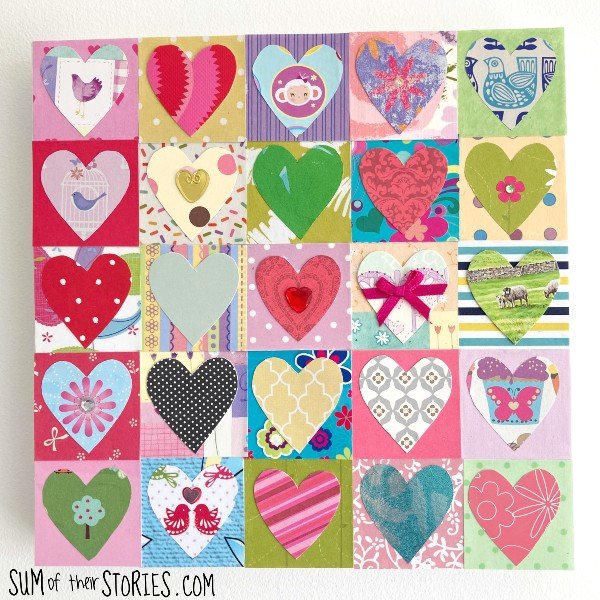

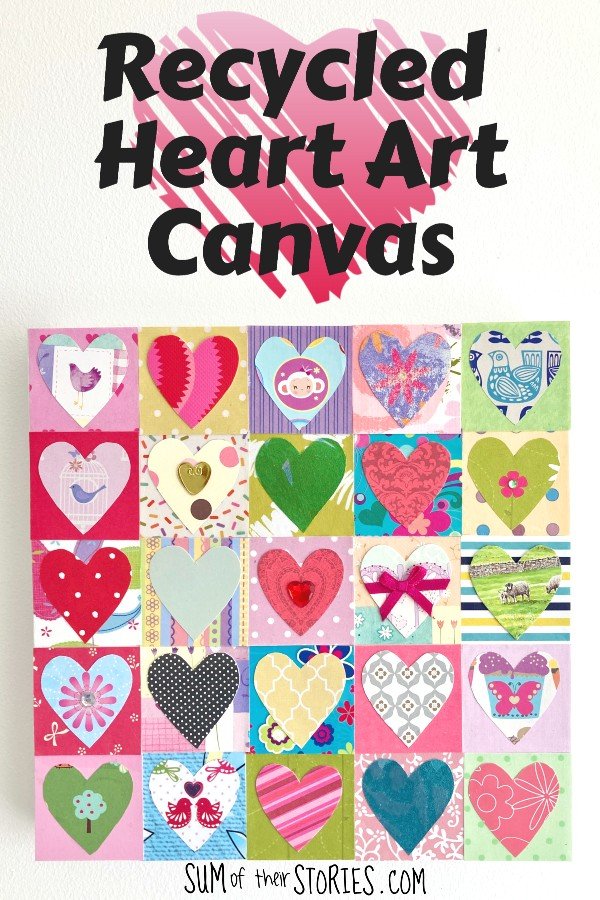
Recycle an old canvas with scraps of paper to make pretty heart art for Valentine’s decorating, a wedding or anniversary or just to brighten a dull corner.
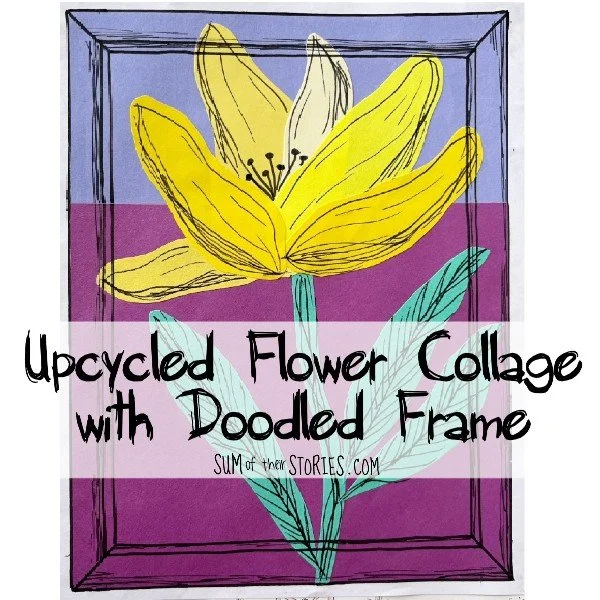
Here I’ve used scraps of pretty papers to make my heart art but this idea could be easily adapted to upcycle precious greeting cards from a wedding, engagement, anniversary or special birthday.
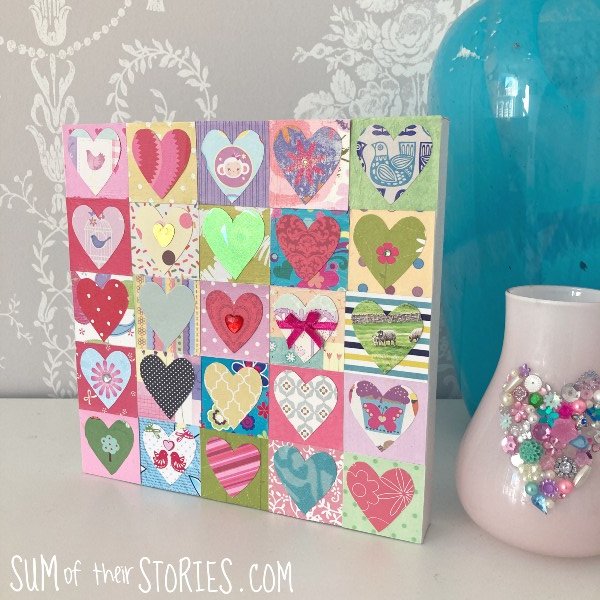
I love it when a plan comes together, this canvas update worked even better than I imagined it in my head and believe me, that doesn’t always happen!

I’m joining the Do It Over Designers Blog Hop with this easy craft idea to do over an old canvas with recycled paper and card and embellishments rescued from old birthday cards.
How to make an upcycled hearts canvas
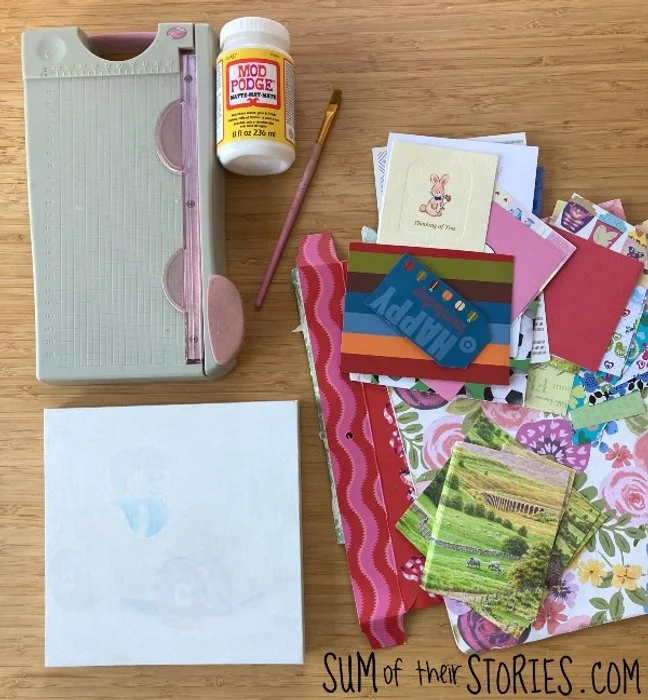
Materials needed to make an upcycled hearts canvas
An old canvas
Patterned paper - magazines, junk mail, small pieces of scrapbook papers, wrapping paper, pretty packaging etc
Embellishments saved from old greeting cards
Glue - I used Mod Podge
Brush for the glue
Scissors plus a small guillotine is useful but not essential
A ruler and pencil
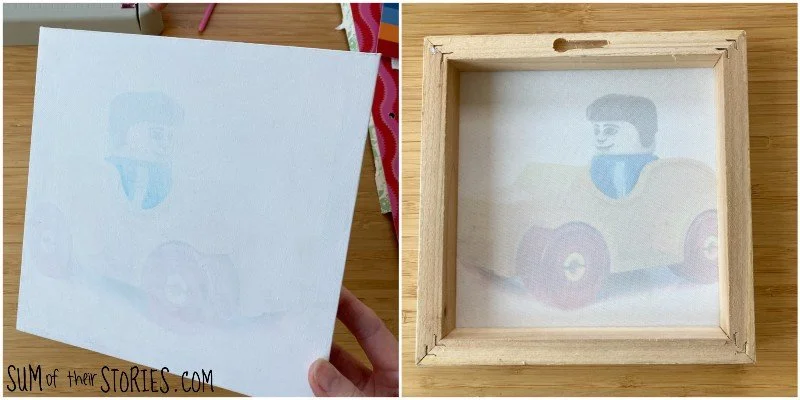
I started with this old canvas that I’d picked up in a charity shop a few years ago. I’m afraid I can’t show you a proper “before” because I appear to have started and then abandoned a transformation on it at some point in the past, sorry about that!
I had given it a coat or 2 of white paint a while ago. I have a vague recollection of an idea I had for it, but when the original print on the canvas was stubbornly showing through all my layers of paint I abandoned it. You can see the original print better from the back, some sort of lego man in a car by the look of it? None of this matters because we are going to cover it completely anyway.
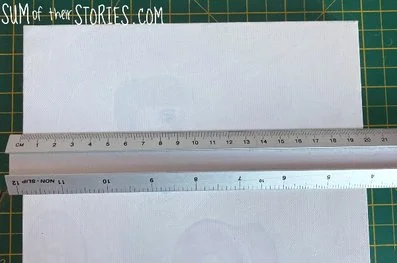
First you need to measure your canvas.
My canvas is 20cm square, that’s just under 8”, so I worked in centimetres for this art collage. Use inches if that works better for your canvas of course!
You need to do a bit of simple maths now. Find a number which divides nicely with the size of your canvas so you can create even squares. I went for 4cm squares, so I could have 5 x 5 on my 20cm canvas.
Decorating the canvas
Cut squares from your scraps of pretty and colourful paper.
You can do this with a guillotine if you have one or use a ruler and pencil and then cut with scissors. It is easier to get a neater result with a guillotine though.
I had a mix of papers from all sorts of places. Some is left over pieces of scrapbook paper, there are pages from old magazines, old greeting cards, pretty cardboard packaging, a calendar and wrapping paper scraps.
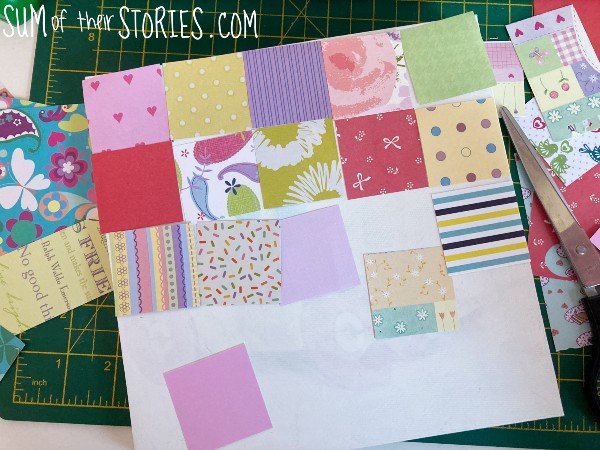
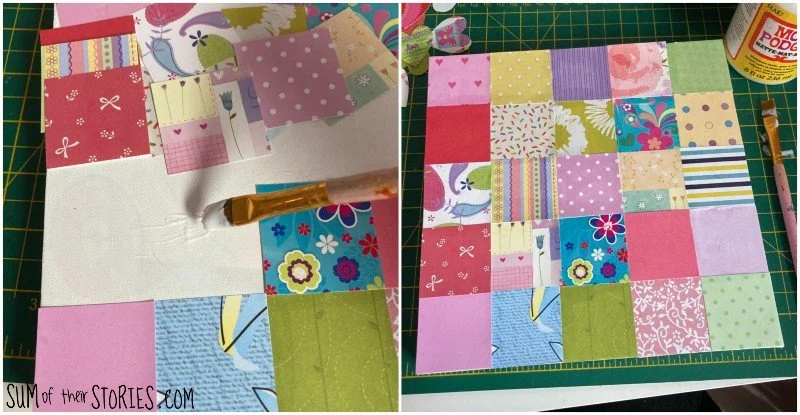
Cut plenty of squares and then spend a few minutes playing around with them, arranging them on the canvas until you are happy with the mix of colours and patterns. Then use the Mod Podge and brush to glue each square in place.
While that dries prepare some hearts.
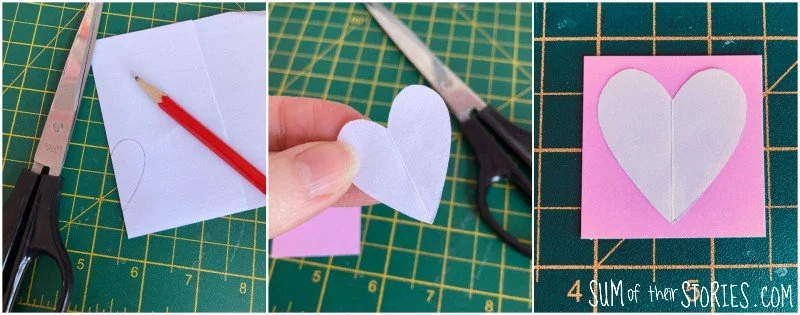
Make a heart template by folding a scrap of paper and drawing half a heart on the fold, then cut it out. I messed around cutting out a few until I got a size and shape of heart that I liked on my 4cm squares. You can make your hearts taller and thinner, or shorter and fatter, whatever you prefer.
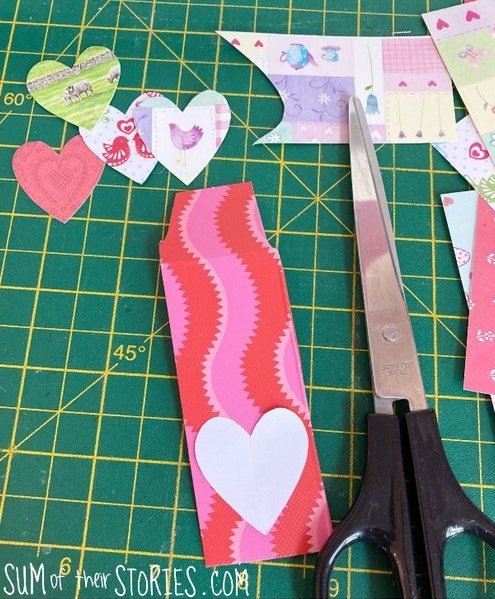
Then use your heart template to cut out a load of hearts from your scraps of paper, packaging etc.
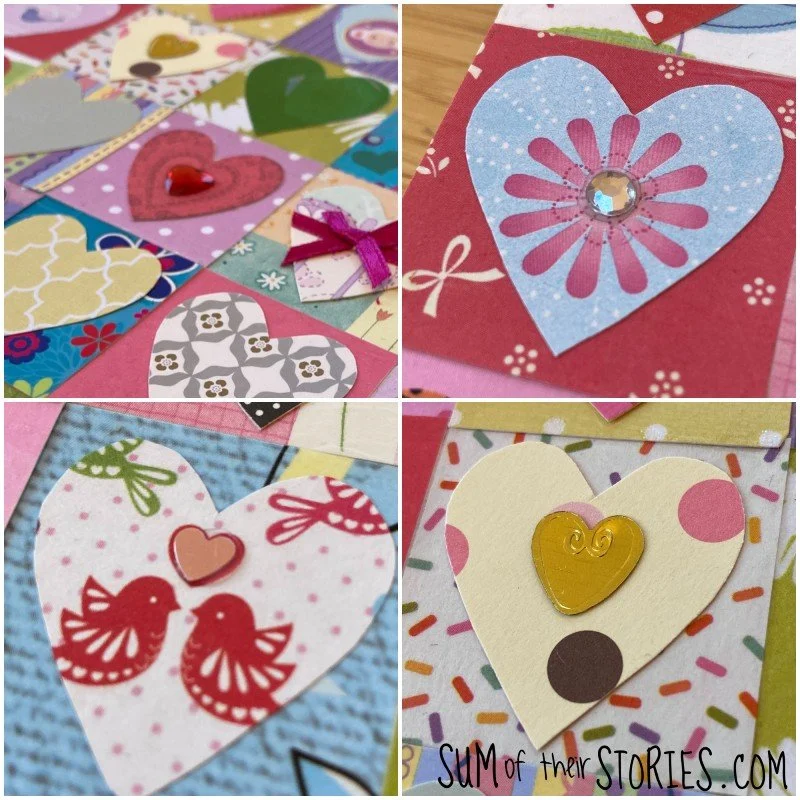
I tried to centre some motifs on some of the hearts; flowers, animals etc. That’s not essential but it is pretty cute.
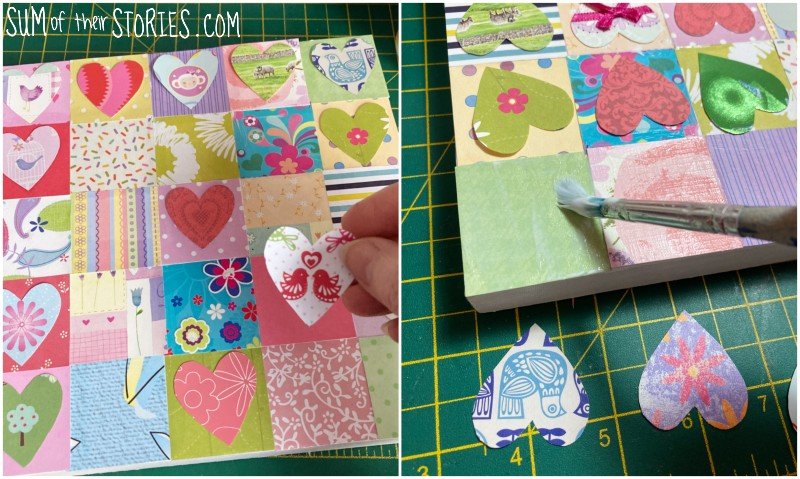
Now it’s time to play around again, arranging your hearts on the squares. Try contrast colours, complimenting colours, mix plains and patterns; you’ll know when it looks right. Then glue them down with Mod Podge exactly as before.
You could stop at this point, a pretty hearts on squares collage, or add some extras like I did.
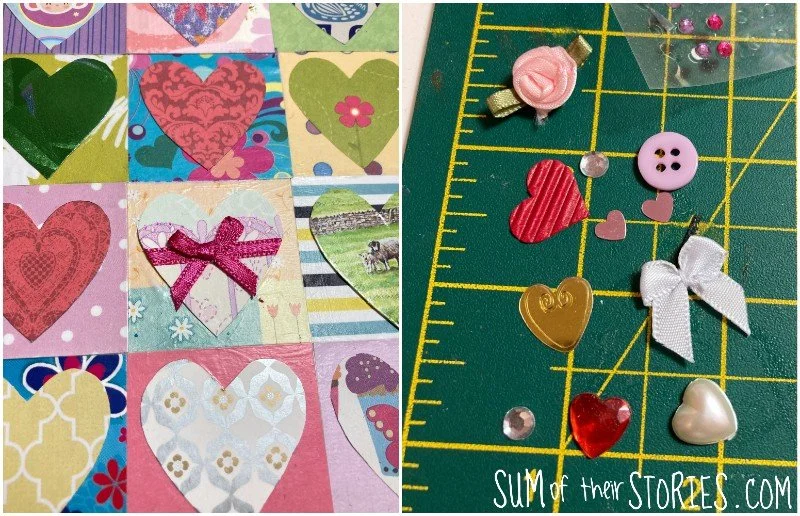
I had cut one of my hearts from part of a birthday card with a ribbon heart on it. I really like the extra dimension this added so I decided to add some additional embellishments to some more hearts. I raided by box of craft “bits and pieces” to see what I could use. This is a stash of little things I’ve rescued from old birthday cards, sequins I’ve picked off the table at parties (yes, I’m afraid I’m THAT person! They only go into the bin afterwards, right?) etc.
I’m so pleased to have given this old canvas a new look and new purpose. And I didn’t spend a single penny because all the papers and card used were upcycled or tiny leftover scraps from other craft projects.
Greeting Card Upcycling
This project could be easily tweaked to upcycle special greeting cards instead of the papers I used here. Any special occasion could be commemorated with it’s own piece of art. Wedding, engagement or anniversary cards would be perfect to reuse.
If I were making art like this using wedding cards, for example, I think I would remove all the fronts to use for my heart collage and maybe keep the backs, with the handwritten messages in a folder. If your canvas was deep enough you could even attach a pocket or envelope on the back and keep all the card backs in there.
One other cool idea is to have your cards turned into a keepsake book, especially if you want to preserve the handwritten messages in a more lasting way. There's a business called MyCardBook that does just this - you mail them your cards and they transform them into beautifully bound hardback books.
If you are a romantic soul and have actually thought to keep all the Valentine’s day cards you’ve received from your partner wouldn’t it be fun to make a piece of art from them? Sadly for me I am not such a romantic soul and I don’t think I have kept enough cards like that over the years!
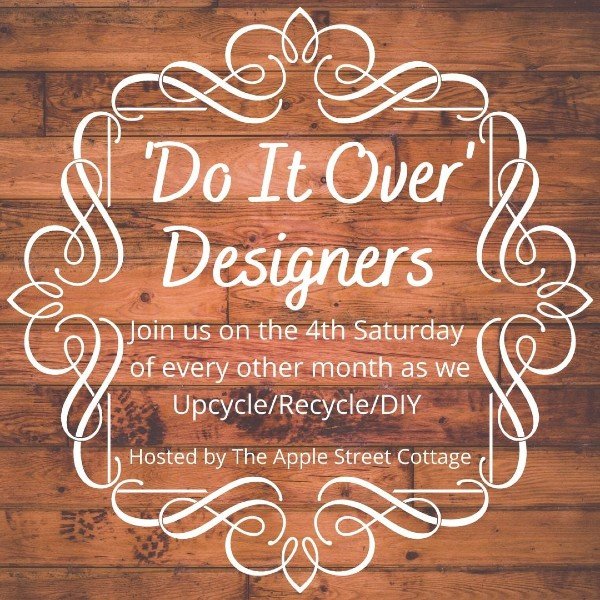
The Do It Over Designers Challenge is all about taking something old and breathing new life into it. Every time I join the challenge I’m blown away by the talent and creativity of the other creative bloggers participating. Let’s take a look at the other upcycling and repurposing crafts in the Do It Over Designers Challenge this month:
The Apple Street Cottage - Measuring Spoon Rack
Birdz of a Feather - Side Table Upcycle
Exquisitely Unremarkable - Wooden Cutting Board Sign
Little Vintage Cottage - Repurposed Gumball Machine
Purple Hues & Me - Upcycled Bamboo Placemat Craft
Southern Sunflowers - Thrift Store Plate Decoupage
Tea and Forget-Me-Nots _ Wooden Chair Upcycle with Clay paint
Unique Creations By Anita - Porch Welcome Sign
I’ll be sharing this idea over at some of these link ups
Julie