

Bunting in a Box Birthday Card
/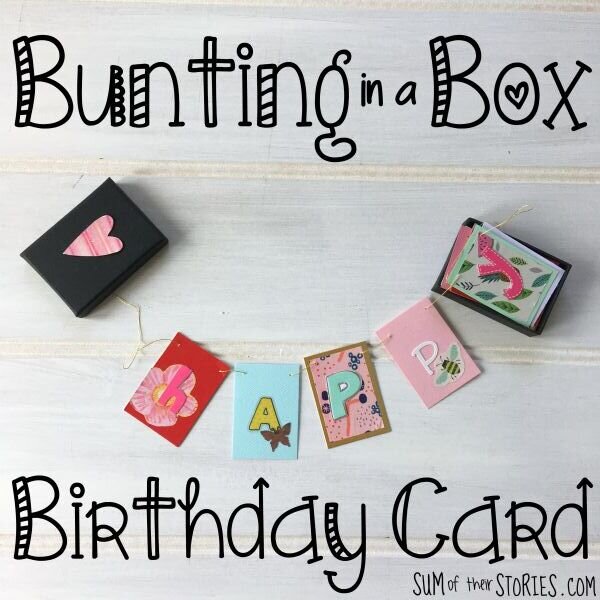

Make a birthday card with a difference with bunting in a box!
What do you do with the little boxes that jewellery comes in? I keep them because they are too nice to throw away. I always think “What if I buy someone some jewellery as a gift and it doesn’t come in a box? Then it will come in handy.” Seriously though, how often does that actually happen? Apparently not that often! So what am I going to do with my collection of cardboard jewellery boxes?
My lovely blogging friend Anna over at Tea and a Sewing Machine declared 2019 the ‘year of bunting’ and set a series of challenges to get us all making bunting. My participation has been sporadic to say the least. I’ve managed a few bunting based projects, a floral bunting themed greeting card, some pentagon shaped crochet bunting and then another quick strips and spots themed bunting card. The theme for October is nature and I’m sure Anna had something in mind based on beautiful autumnal colours. I’ve done something a little different but it is nature based (it has flowers and butterflies) so I’m going with it, close enough!
I needed a fun card for my niece’s birthday, I wanted to do something with bunting, I wanted to find a way to use the little card jewellery boxes I’ve collected over the years. Sounds simple enough to combine all 3 things, right?
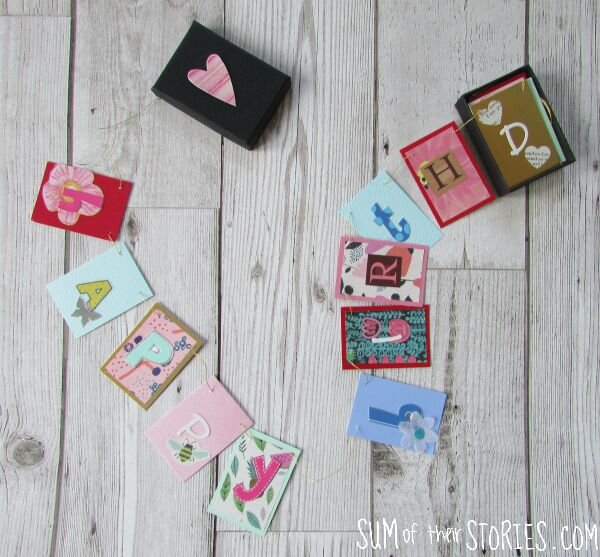
I’ve made a birthday card substitute; tiny bunting with a birthday message that fits nicely into an old jewellery box.
Do you fancy giving it a go? It took a bit of time, probably more than a regular card but it was easy and fun and I’m really pleased with how it turned out. Plus it feels a little bit special.
How to make a Bunting in a Box Birthday Card
To turn a jewellery box into a bunting birthday card you will need:
A little cardboard jewellery box
Scraps of coloured card
Scraps of pretty paper
Letters - these can be stickers, rub ons, cut out letters etc just make sure they are flat
Embellishments: anything from your stash - flowers, sequins, punched paper shapes etc anything as long as it’s flat.
Thread - mine was a DMC gold metallic thread
A sharp needle and a lump of Blu Tack (optional)
Paper glue (I used Pritt stick)
Strong glue (I used Bostik All Purpose)
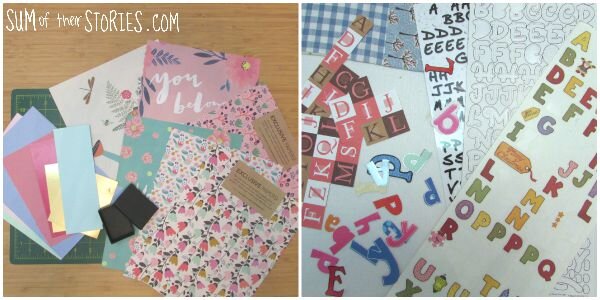
I used mostly the pretty papers from recent Mollie Makes Magazines for this bunting card and a variety of letters/stickers and embellishments from my craft stash.
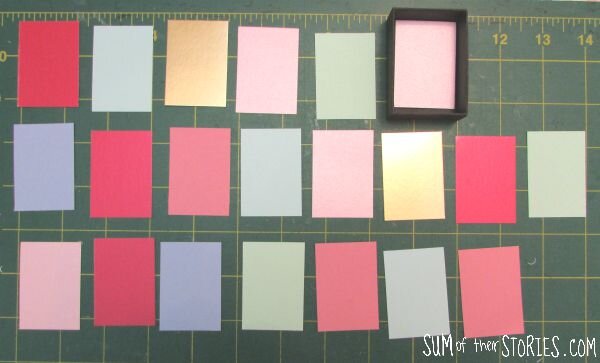
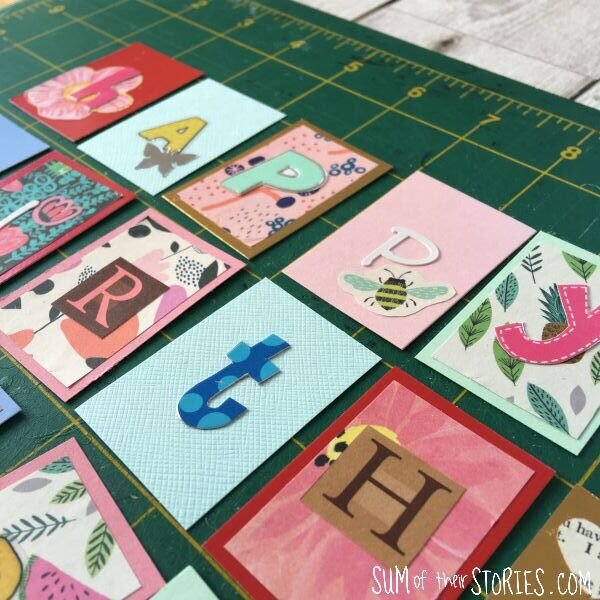
Start by working out how many bunting flags you need for your message. My message is ‘Happy Birthday Isabelle’ so I needed 21 flags. Cut these flags from your card scraps, make each one just a fraction smaller than your jewellery box.
Decorate each flag. You can add a rectangle of pretty paper, or add an embellishment or two. Just make sure everything is flat. You won’t be able to close the box if you use anything that is too thick.
Now use your letters to add the message to the flags. I tried to mix up the style of letter so ones that were the same were spread out across the bunting.
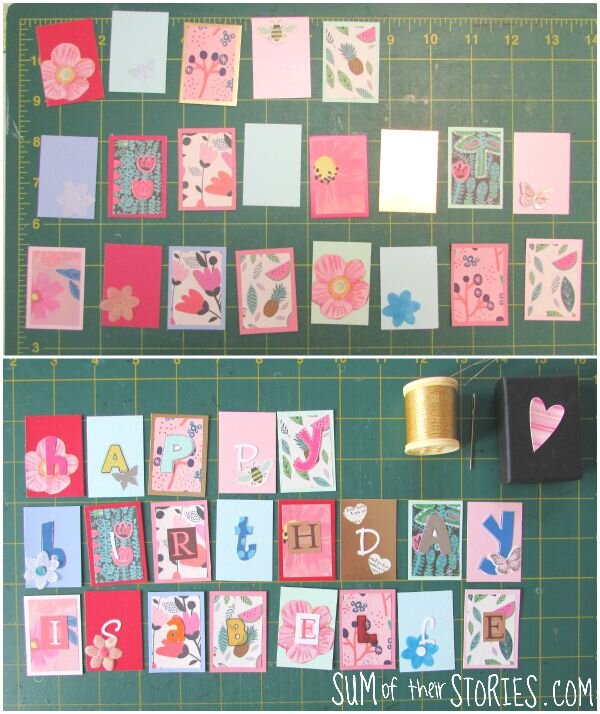
Cut 2 more flag sized pieces of card as ‘end’ pieces for attaching the bunting into the box. Thread your metallic thread onto the needle but don’t cut a length, it’s almost impossible to work out how long you need it to be so just leave it on the spool. Thread it through the centre of one of the ‘end’ pieces. Line the bunting up in the right order and thread them up in order. I started at the end and threaded them in reverse.
To make the holes in the bunting flags I used my favourite Blu Tack hack. You just pop a blob of blu tack under the card when you poke a hole in it and it stops the card from creasing.
When you get to the end, attached another ‘end’ piece through the centre as before and tie a few knots to secure the end of the thread.

Use the strong glue to fix the front ‘end’ piece inside the lid of the jewellery box and allow this to dry.
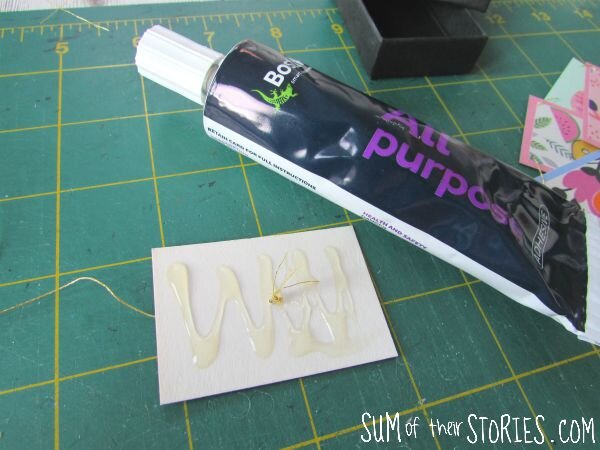
You’ll need to weigh it down with something small and heavy as it dries.

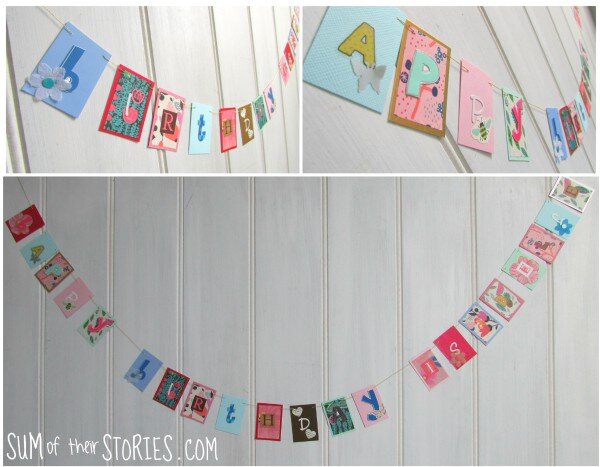
Once the lid is dry, spread the bunting out along the thread and space the flags out nicely. I secured the first and last letter of each word with a little washi tape on the back. Now you can cut the thread to the right length. Tie the knots as before and then glue the final ‘end’ piece to the bottom of the jewellery box. Again, leave to dry completely.
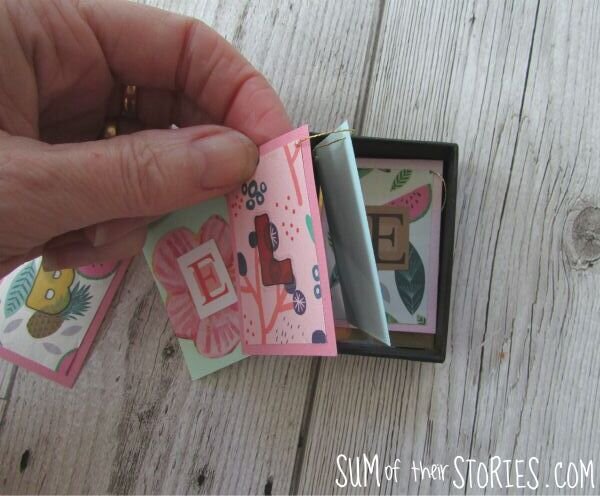
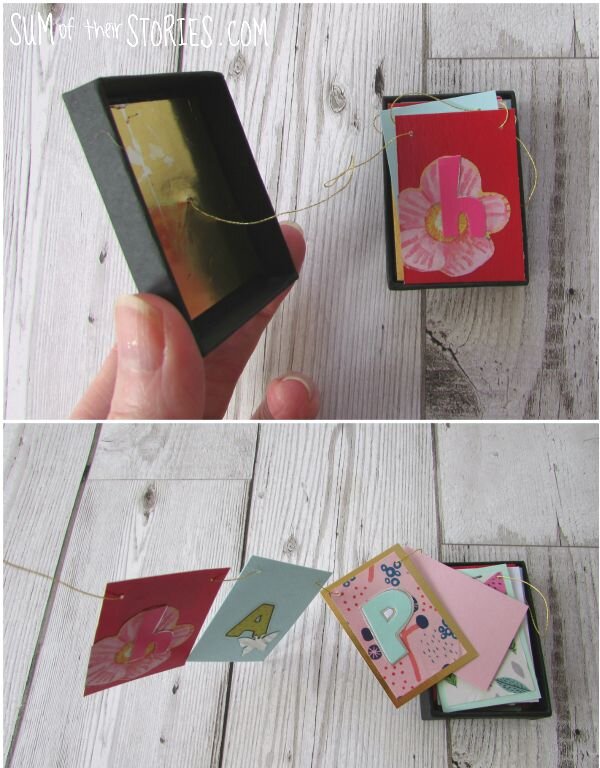
Once it’s all dry you can fold the bunting up into the jewellery box. You just concertina it in from the bottom/end.
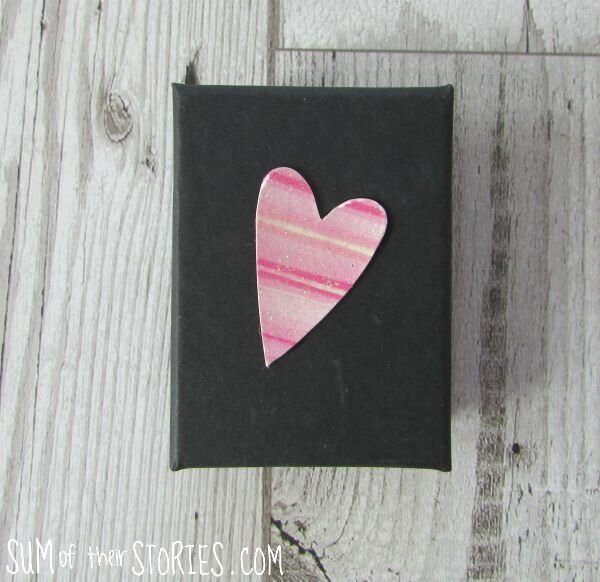
Add an embellishment to the lid and a message to the back.
When you open the lid of the box the bunting comes out!
Cute eh? If I do say so myself!!
Cute and difficult to photograph! Long thin bunting is, by its very nature, difficult to take nice photos of!
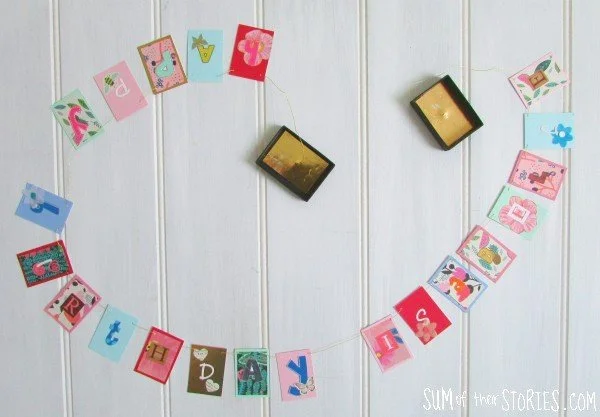

Why not surprise someone special with some bunting in a box instead of a regular birthday card?
Julie
I’ll be sharing this idea at these link ups


