

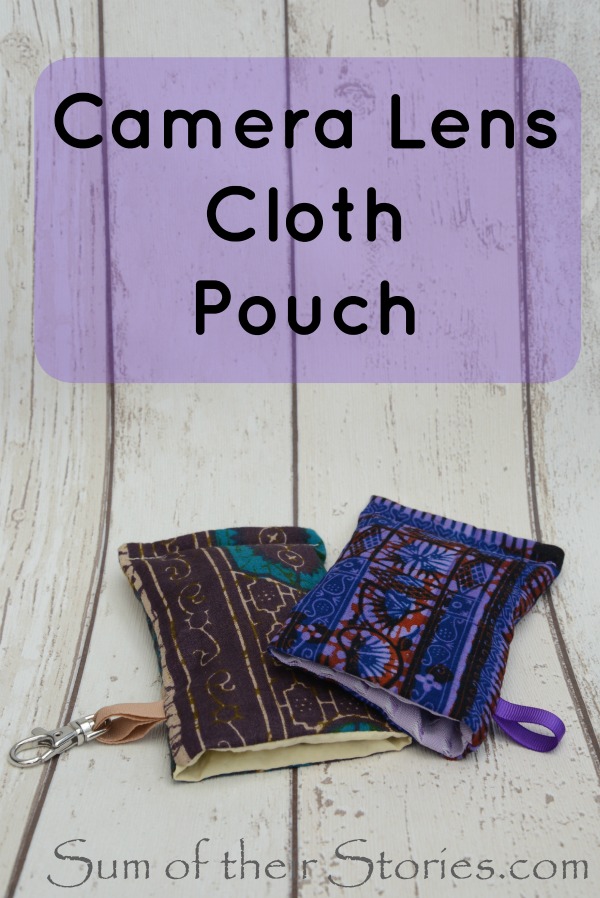
Camera Lens Cloth Pouch
/
When our daughter was a photography student she was rather good at dropping or loosing her lens cloth. Anyone who dabbles in photography knows that once a lens cloth has been on the floor you really don't want to be wiping your lens with them.
I know you can wash them but I don’t think I’d completely trust that. Can you even imagine, just a tiny bit of grit left…. doesn't bear thinking about.
I decided to make her a little pouch for her lens cloth, one that would keep it safely attached to her camera bag and make it much more difficult to drop or loose.
How to make a camera lens cloth pouch
I made two lens cloth pouches with different fabrics and the photos here switch between the different versions.
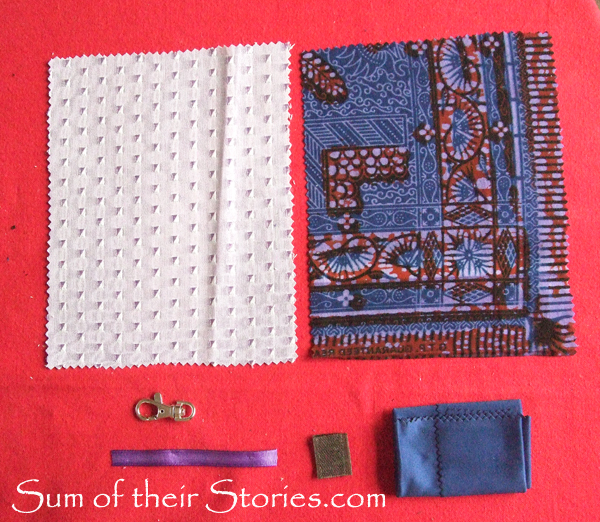
You will need:
2 pieces of fabric 6" x 7.5" (15cm x 19cm) I used 2 different fabrics but they could be the same. 1 will be the outside, 1 the lining
3" (7cm) length of ribbon
A lens cleaning cloth (I used the kind meant for glasses)
a little piece of hook and loop fastening
A little lobster keyring clip
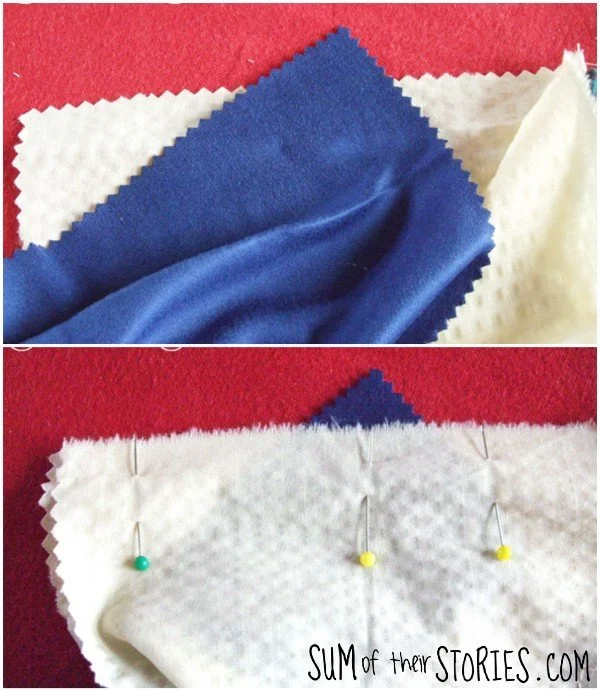
Place the 2 pieces of fabric right sides together and pin the longer side.
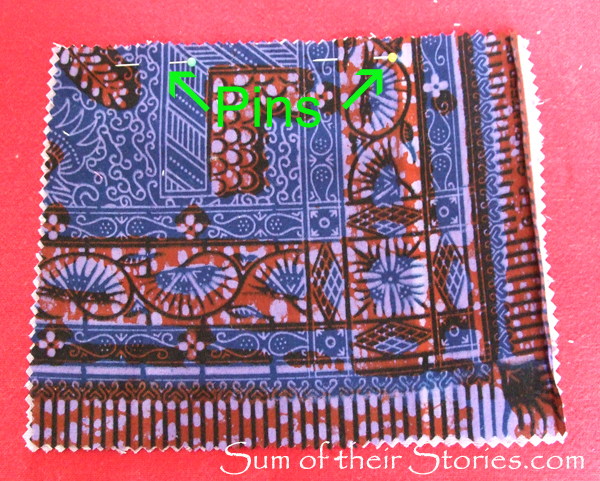
Stitch, press the seam open and then turn right side is up.
Mark the centre with a pin then position the hook and loop fastening pieces 2cm (3/4'“) from the centre on the lining fabric, close to the seam. Stitch around the hoop and loop squares.

Now fold the fabric in half, right sides together.
At this point you need to add the ribbon, the clip and the lens cloth.
Thread the ribbon through the clip and fold in half.

Slip the ribbon and clip between the layers of outside fabric about 1" from the seam. The clip is inside, a little of the ribbon will stick out. Pin in place.
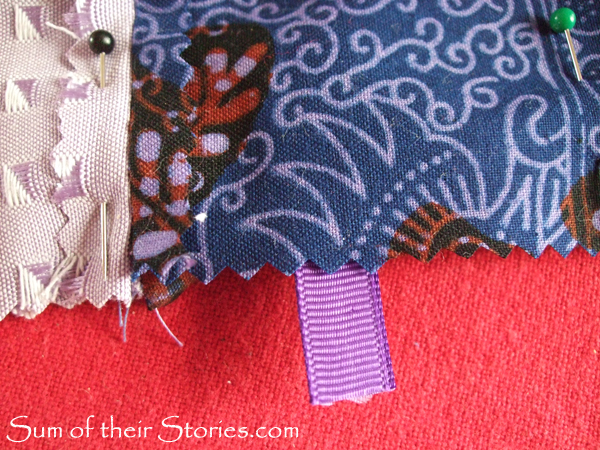
Place the lens cloth between the lining fabric with just a little corner poking out on the side edge. Most of the lens cloth is sandwiched between the layers of lining fabric. Secure this with several pins.
Then stitch along the short side of the outside fabric and the long edge.

Go backwards and forwards over the ribbon a few times just to make it extra secure.
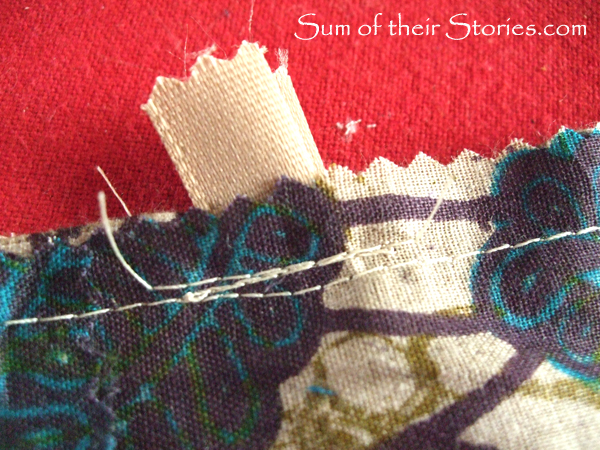
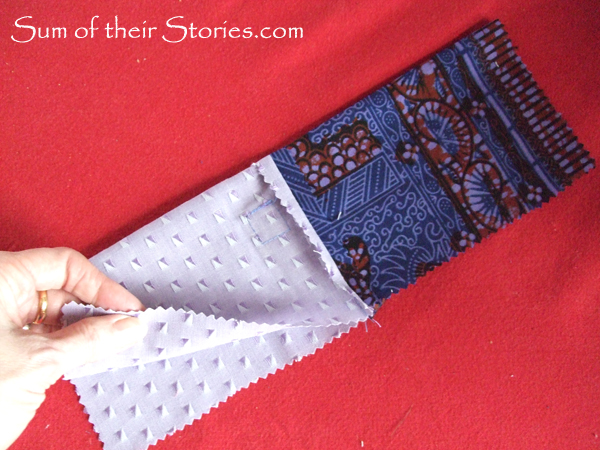
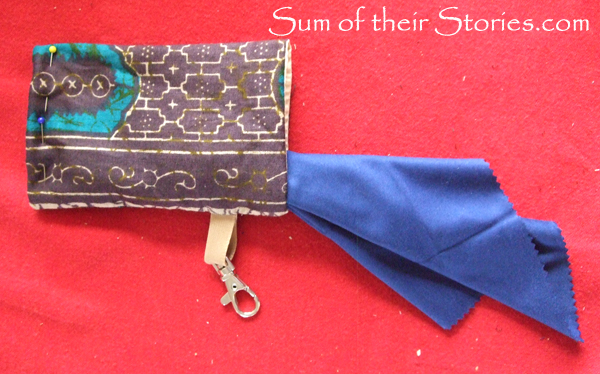
Trim the corners as shown here then turn the whole thing out and press.
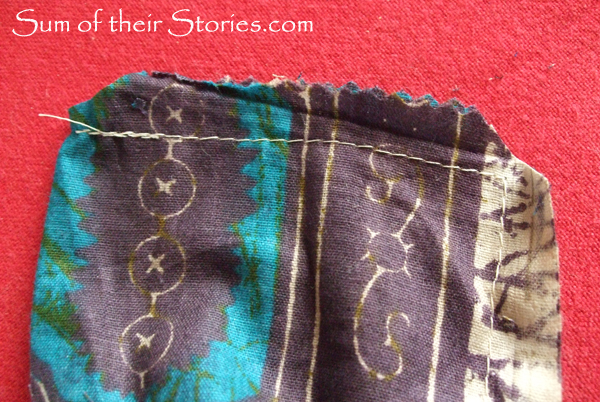
It will look something like this:

Push the lining back inside but leave the lens cloth out.

Take your time to carefully smooth out the lining fabric. Use your fingers or something flat like a ruler to make sure it’s all nice and flat and the seam lines up with the outer seam.
Pin across the bottom to secure the lining in place.
Stitch this seam using a 1cm (1/2”) seam allowance. You’ll catch the lining in that seam securing it.

That’s it! All done.
The cloth pushes neatly into the pouch when not in use. The hook and loop fastening is slightly to one side which makes it easier to put the cloth away. The clip and ribbon attaches it to a camera bag or pouch.

Whoop whoop! No more dropped, gritty, wet lens cloths.
And just keeping things real here is a quick photo of our daughter using her camera lens cloth pouch.

Julie
I sometimes stock these in my Etsy shop, so if you don't want to make your own, you can usually find a few there.
I'll be linking up to some of these link parties


